
Folding Knives
Folder Anatomy: How a Folding Knife Actually Works
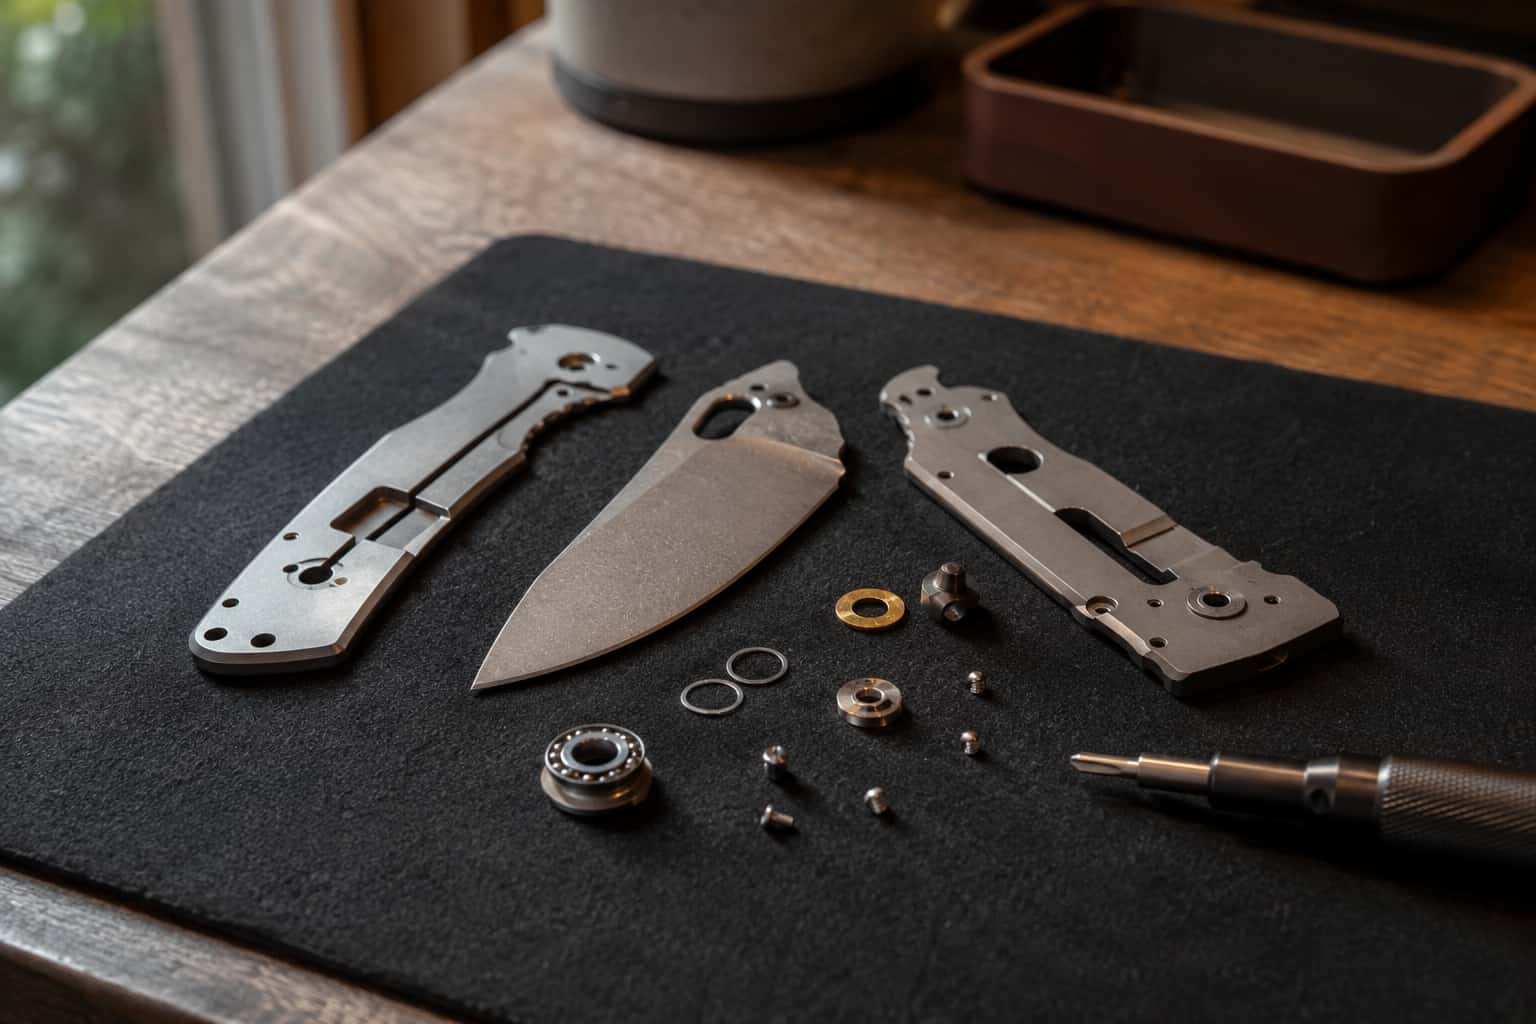
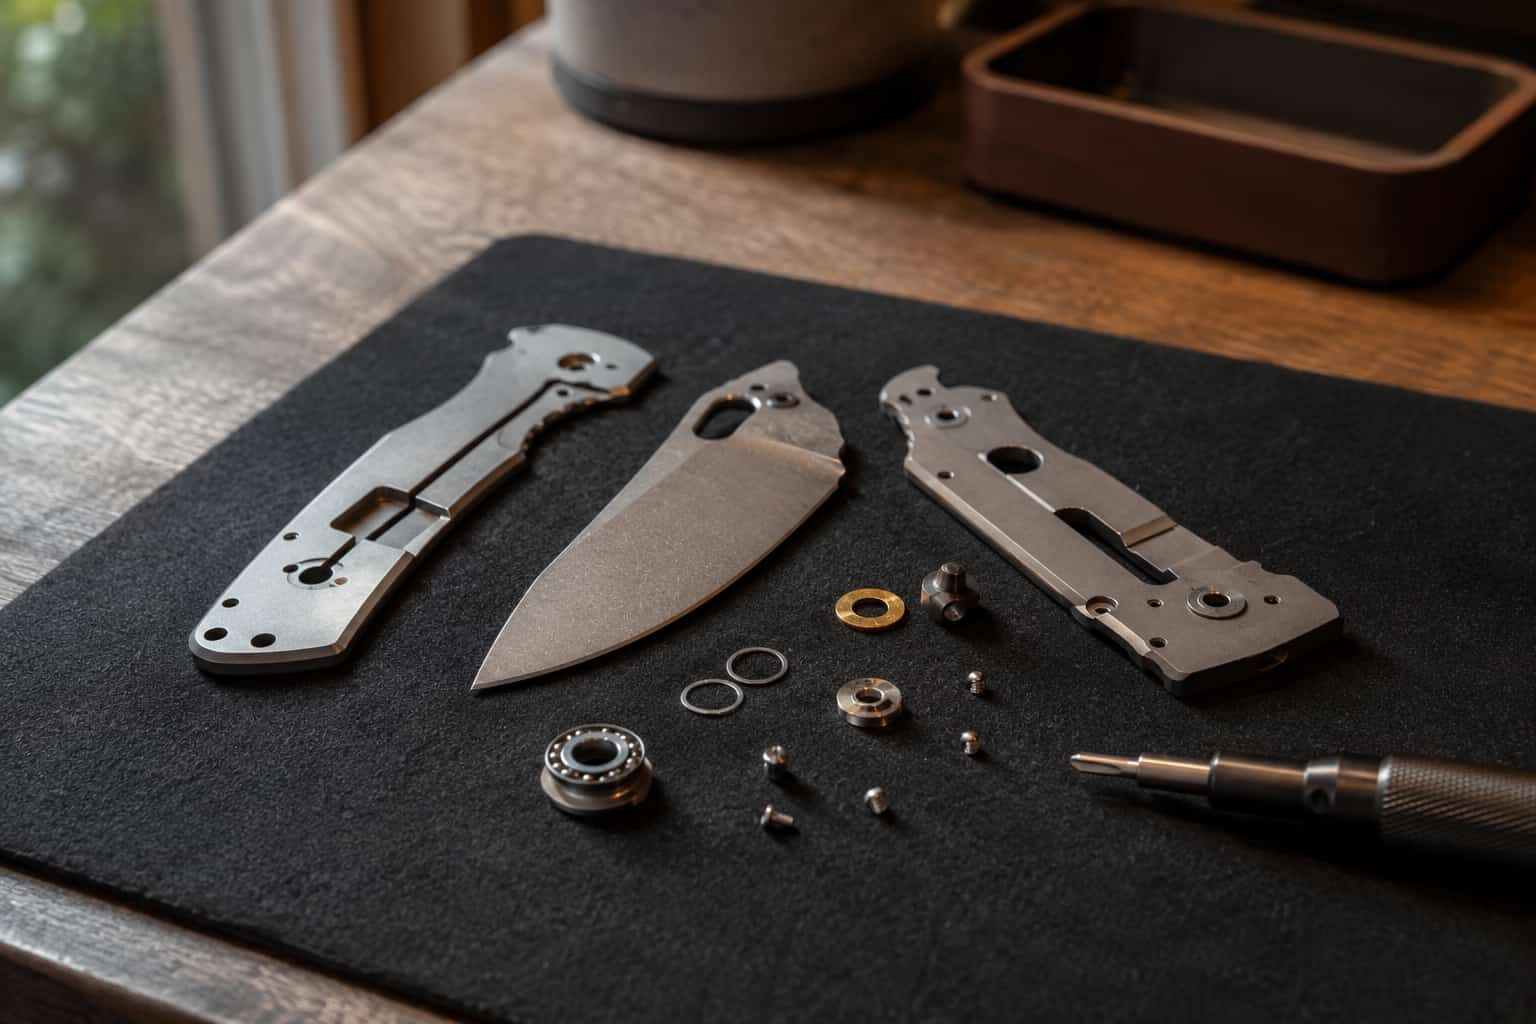
A fixed blade is a shape; a folder is a MACHINE — a dozen parts in moving agreement, where a thousandth of an inch is the difference between glass-smooth…
Folding Knives
The liner lock build in order: liner and lockbar layout, the lock-face angle, detent drilling, tensioning, and the fit checks that prevent lock rock.
2 min readWritten by Rich LinvilleFree to read
The liner lock is the modern folder’s default mechanism and the standard first LOCKING build: every part is visible, every adjustment reachable, every mistake diagnosable. It is also where folder-making earns its thousandths reputation — the lock face and detent live at tolerances your calipers can barely see. Here is the build in working order.
One leaf of the liner is slit lengthwise and bent inward at a relief cut, turning it into a spring bar. Blade open, the bar springs sideways across the handle, its end face jamming against the blade tang’s lock face — a shallow-angled flat that converts the bar’s spring push into a wedge. Blade closing pushes the bar back aside. The detent ball in the bar’s end rides the tang and drops into its hole at closed, holding the knife shut. Spring geometry, two mating faces, one ball: the whole machine.
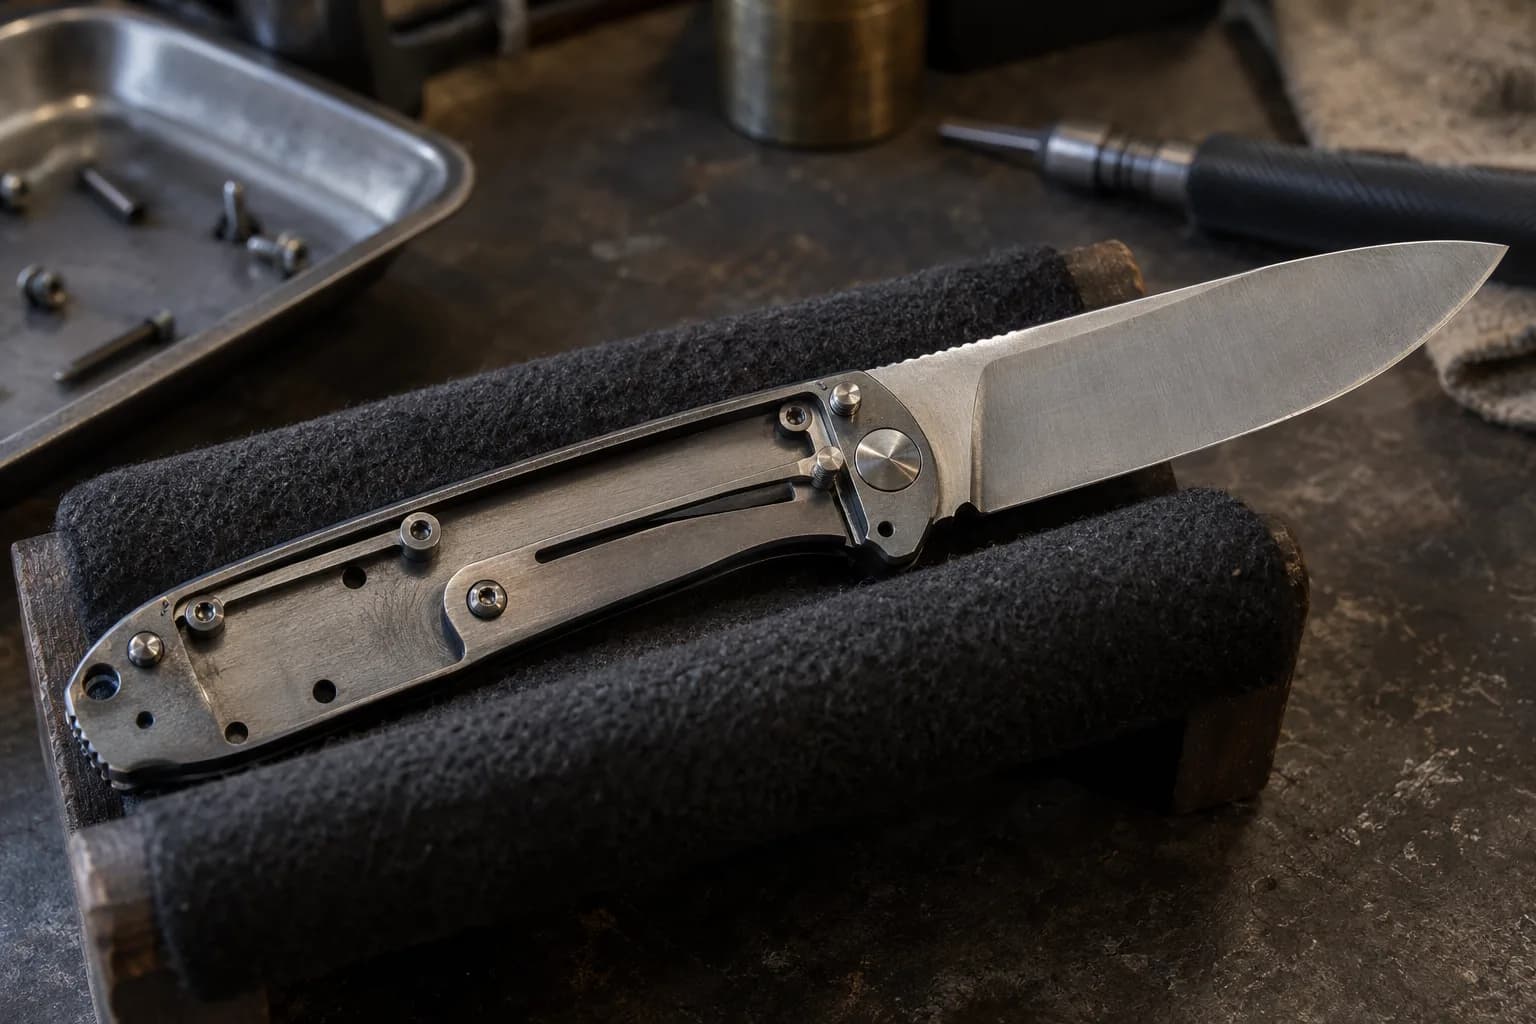
The tang’s lock face is ground at a shallow angle off the pivot radius — maker convention lives in the 7-to-9-degree neighborhood. Too square and the lock sticks (gorilla-grip release); too steep and the bar can slip off under load. Grind it slightly proud, then fit by degrees: blueing (marker on the lock face, engage, read the contact) until the bar’s face beds flat across the tang’s, engaging the first 25-50% of the tang’s width with room to travel as parts wear in. Early engagement wears toward the middle over years; a bar that starts at 90% has nowhere to go.
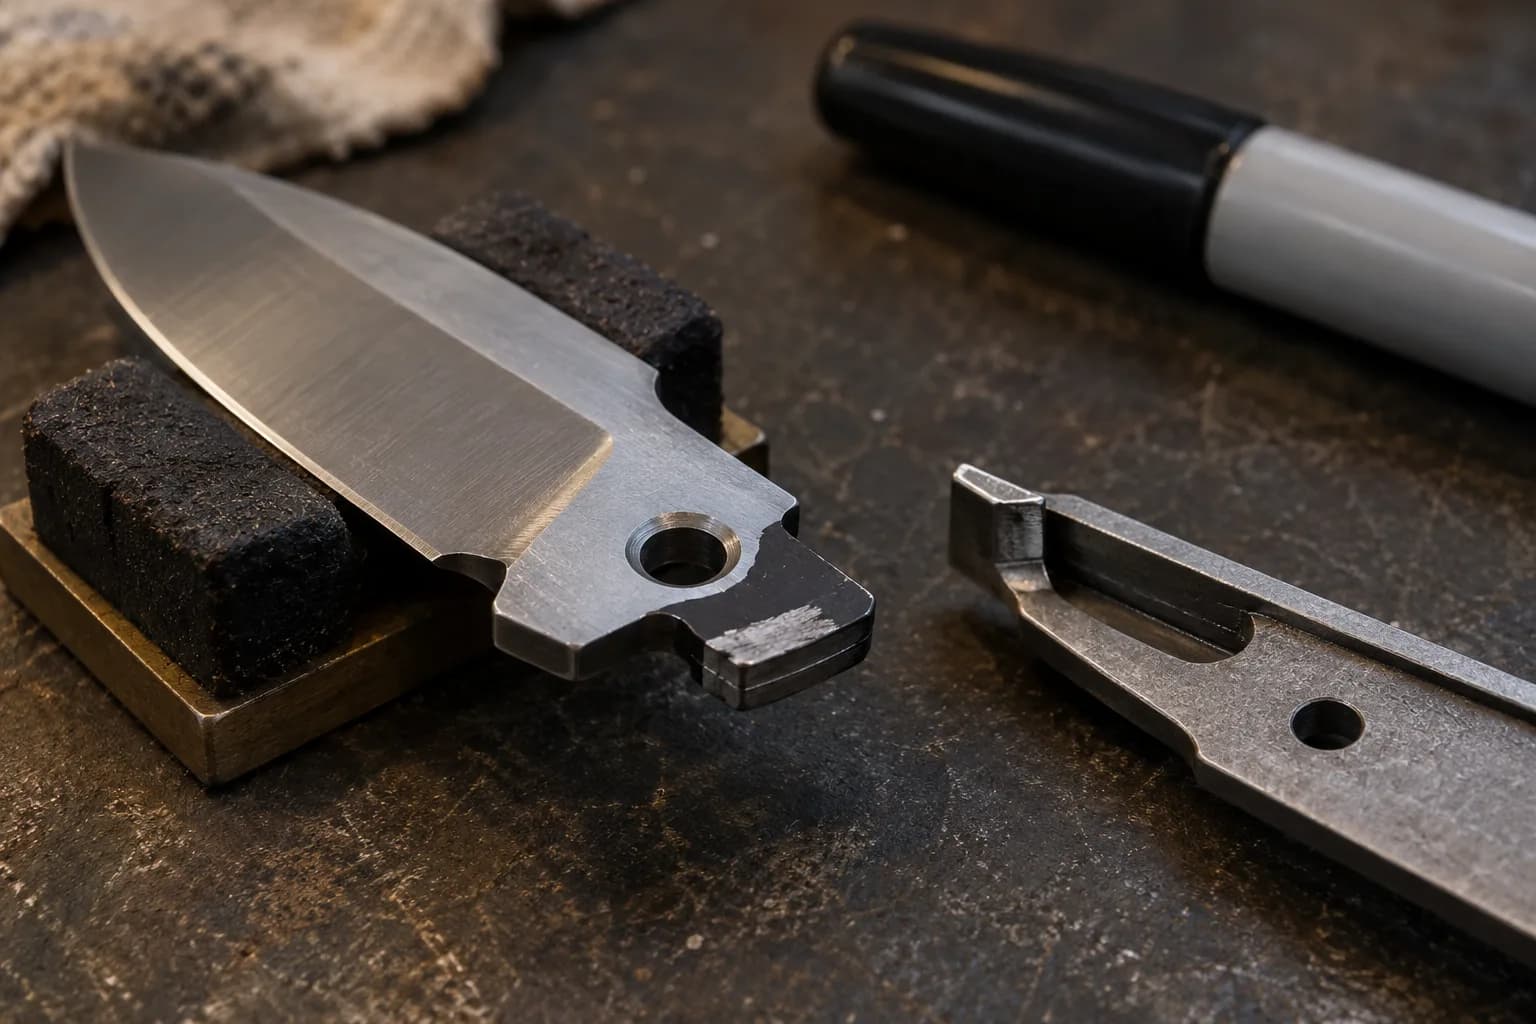
The detent hole placement is the build’s one unforgiving hole: with the knife assembled and closed, the ball’s resting point marks THROUGH the lockbar’s ball onto the tang (marker transfer or a drop of layout fluid), then the tang is drilled a few thousandths SMALLER than the ball at that mark — the ball seats into, never through. Depth barely past the ball’s equator. A ceramic ball pressed into the bar rides quieter on hardened tangs than steel-on-steel. Detent feel tuning — crispness, pull weight, the dead-smooth draw — is its own art, covered with the rest of action tuning.
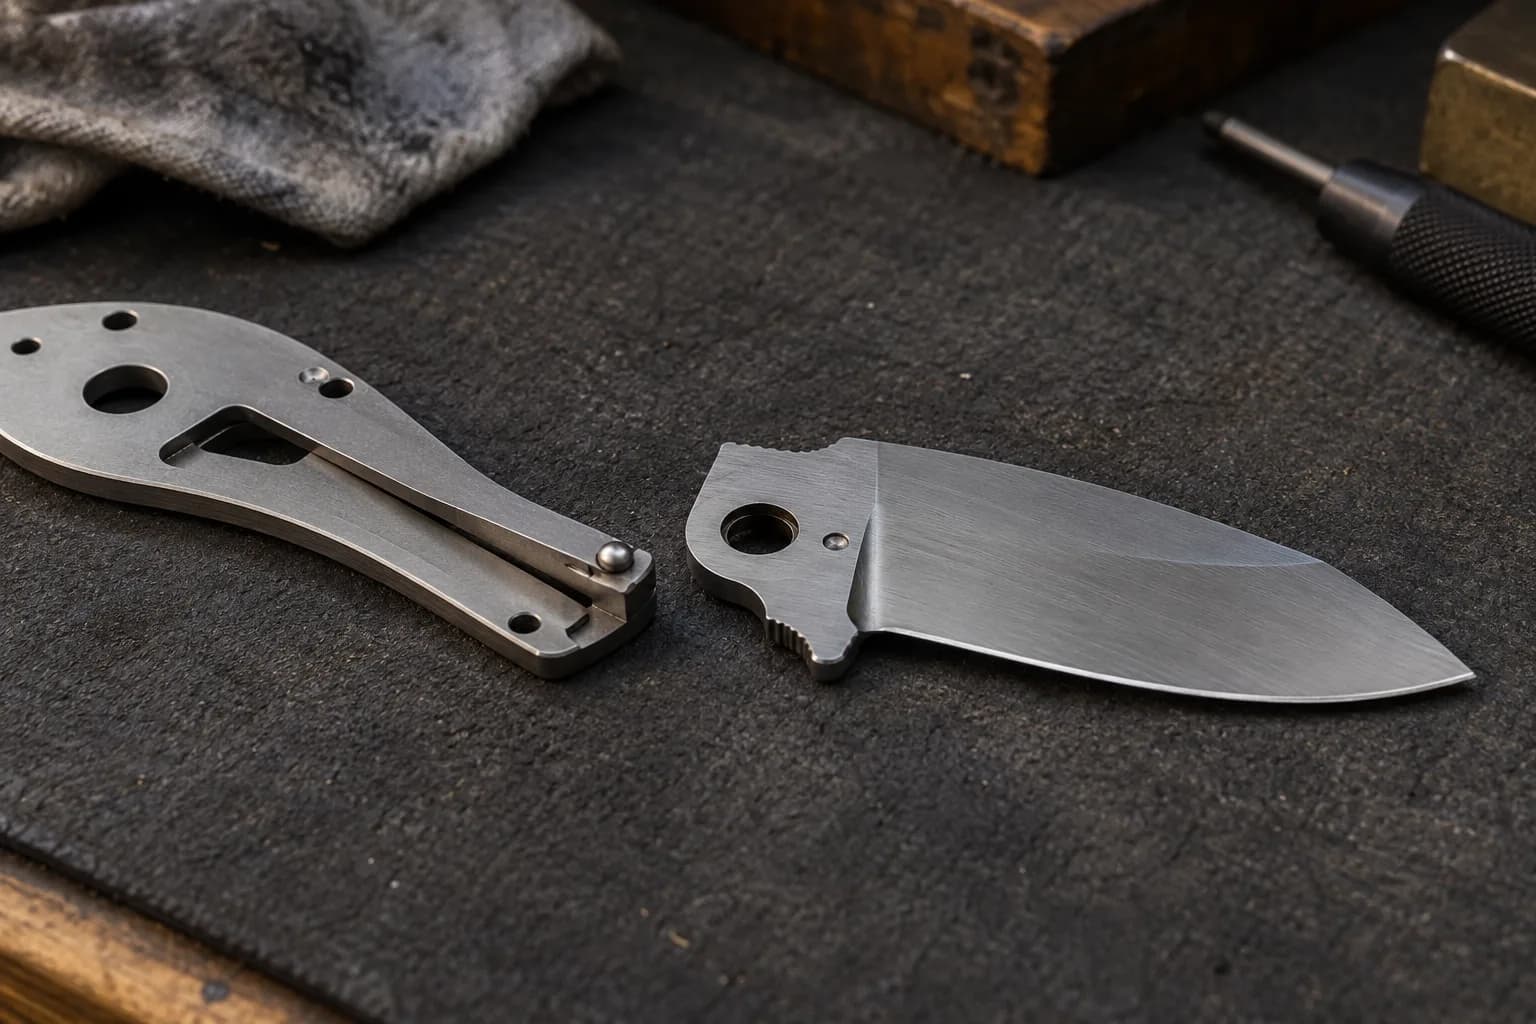
Blade and tang (lock face proud, no detent hole yet) → liners cut and squared → pivot assembly fitted until the bare action is perfect per hardware practice — an unfitted pivot hides behind every later symptom → lockbar slit and relief cut (thin the bar’s root until tension is firm-not-fierce; heat anodizing relief on Ti bars is the pro polish) → lock face fitted by blueing → detent marked, drilled, balled → scales, spacer, clip. Test at every stage; the liner lock’s virtue is that it lets you.
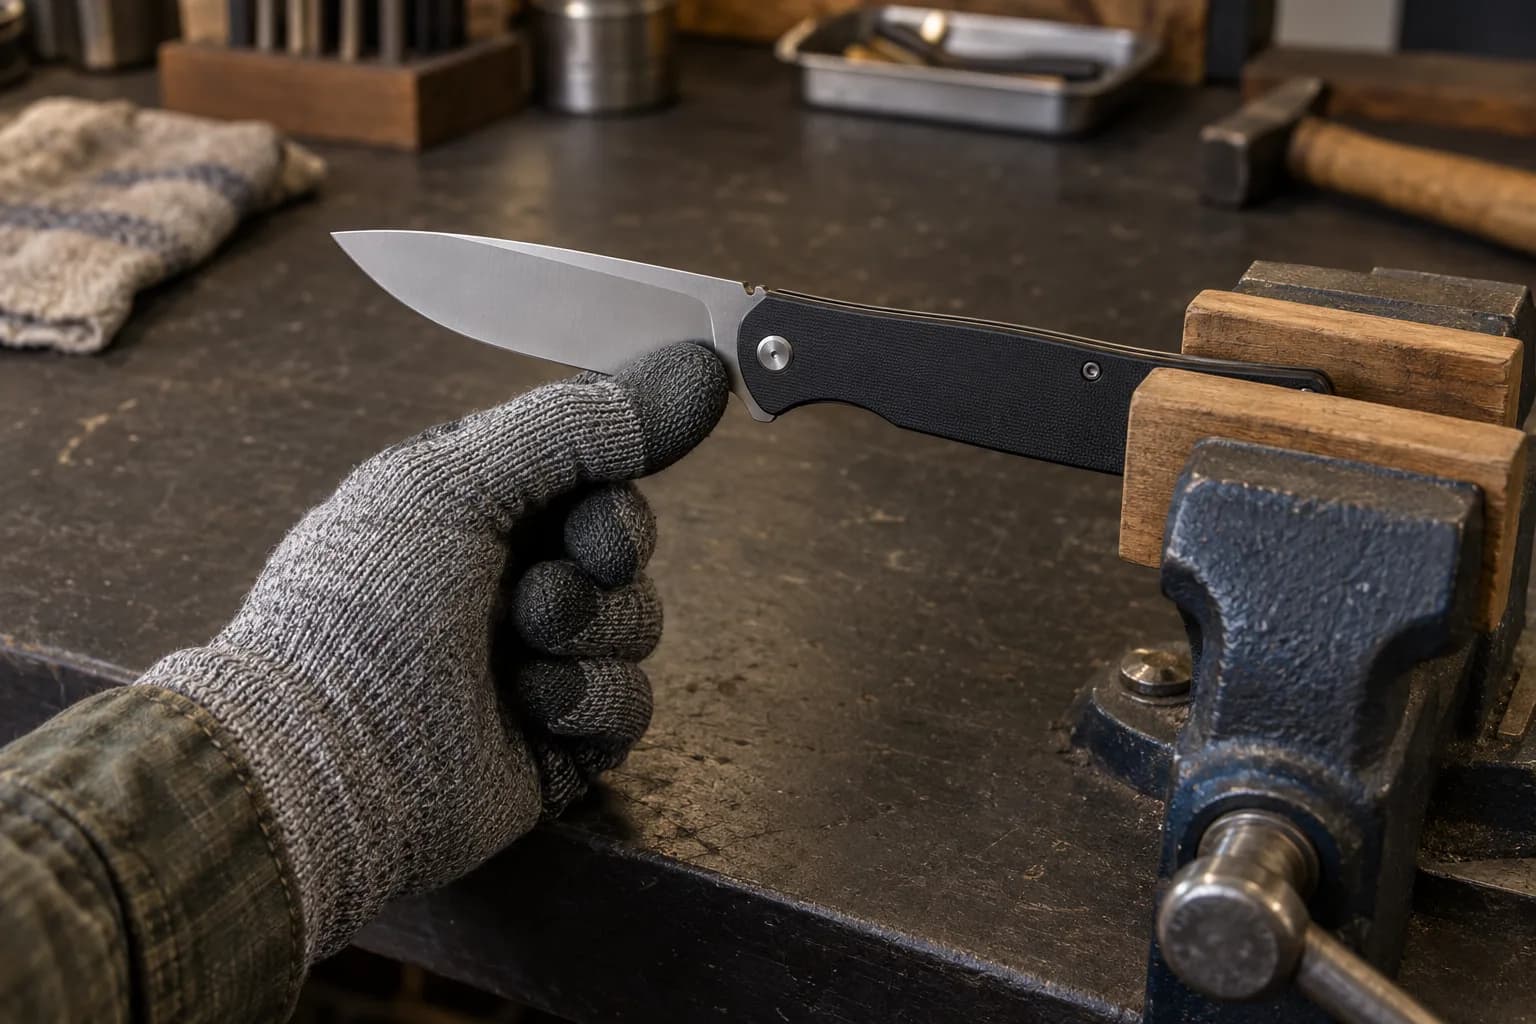
Centered closed. Zero pivot play open. Lock face engaged and seated — no lock rock (the click-click of a bar seating deeper under spine pressure = unresolved face fit, the classic first-build flaw and its own troubleshooting entry). Smooth draw, crisp detent, no blade strike on the ball at open. Release reachable without the blade path crossing your thumb. Fifty open-close cycles without change. Then it is a knife — and you have joined the mechanism-makers.
Keep reading
Three more from the same bench.
A fixed blade is a shape; a folder is a MACHINE — a dozen parts in moving agreement, where a thousandth of an inch is the difference between glass-smooth…

The lock is the folder’s signature mechanism, and every major type is a different answer to one question: what holds the blade open when the cut pushes…

The friction folder is folder-making with the hard parts removed and the important parts kept: no lock, no detent, no spring — just a blade, a pivot, and…
Same bench
I machine the parts, hand-assemble, track and test Torus grinders in Sterling, Illinois. Most orders ship in seven to ten business days from time of order.

Current dual-axis platform with a fiber-laser-cut 6061 chassis and single-knob tracking.

Current dual-axis platform with a steel chassis, more mass and less vibration.

Prior-design aluminum chassis, 90-degree tilt and 1.5-inch tooling arms.

One-man shop
I answer my own email. Tell me the steel, the machine and what it is doing, and I will tell you what I would try next.