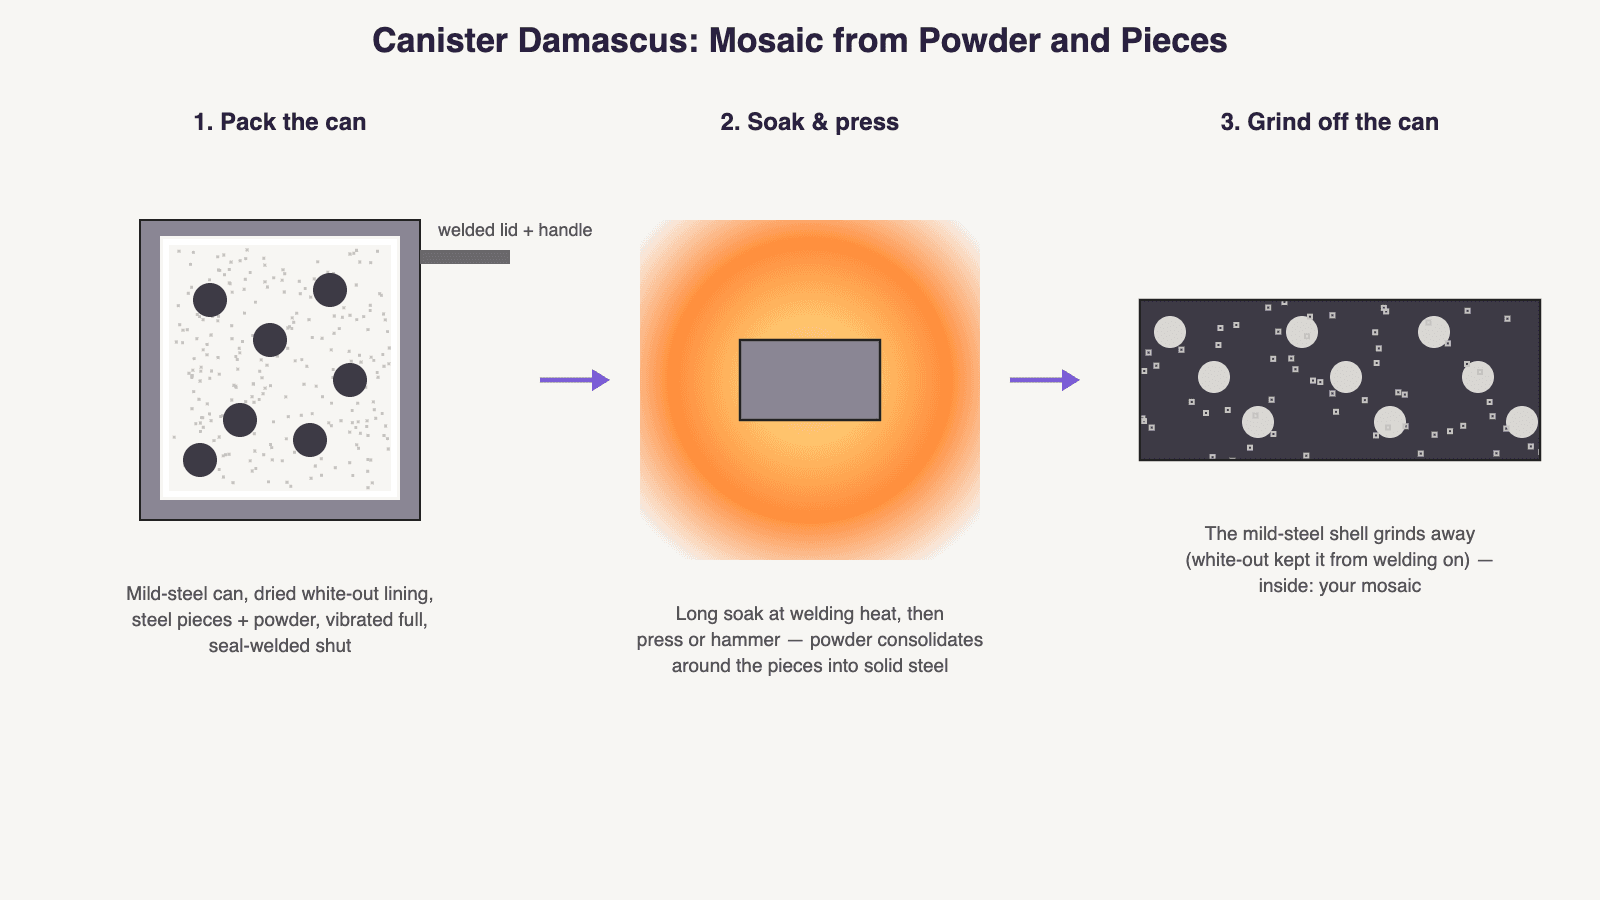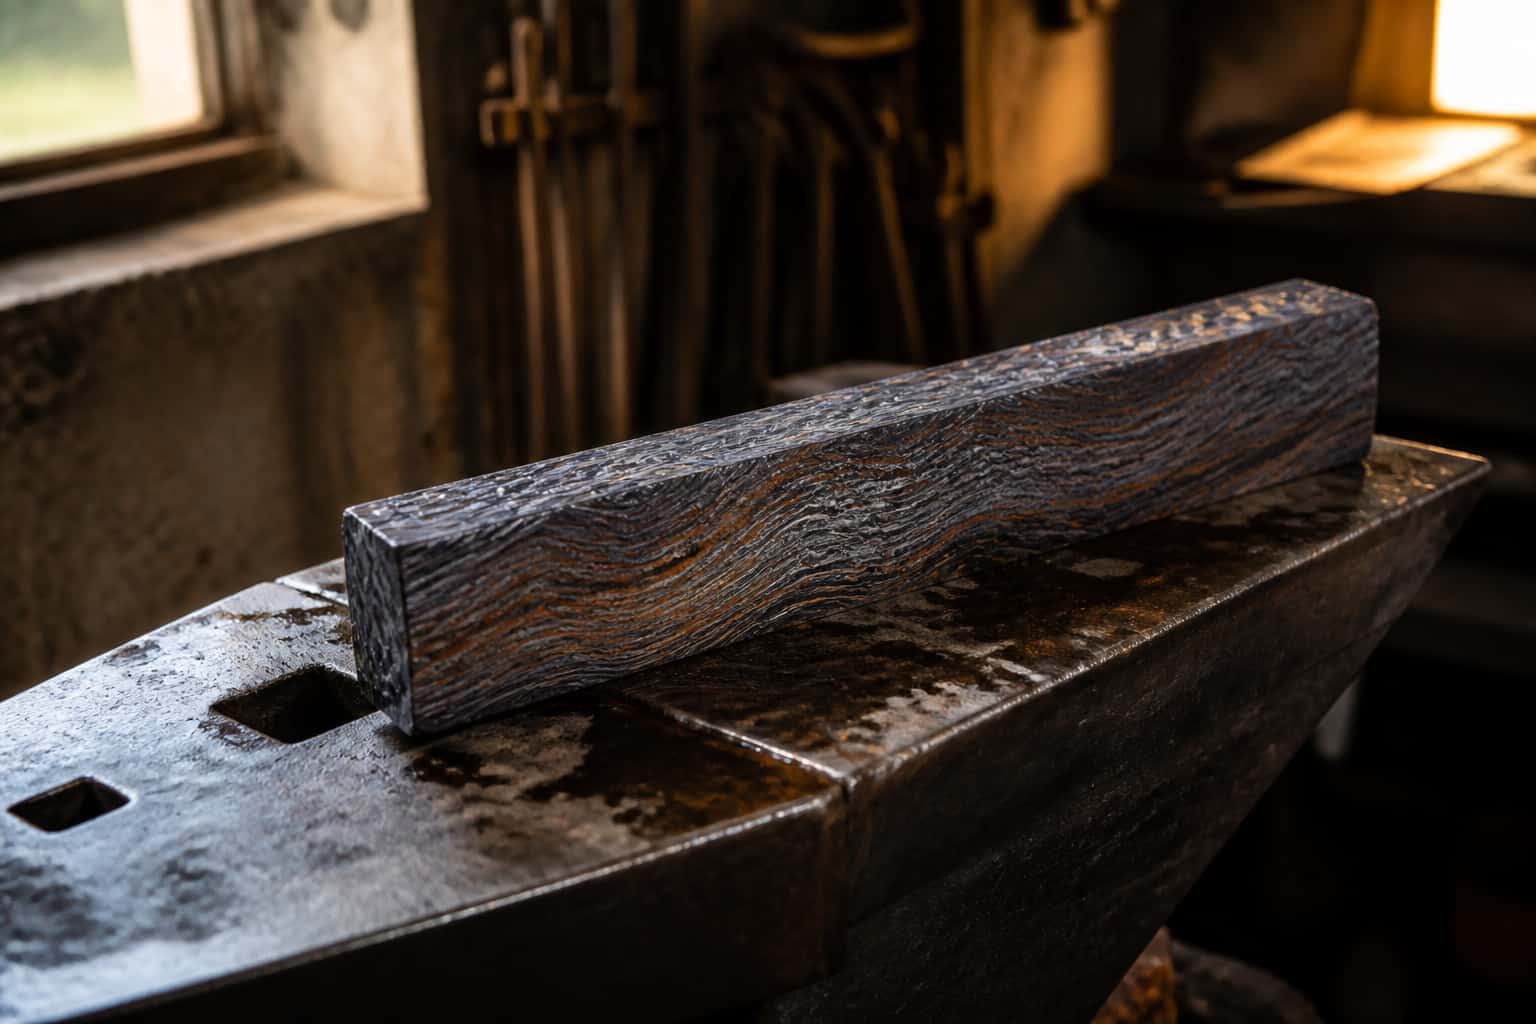
Diagram: canister damascus — a mild steel can lined with dried correction fluid, packed with steel powder and pieces, seal welded, forge welded at a long soak, then the can is ground away to reveal the mosaic billet

Damascus & Pattern Welding

Canister Damascus: Mosaic Patterns from Powder and Pieces

Canister damascus step by step: the white-out lining trick, packing powder and bearings, seal welding, the long soak, and grinding off the can.

3 min readWritten by Rich LinvilleFree to read

Canister damascus is how makers get patterns that stacking flat bars can never produce: ball bearings floating as bright moons in a dark powder matrix, chainsaw chain, punched shapes, even letters. The idea is beautifully sideways — if you can’t stack it, pour it. Pack loose pieces and steel powder into a sealed mild-steel can, forge weld the whole can solid, then grind the can away like a mold. What’s left is a solid billet with your composition locked inside.
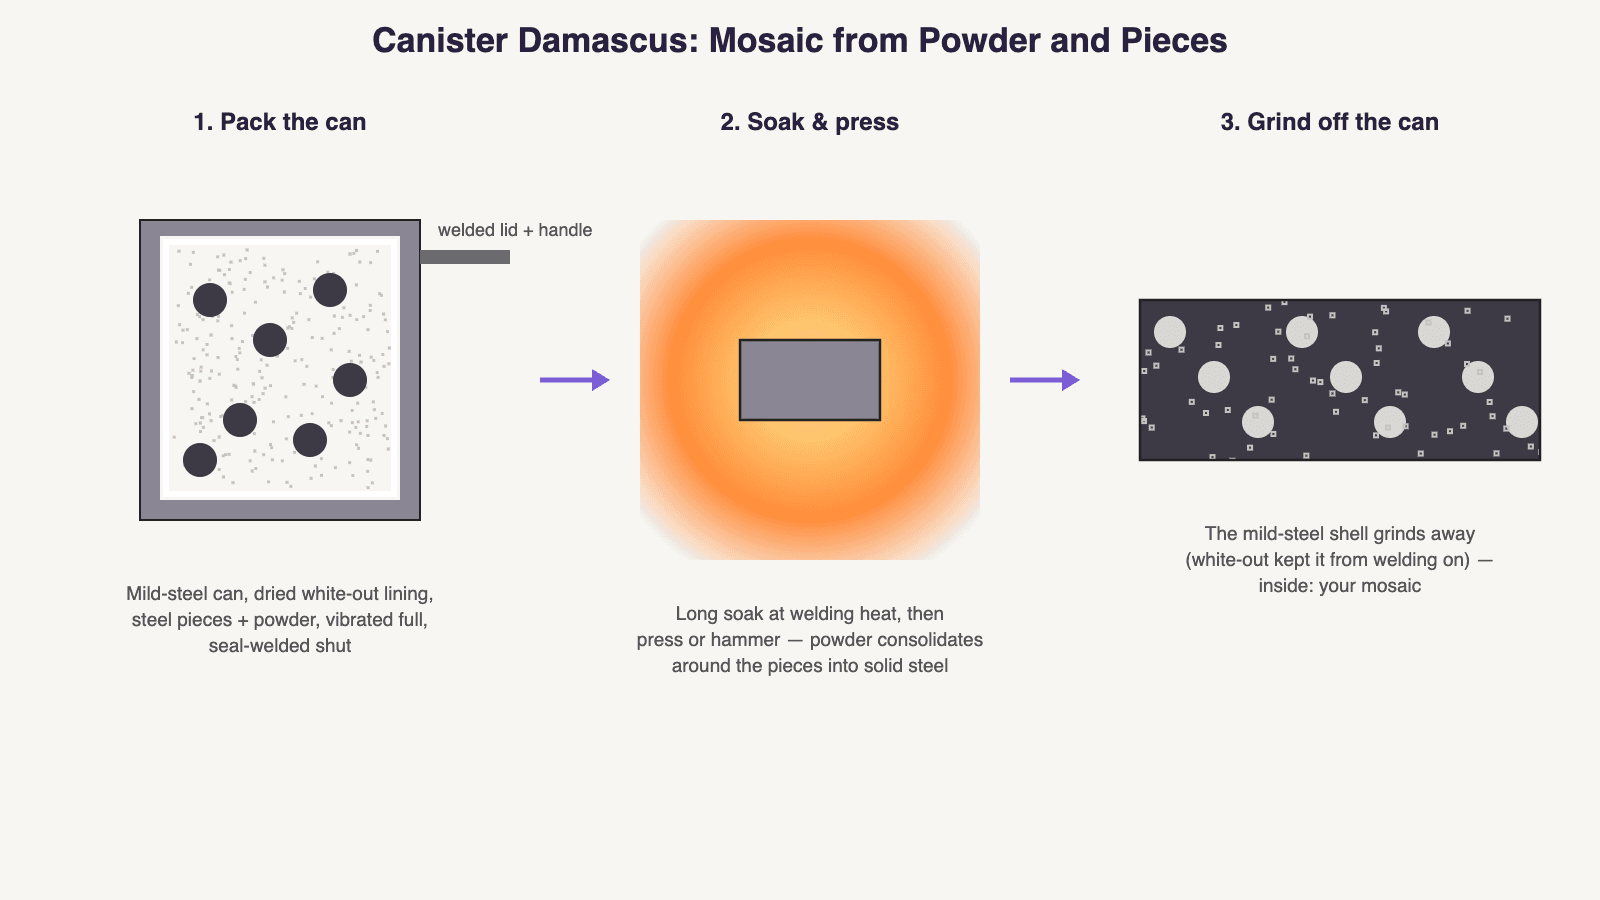
Canister Damascus: Mosaic from Powder and Pieces

  1. 1. Pack the canMild-steel can, dried white-out lining, steel pieces + powder, vibrated full, seal-welded shut
  2. 2. Soak & pressLong soak at welding heat, then press or hammer — powder consolidates around the pieces into solid steel
  3. 3. Grind off the canThe mild-steel shell grinds away (white-out kept it from welding on) — inside: your mosaic
  • welded lid + handle
Pack, seal, soak, press — then grind the can off like a mold.

The Materials

  • The can: mild steel box or square tubing with a welded bottom. Mild on purpose — it’s sacrificial and grinds off easily.
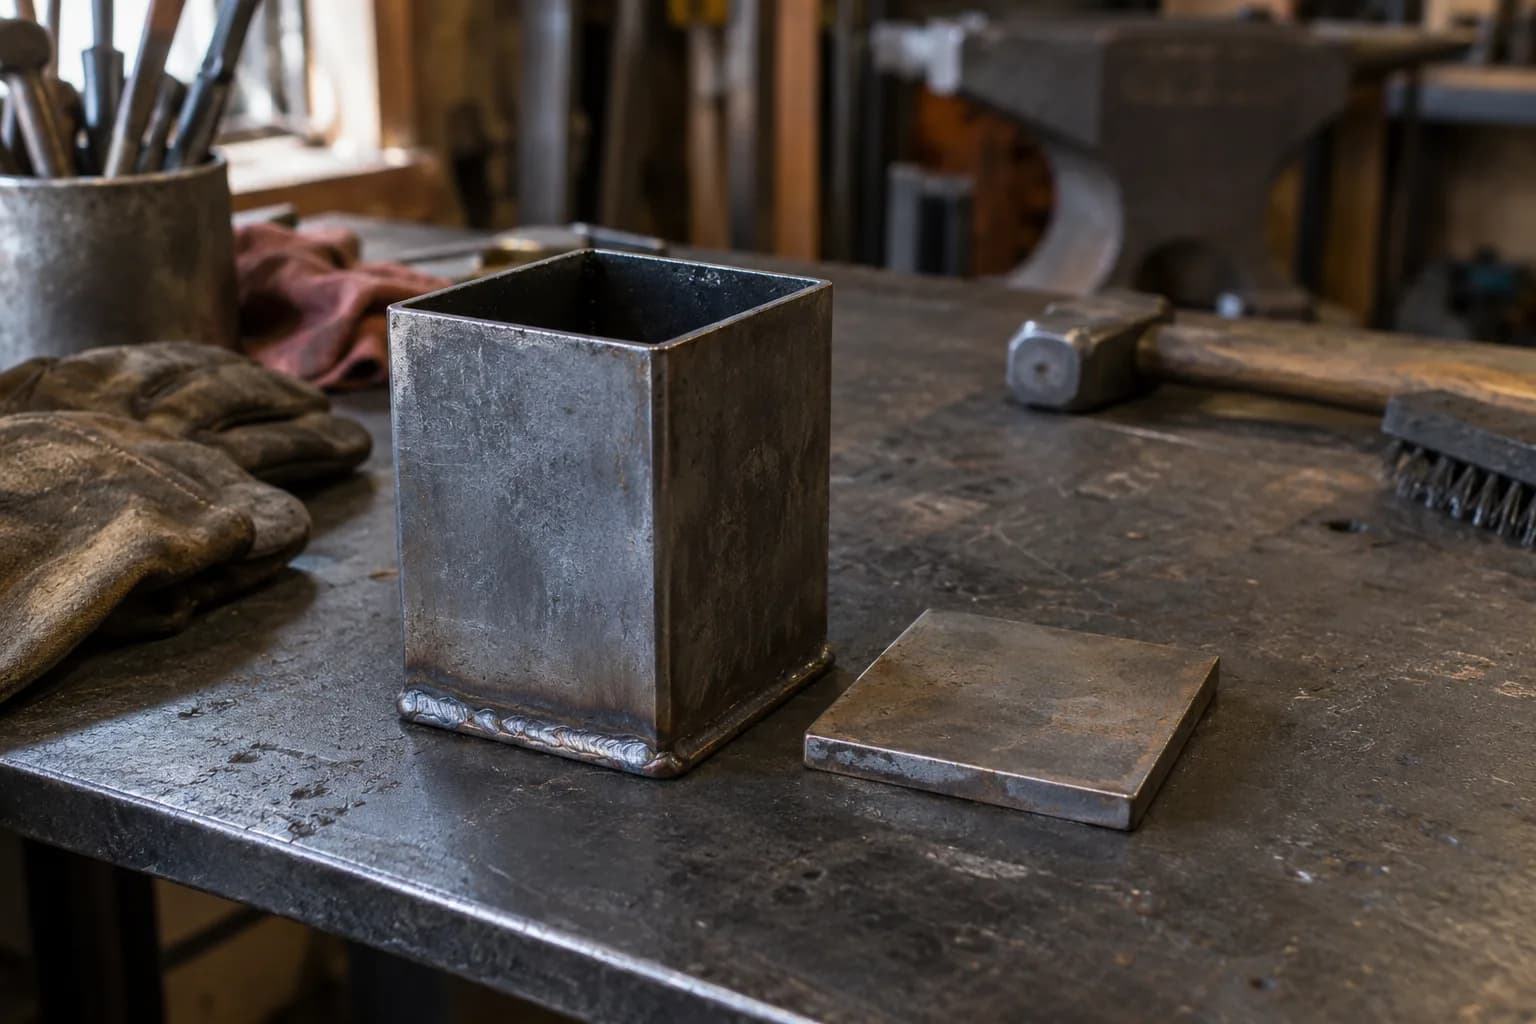
    Empty square steel canister with a welded bottom seam on a worn steel bench, its flat lid beside it, gloves and an anvil behind.
  • The lining trick: paint the inside with correction fluid (white-out) and let it dry completely. The titanium-dioxide layer keeps the canister from welding to the contents, so the can peels away instead of becoming a mild-steel skin on your blade. Wet white-out or sprayed-in anything causes problems — dry, always.
  • The fill: high-carbon steel powder (1084 and 1095 powders are sold by knifemaking suppliers specifically for this) plus your feature pieces — 52100 bearings, 15N20 shapes, nickel powder for bright accents. Contrast rules still apply: nickel-bearing bits stay bright, plain carbon goes dark (when etched).
  • An oxygen scavenger: a small piece of paper/cardboard sealed inside, or a small squirt of WD-40 before closing. It burns up the trapped oxygen at low heat so the contents stay weld-clean.

Step by Step

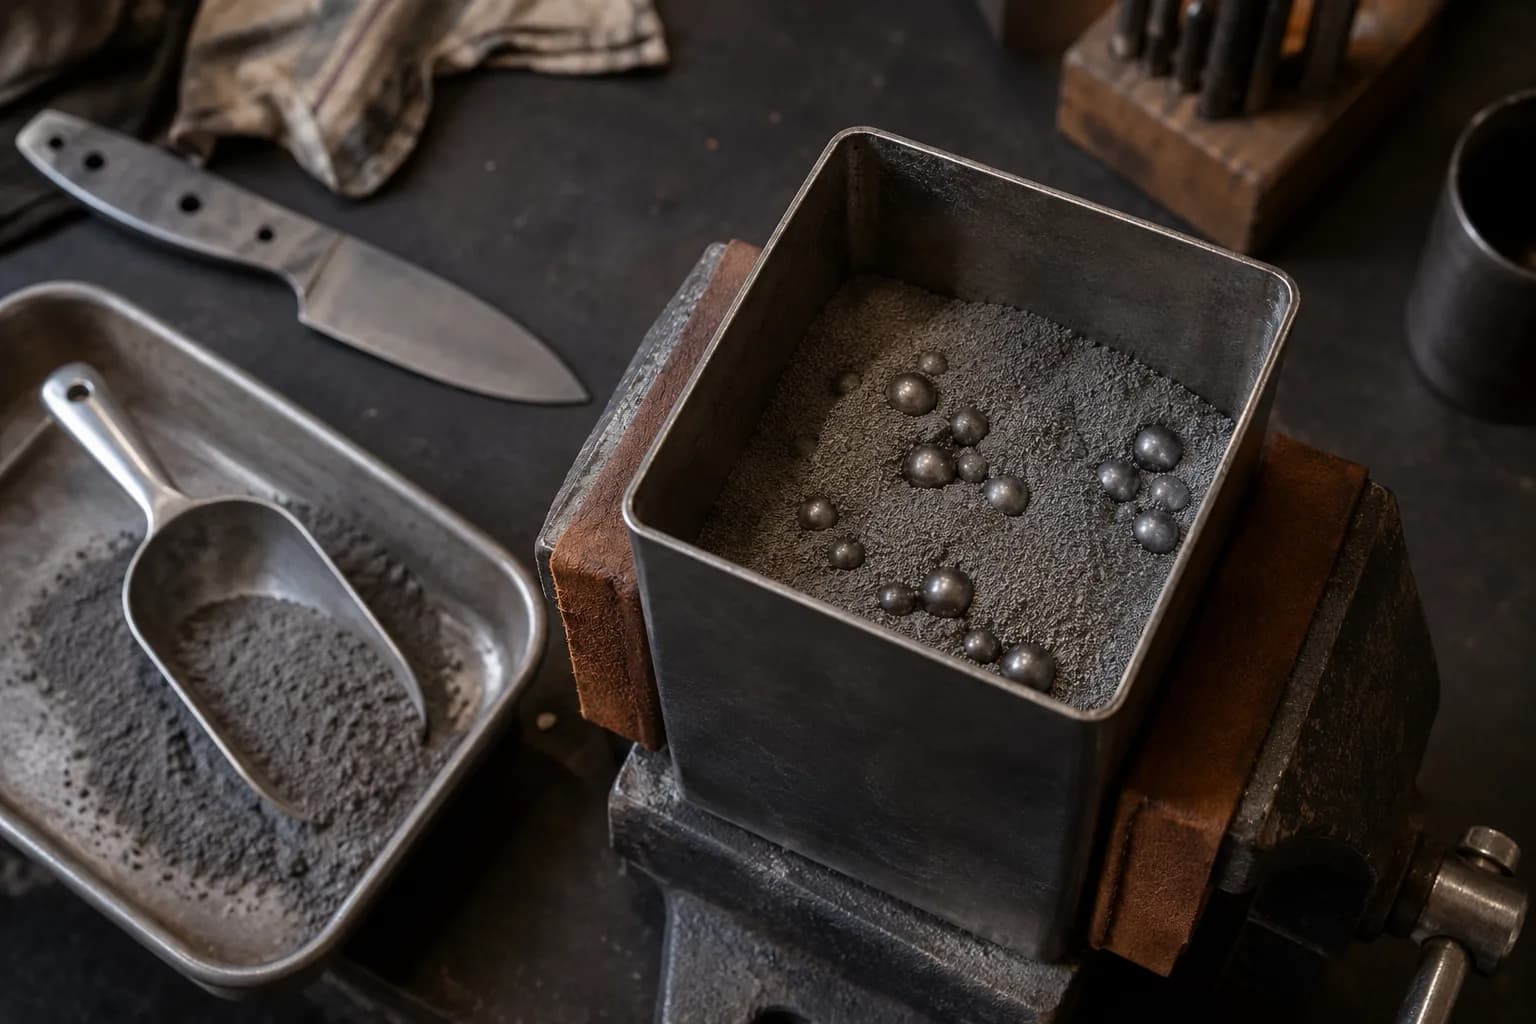
  1. Pack tight. Arrange pieces, pour powder, and vibrate/tap the can repeatedly until it genuinely won’t take more — powder settles a surprising amount, and voids become flaws. A fully compacted can also can’t build pressure surprises.
    Steel balls half buried in fine gray steel powder inside an open square can held in a padded vise, with a scoop in a tray.
  2. Seal-weld the lid all the way around (plus a handle bar). The can must be airtight: any pinhole feeds oxygen to your contents at heat and produces gray, unwelded corners.
  3. Soak longer than feels right. A packed can is a thermal blanket — the middle takes far longer to reach welding temperature than a solid billet. Bring it to welding heat and hold, then hold some more.
  4. Press or forge to consolidate. Firm, even compression from every side — a press shines here, but hammer work does it. The powder sinters and welds around the pieces into one solid mass. Take a second soak-and-squeeze cycle; under-consolidated cores are the classic canister failure.
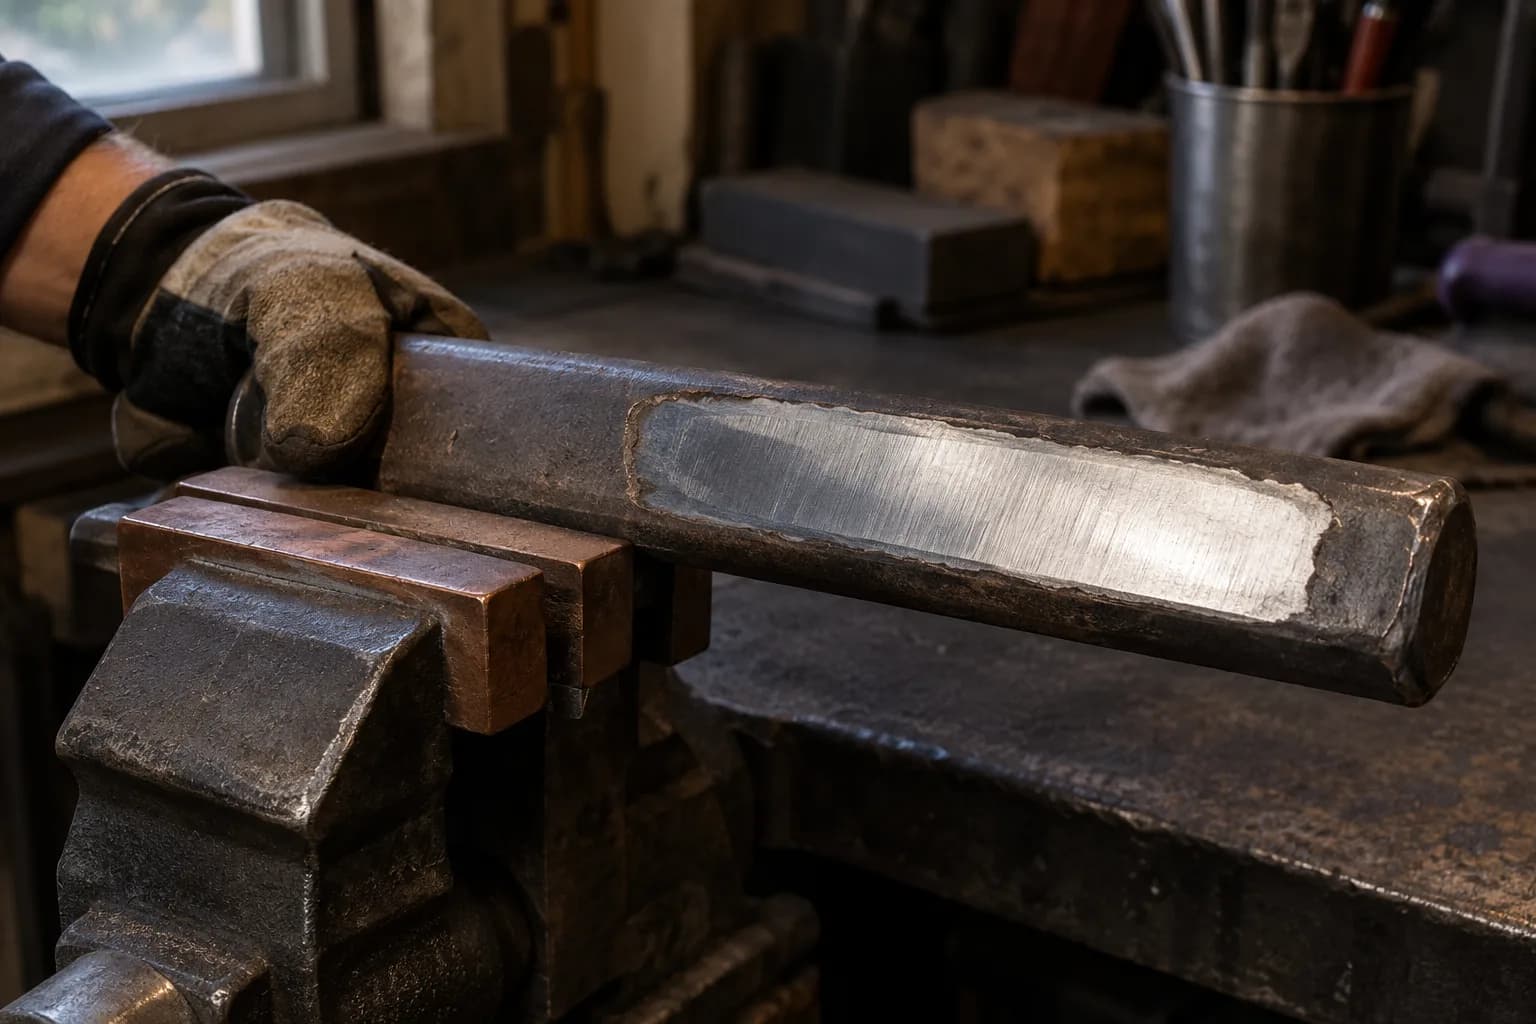
  5. Forge to a bar, then grind off the can. Once solid, treat it like any billet — draw it toward blade dimensions, then grind away the mild-steel shell (you’ll see the bright boundary where the white-out lining kept them separate).
    Cooled steel bar clamped in a vise with copper soft jaws, a bright ground patch cut through its dark outer shell.
  6. Finish normally: profile, grind, heat treat per your dominant steel (1084-powder-based cans follow the 1084 recipe), and etch deep — canister patterns reward it.

Design Notes

Bearings read as bright rings/moons (52100 etches mid-tone with lovely halos); 15N20 sheet cutouts hold their silhouette; powdered nickel turns the matrix into a starfield. Keep first cans simple — one feature element in one powder — because troubleshooting a seven-ingredient can is archaeology. And plan the blade around the pattern: canister billets are usually short and thick, better suited to stock-removal blades than long draws (heavy drawing distorts the embedded shapes).
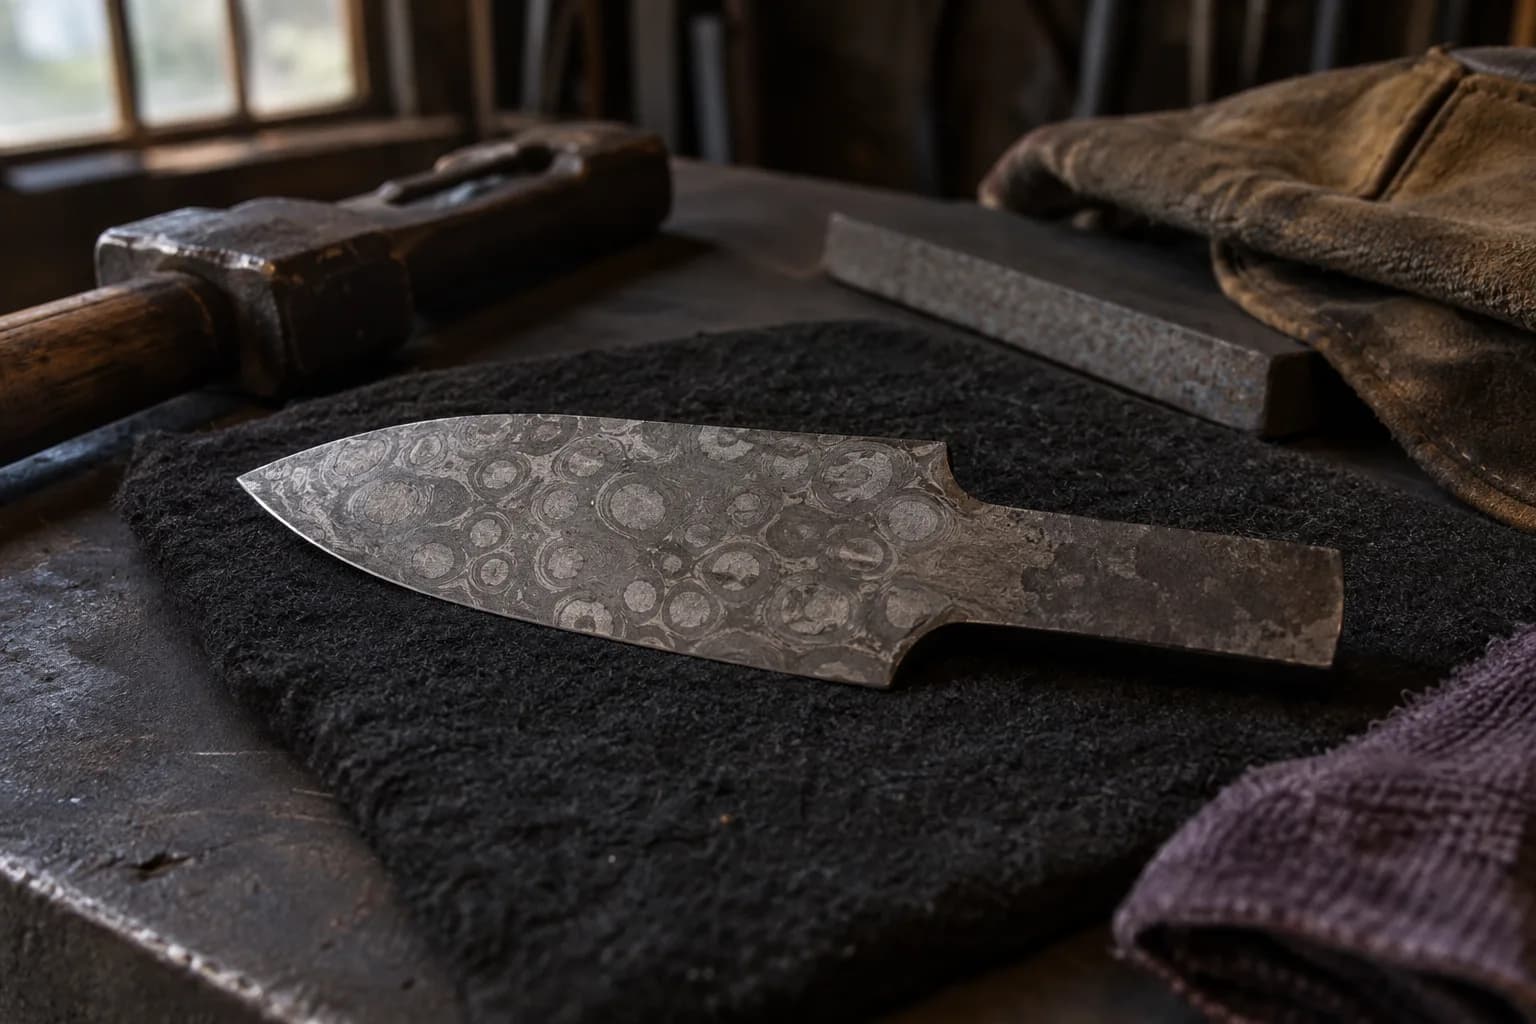
Short etched blade with a plain tang resting on black felt, covered in pale ringed circles set in a dark steel matrix.

Sources

Keep reading

Read these related guides

Three more from the same bench.

Same bench

Put the reference to work

I machine the parts, hand-assemble, track and test Torus grinders in Sterling, Illinois. Most orders ship in seven to ten business days from time of order.

  • Classic aluminum 2x72 grinder, side view with flat-platen tool arm and yellow Safety Rules label, on black with a purple glow

    Torus 2×72 Classic Aluminum Belt Grinder

    Prior-design aluminum chassis, 90-degree tilt and 1.5-inch tooling arms.

    Starts at$995View

One-man shop

Still stuck? Ask me.

I answer my own email. Tell me the steel, the machine and what it is doing, and I will tell you what I would try next.