2x72 Grinder Tips
Achieving Tiny Bevels with Zero Clearance Tool Rests
Small bevels on thin stock are the easiest place to ruin a blade. A zero-clearance tool rest closes the gap so the edge cannot dip. Here is how I set one up and grind micro bevels that repeat.
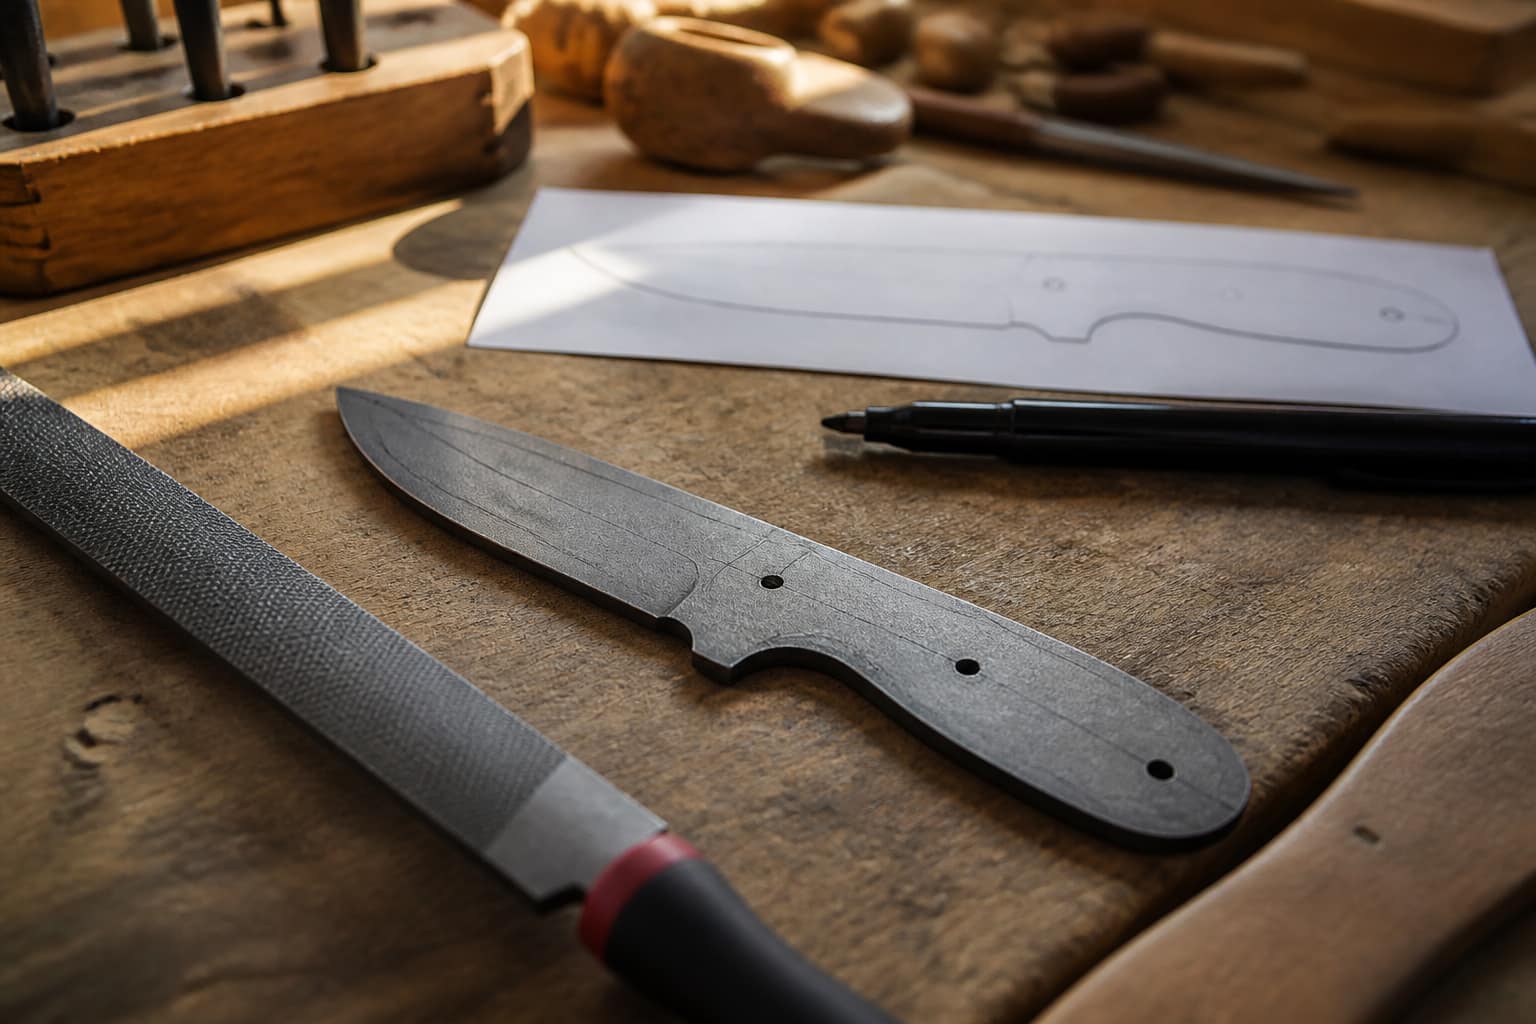
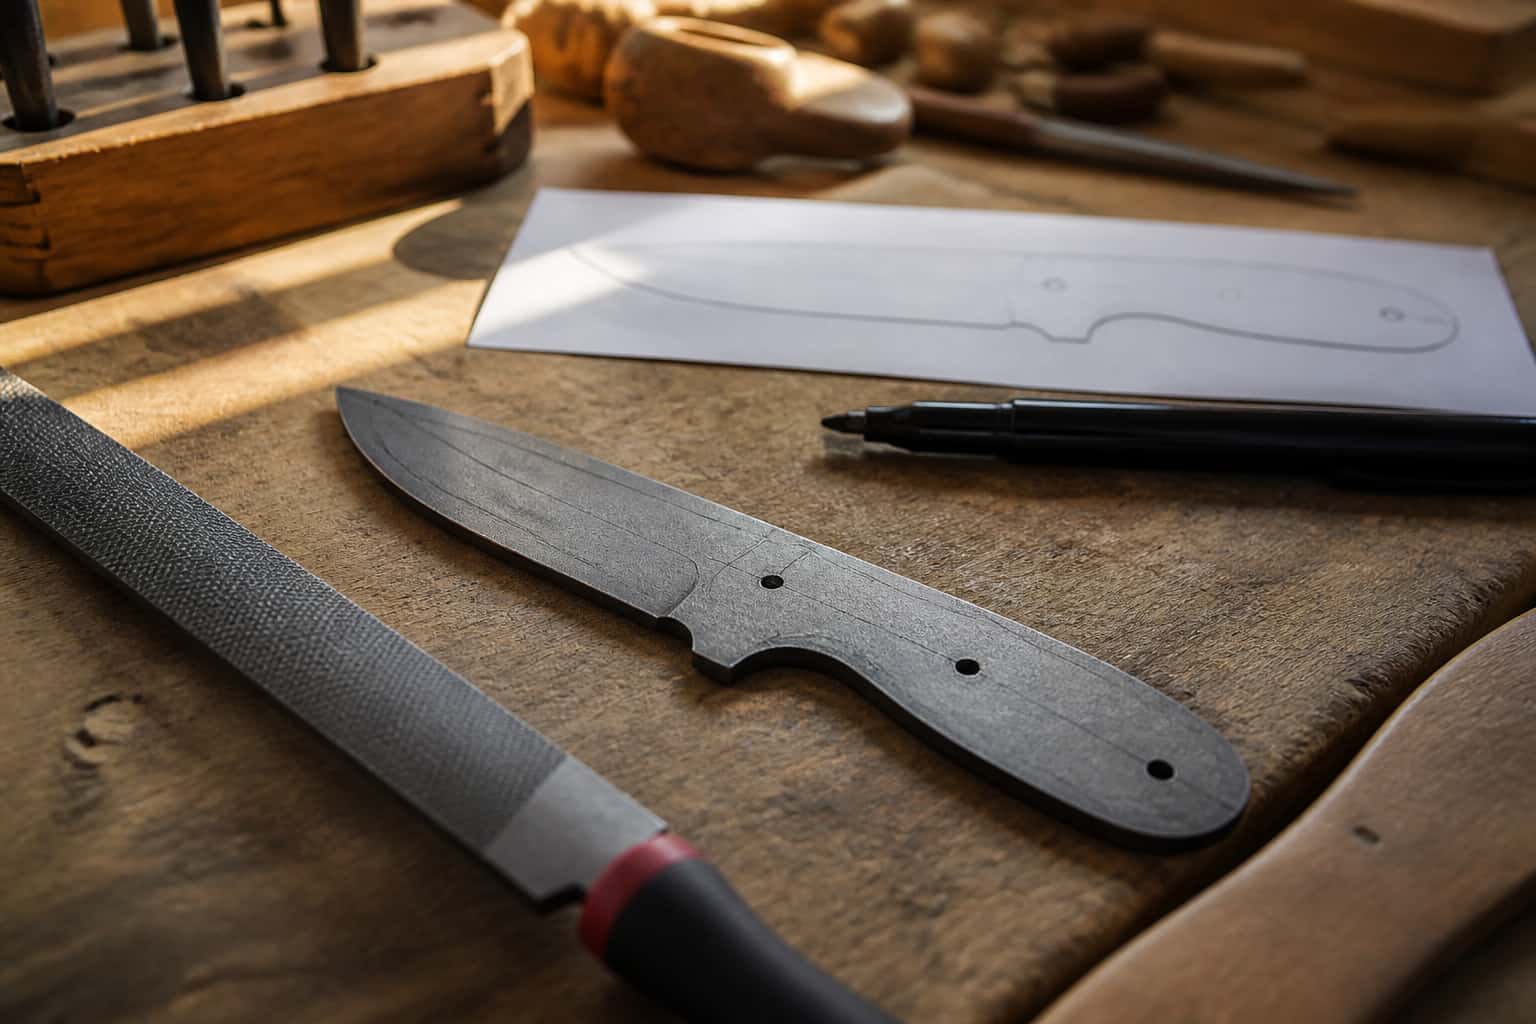
The smaller the bevel, the less room for error. On thin kitchen stock or a razor, a few thousandths of dip at the rest turns a crisp micro bevel into a rounded mess. A zero-clearance tool rest closes the gap between the rest and the belt so the edge has nowhere to fall. Here is how I set one up on the 2×72, how I hold the angle, and the mistakes that cost me blades before I learned better.
By reducing sharp edges, they minimize the risk of chipping or breaking during use. This is particularly important in high-stress applications where components are subject to wear and tear. Tiny bevels can improve the performance of cutting tools by allowing for smoother transitions between surfaces.
Key Takeaways
- Tiny bevels are important for achieving precise and clean cuts in woodworking and metalworking.
- Zero clearance tool rests play a crucial role in achieving tiny bevels by providing support and stability to the workpiece and tool.
- When selecting a zero clearance tool rest, consider factors such as material, size, and compatibility with your tools and workbench.
- Proper setup and adjustment of zero clearance tool rests are essential for ensuring safety and accuracy in beveling tasks.
- Techniques such as using jigs, clamps, and guides can help achieve tiny bevels with zero clearance tool rests, but safety considerations should always be a priority.
The Role of Zero Clearance Tool Rests in Achieving Tiny Bevels
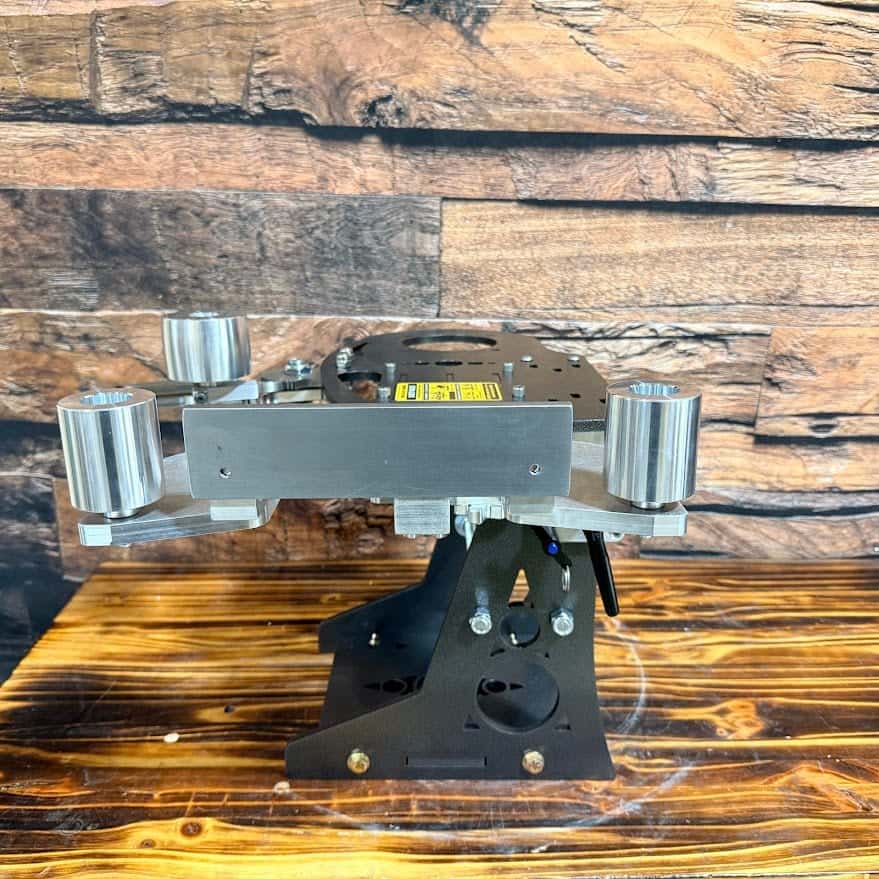
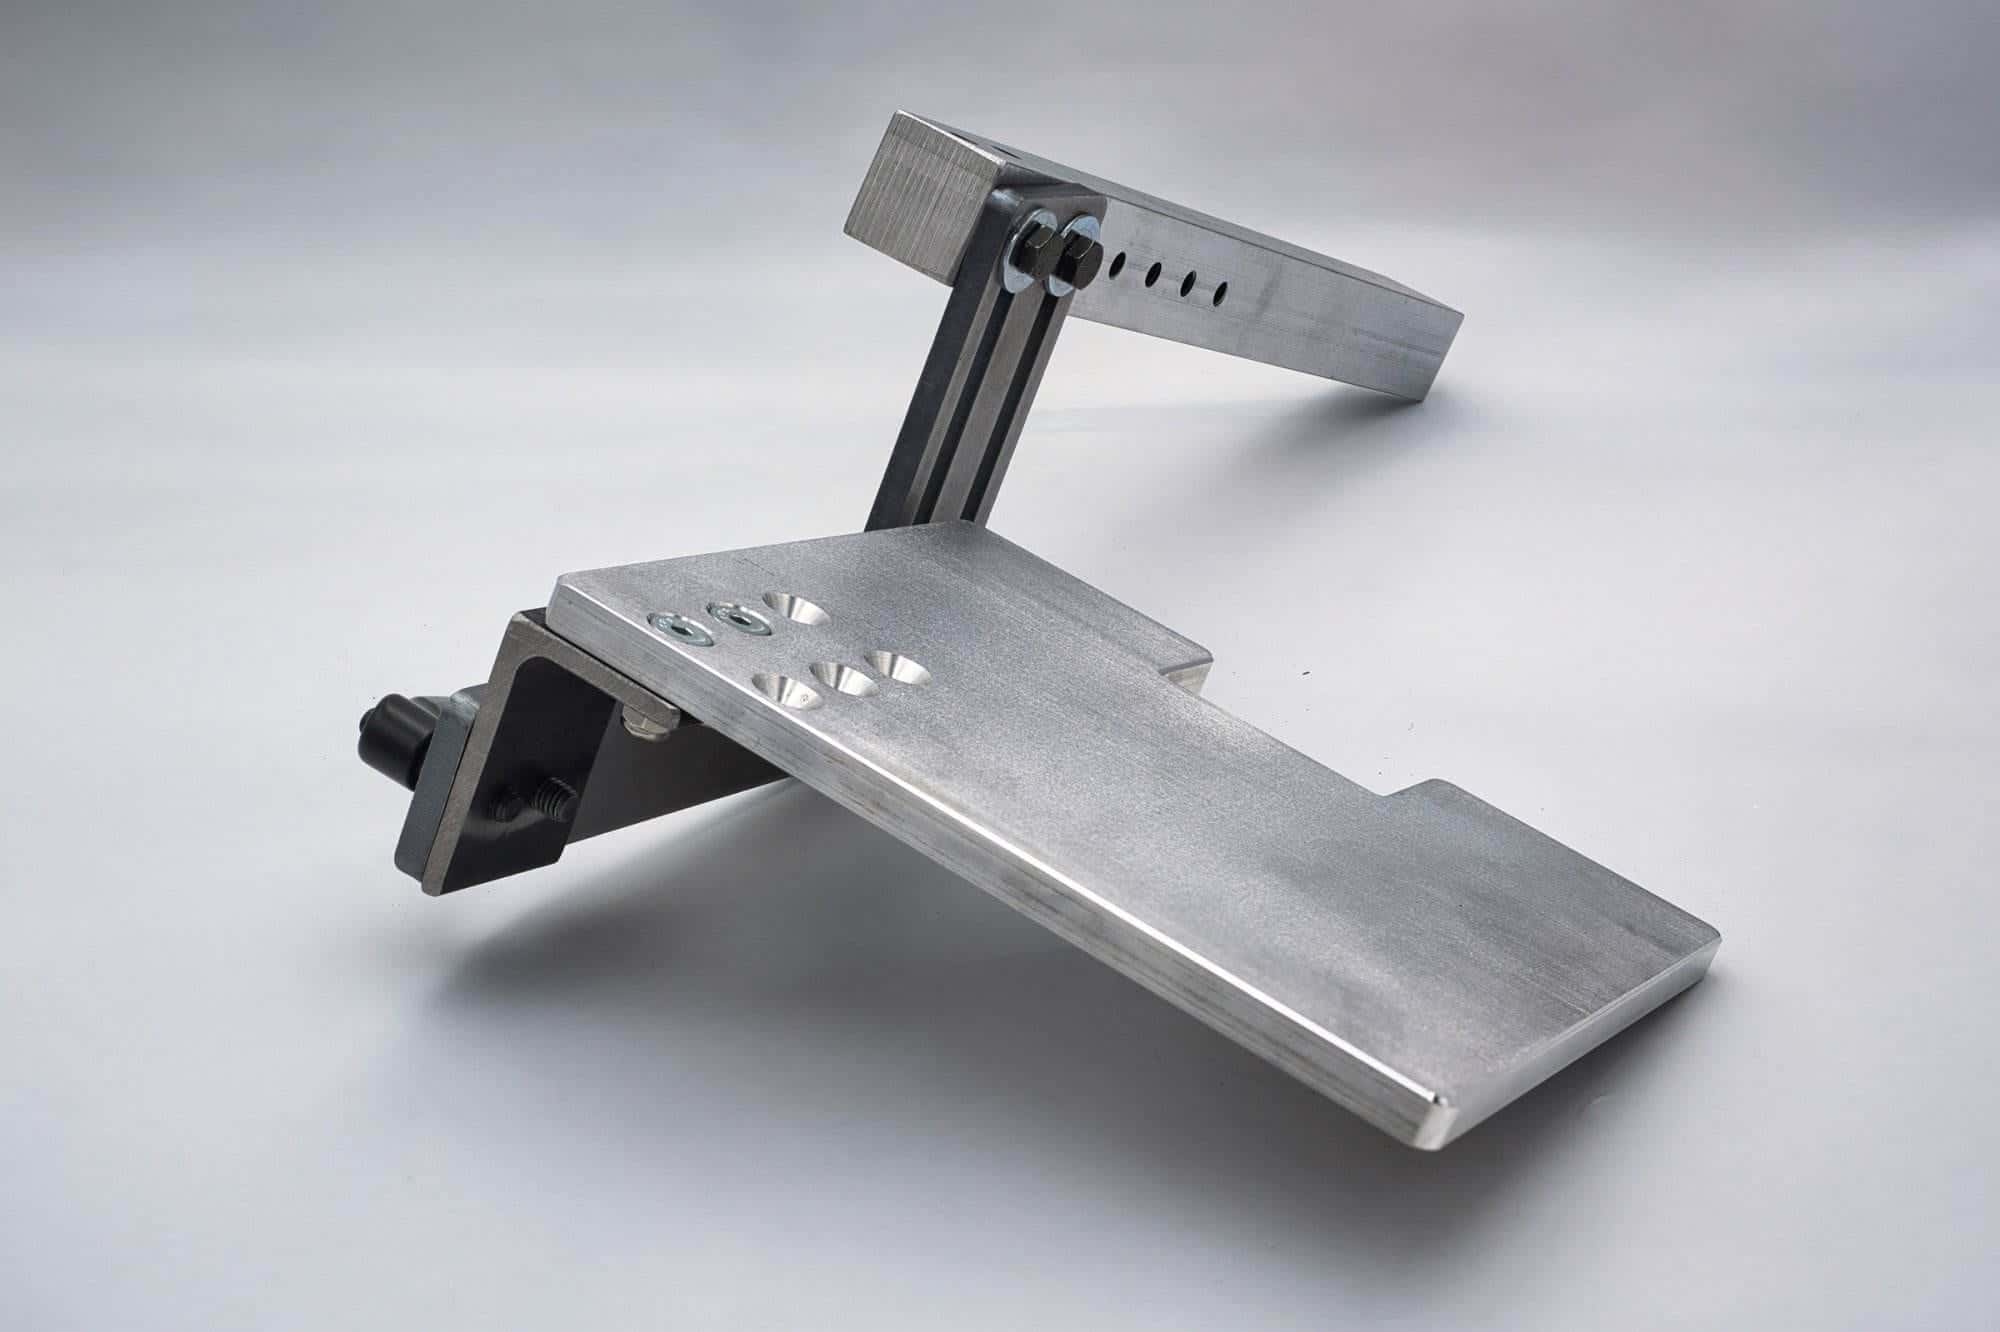
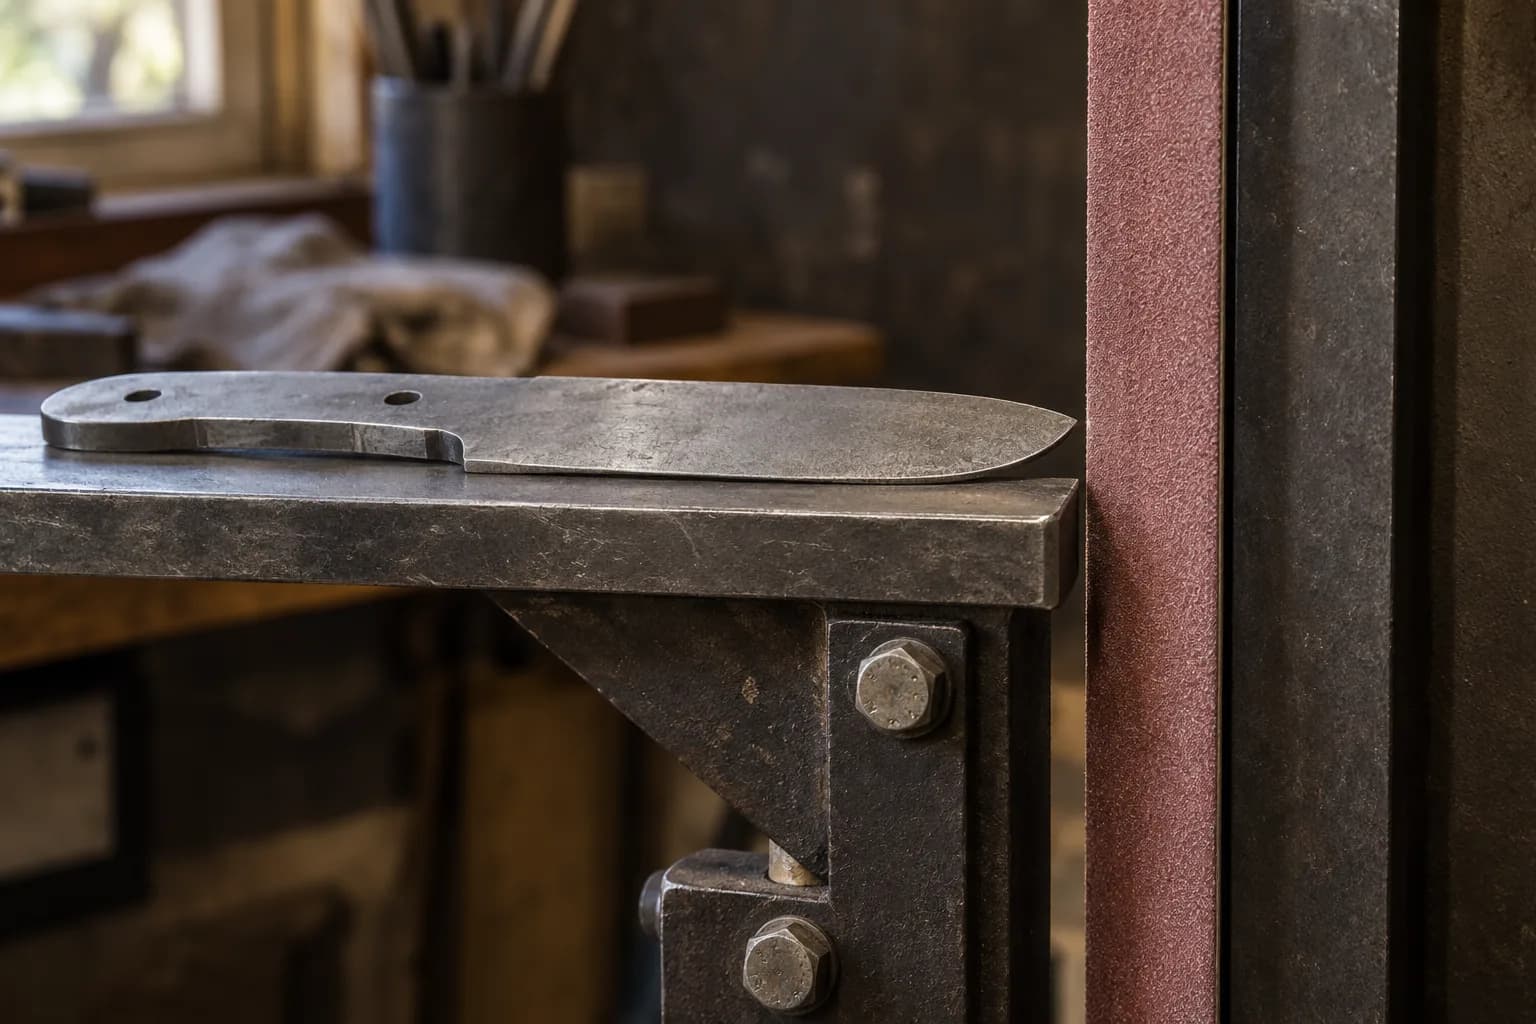
Zero clearance tool rests are indispensable for achieving tiny bevels with precision and consistency. These specialized tool rests provide a stable and secure platform for your cutting tools, allowing for accurate adjustments and fine-tuning. The design of zero clearance tool rests minimizes the gap between the tool and the workpiece, which is critical for maintaining control during the beveling process.
Selecting the Right Zero Clearance Tool Rest for Your Needs
Choosing the right zero clearance tool rest is a critical step in achieving tiny bevels effectively. Various factors come into play when making this selection, including the type of material you will be working with, the specific beveling requirements, and your personal preferences as an operator. For instance, if you primarily work with softer materials like wood, a tool rest designed for that purpose may offer features that enhance your experience, such as adjustable height or additional support for larger pieces.
Another consideration is the compatibility of the tool rest with your existing equipment. Not all tool rests are universal; some are designed to fit specific machines or setups. Ensuring that your chosen zero clearance tool rest aligns with your tools will save you time and frustration during setup.
Proper Setup and Adjustment of Zero Clearance Tool Rests
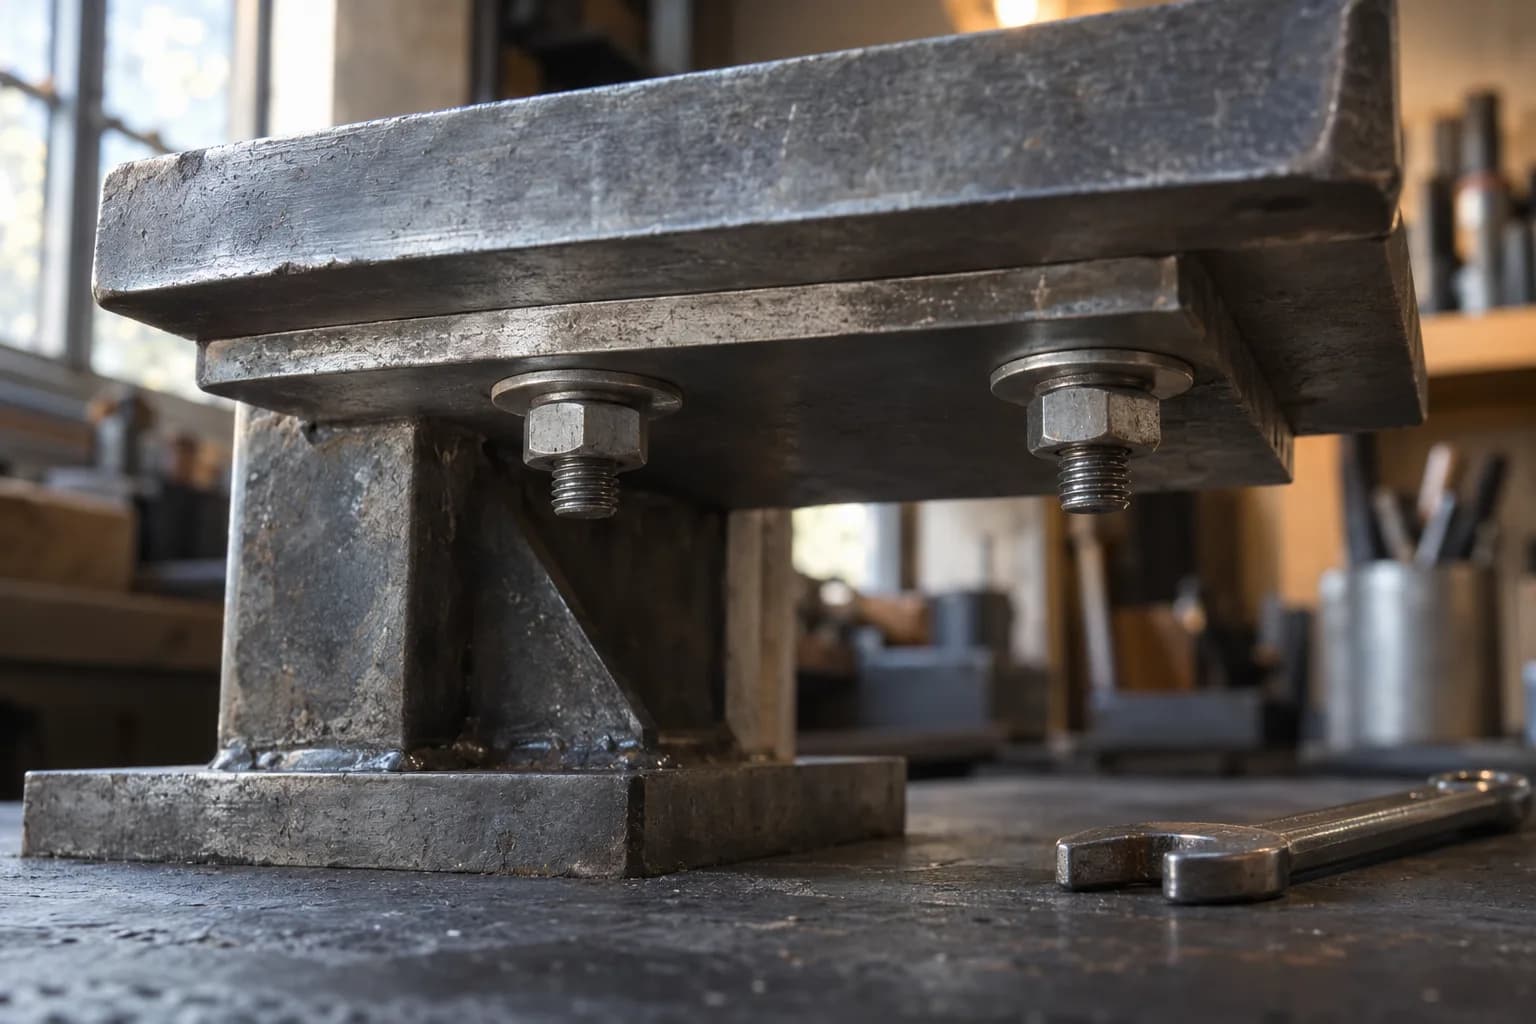
Once you have selected the appropriate zero clearance tool rest, proper setup and adjustment are vital for achieving optimal results. Begin by securely mounting the tool rest to your machine, ensuring that it is level and stable. Any wobble or instability can lead to inaccuracies in your beveling process, so take the time to double-check your setup before proceeding.
Once mounted, adjust the height of the tool rest to align with your workpiece, allowing for a comfortable working position that minimizes strain on your body. Fine-tuning the angle of your cutting tool is equally important. Most zero clearance tool rests come with adjustable features that allow you to set precise angles for beveling.
Take advantage of these adjustments to achieve the desired tiny bevels consistently. It may be helpful to use a protractor or digital angle gauge to verify your settings before making any cuts. This attention to detail during setup will pay off in the form of cleaner cuts and more accurate bevels.
Techniques for Achieving Tiny Bevels with Zero Clearance Tool Rests
Achieving tiny bevels requires a combination of skill and technique, especially when using zero clearance tool rests. One effective method is to start with a light touch on your cutting tool, gradually increasing pressure as you become more comfortable with the process. This approach allows you to gauge how much material is being removed and make adjustments as needed without overcommitting to a cut that may not yield the desired results.
Another technique involves using multiple passes to achieve the desired bevel angle gradually. Instead of attempting to remove all material in one go, take several lighter passes, adjusting your settings slightly with each pass. This method not only provides greater control but also reduces the risk of damaging your workpiece or cutting tool.
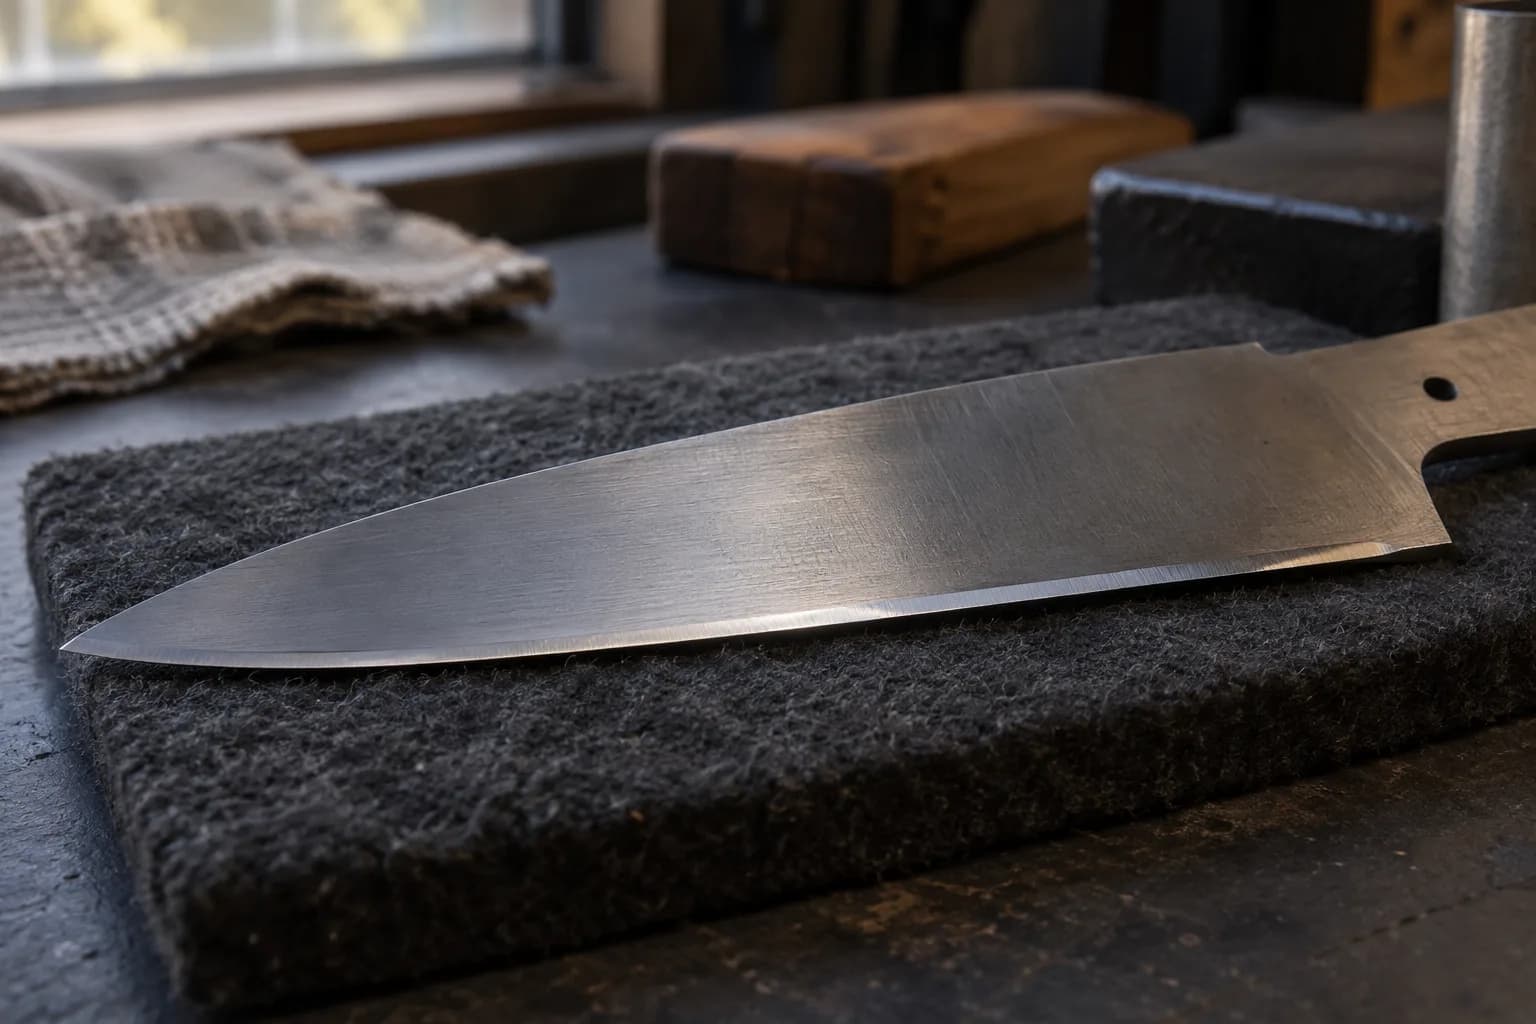
Consider experimenting with different speeds and feed rates to find what works best for your specific project and materials.
Safety Considerations when Using Zero Clearance Tool Rests
Safety should always be a top priority when working with any machinery or tools, including zero clearance tool rests. Before starting any project, ensure that you are wearing appropriate personal protective equipment (PPE), such as safety glasses and hearing protection. These items will help shield you from potential hazards associated with flying debris or loud machinery noise.
Familiarize yourself with the specific safety features of your machine and zero clearance tool rest. Many modern machines come equipped with safety guards or emergency shut-off switches that can prevent accidents during operation. Always keep your hands clear of moving parts and maintain a safe distance from cutting edges while working.
Common Mistakes to Avoid when Using Zero Clearance Tool Rests
Even experienced operators can fall victim to common mistakes when using zero clearance tool rests for beveling tasks. One frequent error is neglecting to check the alignment of the tool rest before starting work. Misalignment can lead to uneven cuts and inconsistent bevel angles, in the end compromising the quality of your finished product.
Always take a moment to verify that everything is set up correctly before proceeding. Another mistake is applying too much pressure during cuts. While it may be tempting to force a cut for quicker results, this approach often leads to poor outcomes such as chipping or tearing of materials.
Instead, focus on maintaining a steady hand and allowing the cutting tool to do its job at its own pace. By avoiding these common pitfalls, you can enhance both your efficiency and the quality of your work.
Maintenance and Care of Zero Clearance Tool Rests
Proper maintenance and care of zero clearance tool rests are essential for ensuring their longevity and performance. Regularly inspect your tool rest for any signs of wear or damage, such as cracks or loose components. Addressing these issues promptly can prevent further damage and maintain accuracy during use.
Keep your tool rest clean by removing any debris or buildup that may accumulate over time. Lubrication is another important aspect of maintenance. Depending on the design of your zero clearance tool rest, certain moving parts may require periodic lubrication to function smoothly.
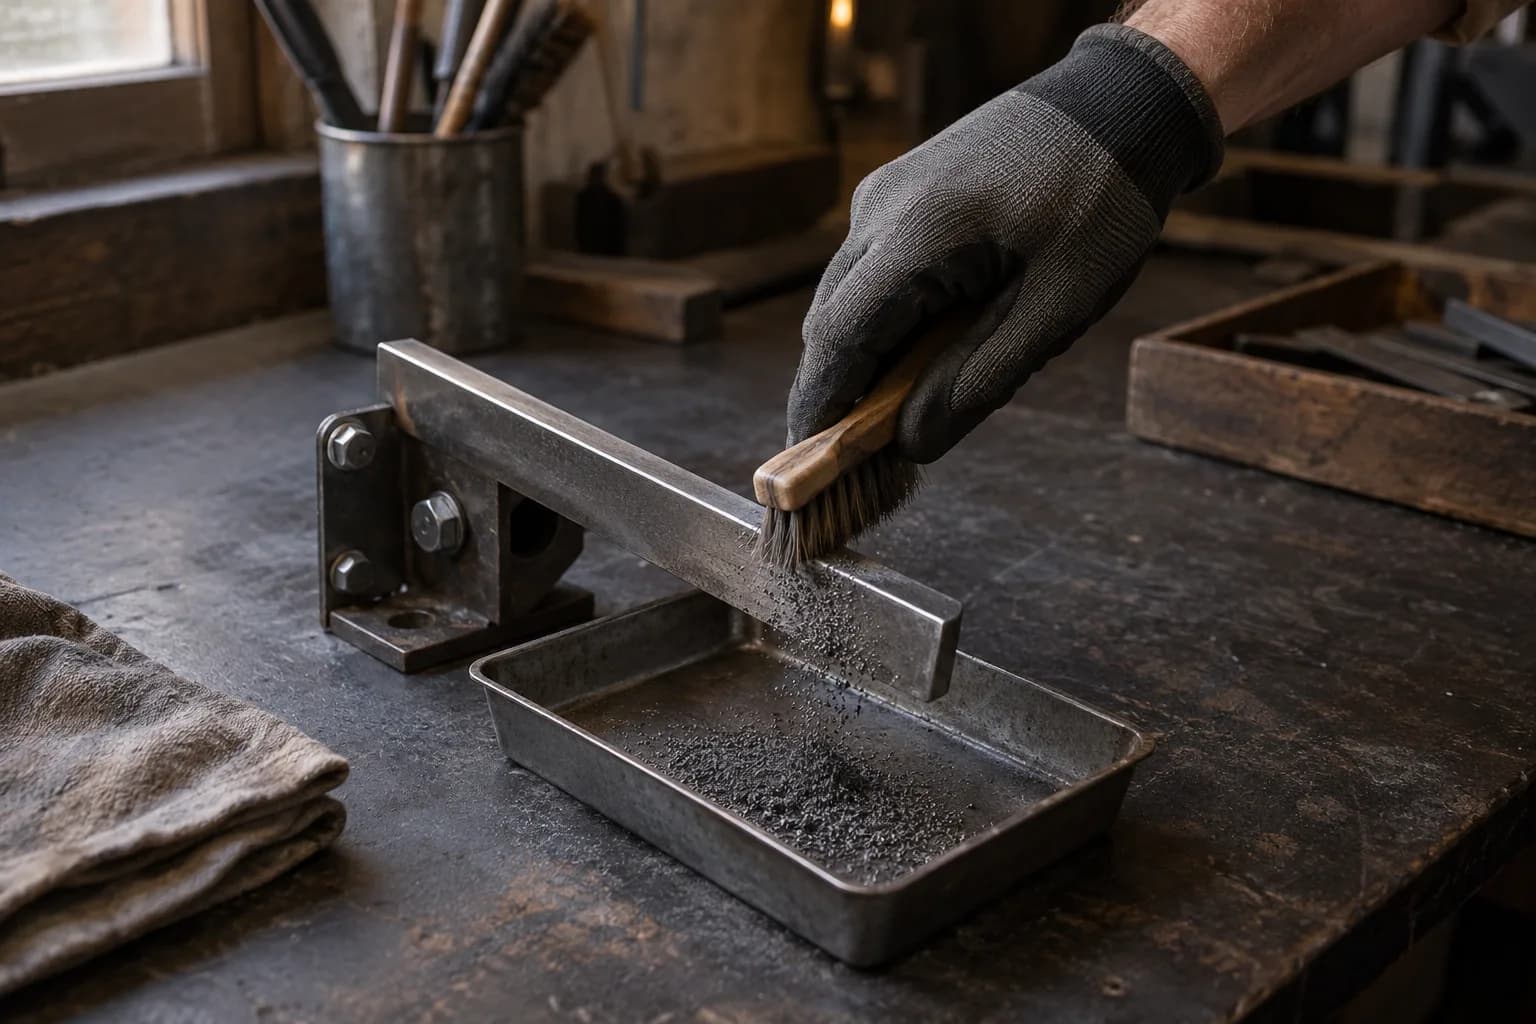
Consult the manufacturer’s guidelines for specific recommendations on maintenance intervals and suitable lubricants. By investing time in proper care, you can extend the life of your zero clearance tool rest and ensure consistent performance for all your beveling needs.
Tips for Fine-tuning Your Beveling Skills with Zero Clearance Tool Rests
Consider documenting your settings and techniques for future reference. Keeping a log of what works well and what doesn’t can help you refine your approach over time. Engaging with online communities or forums dedicated to woodworking or machining can also provide valuable insights from fellow enthusiasts who share similar interests in achieving tiny bevels using zero clearance tool rests.
FAQs
What are zero clearance tool rests?
Zero clearance tool rests are specially designed tool rests for woodworking tools, such as lathes and grinders, that have a minimal gap between the tool rest and the workpiece. This design helps to provide better support and stability for the tool, resulting in more precise and accurate cuts.
What are tiny bevels in woodworking?
Tiny bevels in woodworking refer to very small angles or edges that are created on the surface of a workpiece. These tiny bevels are often used to add detail and dimension to a woodworking project, and they require precise and controlled cutting techniques.
How do zero clearance tool rests help with tiny bevels?
Zero clearance tool rests provide a stable and secure platform for woodworking tools, allowing for more precise and controlled cutting. This is especially important when creating tiny bevels, as any movement or instability in the tool rest can result in inaccurate cuts and a less polished finish.
What are the benefits of using zero clearance tool rests for tiny bevels?
Using zero clearance tool rests for creating tiny bevels in woodworking offers several benefits, including improved accuracy, better control over the cutting process, and a smoother finish on the workpiece. These tool rests can help reduce the risk of accidents or injuries by providing a more stable cutting platform.
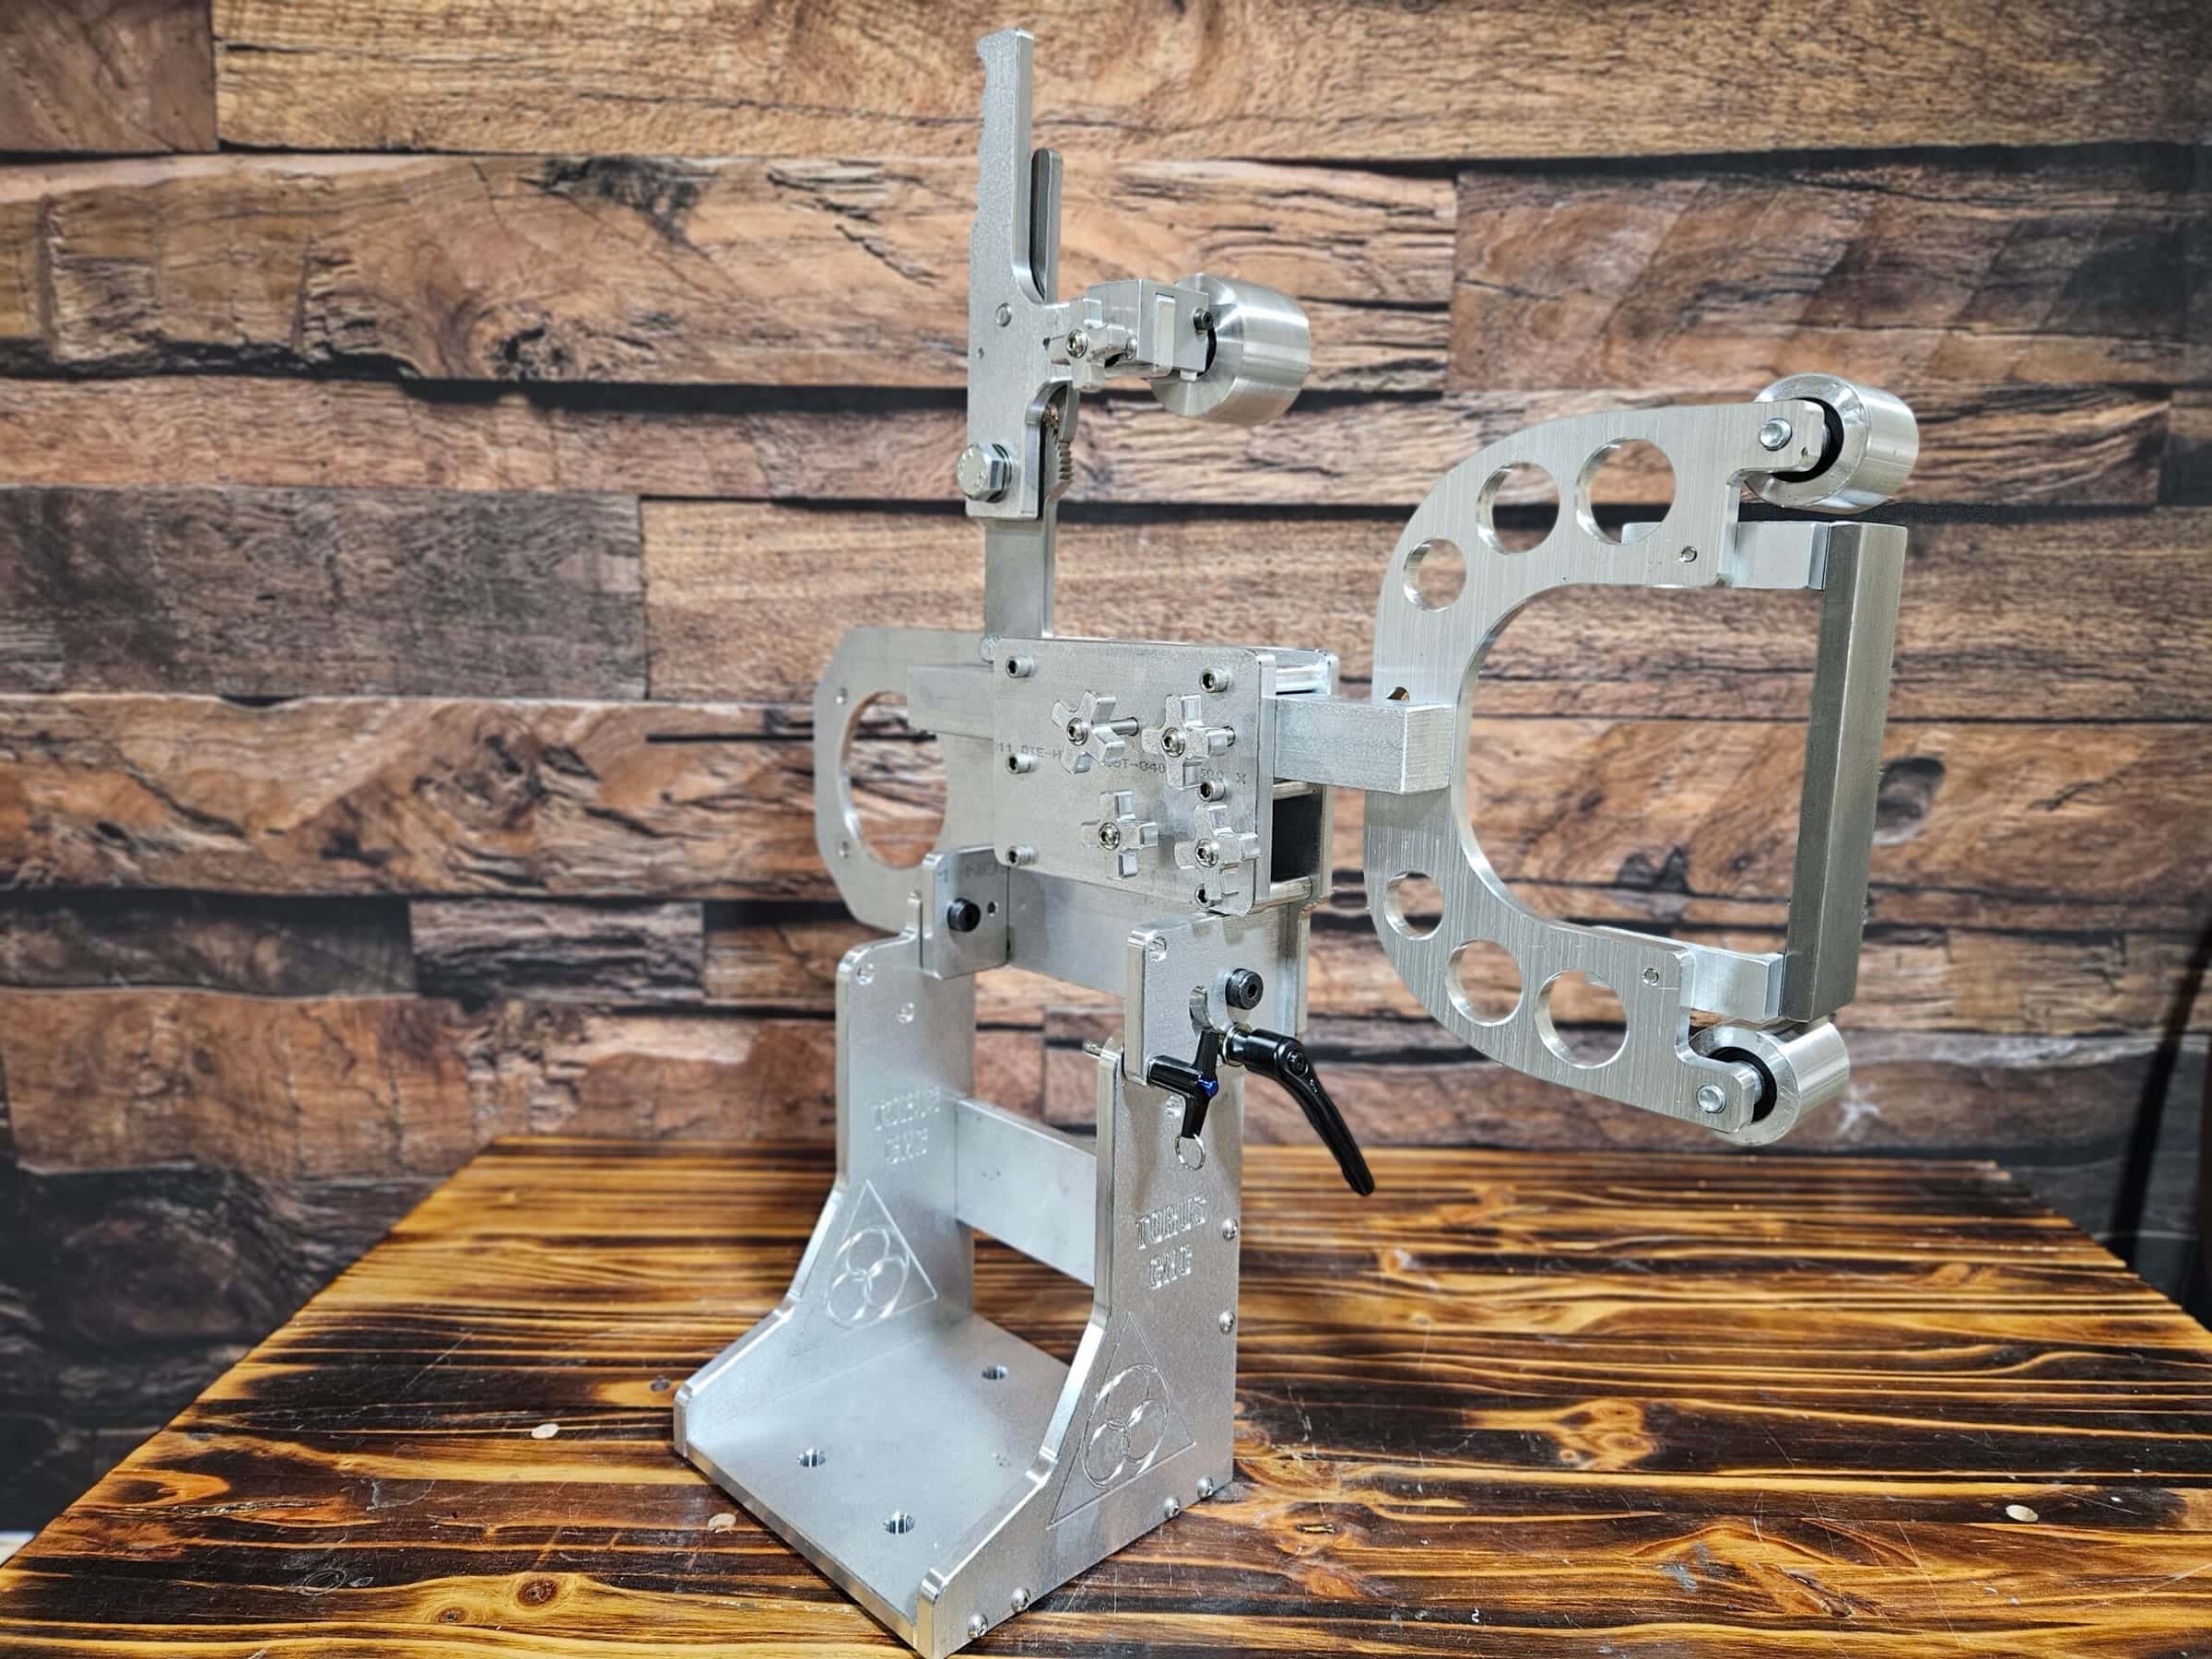
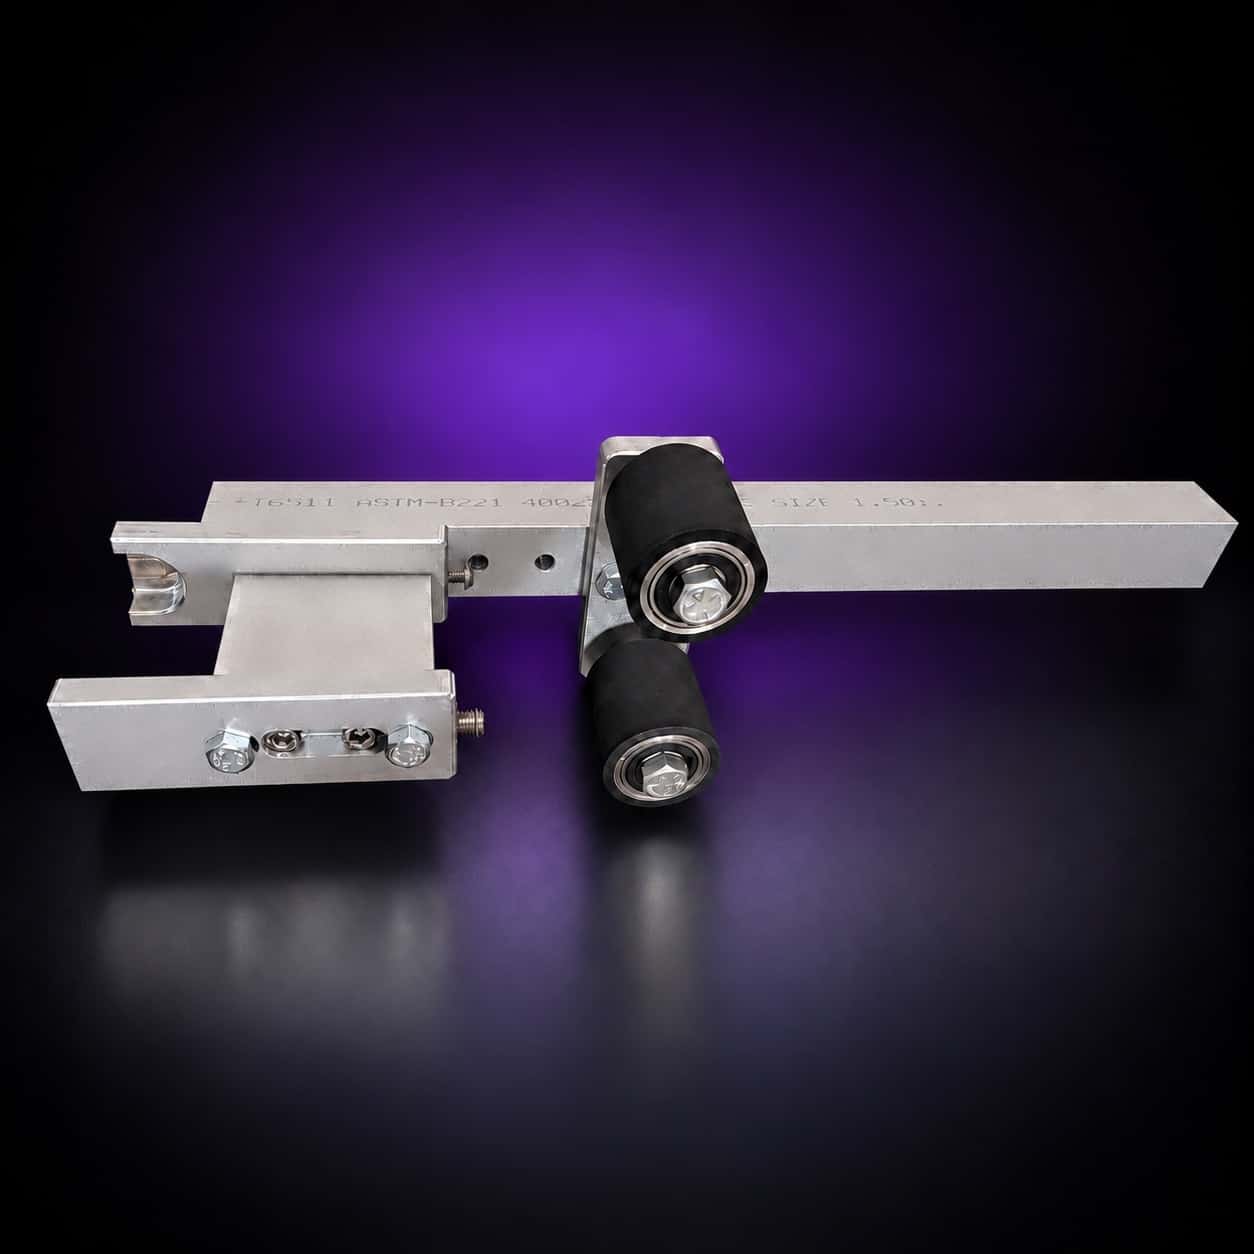
A zero-clearance rest only works on a table that locks down square. My 6×16 adjustable work table is 5/16-inch steel on a 1.5-inch tooling arm, and it drops straight into the Nova, Nebula or Classic. Build the grinder, add the table, and your bevels start repeating.