Knife Making
Grinding Stainless Kitchen Knives: Heat Tint-Free Method
Heat tint on a stainless kitchen knife means you overheated the edge and probably softened it. Here is how I grind thin stainless on the 2×72 without color: fresh ceramics, lower belt speed, light passes, a dip every pass.
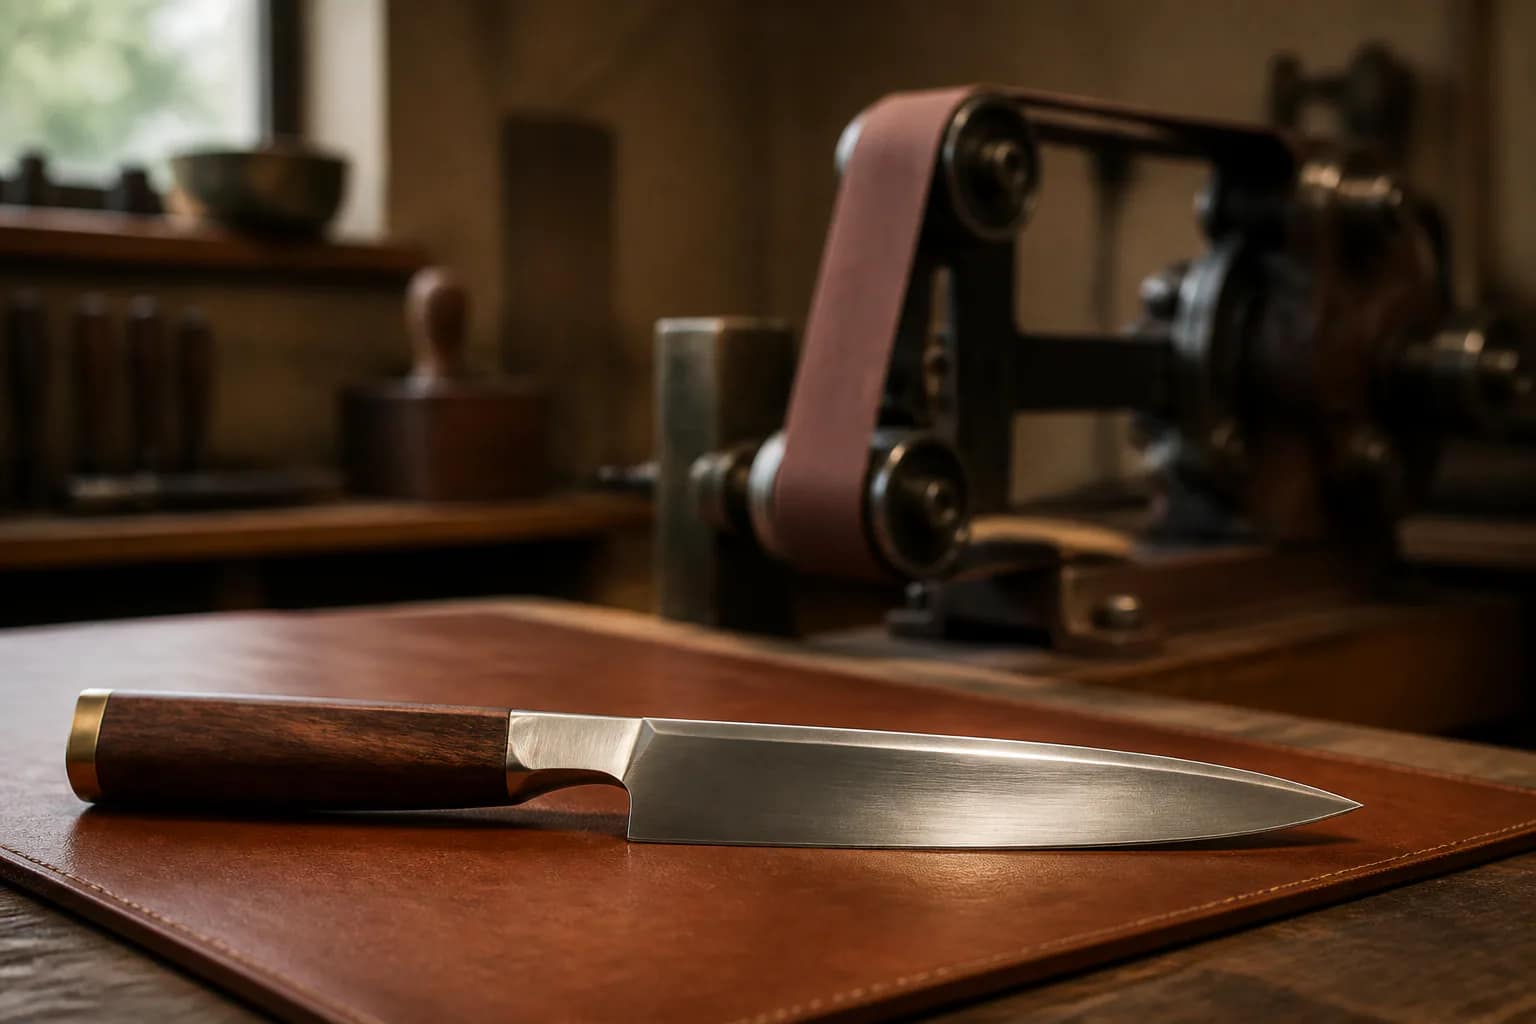
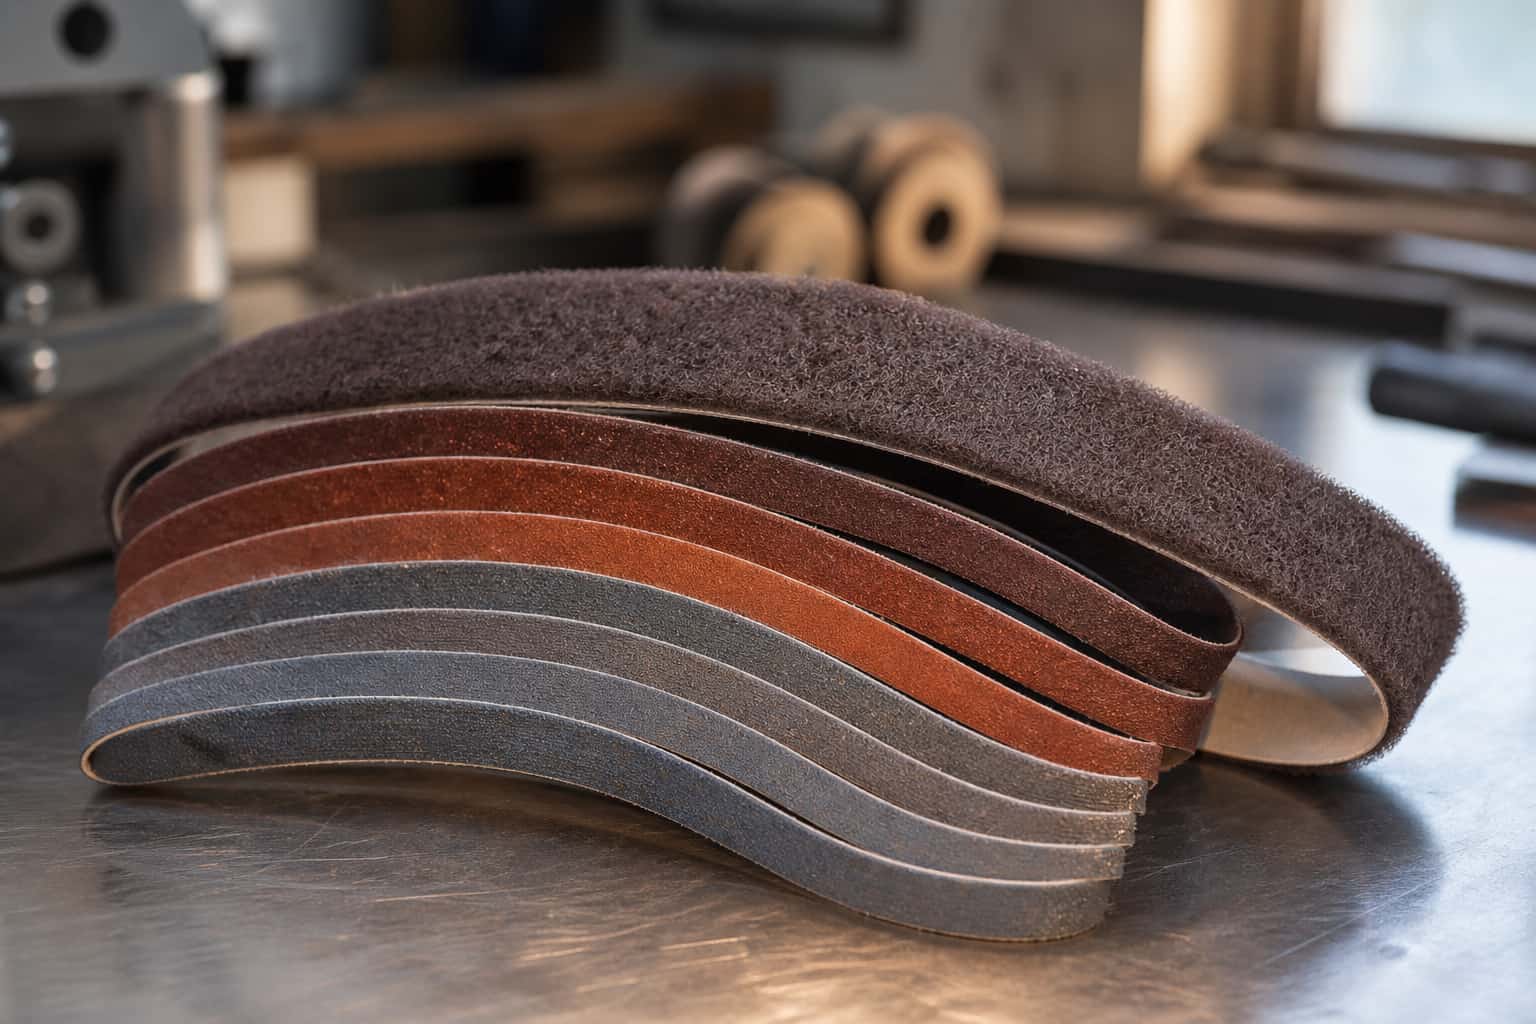
A straw-colored streak on a stainless kitchen blade is not cosmetic. It means the edge got hot enough to change the steel, and you probably lost hardness where it matters most. Here is how I grind thin stainless kitchen knives on the 2×72 without heat tint: fresh ceramic belts, a slower belt speed, light passes, a water dip every pass, and how to save a blade if color shows up anyway.
When knives are ground without generating excessive heat, they retain their original properties, which is essential for both professional chefs and home cooks alike. Heat tinting occurs when excessive heat is generated during the grinding process, leading to discoloration on the blade’s surface. This discoloration not only detracts from the knife’s visual appeal but can also indicate potential changes in the material’s structure.
Key Takeaways
- Heat tint-free grinding is crucial for maintaining the performance and appearance of stainless steel kitchen knives.
- Understanding the heat tinting process and its effects on stainless steel is essential for achieving high-quality grinding results.
- Heat tinting can negatively impact the performance and appearance of kitchen knives, leading to reduced sharpness and durability.
- The heat tint-free method involves a specific grinding process that requires the right tools and equipment for optimal results.
- Achieving heat tint-free grinding results requires a step-by-step approach and proper maintenance to ensure sharpness and durability.
Understanding the Heat Tinting Process and its Effects on Stainless Steel
Heat tinting occurs when a stainless steel blade is subjected to high temperatures during grinding or sharpening. As the metal heats up, it undergoes oxidation, resulting in a thin layer of discoloration on the surface. This layer can manifest in various hues, ranging from blue to brown, depending on the temperature reached during the grinding process.
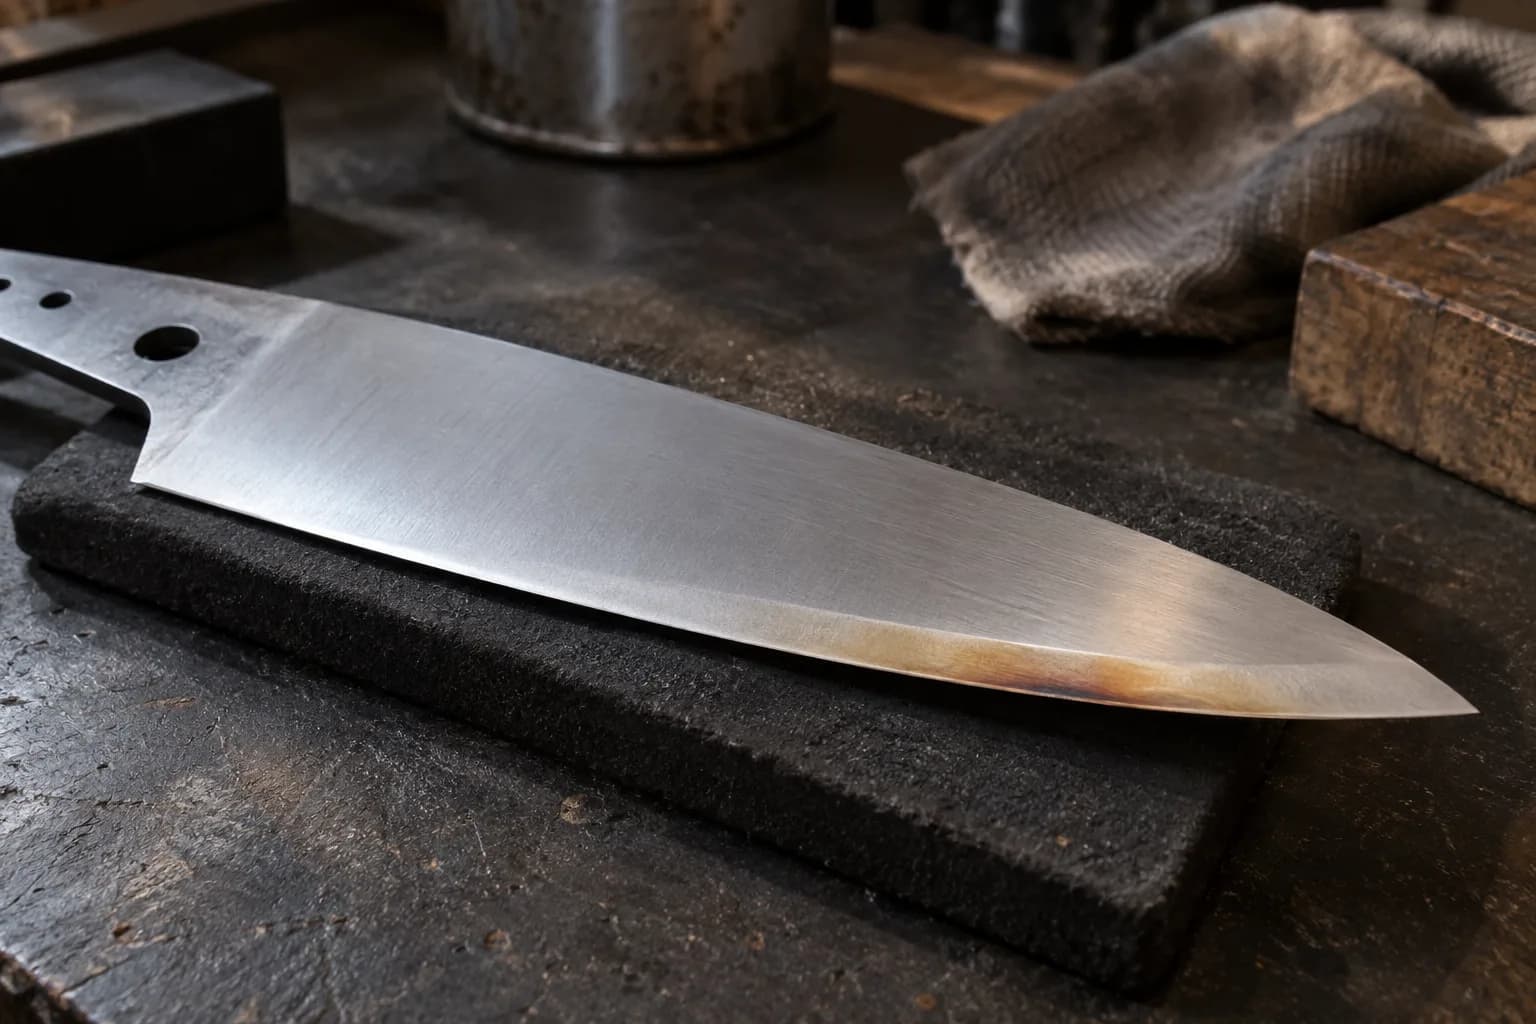
While some may view this as a cosmetic issue, it can have deeper implications for the knife’s performance and longevity. The effects of heat tinting extend beyond mere aesthetics. When stainless steel is heated excessively, it can alter the microstructure of the metal, potentially leading to a reduction in hardness and an increase in brittleness.
This change can compromise the knife’s edge retention and overall durability. Furthermore, heat tinting can create areas of weakness that may lead to chipping or cracking during use. Understanding this process is crucial for anyone involved in knife production or maintenance, as it highlights the importance of careful grinding techniques.
The Risks of Heat Tinting on the Performance and Appearance of Kitchen Knives
The risks associated with heat tinting are multifaceted, impacting both the performance and appearance of kitchen knives. From a performance standpoint, knives that have undergone heat tinting may not hold their edge as effectively as those that have been ground without excessive heat. This can lead to more frequent sharpening sessions, which not only consumes time but also increases wear on the blade over time.
For professional chefs who rely on their knives for precision cutting, this can be a significant drawback. In addition to performance issues, heat tinting can severely affect a knife’s appearance. A discolored blade can detract from the overall presentation of a kitchen setup, especially in high-end culinary environments where aesthetics are just as important as functionality.
Chefs take pride in their tools, and a tarnished blade can reflect poorly on their professionalism and attention to detail. Therefore, avoiding heat tinting through proper grinding techniques is essential for maintaining both the performance and visual appeal of stainless steel kitchen knives.
The Heat Tint-Free Method: An Overview of the Grinding Process
One key aspect of heat tint-free grinding is the use of appropriate abrasives and grinding wheels. These tools are engineered to cut efficiently without generating excessive heat. Employing techniques such as intermittent grinding—where pressure is applied in short bursts—can help manage temperature levels effectively.
Tools and Equipment Needed for Heat Tint-Free Grinding of Stainless Steel Knives
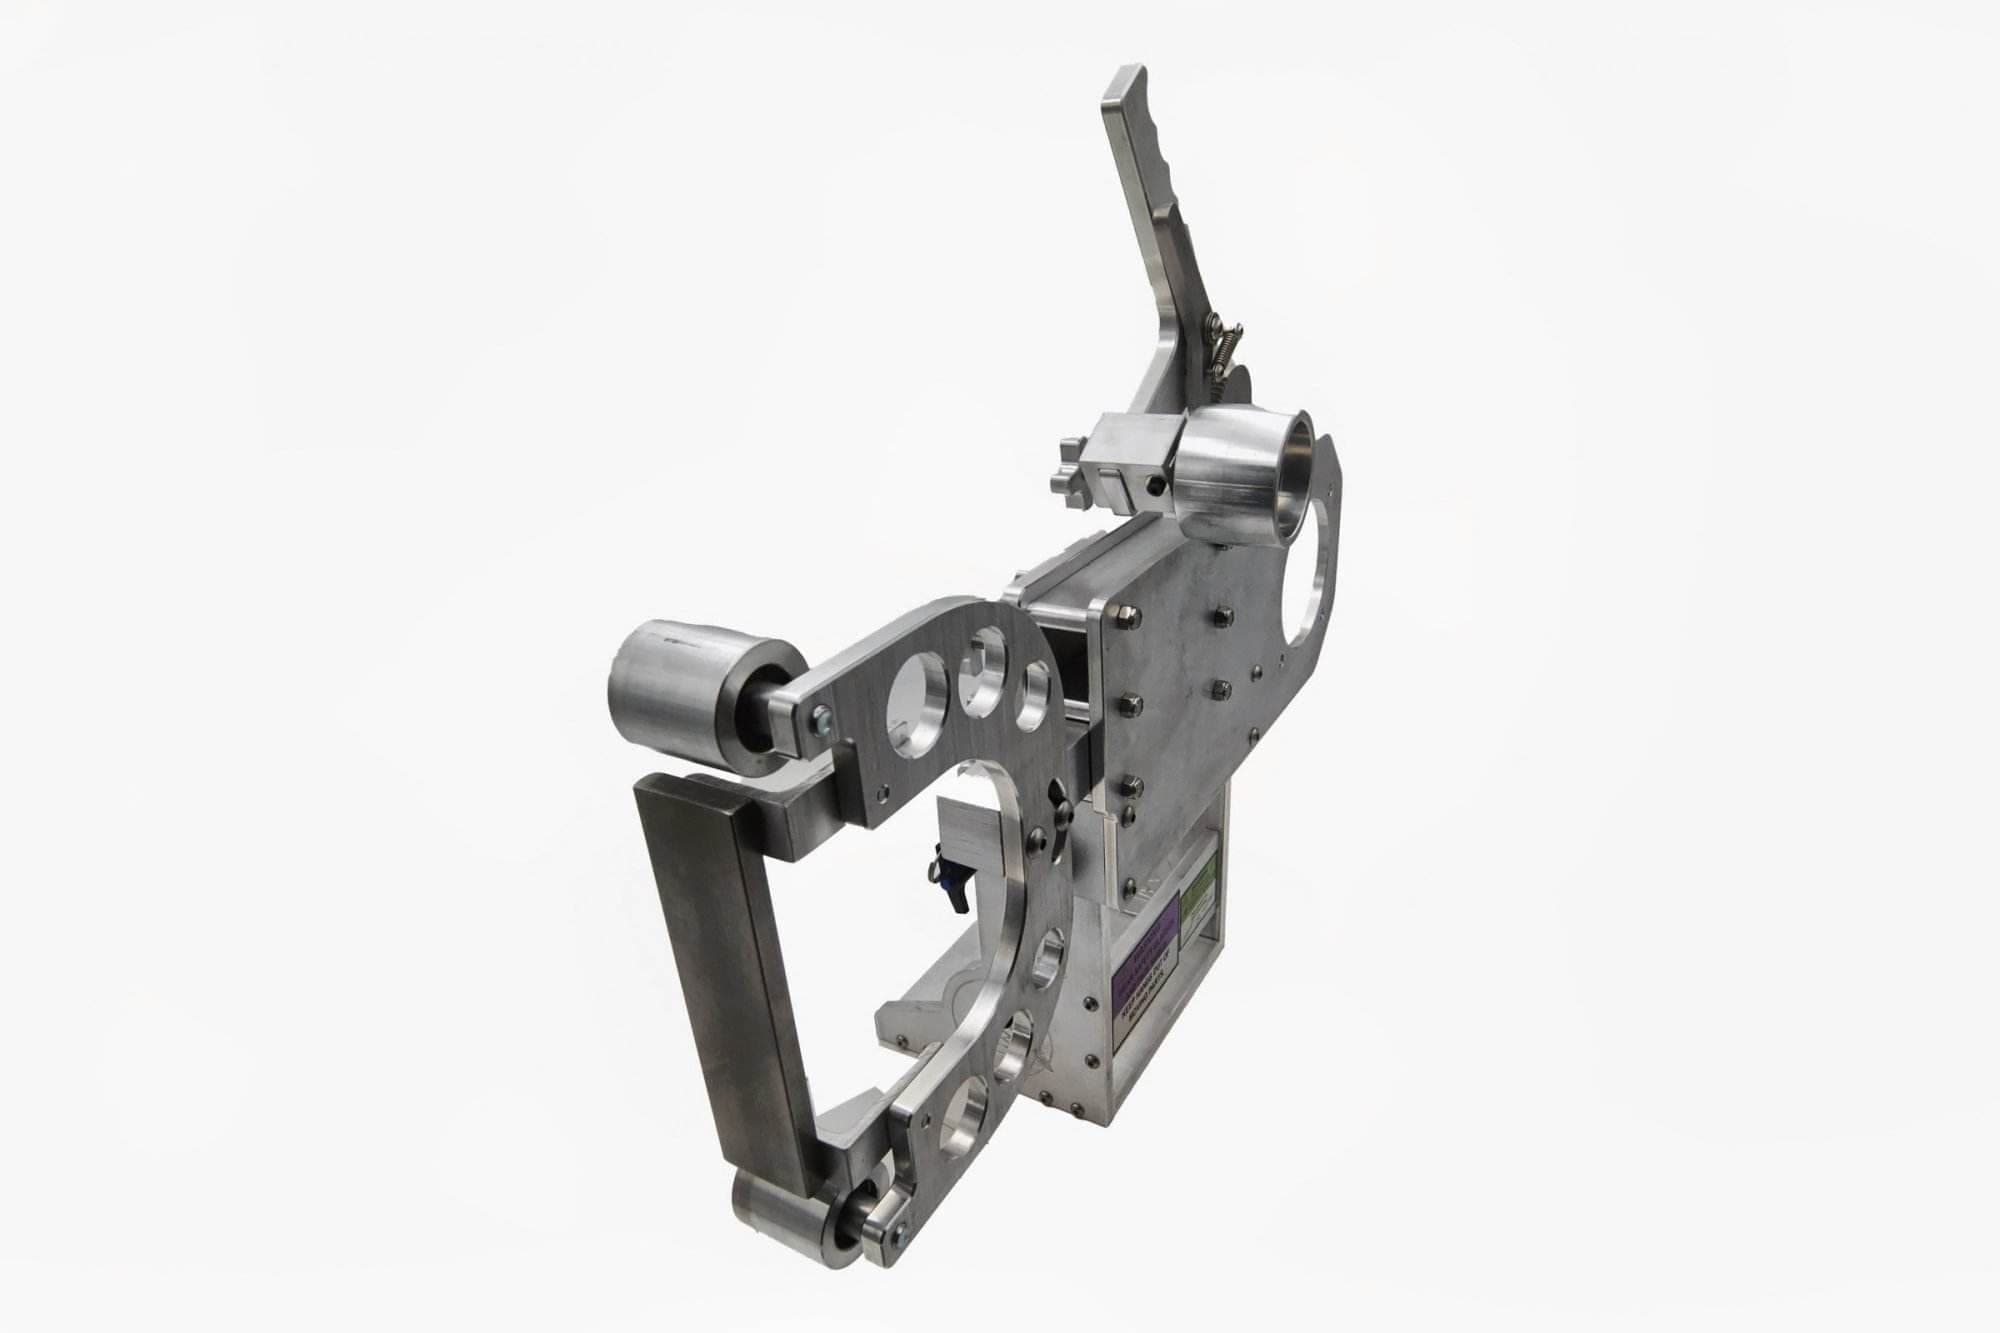
To achieve heat tint-free grinding results, specific tools and equipment are essential. First and foremost, high-quality grinding wheels designed for stainless steel are crucial. These wheels should have a fine grit to ensure a smooth finish while minimizing heat generation.
Using water or coolant during the grinding process can help dissipate heat and prevent discoloration. Another important tool is a variable-speed grinder, which allows for precise control over the grinding speed. Slower speeds can reduce friction and heat buildup, making it easier to achieve a clean edge without compromising the blade’s integrity.
Having a well-ventilated workspace is vital to ensure that any heat generated during grinding dissipates quickly. By investing in the right tools and creating an optimal working environment, knife makers can successfully implement heat tint-free grinding techniques.
Step-by-Step Guide to Achieving Heat Tint-Free Grinding Results
Achieving heat tint-free grinding results requires careful attention to detail throughout the process. The first step involves selecting the right materials and tools, including high-quality stainless steel blades and appropriate grinding wheels. Once these are gathered, it’s essential to set up a well-ventilated workspace to facilitate effective cooling during grinding.
Next, begin by securing the knife in a stable position to ensure consistent pressure during grinding. Start with a lower speed setting on the grinder to minimize friction and heat generation. As you grind, apply light pressure and maintain a steady motion along the blade’s edge.
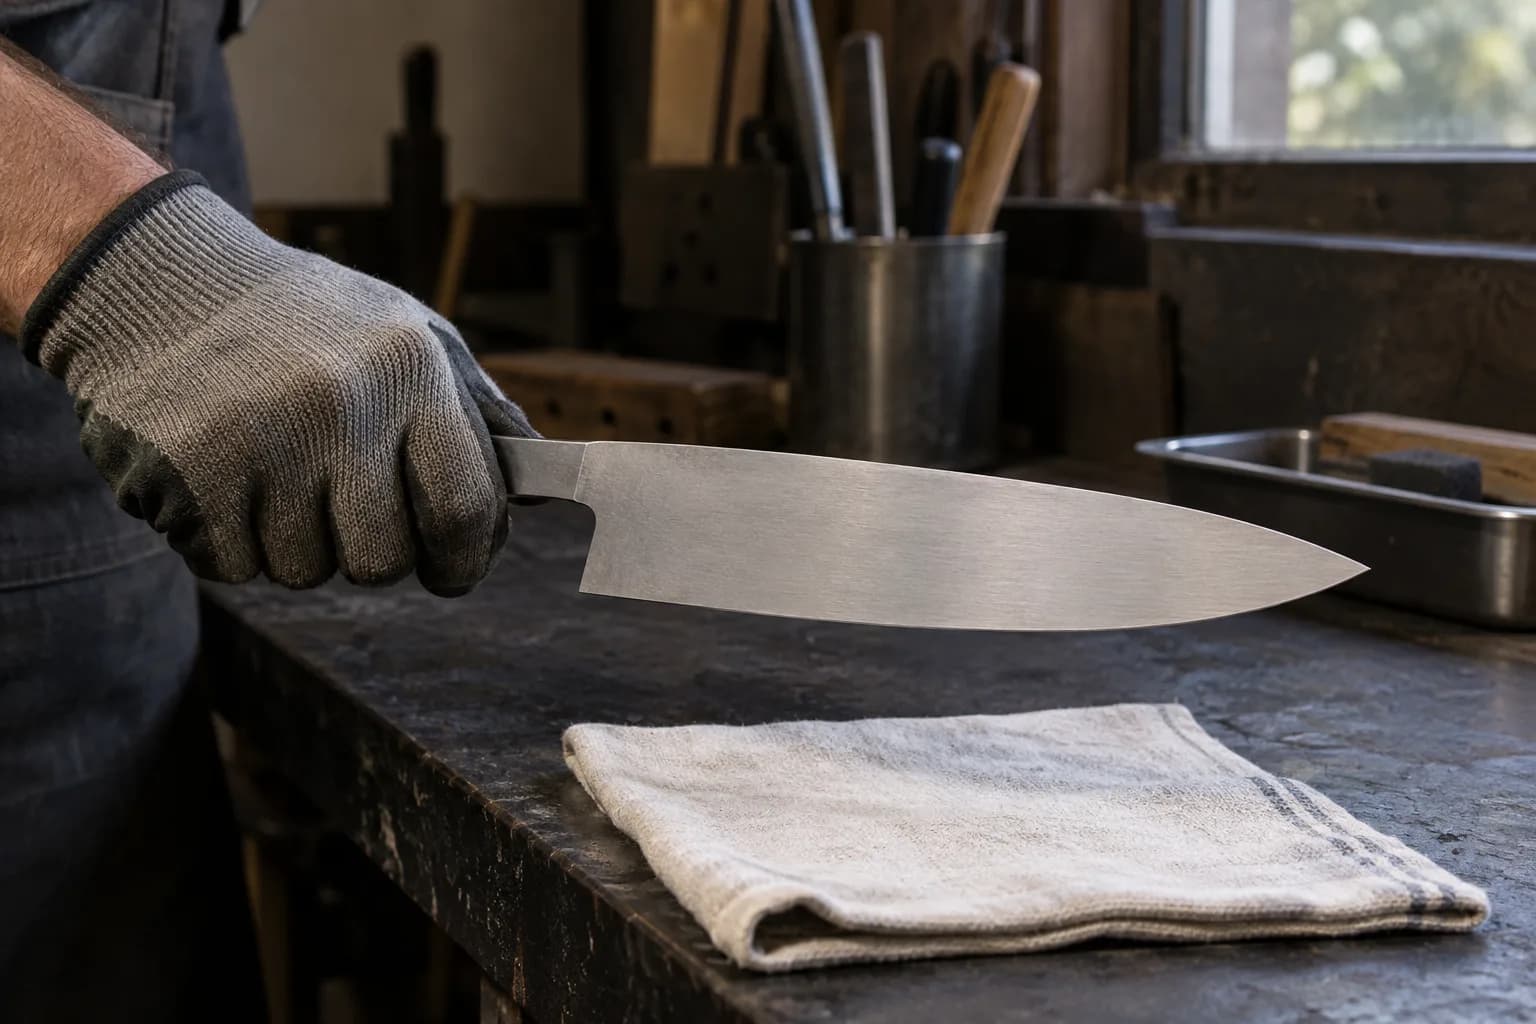
Periodically check for any signs of overheating or discoloration; if any appears, pause to allow the blade to cool before continuing. After achieving the desired sharpness, it’s crucial to finish with finer grit wheels to refine the edge further while maintaining a low temperature. Finally, clean the blade thoroughly to remove any metal shavings or debris before inspecting it for any signs of heat tinting.
Tips for Maintaining the Sharpness and Durability of Heat Tint-Free Kitchen Knives
Once you have successfully achieved heat tint-free grinding results, maintaining the sharpness and durability of your kitchen knives becomes paramount. Regular maintenance is key; this includes proper cleaning after each use to prevent corrosion or buildup of food particles that could dull the blade over time. Using warm soapy water and a soft cloth is often sufficient for cleaning stainless steel knives without causing damage.
Honing your knives regularly can help maintain their sharpness between sharpening sessions. A honing steel realigns the edge of the blade without removing material, ensuring that your knife remains effective for longer periods. It’s also advisable to store your knives properly—using a knife block or magnetic strip can prevent accidental damage that may occur when blades come into contact with other utensils.
Lastly, avoid using your kitchen knives on hard surfaces like glass or stone cutting boards, as these can quickly dull even the sharpest edges. Instead, opt for wooden or plastic cutting boards that provide a gentler surface for your blades. By following these tips, you can ensure that your heat tint-free kitchen knives remain sharp and durable for years to come.
Common Mistakes to Avoid When Grinding Stainless Steel Knives
When engaging in heat tint-free grinding of stainless steel knives, several common mistakes can undermine your efforts. One prevalent error is applying too much pressure during grinding. Excessive pressure generates additional heat and increases the risk of discoloration on the blade’s surface.
Instead, focus on applying light pressure and allowing the grinding wheel to do most of the work. Another mistake is neglecting to monitor temperature throughout the grinding process. Failing to pause periodically to check for overheating can lead to irreversible damage to the blade’s structure.
It’s essential to remain vigilant and take breaks as needed to allow the metal to cool down before continuing with the grind. Using inappropriate tools or abrasives can hinder your results significantly. Ensure that you are using high-quality grinding wheels specifically designed for stainless steel to achieve optimal outcomes without generating excess heat.
FAQs
What is heat tint on stainless steel kitchen knives?
Heat tint is a discoloration that occurs on the surface of stainless steel when it is heated to high temperatures, typically during the grinding or sharpening process. It can range in color from yellow to blue to purple, and it can affect the appearance and corrosion resistance of the steel.
How can heat tint be avoided when grinding stainless steel kitchen knives?
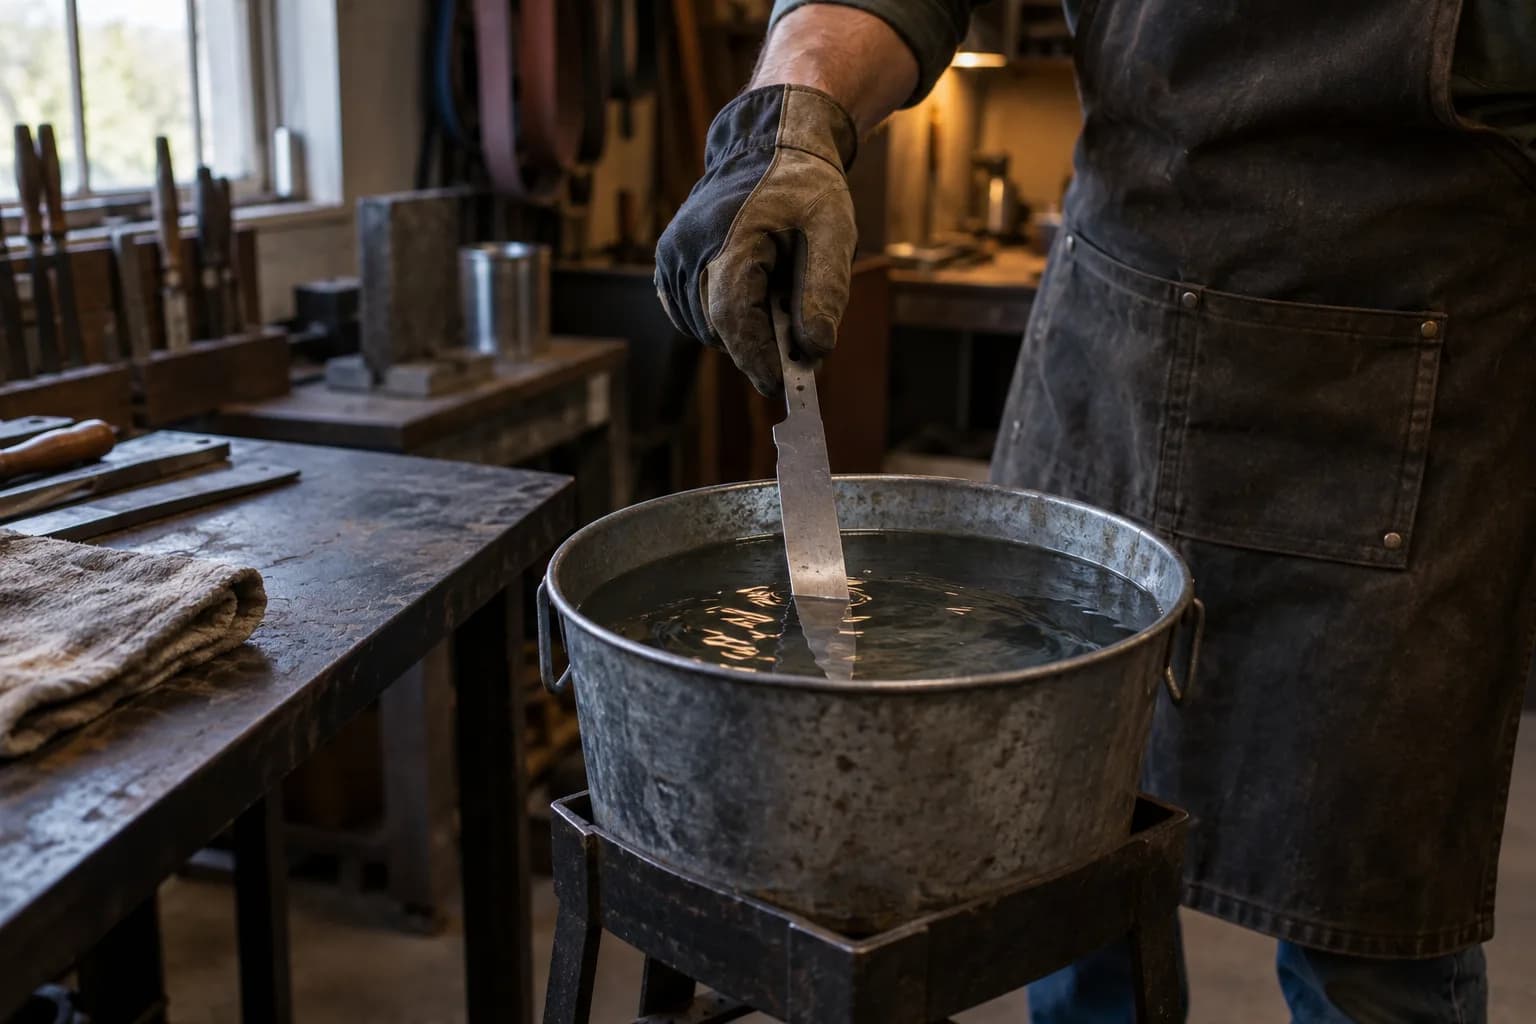
To avoid heat tint when grinding stainless steel kitchen knives, it is important to use the correct grinding techniques and equipment. This may include using a slow and steady grinding speed, using a coolant or lubricant to dissipate heat, and periodically dipping the knife in water to keep it cool during the grinding process.
What are some common mistakes that can lead to heat tint when grinding stainless steel kitchen knives?
Common mistakes that can lead to heat tint when grinding stainless steel kitchen knives include using excessive pressure or speed during the grinding process, not using a coolant or lubricant to dissipate heat, and not allowing the knife to cool periodically during grinding. Using the wrong type of grinding wheel or abrasive can also contribute to heat tint.
Can heat tint be removed from stainless steel kitchen knives after it has occurred?
Yes, heat tint can be removed from stainless steel kitchen knives after it has occurred. This can be done using methods such as pickling, passivation, or mechanical polishing. However, it is best to avoid heat tint in the first place by using proper grinding techniques and equipment.
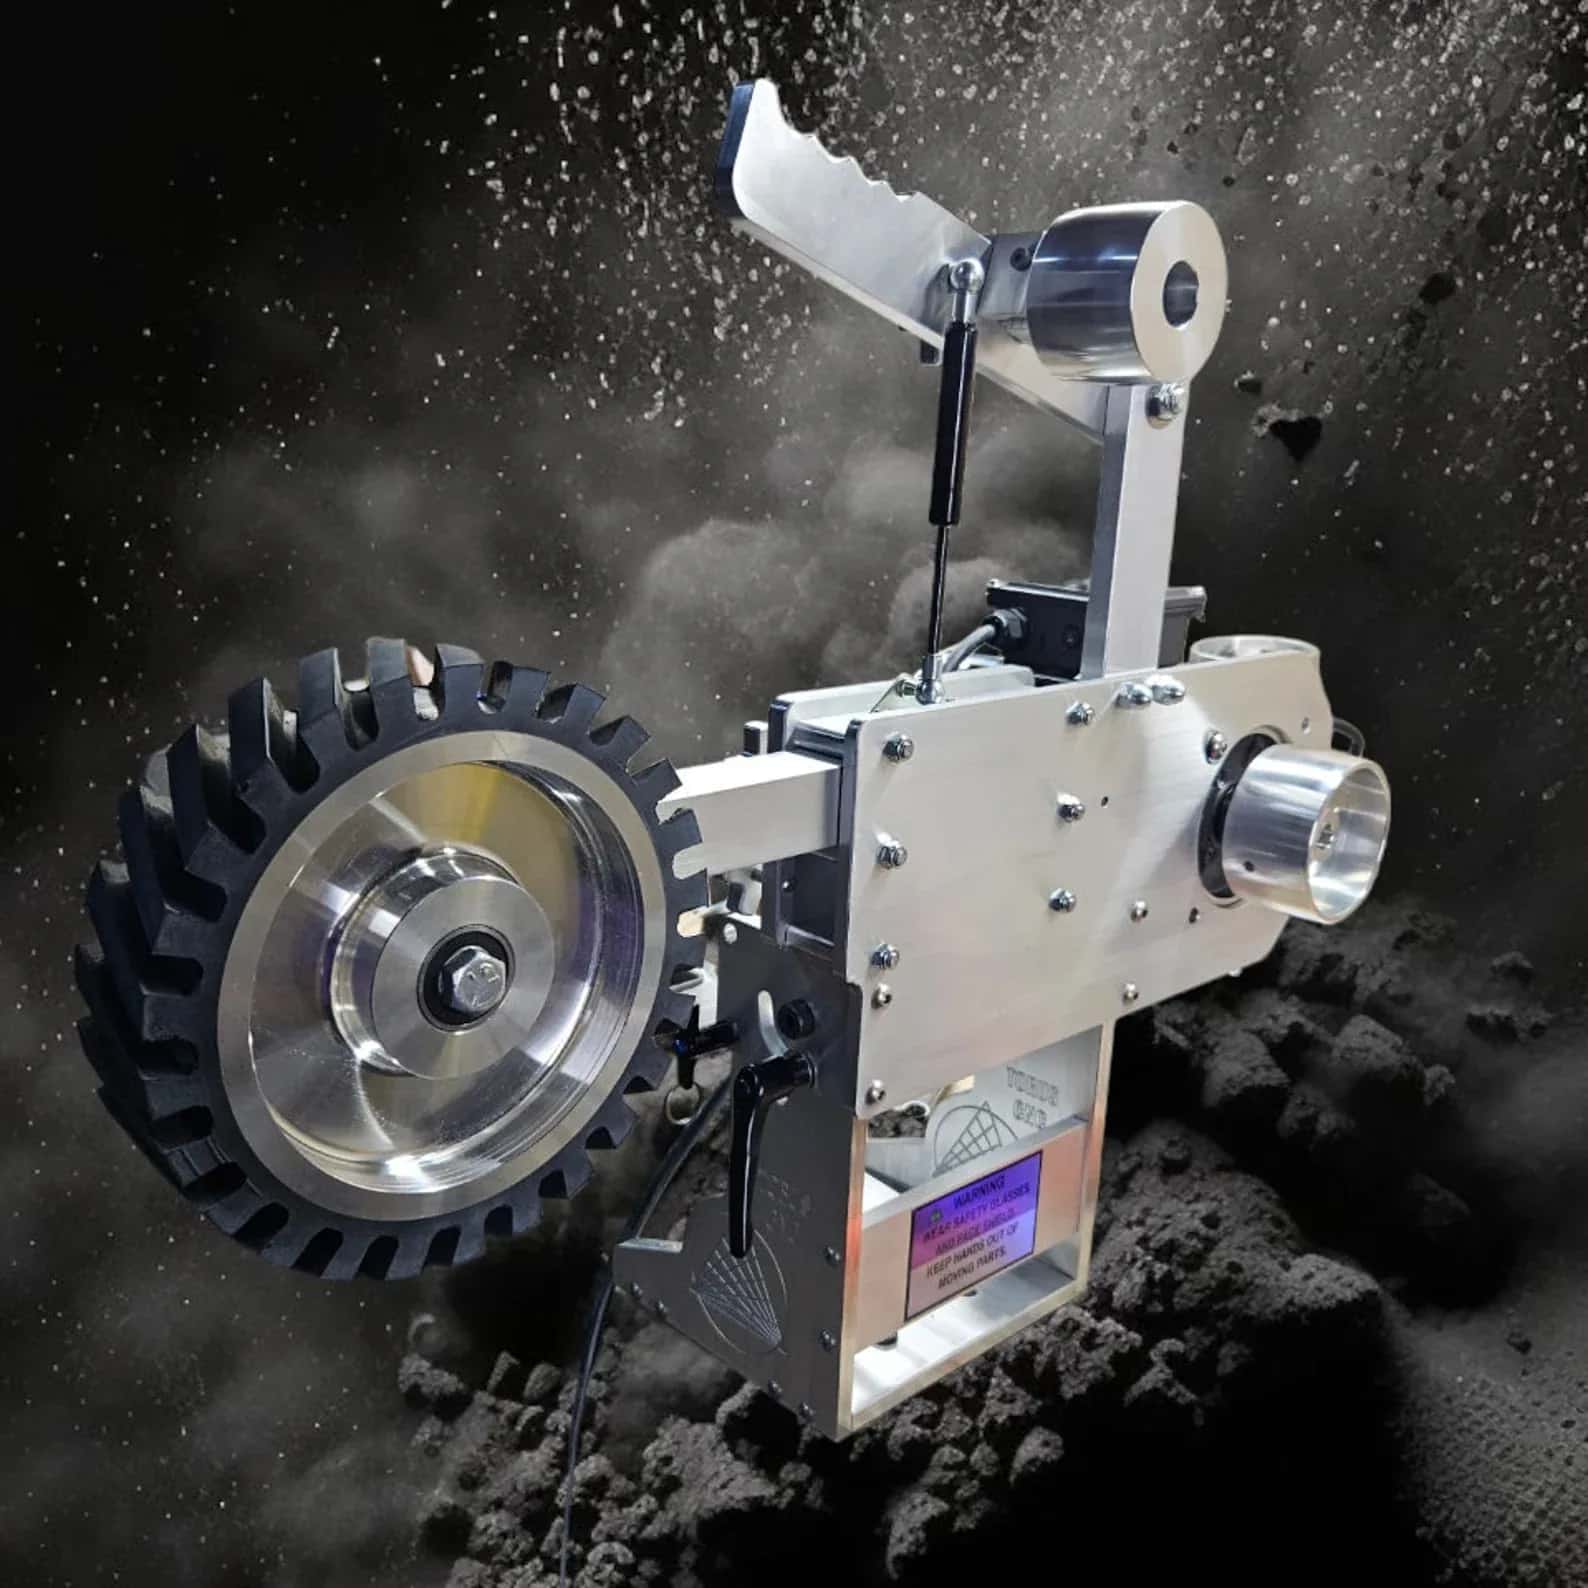
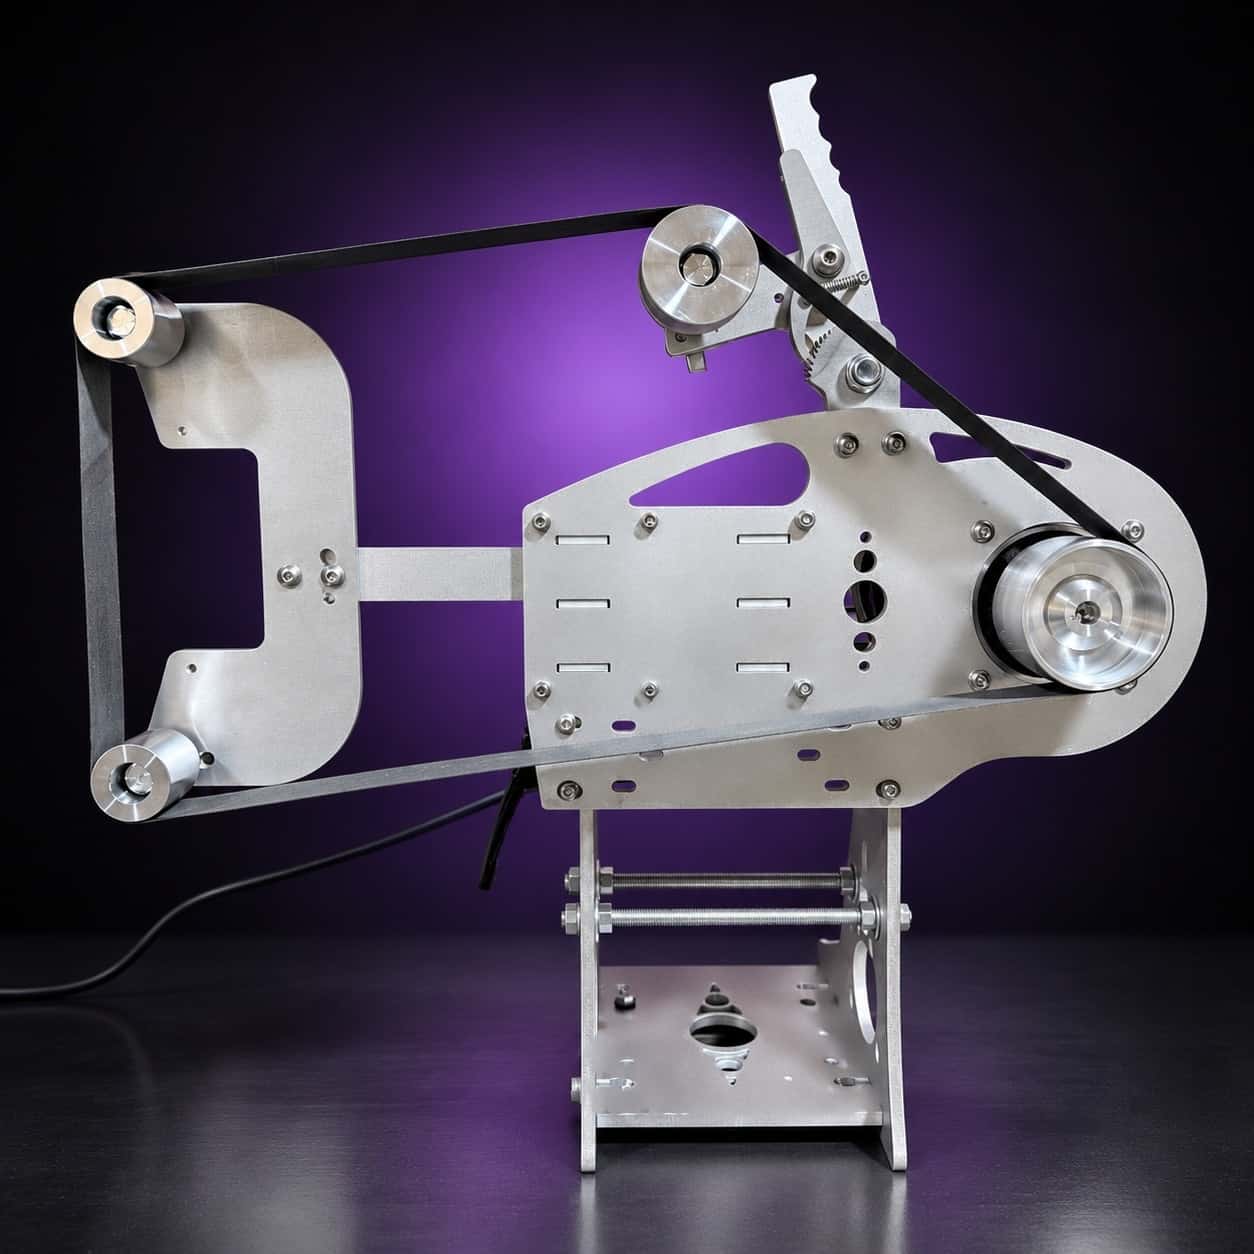
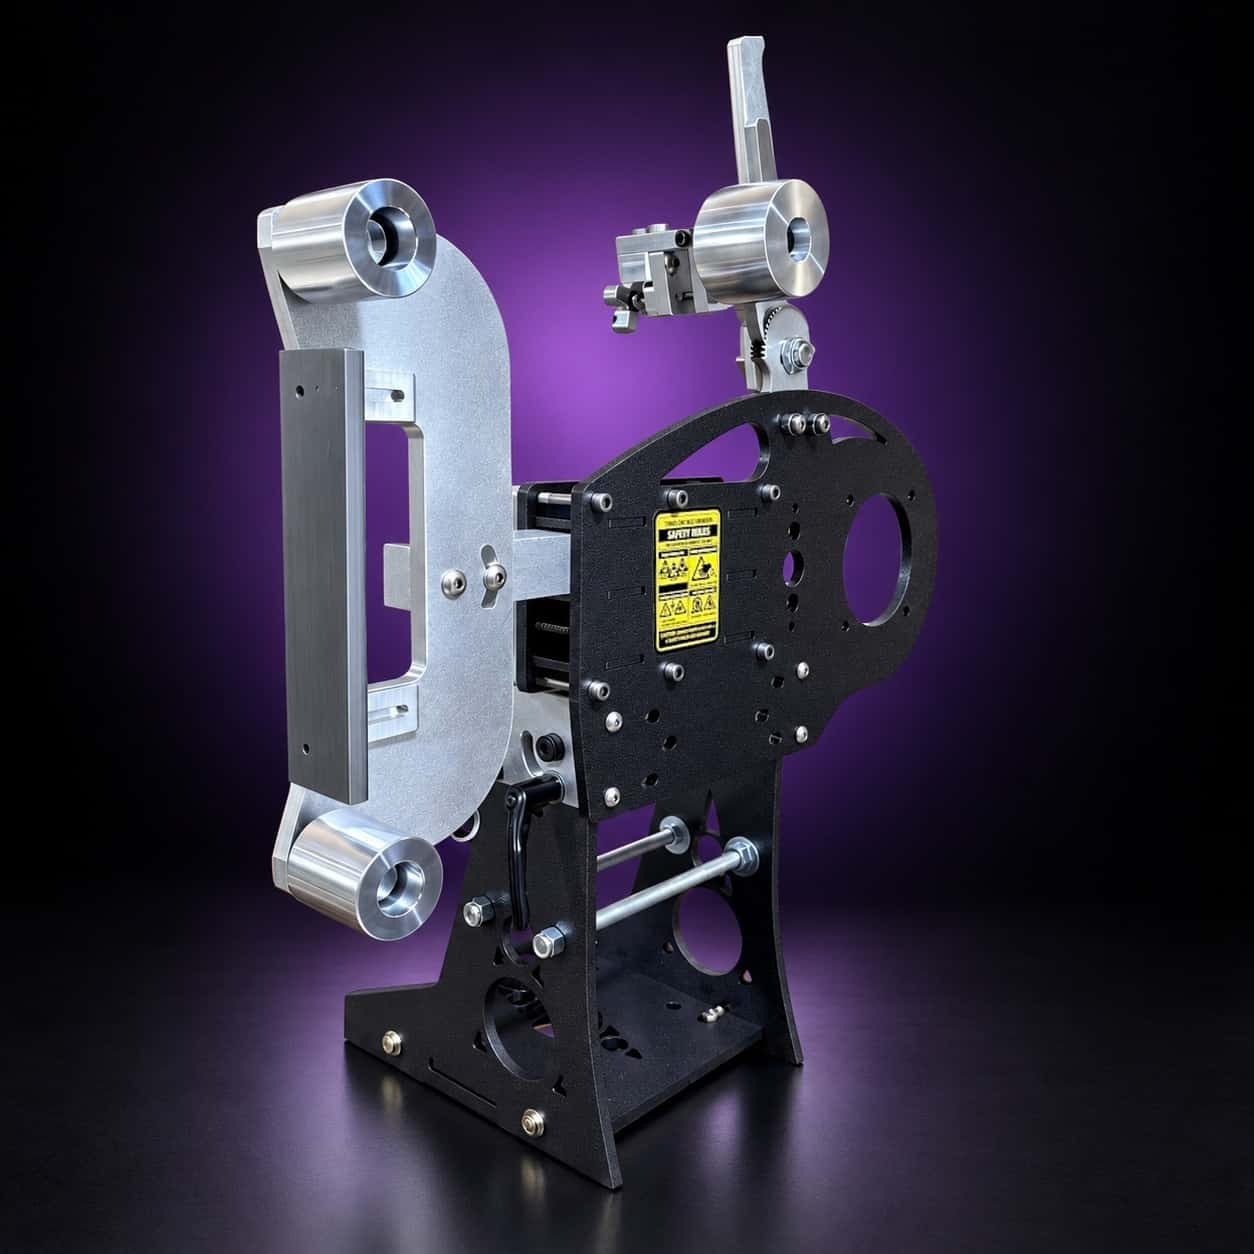
Cool grinding is a speed control problem. My motor and VFD combo turns a 2×72 down for thin stainless and back up for hogging, and it ships with a sealed KBAC-27D drive already programmed. Put it on a Nova 2×72 and the machine arrives assembled, tested and ready for kitchen work.