
Forging & Bladesmithing
Choosing Your First Forge: Gas, Coal, or Two Bricks
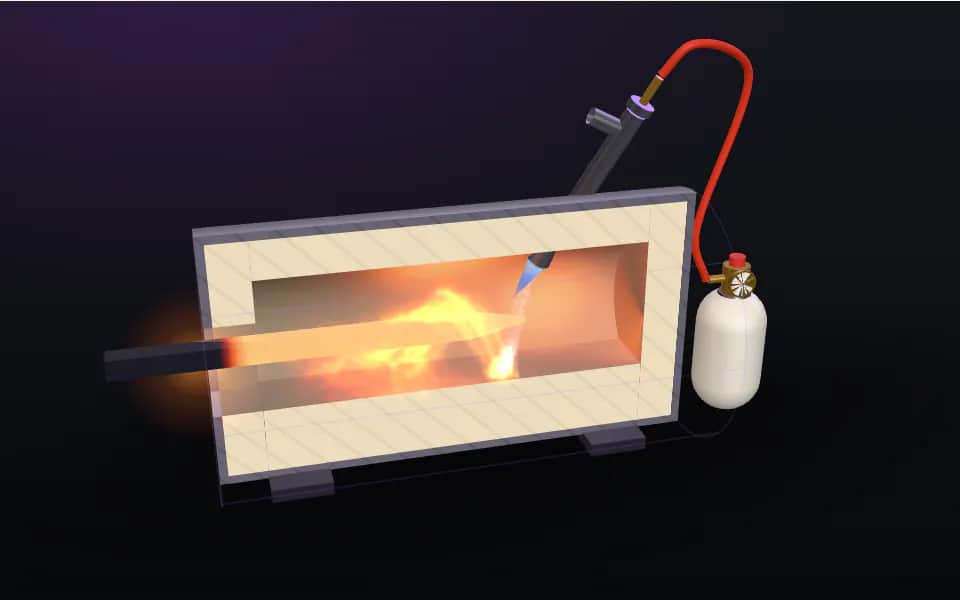
Every forged blade starts with the same purchase decision, and the good news is it’s gotten cheap: a genuinely usable knifemaking forge now costs less…
Forging & Bladesmithing
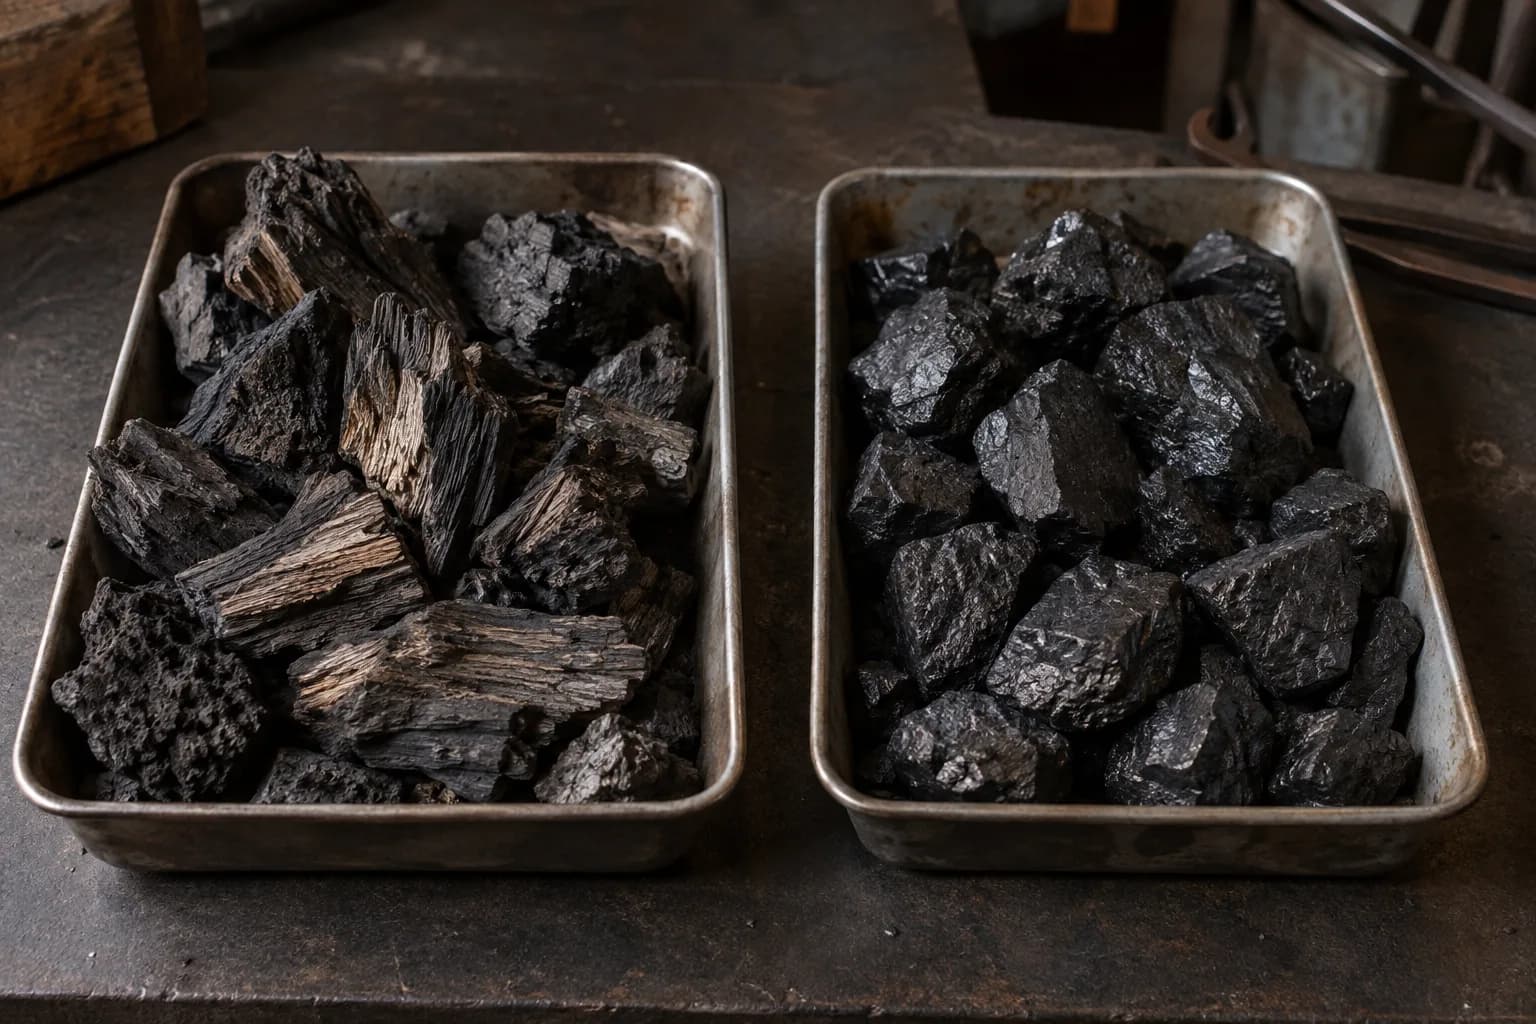
Solid fuel is the cheapest forge: build a JABOD from a box of dirt, compare lump charcoal with smithing coal, and learn the fire management that works.
3 min readWritten by Rich LinvilleFree to read
Propane won the convenience war (first-forge guide), but solid fuel — charcoal and coal — still owns three things: the lowest cost of entry in all of smithing, a fire that concentrates savage heat exactly where you build it, and the full sensory tradition of the craft. If “forge” to you means glowing coals and rising sparks, or your budget says $30 and a shovel, this is your path.
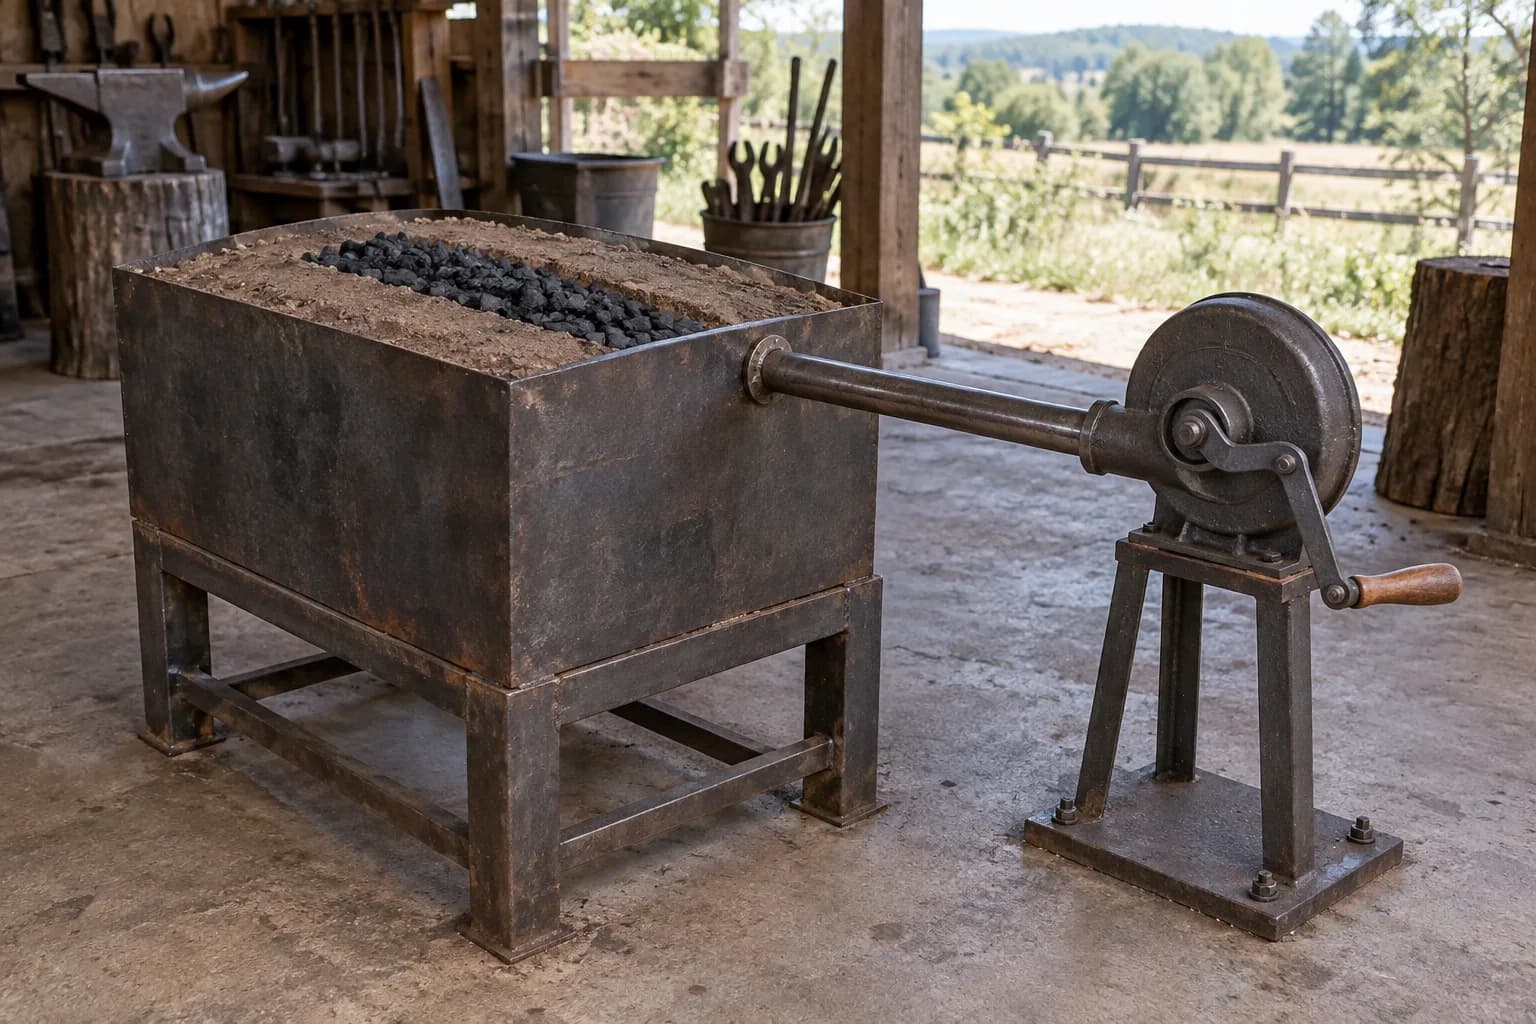
The beloved community starter design is literally called a JABOD — “Just A Box Of Dirt” (born on the I Forge Iron forums): a wooden box or steel container packed with plain dirt or clay-sand, a trench shaped into the top, and a pipe entering from the side for air. Charcoal in the trench, air through the pipe — hair dryer, mattress inflator, or hand-crank blower — and that’s a forge that reaches forging (and with practice, welding) heat. Cost: near zero. Build time: an afternoon. It is not a toy; makers forge real blades on JABODs every day, and it teaches fire management better than any burner knob ever will.
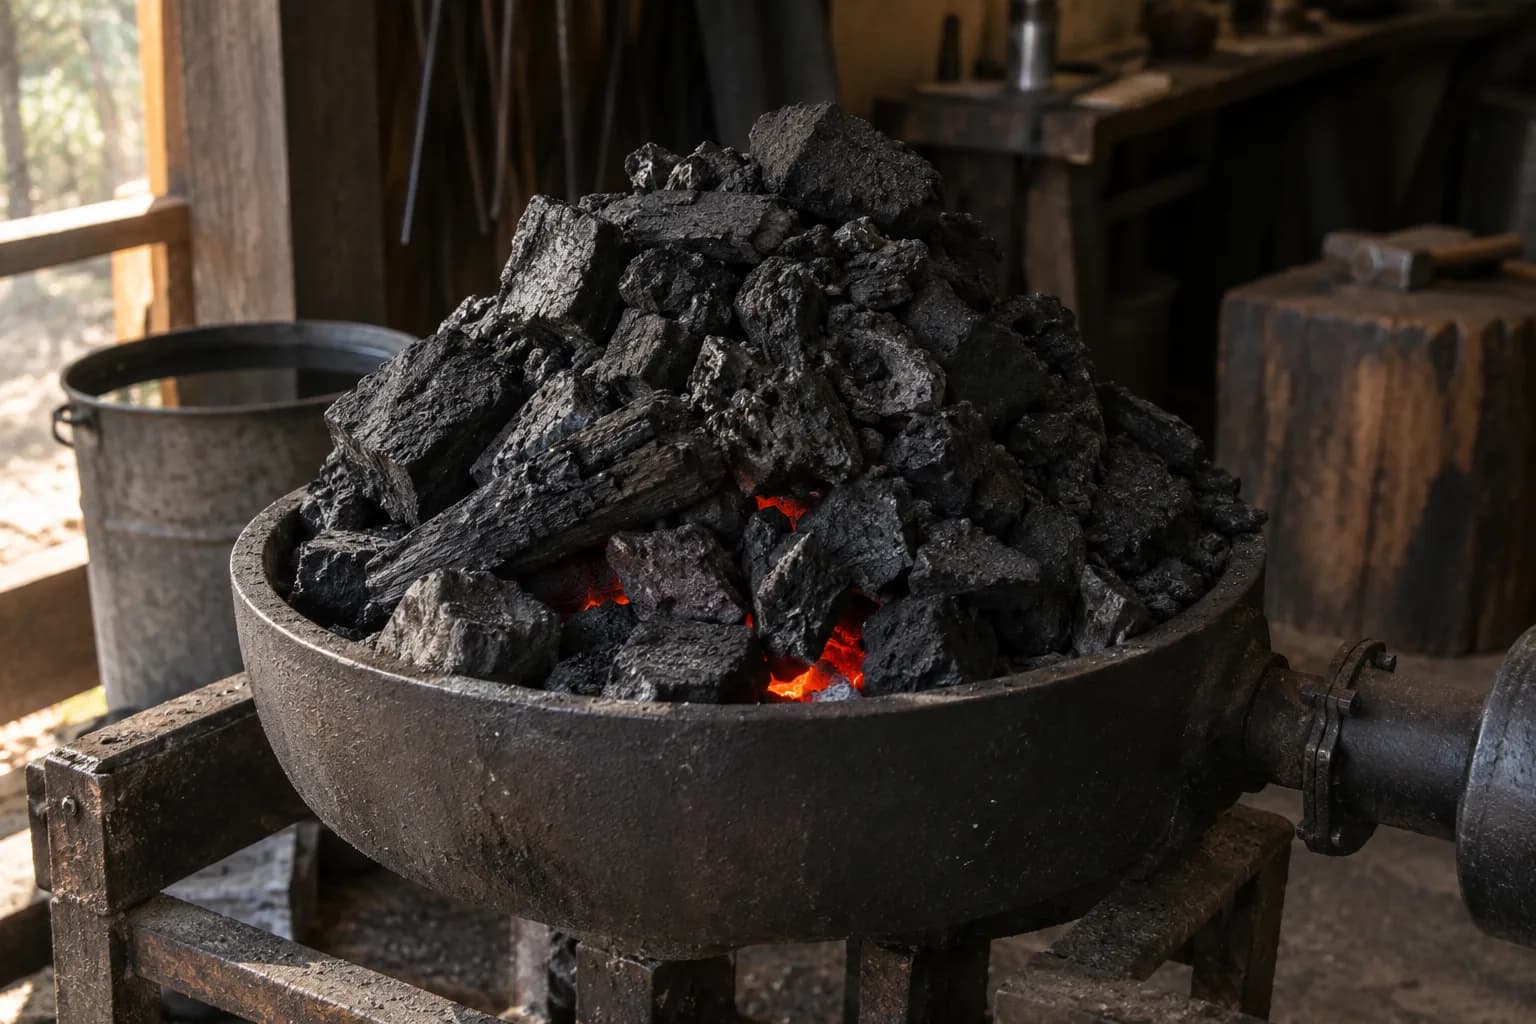
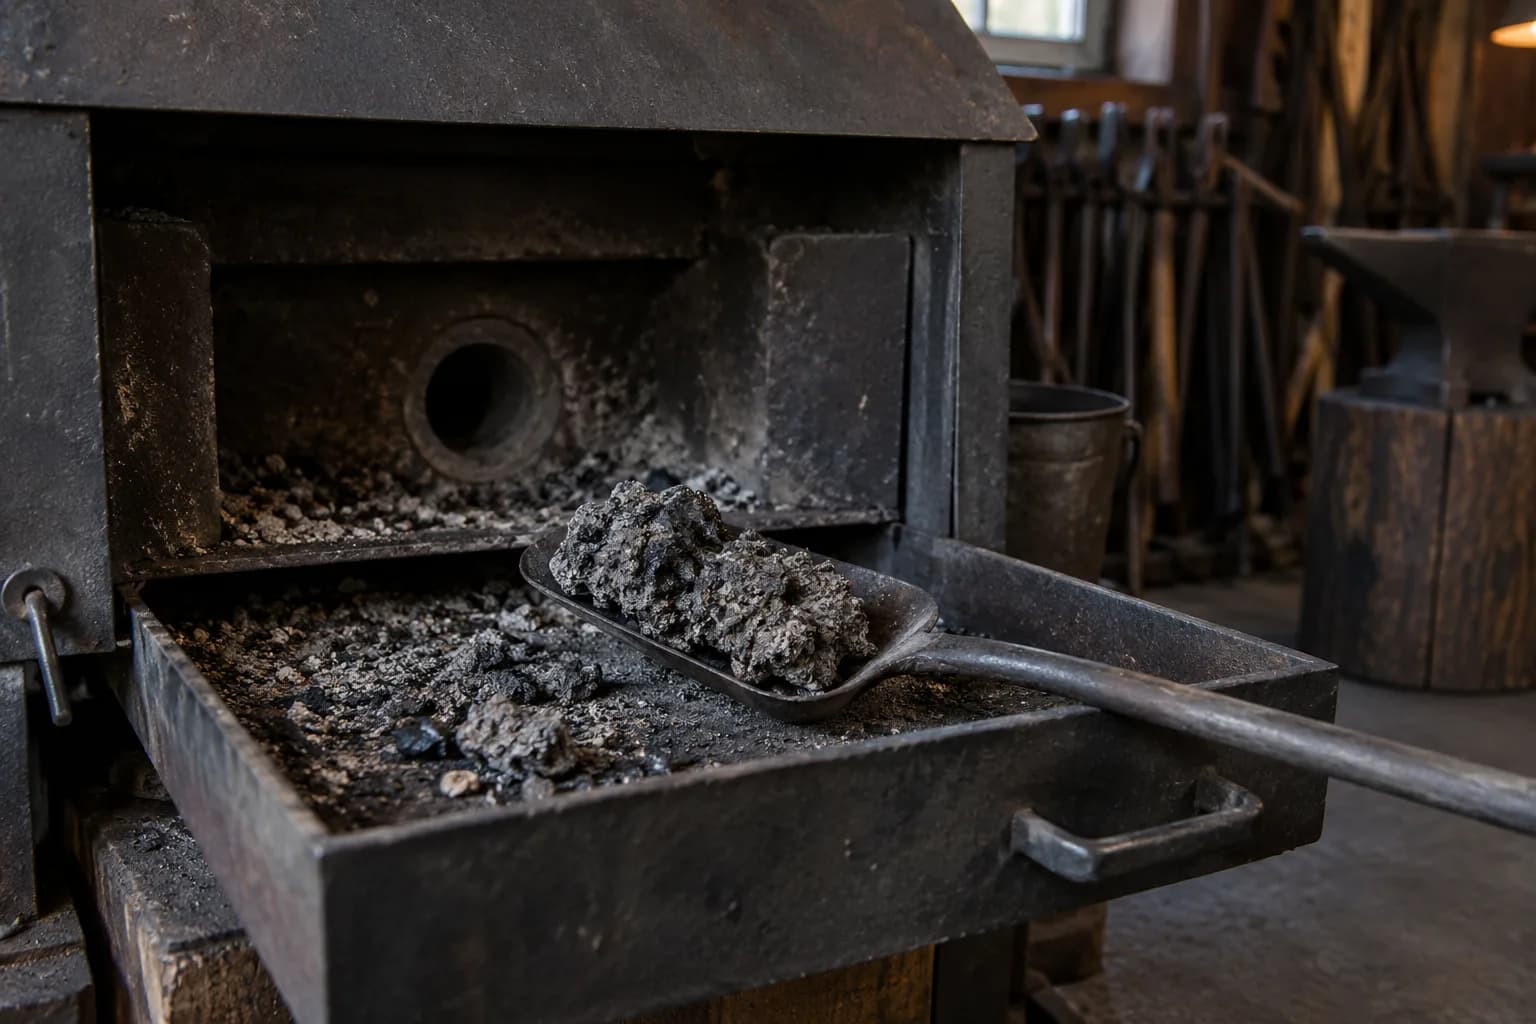
Push-button convenience, indoor use (solid fuel is an outdoor/serious-ventilation game — CO and smoke both), consistent atmosphere (a lazy fire eats more steel to scale than a tuned gas forge), and neighbors’ goodwill if it’s coal. What you gain: the cheapest working forge on earth, the hottest spot heat you’ll ever park a billet in, and the craft’s original soundtrack. Plenty of smiths run both — gas for production, solid fuel for the soul of it.
Keep reading
Three more from the same bench.
Every forged blade starts with the same purchase decision, and the good news is it’s gotten cheap: a genuinely usable knifemaking forge now costs less…
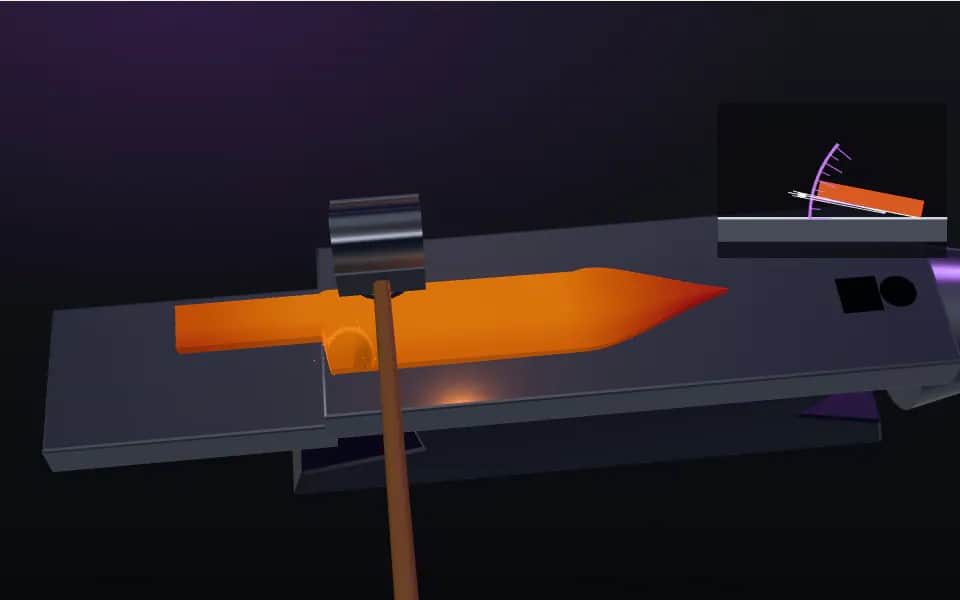
Forging a knife is not sculpting with sparks — it’s a sequence, and once you know the sequence, every session has a plan. This guide walks a first forged…
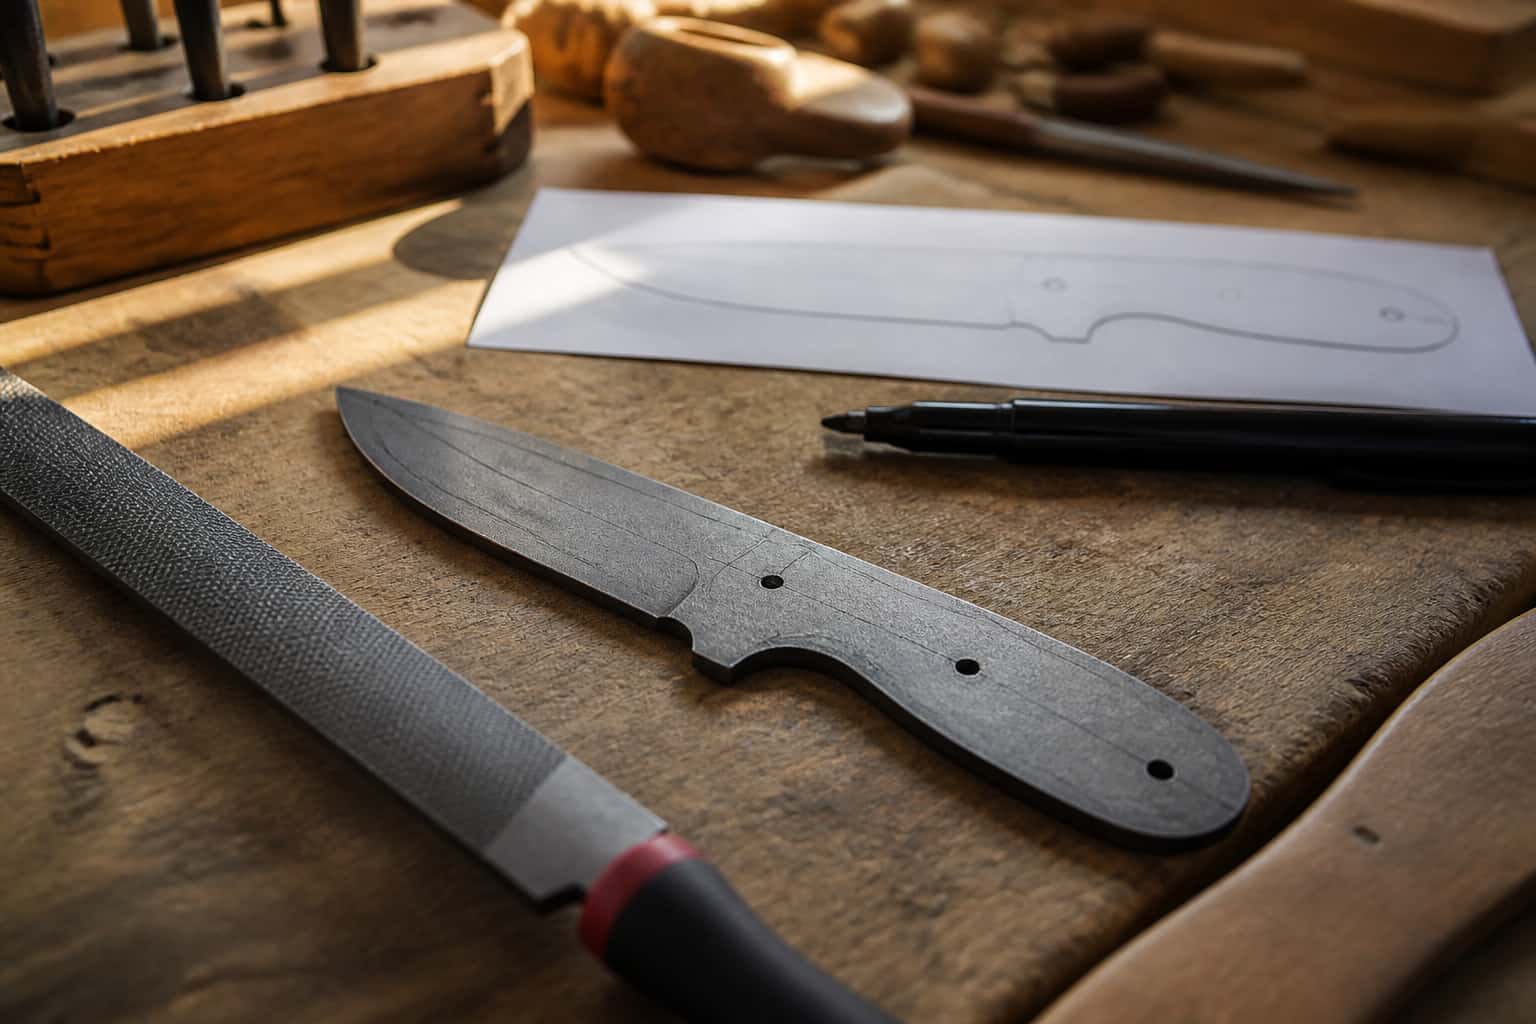
Every new knifemaker eventually hits this fork in the road: do you shape a blade by grinding it out of flat bar stock, or by heating and hammering it to…
Same bench
I machine the parts, hand-assemble, track and test Torus grinders in Sterling, Illinois. Most orders ship in seven to ten business days from time of order.

Current dual-axis platform with a fiber-laser-cut 6061 chassis and single-knob tracking.

Current dual-axis platform with a steel chassis, more mass and less vibration.

Prior-design aluminum chassis, 90-degree tilt and 1.5-inch tooling arms.

One-man shop
I answer my own email. Tell me the steel, the machine and what it is doing, and I will tell you what I would try next.