
Forging & Bladesmithing
Forging a Knife, Step by Step: From Bar Stock to Blade
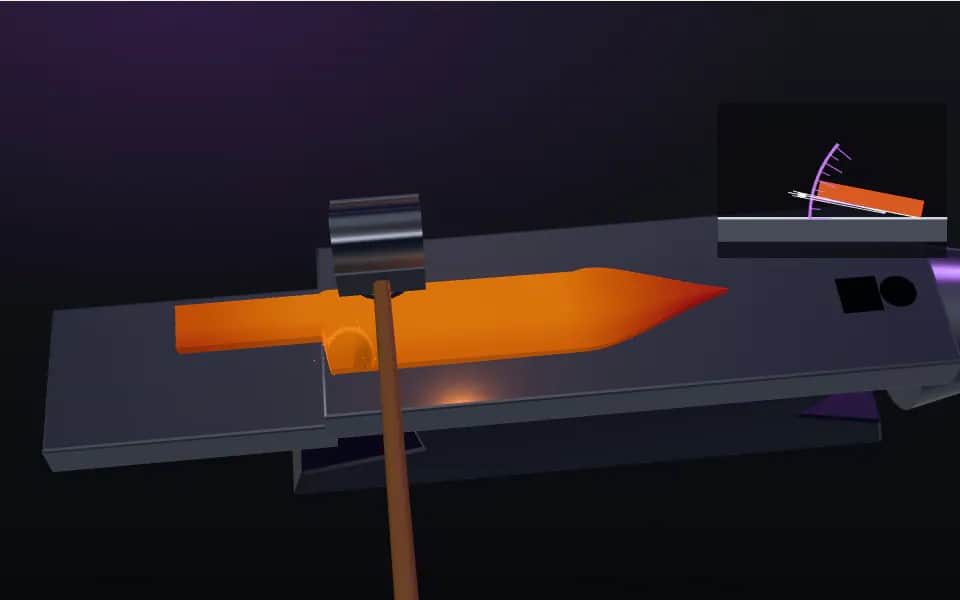
Forging a knife is not sculpting with sparks — it’s a sequence, and once you know the sequence, every session has a plan. This guide walks a first forged…
Forging & Bladesmithing
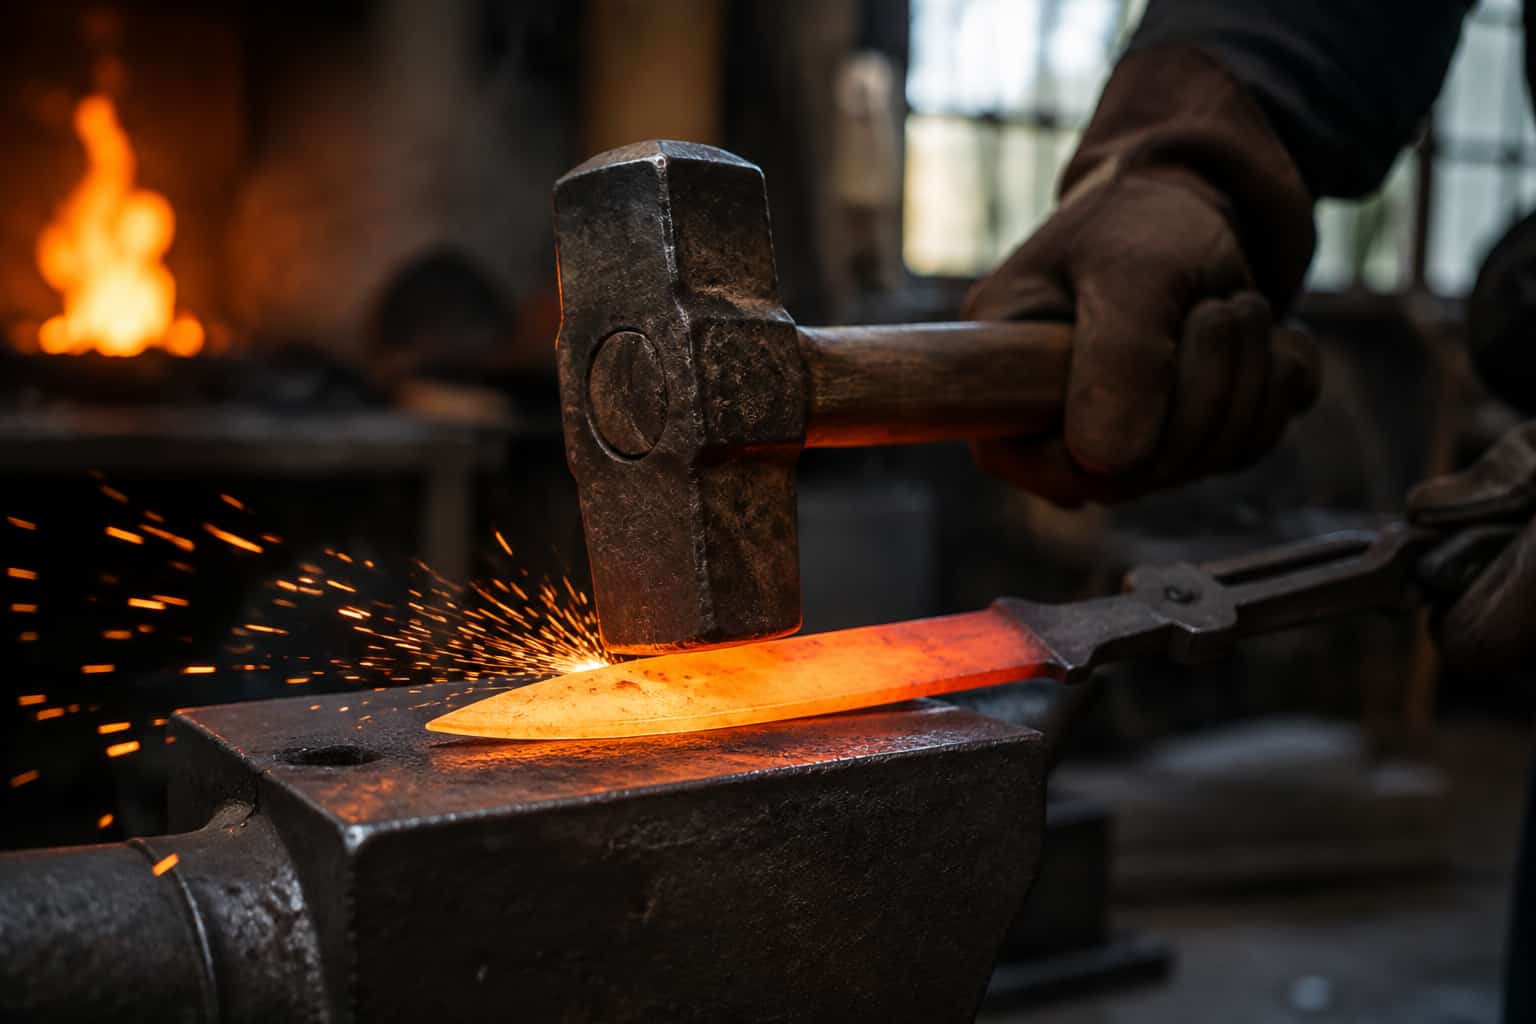
The knuckle-height anvil rule, loose grip, whole-arm swing, rebound, cold accuracy drills, and avoiding blacksmith's elbow - for bladesmiths.
3 min readWritten by Rich LinvilleFree to read
Watch a working smith and the hammer looks effortless — because it is. Good hammer technique isn’t strength; it’s a setup that lets gravity, rebound, and a loose grip do the work while your body steers. Bad technique is why beginners gas out in twenty minutes, wander their blows, and — the expensive part — develop the elbow tendonitis smiths call “blacksmith’s elbow.” This guide is the technique layer under the forging sequence and bevel work.
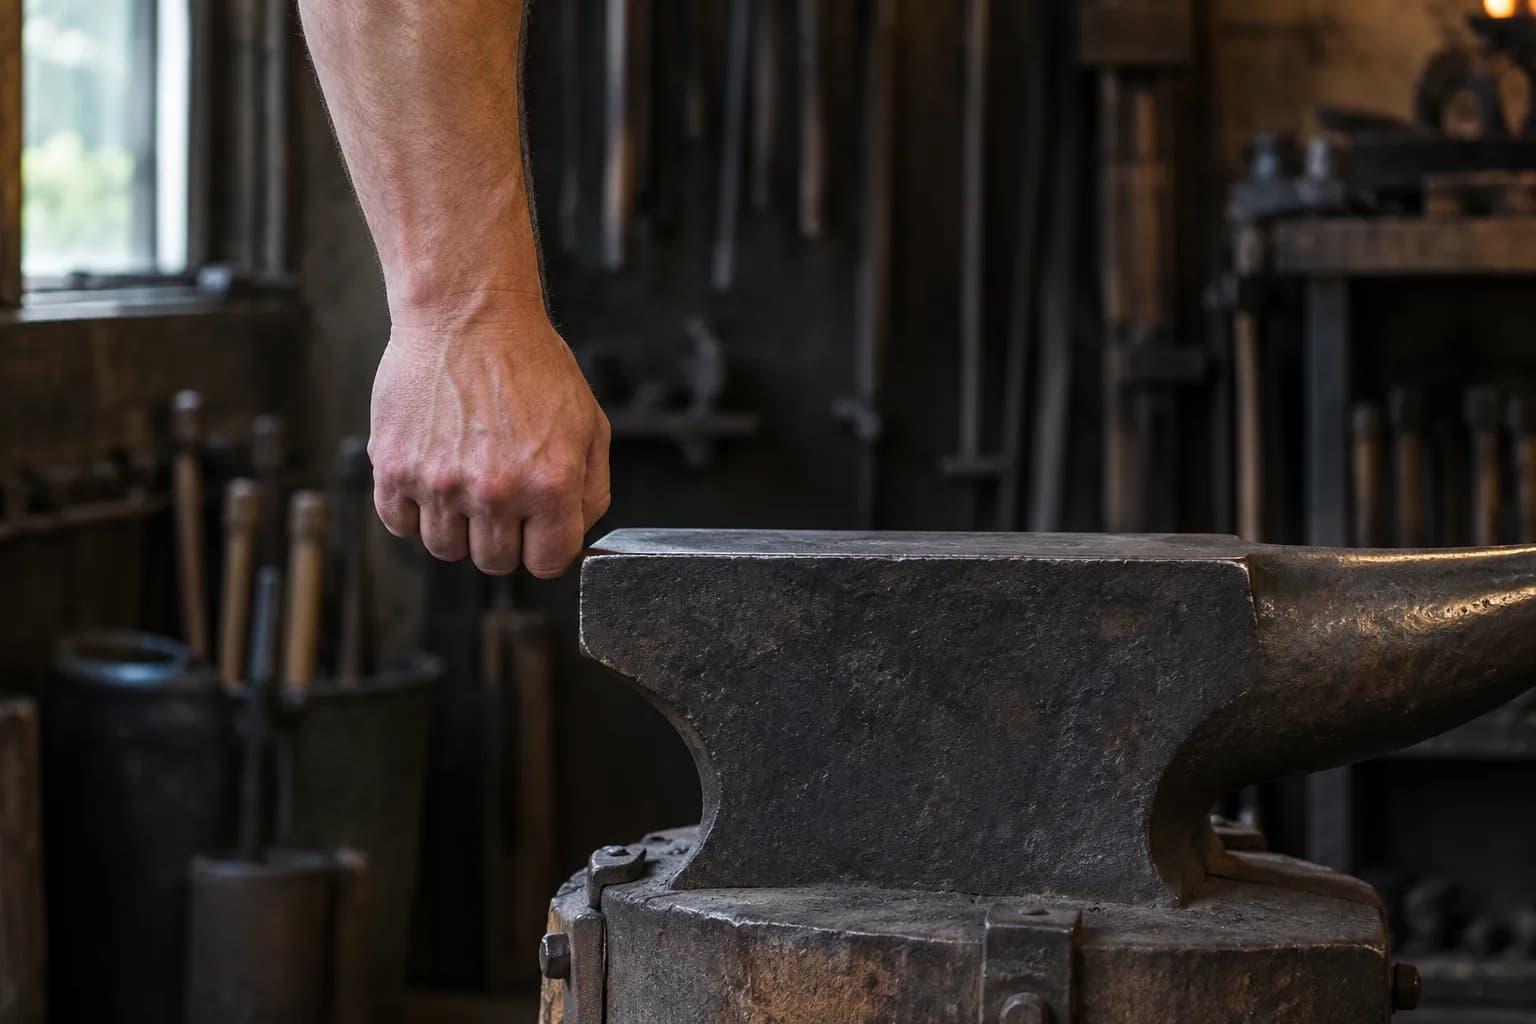
Hold the hammer like a bird: firm enough it can’t escape, loose enough it can breathe. A death grip transmits every impact into your tendons, kills the rebound that should be lifting the hammer for you, and tires the forearm in minutes. Grip position is a throttle: choke up near the head for light precise work (bevels, tip work), slide back for power (drawing, heavy moving). Between blows, the hammer should almost float in your fingers.
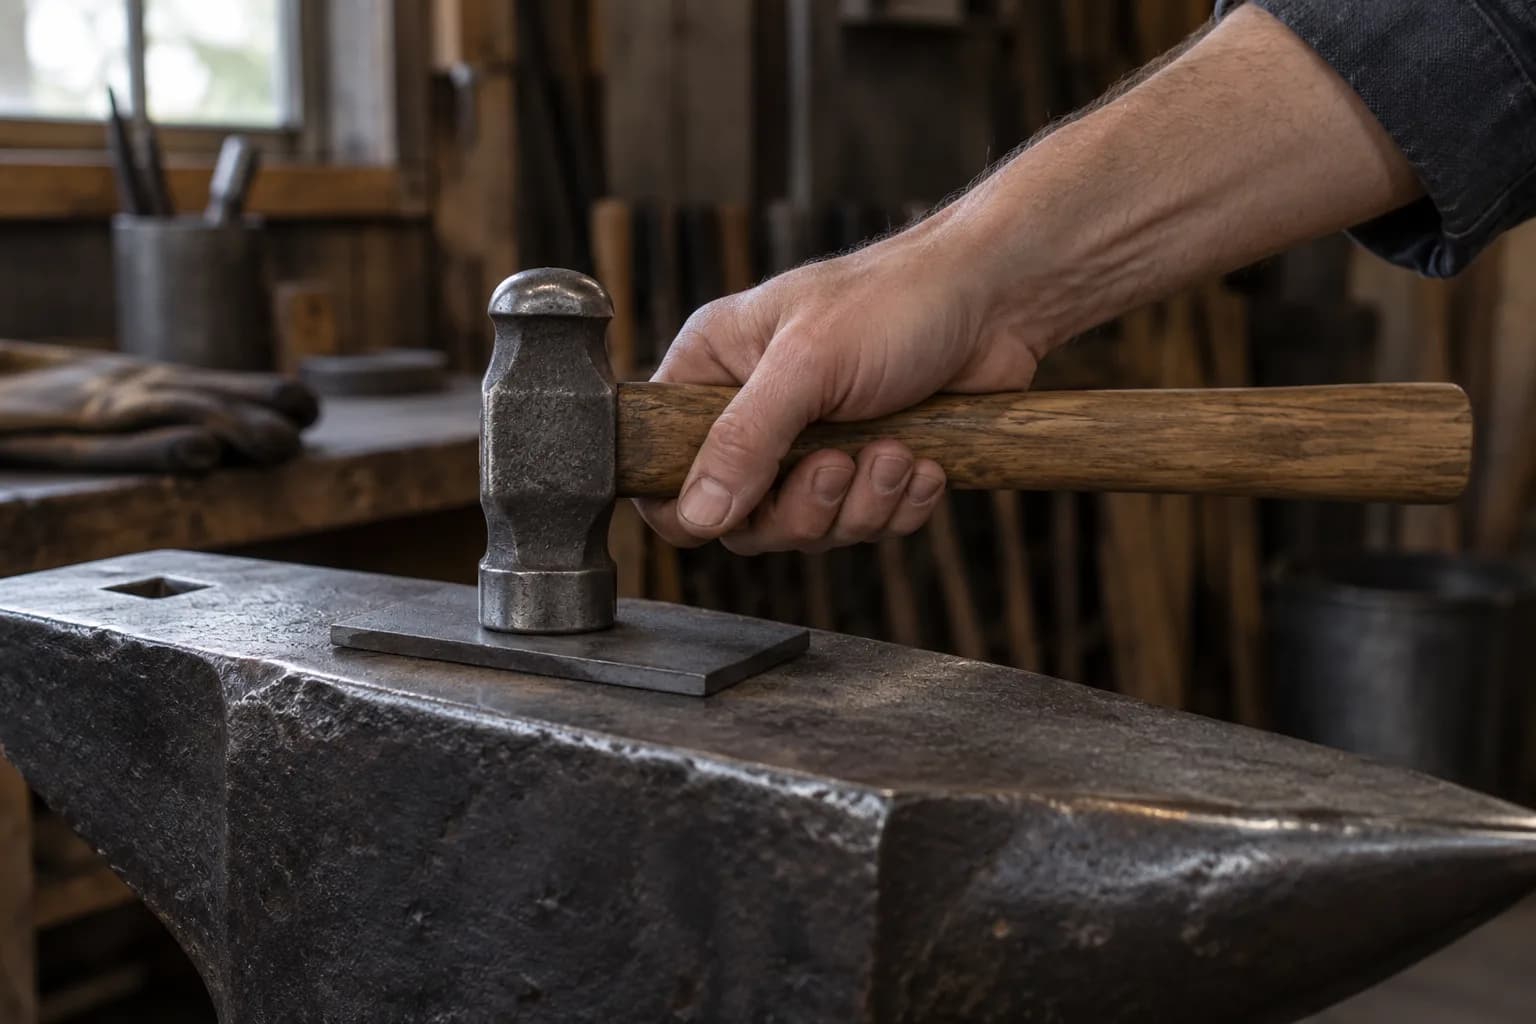
Lift with the shoulder and whole arm — not a forearm flick. The two elbow mistakes are a locked elbow (turns your arm into a crowbar that hammers your own joint) and a flared chicken-wing elbow (wanders the blow and loads the shoulder): the elbow stays relaxed, close to the body, moving freely. Let the hammer fall and accelerate it, don’t muscle it — and let the anvil’s rebound throw it back up (a live anvil returns real energy; that’s the point of the ball-bearing test). Rhythm beats fury: moderate blows in cadence out-forge occasional heroic smashes, and they land where you aimed.
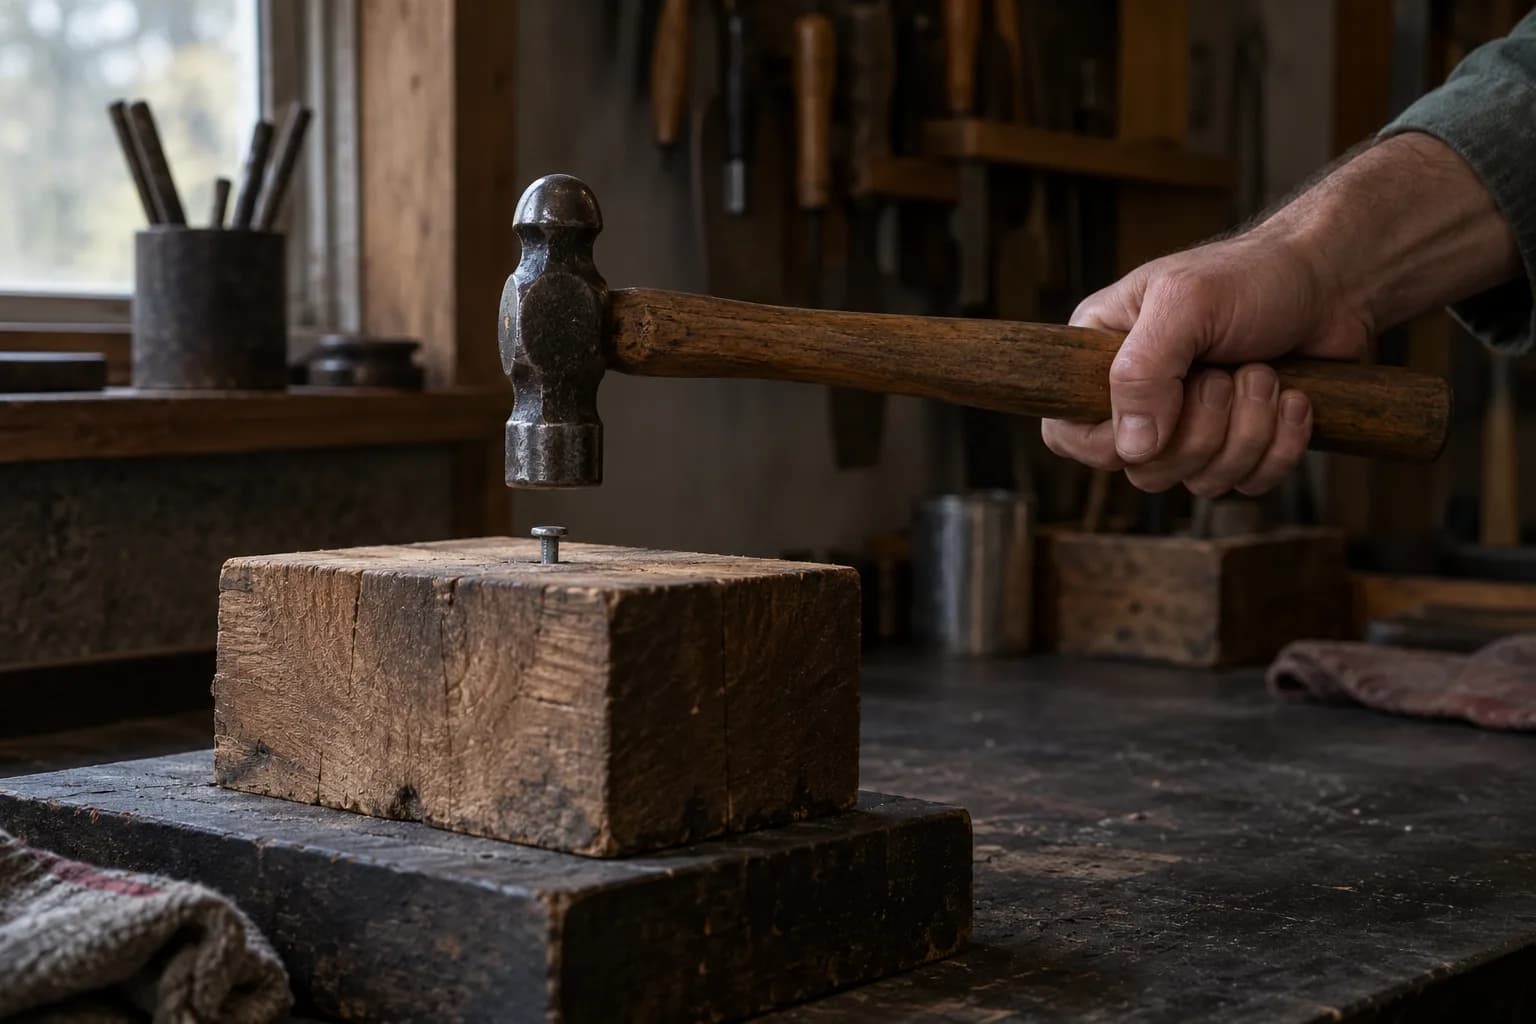
Cold practice is free: chalk an X on the anvil face (or a nailhead in a stump — the classic) and put fifty relaxed blows on it before the forge is even lit. Watch the work, not the hammer — your hand follows your eyes. Accuracy earned cold means hot steel gets moved on purpose: every blow that lands where the last one did is a blow you don’t grind out later (uneven hammer texture is future hand sanding).
Keep reading
Three more from the same bench.
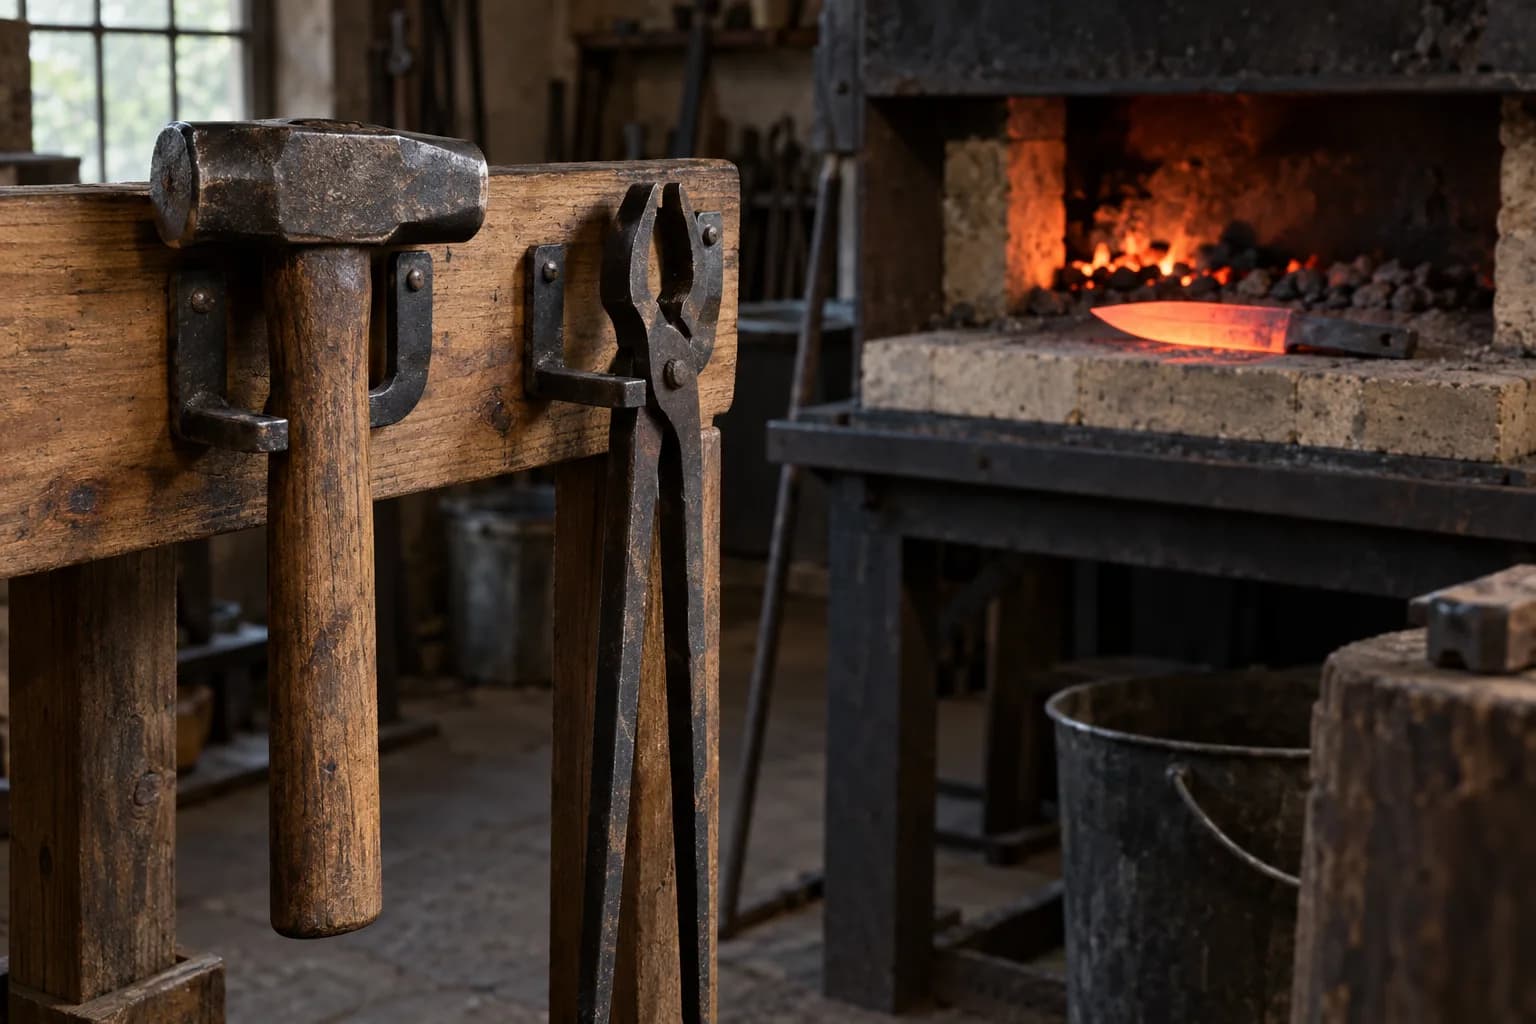
Forging a knife is not sculpting with sparks — it’s a sequence, and once you know the sequence, every session has a plan. This guide walks a first forged…
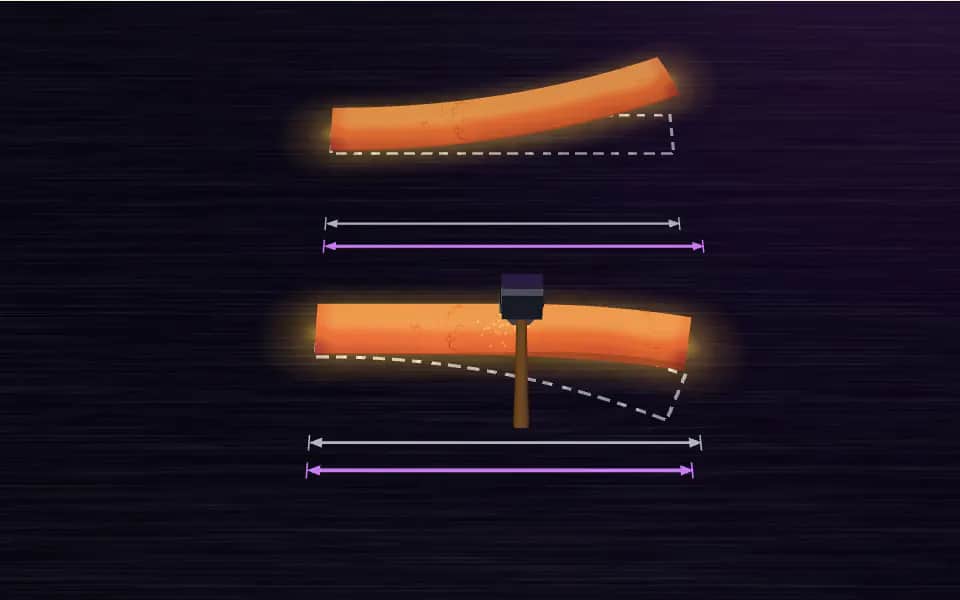
Bevels are where forging stops being blacksmithing and starts being bladesmithing — and where every new smith meets the same betrayal: you forge beautiful…
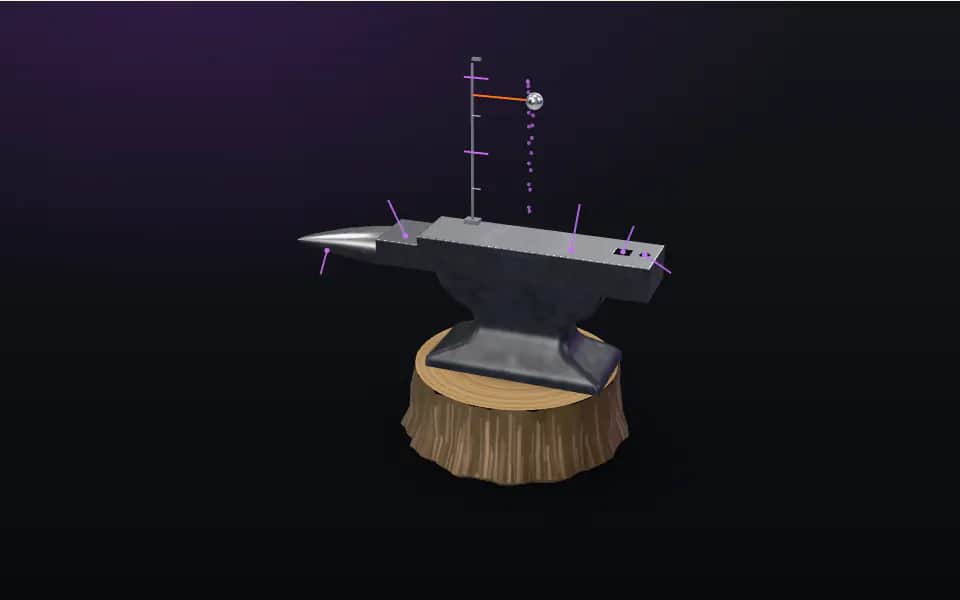
Nobody ever quit knifemaking because their anvil was too small — plenty quit because they spent the whole budget on a 250-pound showpiece and had nothing…
Same bench
I machine the parts, hand-assemble, track and test Torus grinders in Sterling, Illinois. Most orders ship in seven to ten business days from time of order.

Current dual-axis platform with a fiber-laser-cut 6061 chassis and single-knob tracking.

Current dual-axis platform with a steel chassis, more mass and less vibration.

Prior-design aluminum chassis, 90-degree tilt and 1.5-inch tooling arms.

One-man shop
I answer my own email. Tell me the steel, the machine and what it is doing, and I will tell you what I would try next.