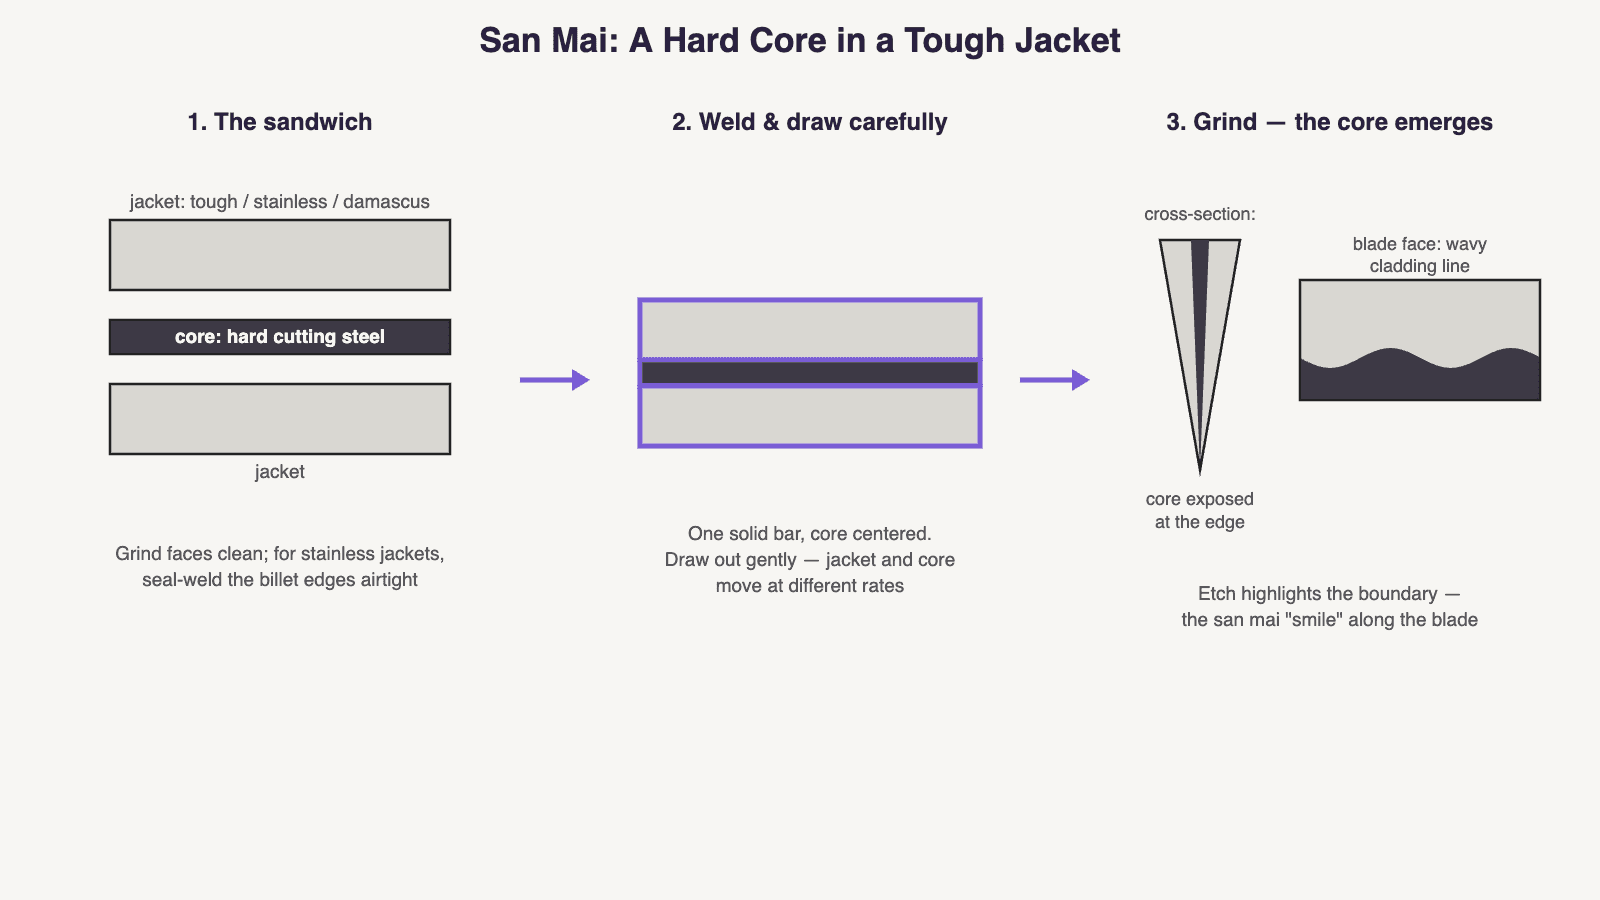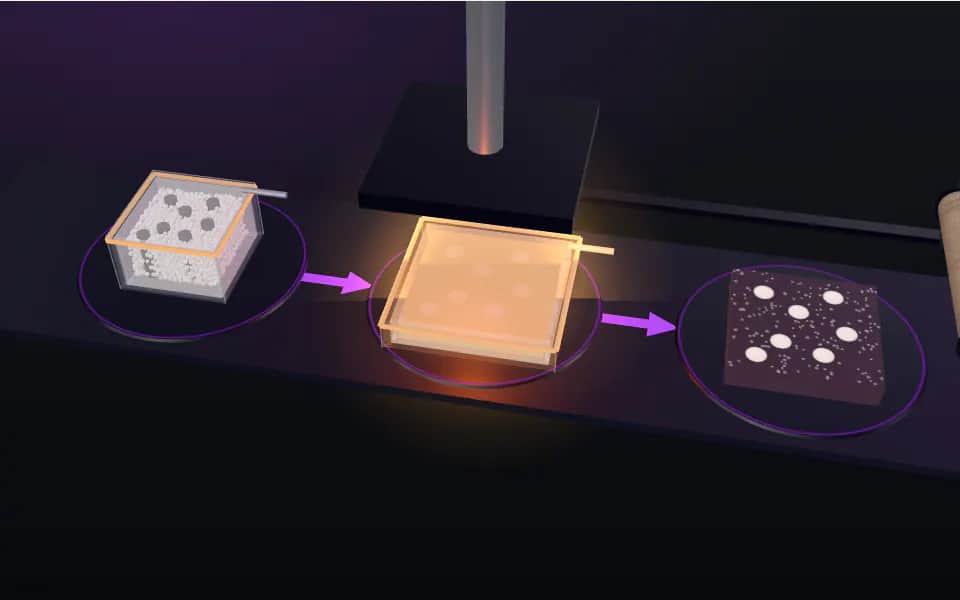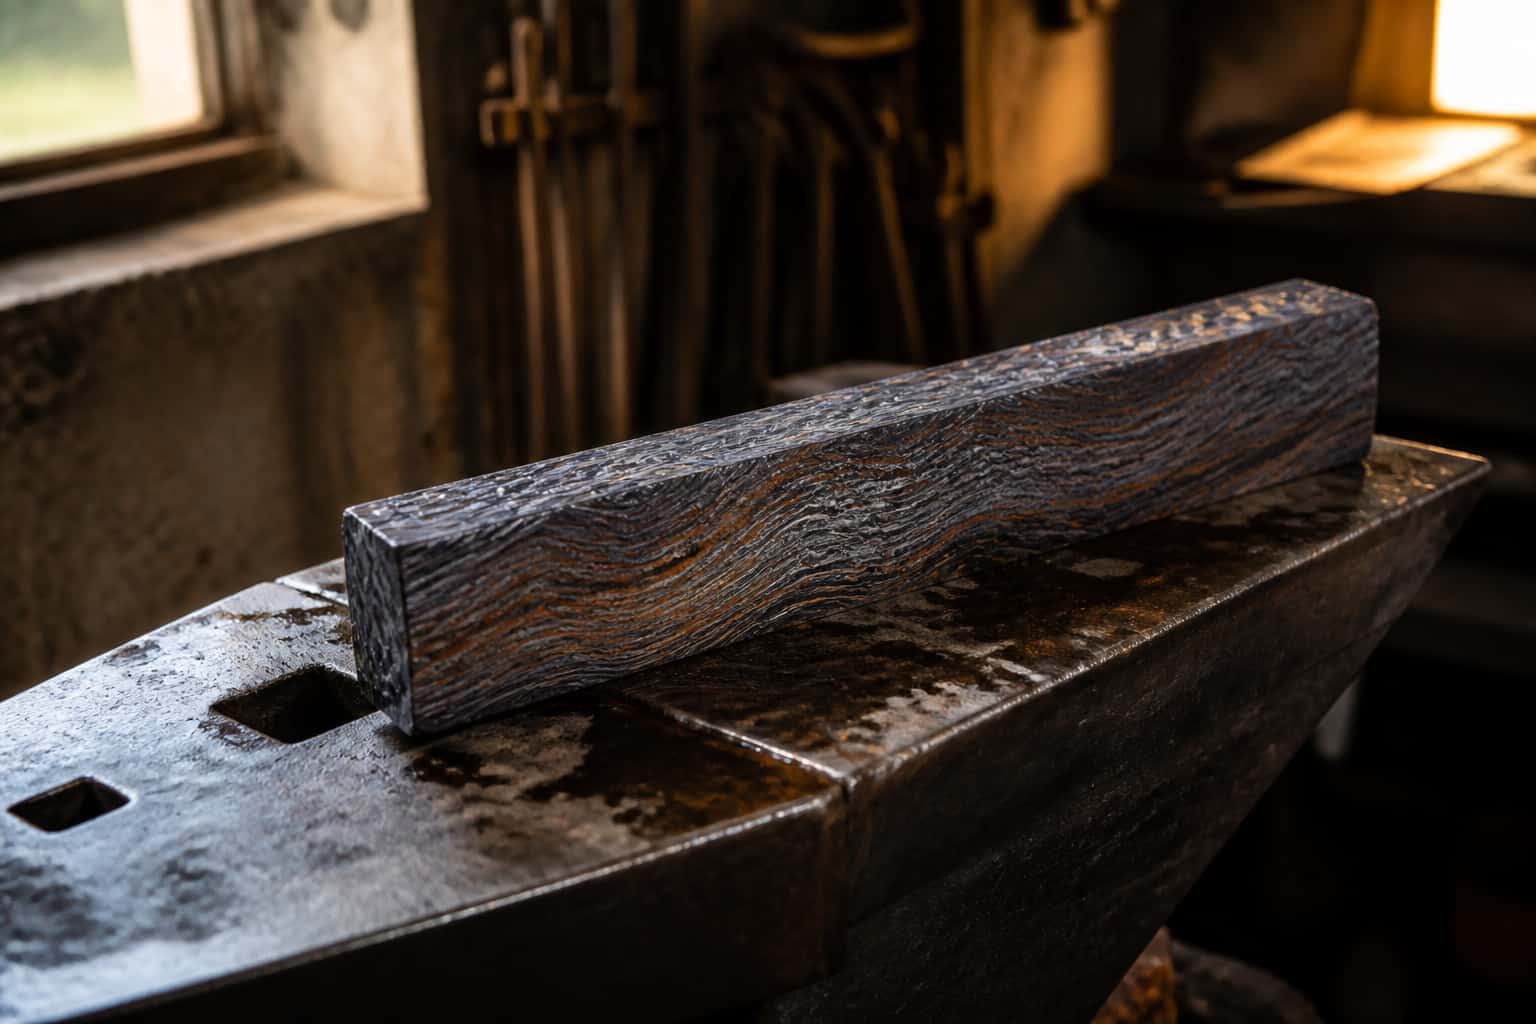
Diagram: san mai construction — a hard core steel sandwiched between tough jacket layers, forge welded, then ground so the core emerges at the edge with a wavy cladding line on the blade face

Damascus & Pattern Welding

San Mai Construction: A Hard Core in a Tough Jacket

San mai step by step: core and jacket pairing, seal-welding stainless cladding, carbon migration, keeping the core centered, and the reveal.

3 min readWritten by Rich LinvilleFree to read

San mai — Japanese for “three layers” — is the construction behind most high-end Japanese kitchen knives and a favorite of custom makers everywhere: a hard, high-performance core steel that does all the cutting, wrapped in a tough, forgiving jacket that does the protecting. Unlike the layered damascus billet, where the pattern is the point, san mai is engineering first and beauty second: the core can run harder (and more brittle) than a solid blade safely could, because the jacket carries the structural load. The beauty — that wavy cladding line along the blade — comes free.
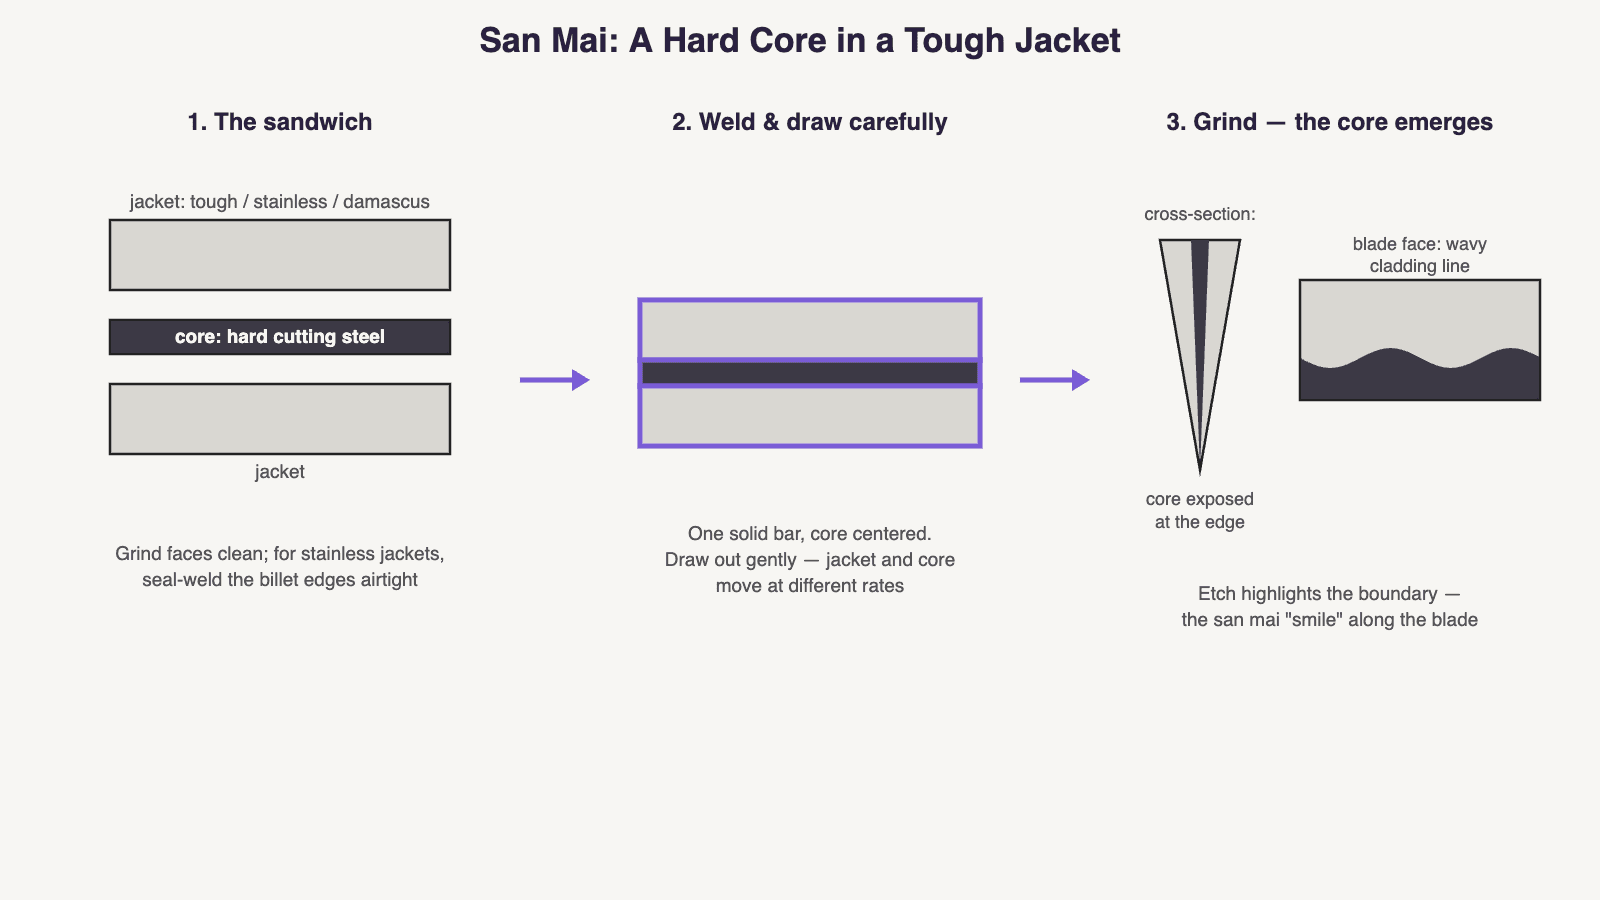
San Mai: A Hard Core in a Tough Jacket

  1. 1. The sandwichGrind faces clean; for stainless jackets, seal-weld the billet edges airtight
  2. 2. Weld & draw carefullyOne solid bar, core centered. Draw out gently — jacket and core move at different rates
  3. 3. Grind — the core emergesEtch highlights the boundary — the san mai "smile" along the blade
  • jacket: tough / stainless / damascus
  • core: hard cutting steel
  • jacket
  • cross-section:
  • core exposed at the edge
  • blade face: wavy cladding line
Three layers: hard core centered, tough jacket outside, core exposed only at the edge.

Choosing the Pairing

  • Core: chosen purely for edge performance — 1084, 1095, 26C3, White/Blue paper steels in the Japanese tradition, or 52100. Hardness and edge retention are the whole job (see why hardness matters).
  • Jacket: chosen for toughness, corrosion resistance, and looks — mild steel (easy, classic, patinas), wrought iron (gorgeous grain), 410/416 stainless (low-maintenance flats), or your own pattern-welded damascus for a showpiece.
  • Go mai (“five layers”) adds a thin intermediate layer each side — often nickel for a bright accent line, or pure iron as a buffer.

Step by Step

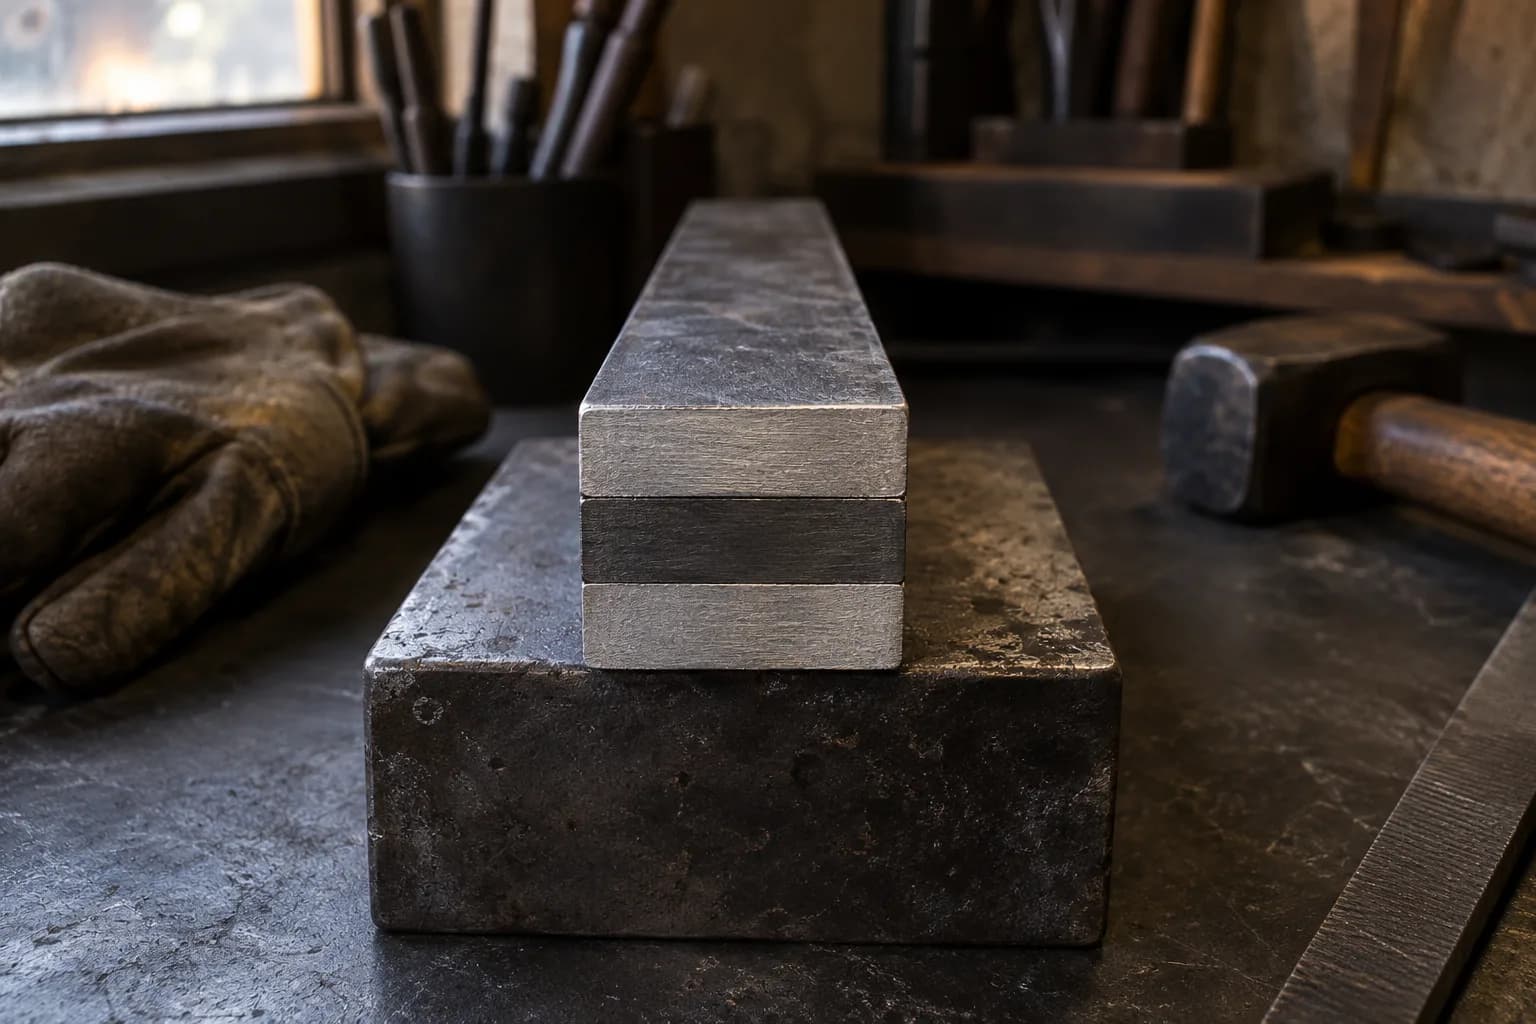
  1. Stack with the core centered — jacket, core, jacket — with the core roughly a third of total thickness. Grind all mating faces clean and flat; a wandering core placement telegraphs directly into an off-center edge later.
    Three flat steel strips stacked tight on a steel block, dark core between two lighter jackets, seen end-on in a small shop.
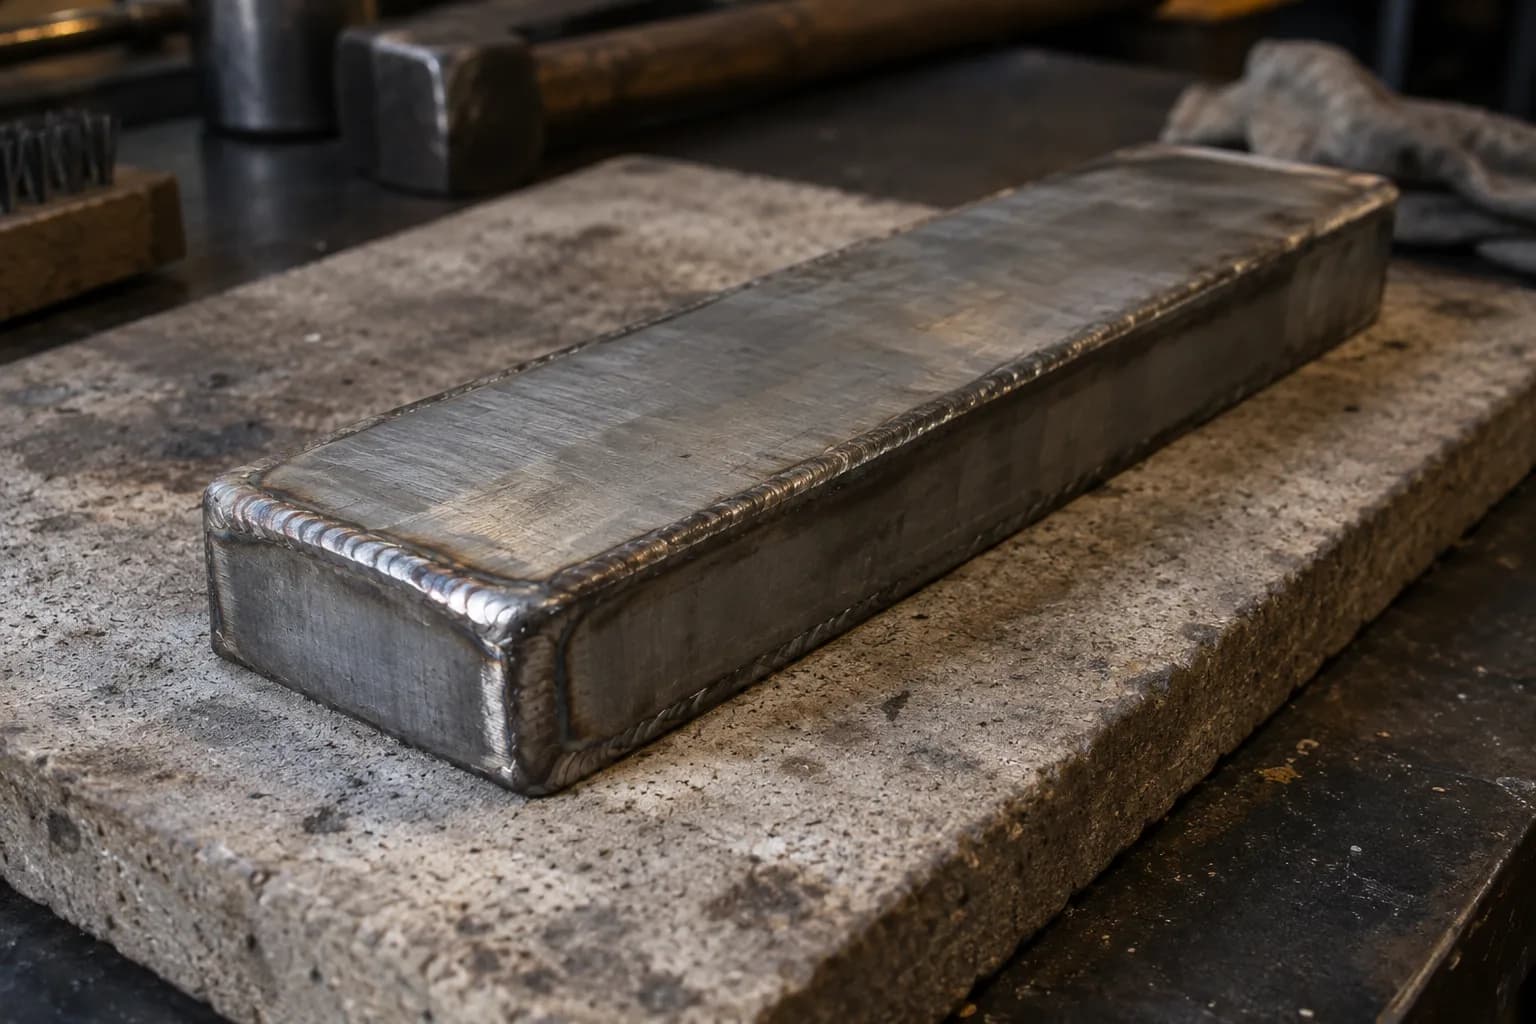
  2. Seal it, especially for stainless jackets. Carbon-jacket san mai welds like normal damascus (flux or dry). Stainless cladding is different: chromium oxide forms instantly at heat and refuses to weld, so the standard method is seal-welding the billet’s entire perimeter airtight (MIG bead all the way around — check for pinholes) so no oxygen reaches the interfaces. Many makers add a vent hole… then weld it shut after the first heat.
    Cold gray san-mai billet on a refractory slab with a continuous weld bead sealing the top edge and end.
  3. Forge weld with a long soak at normal welding heat, firm blows or press. One good weld cycle is usually enough — there are only two joints.
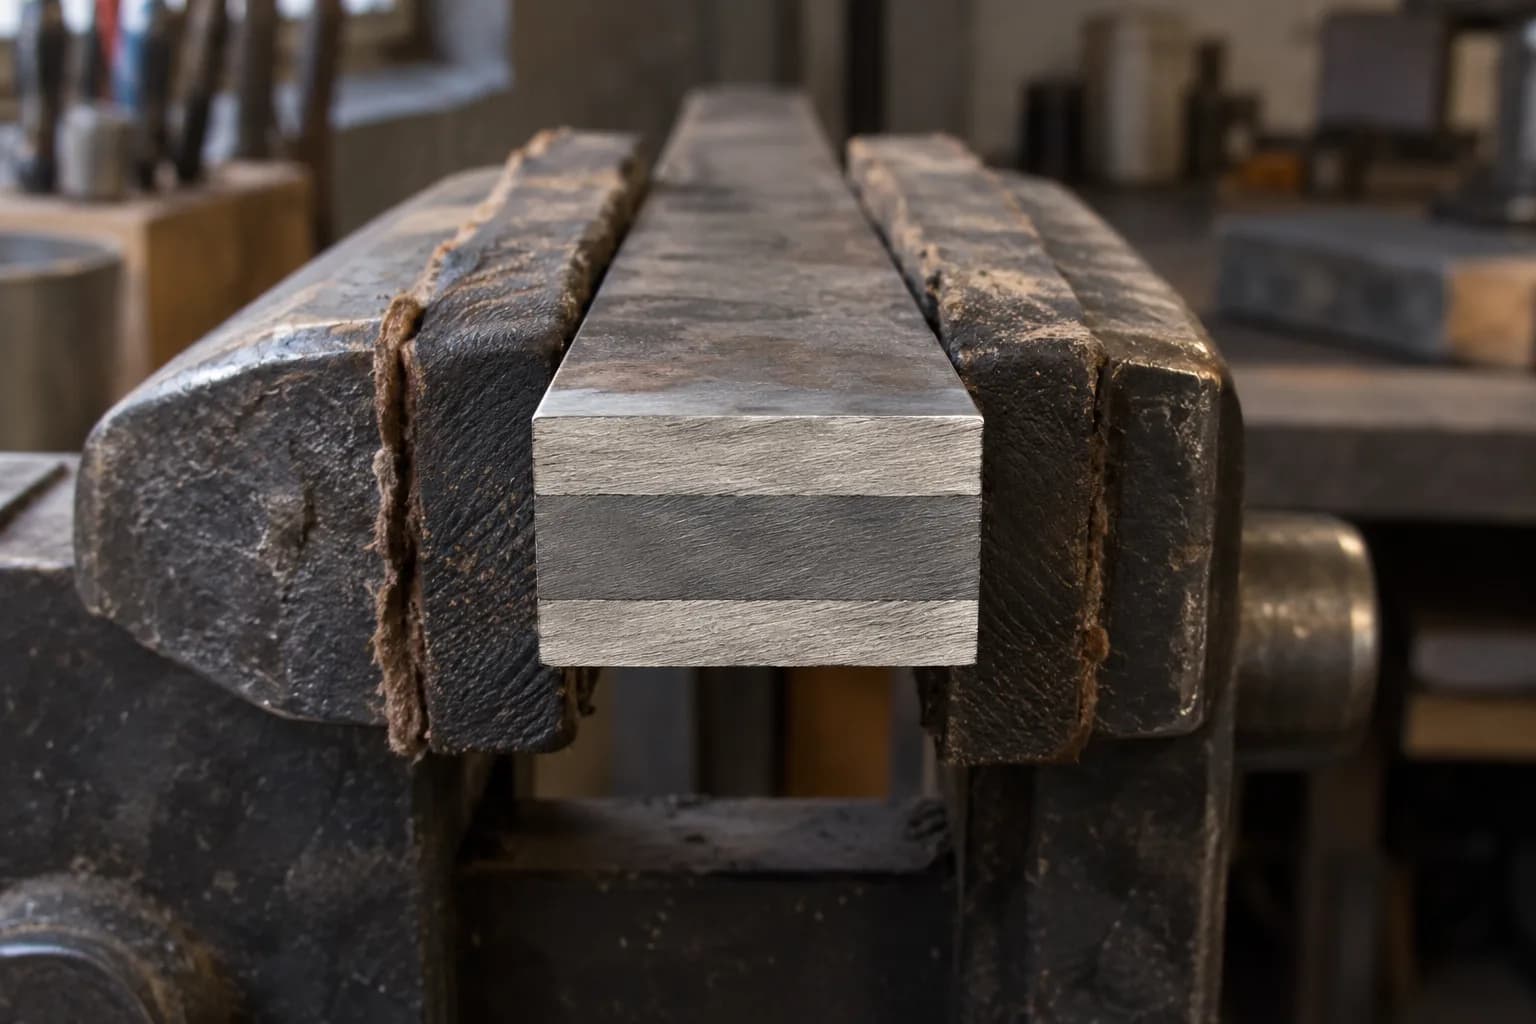
  4. Draw out gently. The core and jacket move at different rates under the hammer (different alloys, different hot strength). Aggressive drawing makes the core wander, wave, or pinch out entirely. Modest bites, frequent flips, and check the bar’s ends — the core position is visible there — as you go.
    Square-cut end of a drawn bar in padded vise jaws, with a dark core band centered between two lighter jacket bands.
  5. Know about carbon migration, don’t panic about it. At welding and forging heats, carbon diffuses from the high-carbon core toward carbon-poor cladding, softening the boundary zone. In practice: minimize total time at high heat, and leave enough core thickness that the final edge lives in un-depleted steel. It’s a real effect with a practical answer — margin.
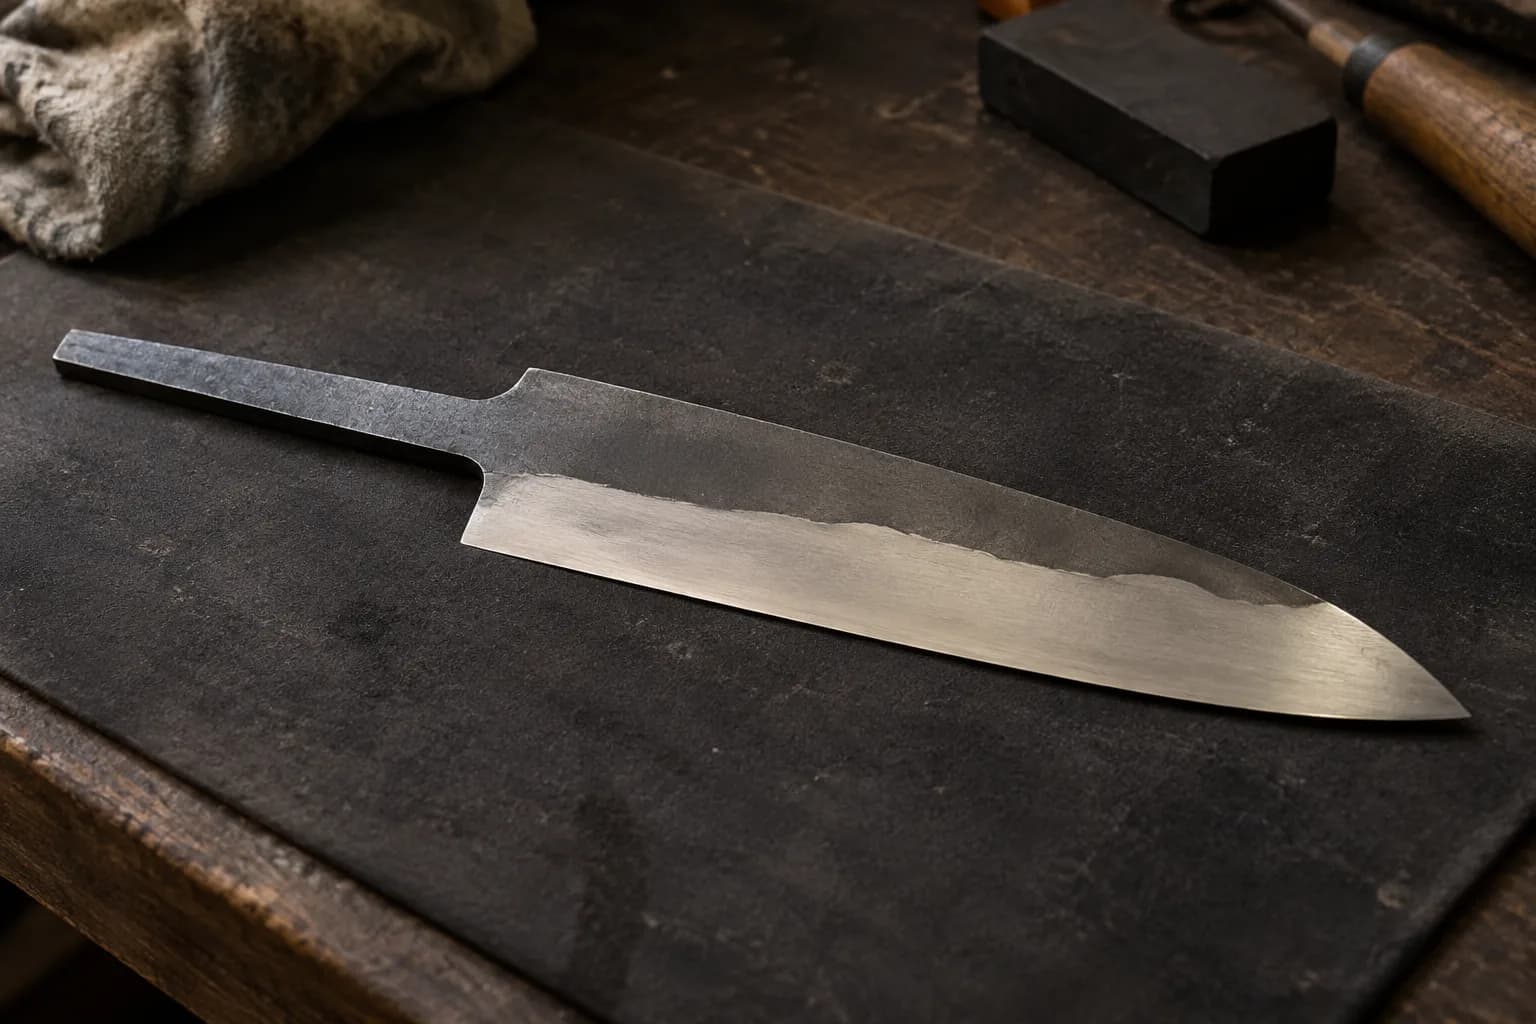
  6. Grind the bevels — this is the reveal. The jacket dominates the flats; the core emerges along the edge, and the boundary between them draws that signature wavy line (its shape is a map of exactly how you forged).
    Ground kitchen-knife blank on a dark pad, with a bright edge band below a wavy line separating it from the darker flat.
  7. Heat treat for the core steel. The core is the blade; harden and temper on its recipe (guide). Note that mismatched steels can pull a san mai blade into a curve at the quench — clamp-straightening during the temper is standard practice, not failure.
  8. Etch or polish. Even a light etch pops the cladding line; a full etch with a damascus jacket is spectacular.

Why Makers Love It

San mai lets you sell (or use) a blade with a scary-hard core and a forgiving body — the jacket resists the lateral abuse that would snap a solid blade at the same edge hardness. It’s also the gateway to composite construction generally: once you can keep a core centered, damascus-clad san mai and canister work are next doors down the same hallway.

Sources

Keep reading

Read these related guides

Three more from the same bench.

Same bench

Put the reference to work

I machine the parts, hand-assemble, track and test Torus grinders in Sterling, Illinois. Most orders ship in seven to ten business days from time of order.

  • Classic aluminum 2x72 grinder, side view with flat-platen tool arm and yellow Safety Rules label, on black with a purple glow

    Torus 2×72 Classic Aluminum Belt Grinder

    Prior-design aluminum chassis, 90-degree tilt and 1.5-inch tooling arms.

    Starts at$995View

One-man shop

Still stuck? Ask me.

I answer my own email. Tell me the steel, the machine and what it is doing, and I will tell you what I would try next.