
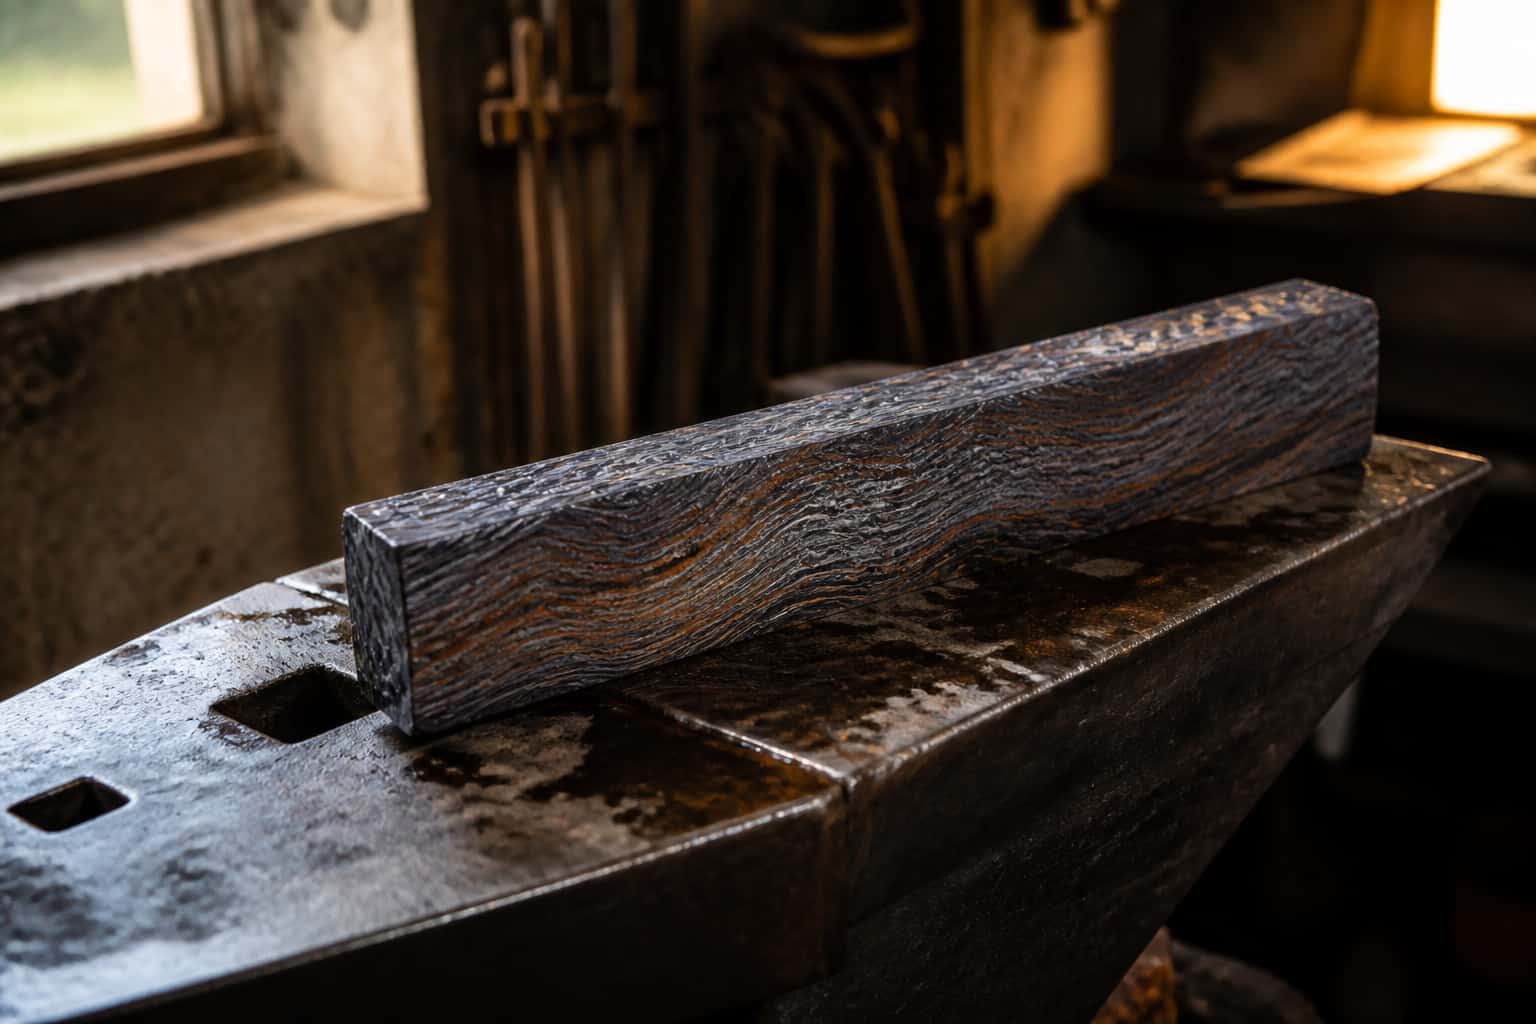
Damascus & Pattern Welding
How Damascus Is Actually Made: Your First Pattern-Welded Billet
Modern “damascus” is pattern-welded steel: two different steels stacked, forge welded into one solid billet, and manipulated so that grinding and etching…
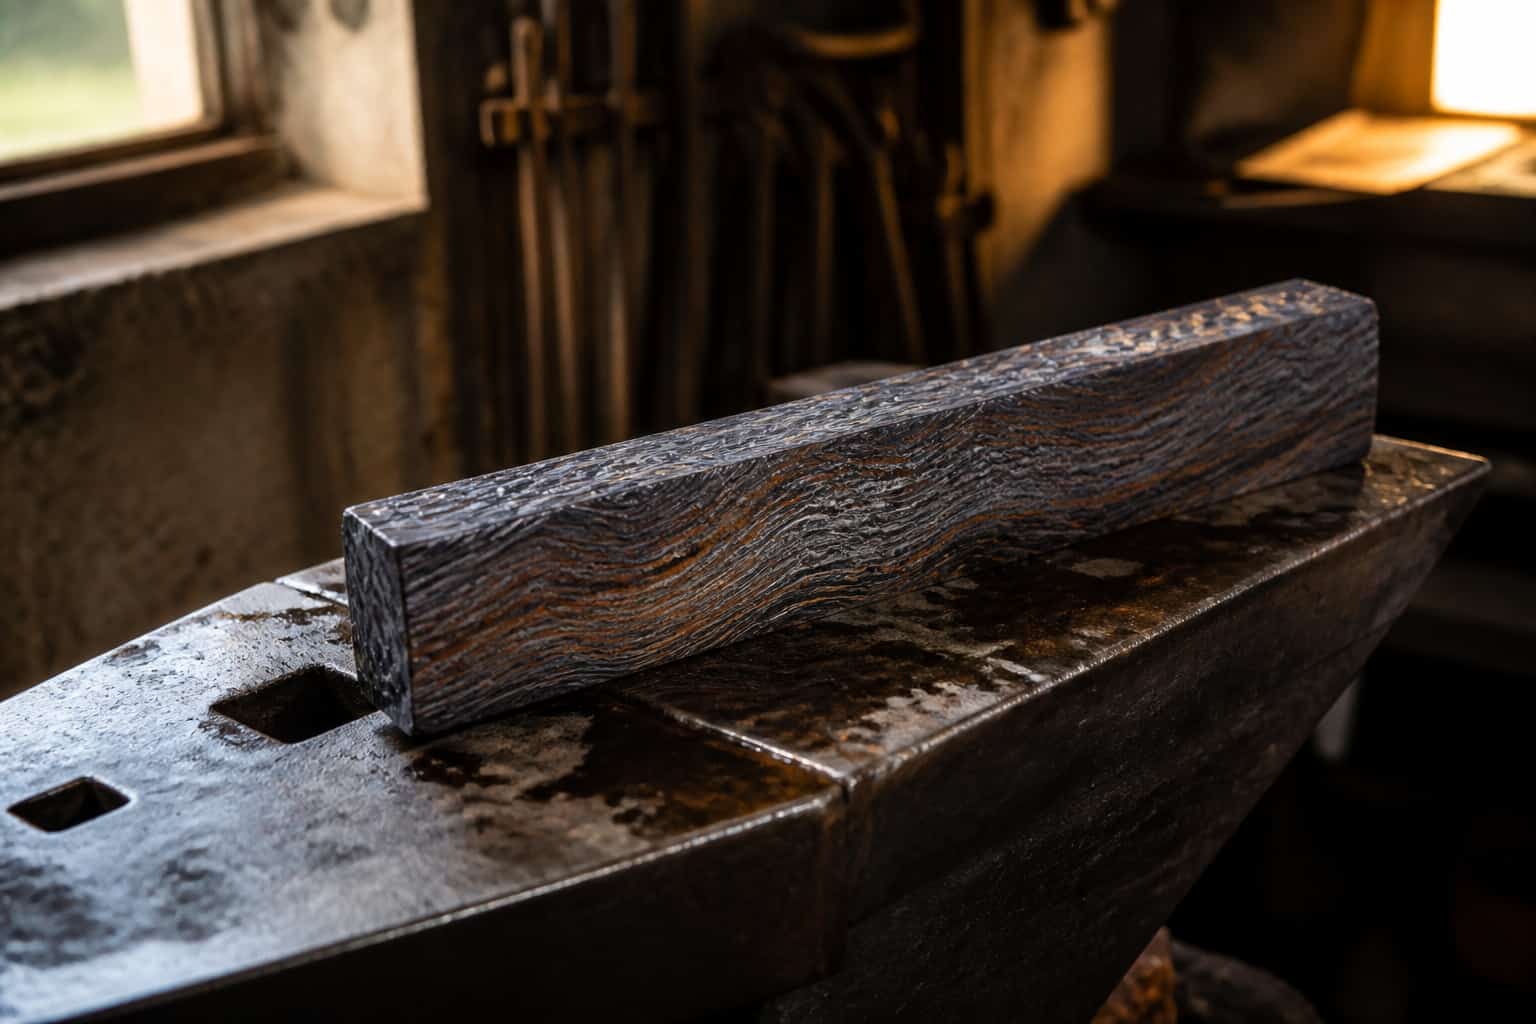
Damascus & Pattern Welding
How to make cable damascus: choosing non-galvanized wire rope, the twist-tighter rule, flux-heavy section welding, and the starry etch reveal.
3 min readWritten by Rich LinvilleFree to read
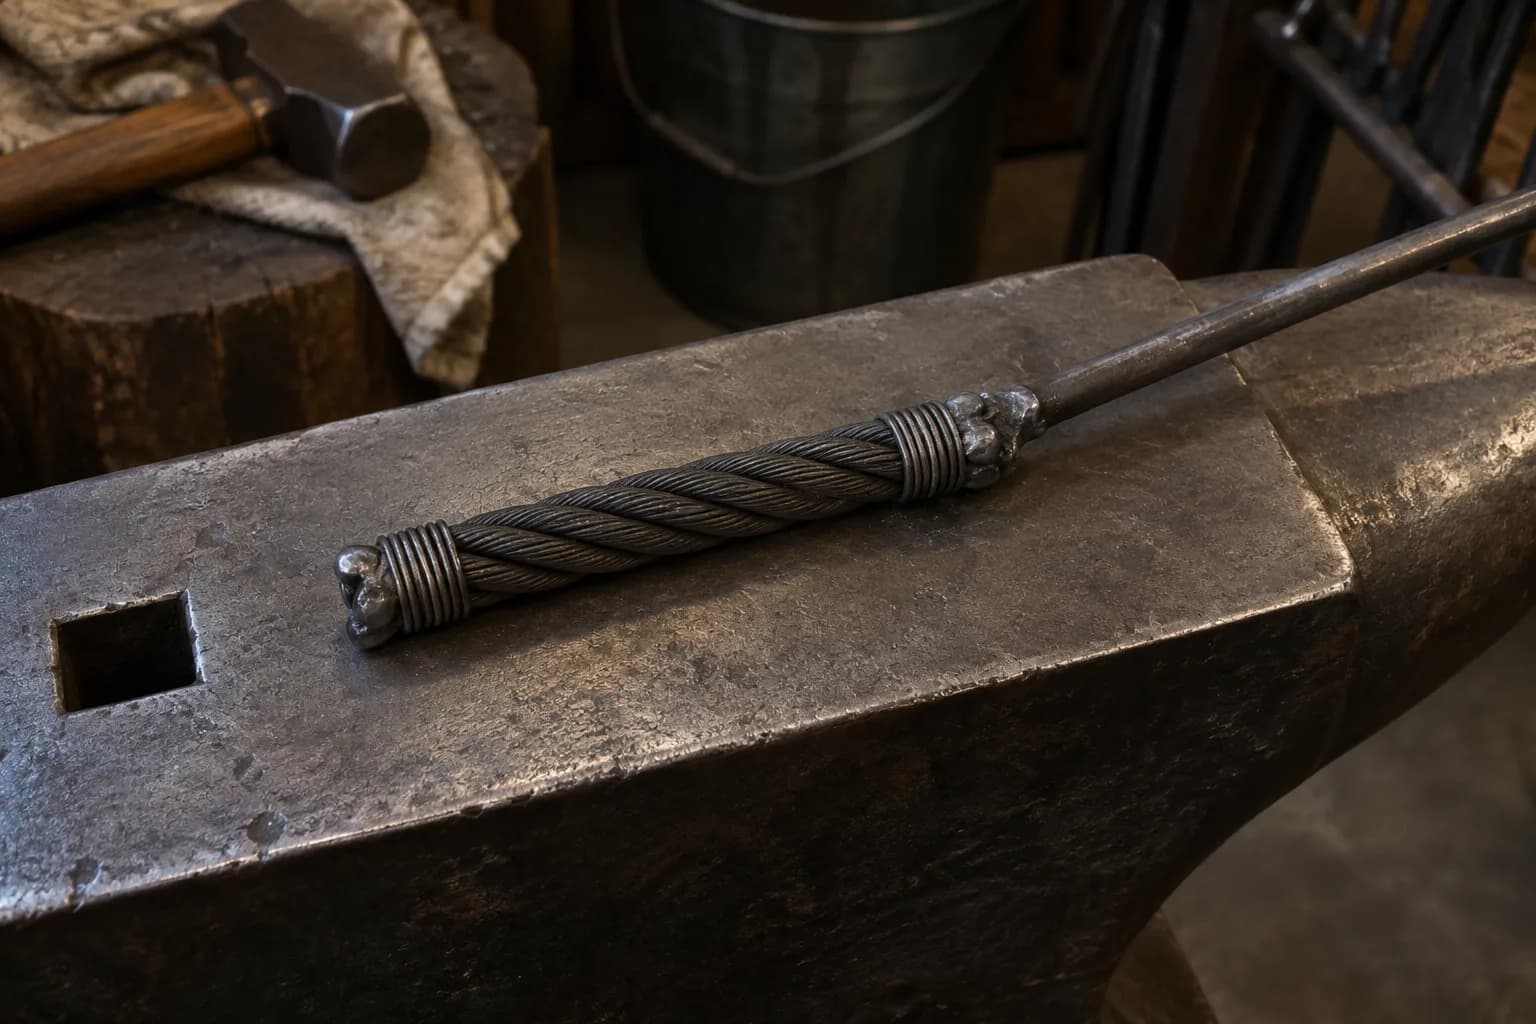
Cable damascus is the friendliest door into pattern welding: no stack to build, no layers to count — the “billet” arrives pre-assembled as a length of scrap wire rope, and the finished blade wears a starry, wood-grain shimmer nothing else produces. It’s the classic first-weld project for a reason, and the full skill set from the damascus fundamentals guide applies in miniature.
Cable damascus is one steel, not two — typically an improved-plow-steel wire rope in the 1070-1080 range. The pattern doesn’t come from contrasting alloys like 1084/15N20 work; it comes from decarburization and oxide boundaries between the individual wires etching differently. Translation: subtler contrast than stacked damascus, gorgeous organic texture, and blade performance that follows the base steel (heat treat it like 1080-class — see the guide).
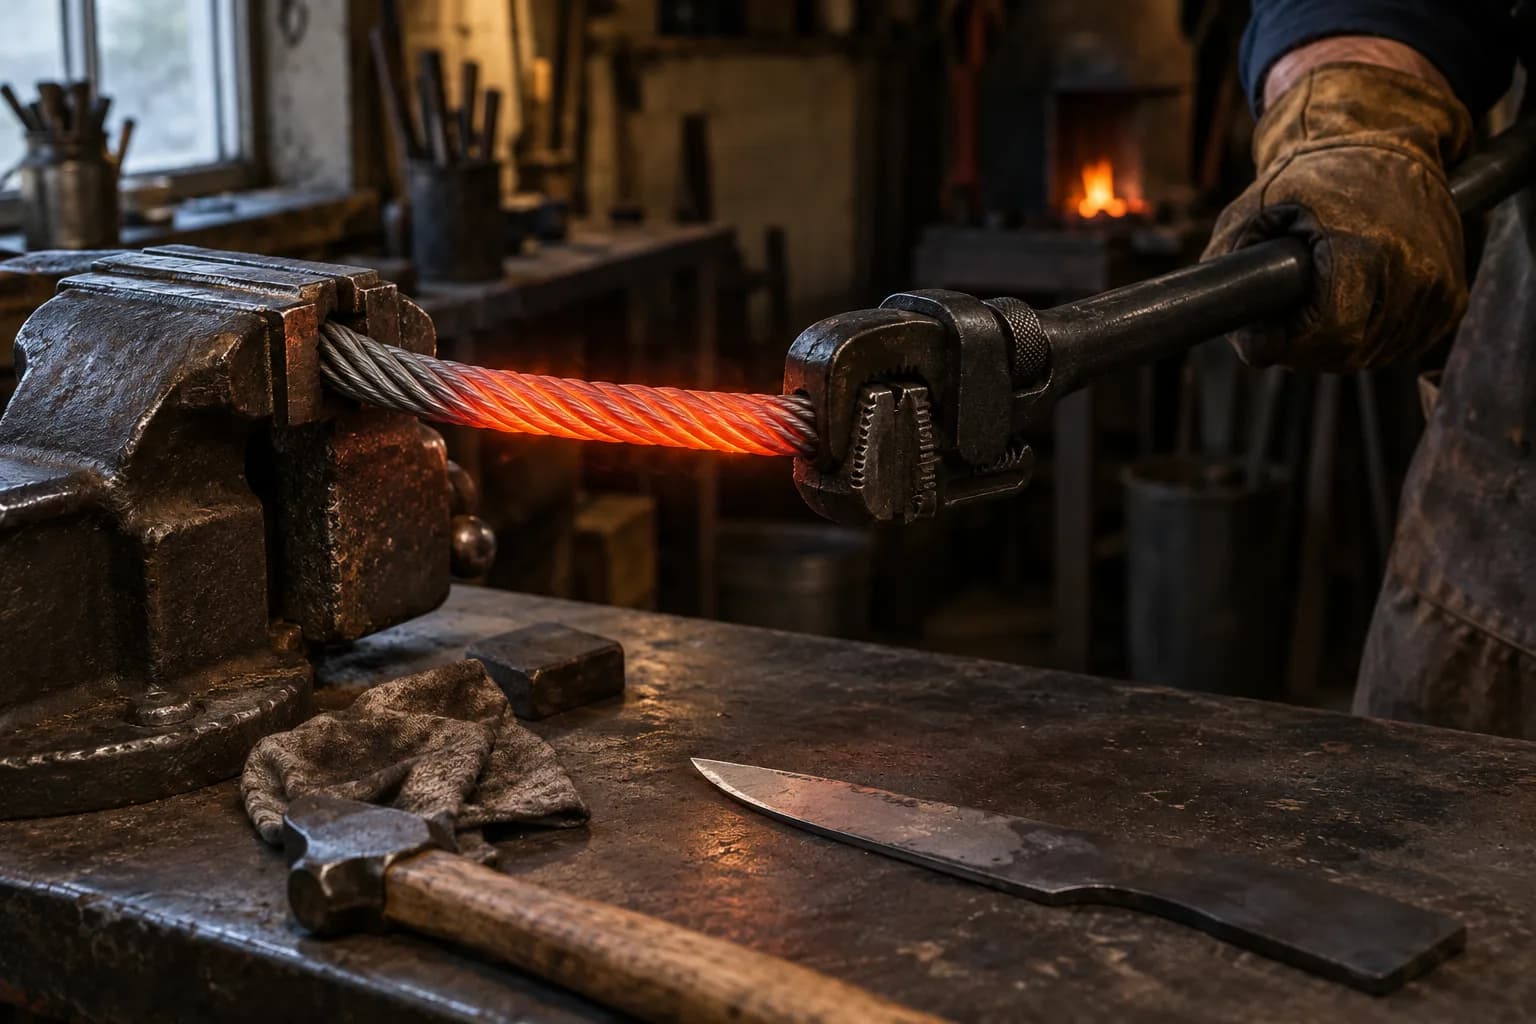
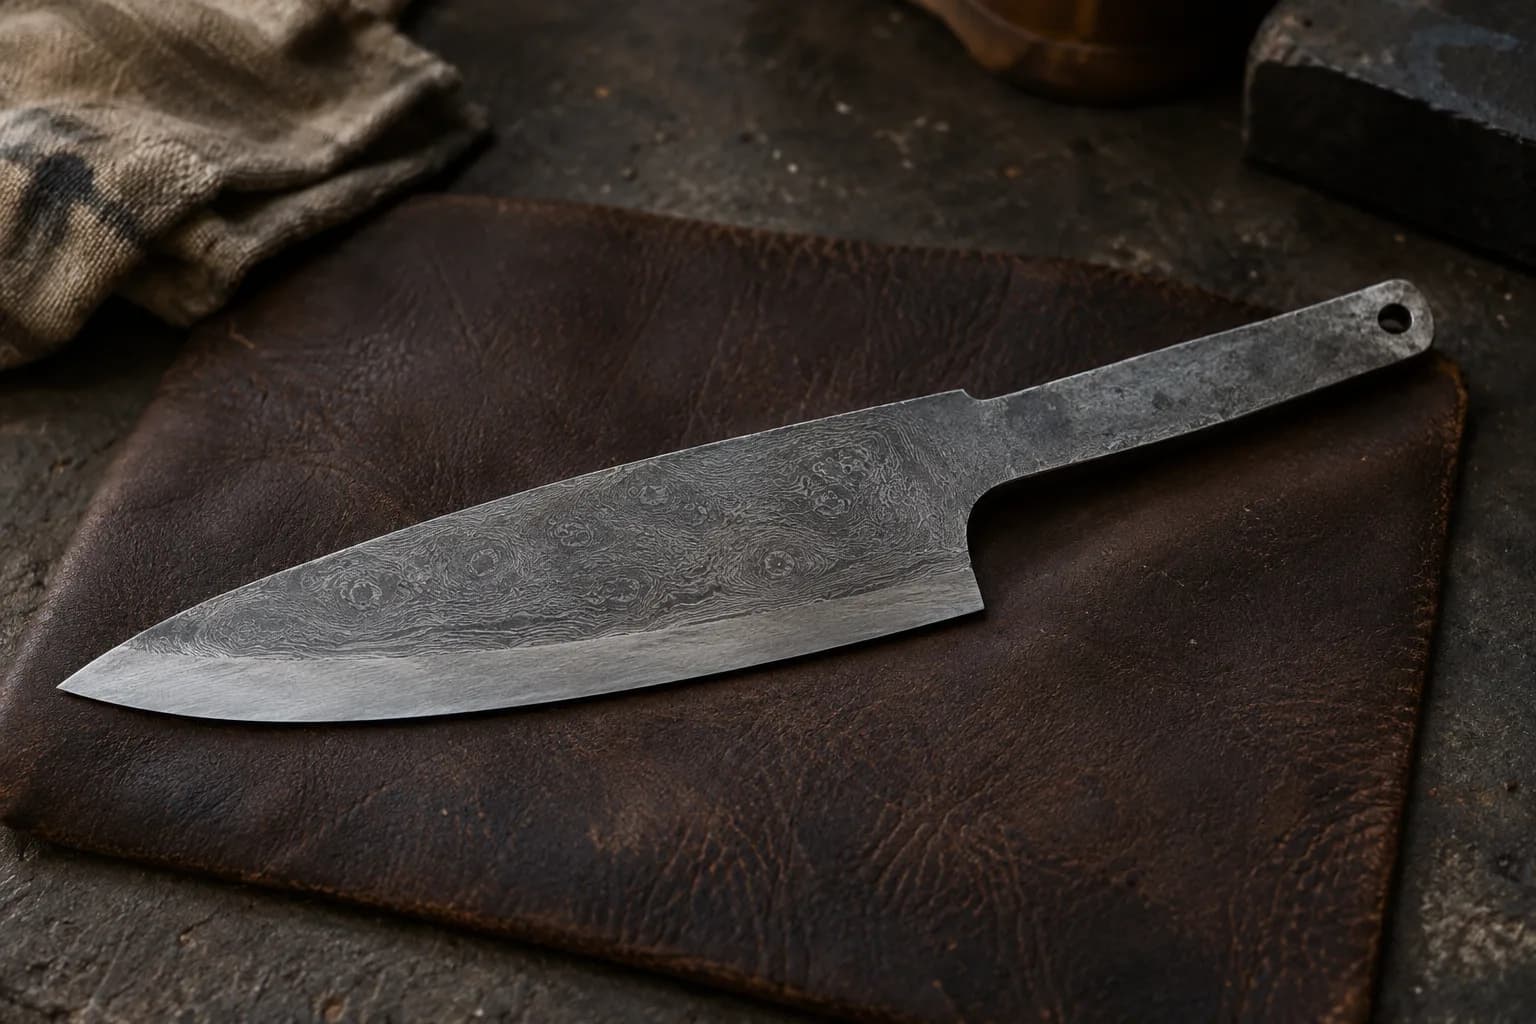
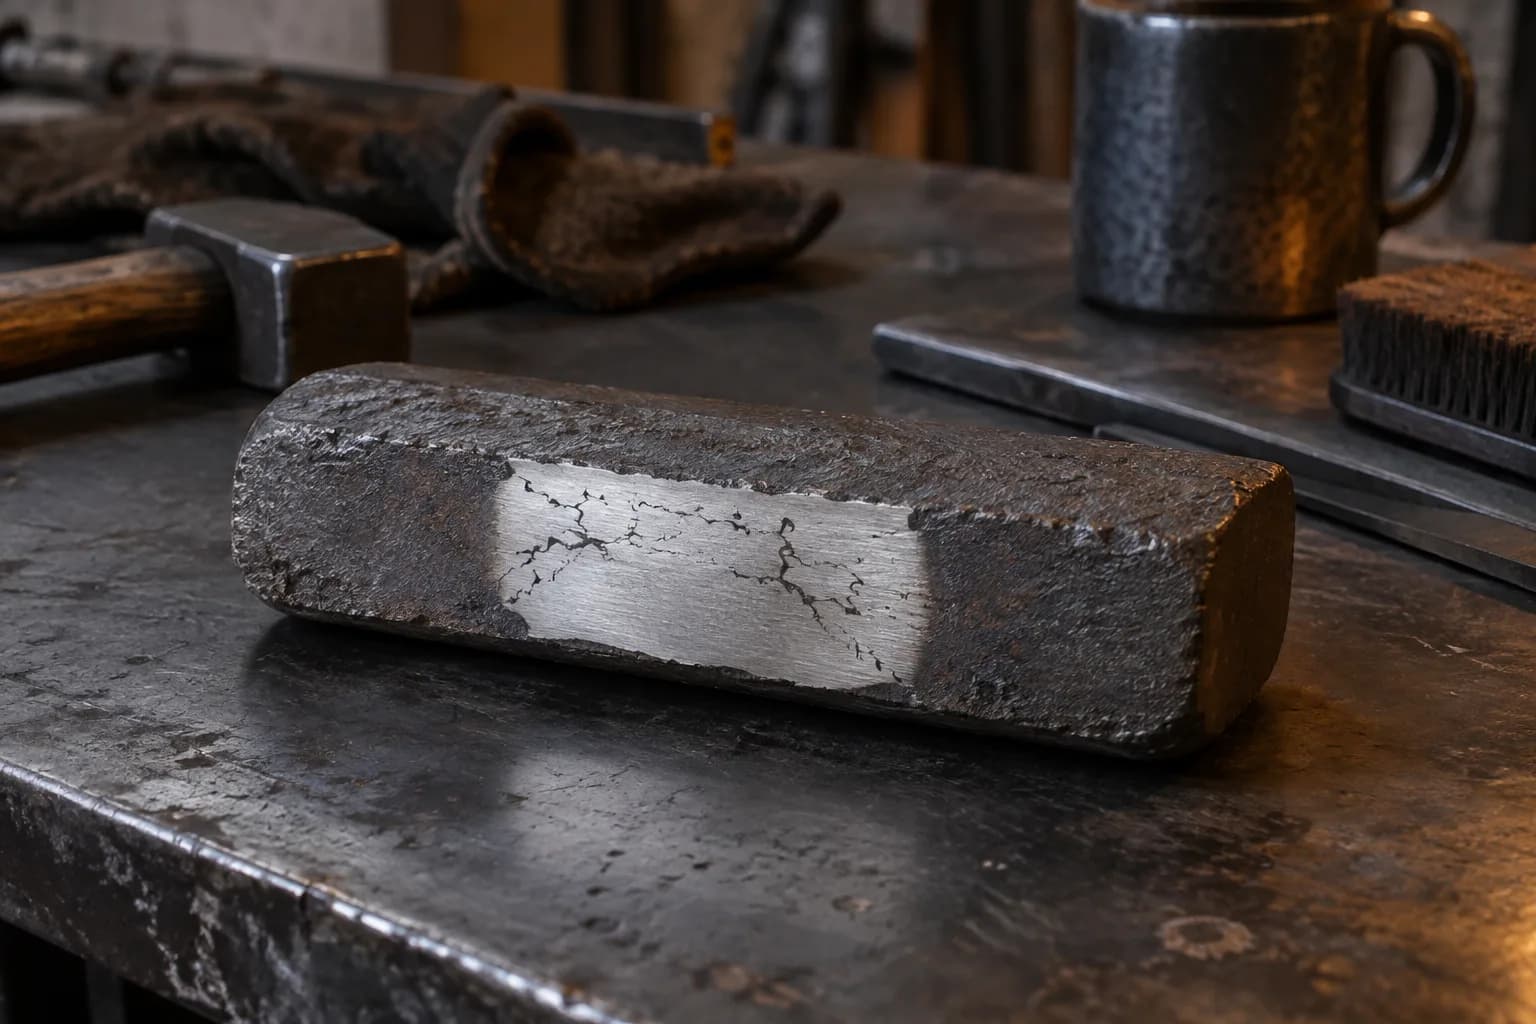
Sparkling gaps after grinding = incomplete welds (usually insufficient heat or dirty wires — re-flux and re-weld while there’s stock). A bar that crumbles at the edges was worked too cold. And a pattern that barely shows just needs a deeper etch — cable’s contrast lives in the etch more than any other damascus type. Expect your first cable billet to teach you; your second to behave; your third to be a knife you’re proud of.
Keep reading
Three more from the same bench.
Modern “damascus” is pattern-welded steel: two different steels stacked, forge welded into one solid billet, and manipulated so that grinding and etching…
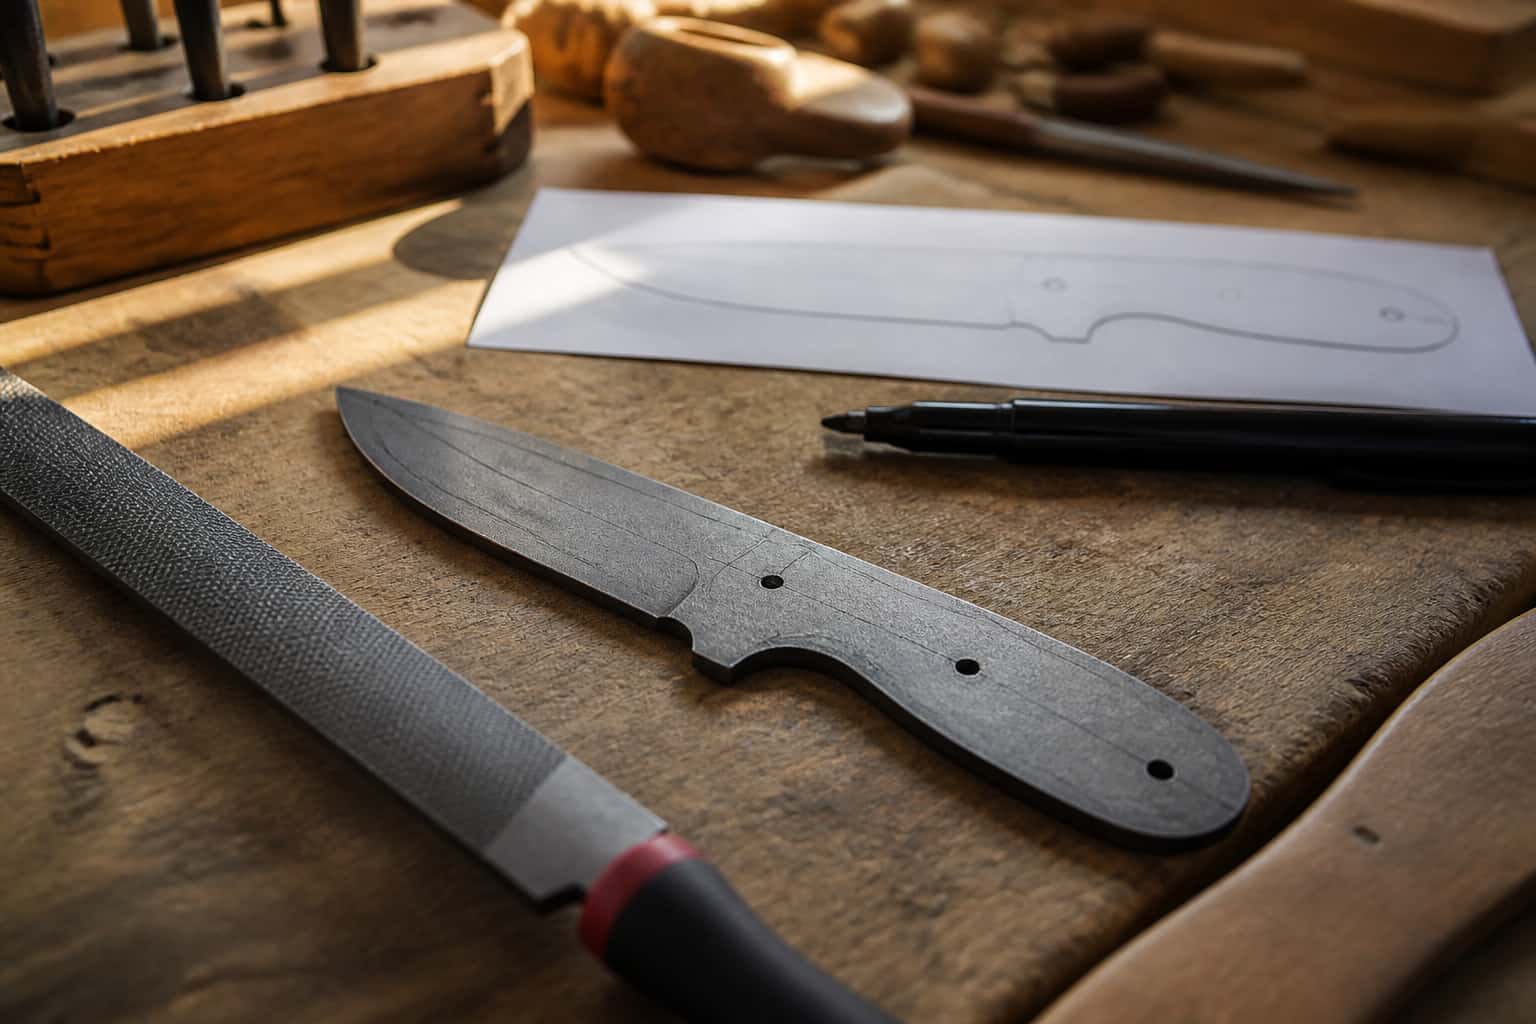
Spend a week on any knifemaking forum and you’ll see the question: “Can I make a knife out of this old file / leaf spring / saw blade?” It’s one of the…

Until it’s etched, a damascus blade is just gray steel with faint ghost lines — every bit of drama comes from the acid. Etching is simple chemistry done…
Same bench
I machine the parts, hand-assemble, track and test Torus grinders in Sterling, Illinois. Most orders ship in seven to ten business days from time of order.

Current dual-axis platform with a fiber-laser-cut 6061 chassis and single-knob tracking.

Current dual-axis platform with a steel chassis, more mass and less vibration.

Prior-design aluminum chassis, 90-degree tilt and 1.5-inch tooling arms.

One-man shop
I answer my own email. Tell me the steel, the machine and what it is doing, and I will tell you what I would try next.