2x72 Grinder Tips
Enhance Your Craft: Customizing with Your 2×72 Grinder
A 2×72 out of the box is a starting point. Here is how I customize mine: belt choices by task, jigs for repeatable bevels, attachments that swap on one arm, and upkeep that keeps it true.
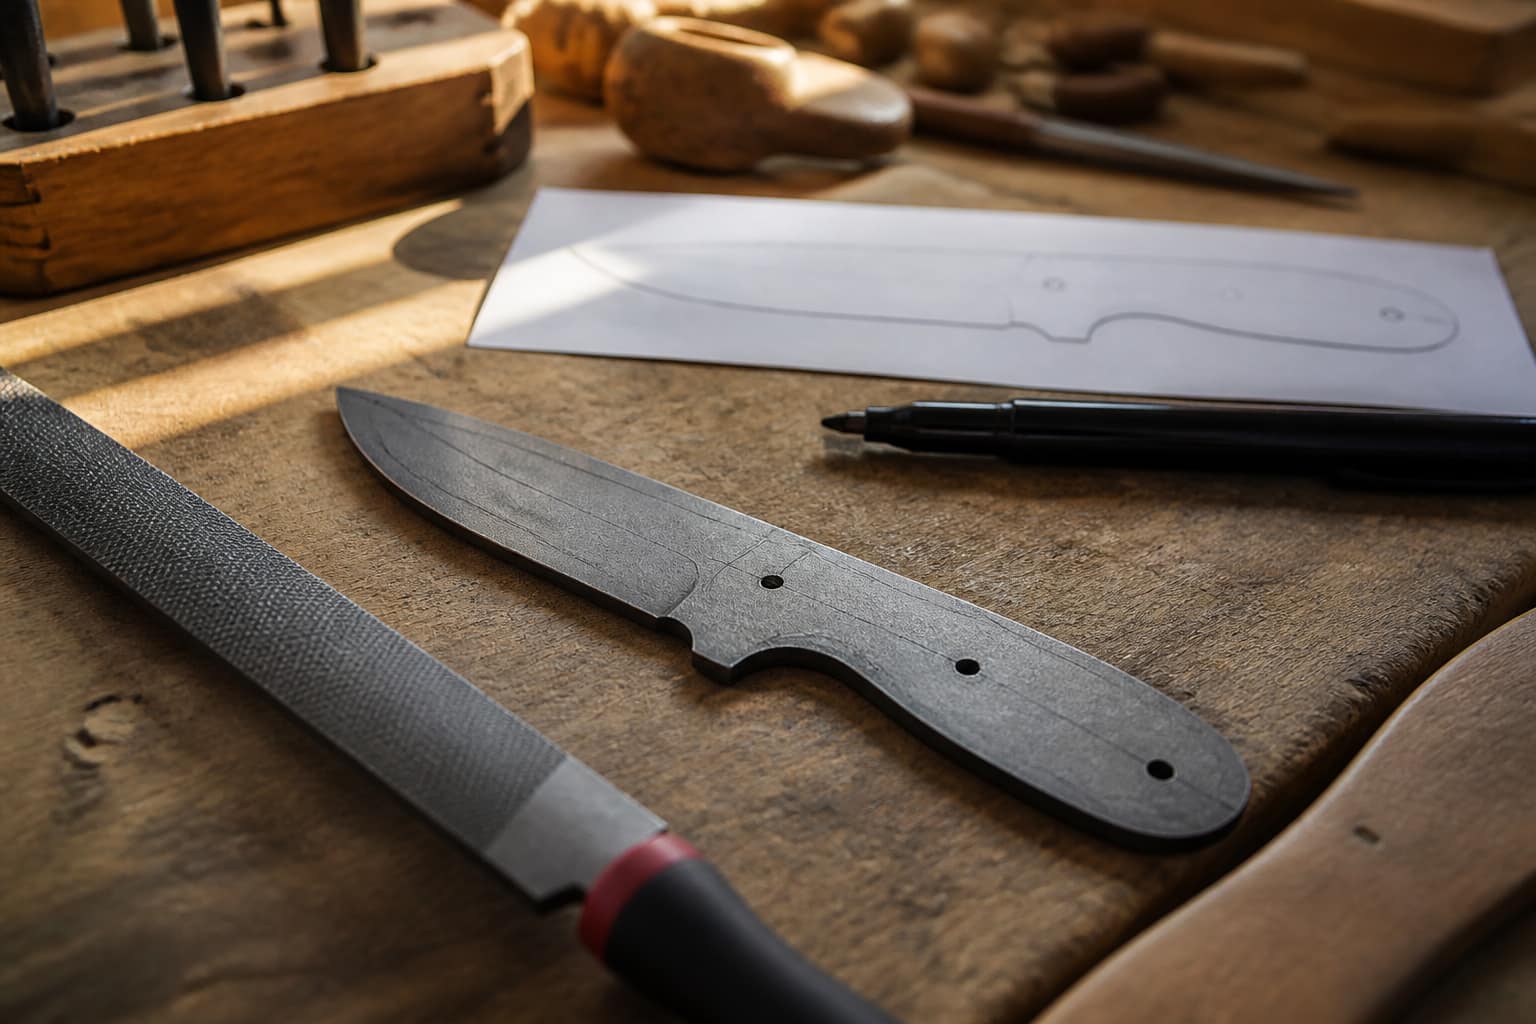
A 2×72 out of the box is a starting point, not a finished shop. The makers who get the most out of theirs tune it to the work: belts chosen by task, a jig or two for the grinds they repeat, attachments that swap on one arm, and a maintenance habit that keeps it all true. Here is how I customize my own grinder, and what I would add first if I were starting over.
Key Takeaways
- Understanding Your 2×72 Grinder:
- Know the different parts and functions of your grinder for efficient use.
- Familiarize yourself with the speed and power settings for different tasks.
- Choosing the Right Belts for Your Project:
- Select the appropriate grit and material for the specific task at hand.
- Understand the different types of belts and their applications for optimal results.
- Customizing Your Grinder for Different Materials:
- Adjust the tension and tracking of the belt to accommodate different materials.
- Consider adding specialized attachments for specific material types.
- Enhancing Precision with Jigs and Fixtures:
- Utilize jigs and fixtures to achieve consistent and accurate results.
- Explore different types of jigs and fixtures for various grinding techniques.
- Safety Measures and Best Practices:
- Always wear appropriate safety gear, including eye protection and gloves.
- Keep the work area clean and free of clutter to prevent accidents.
Choosing the Right Belts for Your Project
Selecting the appropriate belts for your 2×72 grinder is essential for achieving the desired finish on your workpiece. Belts come in various grits, ranging from coarse to fine, each serving a specific purpose in the grinding process. Coarse belts are ideal for heavy material removal and shaping, while finer grits are better suited for polishing and finishing tasks.
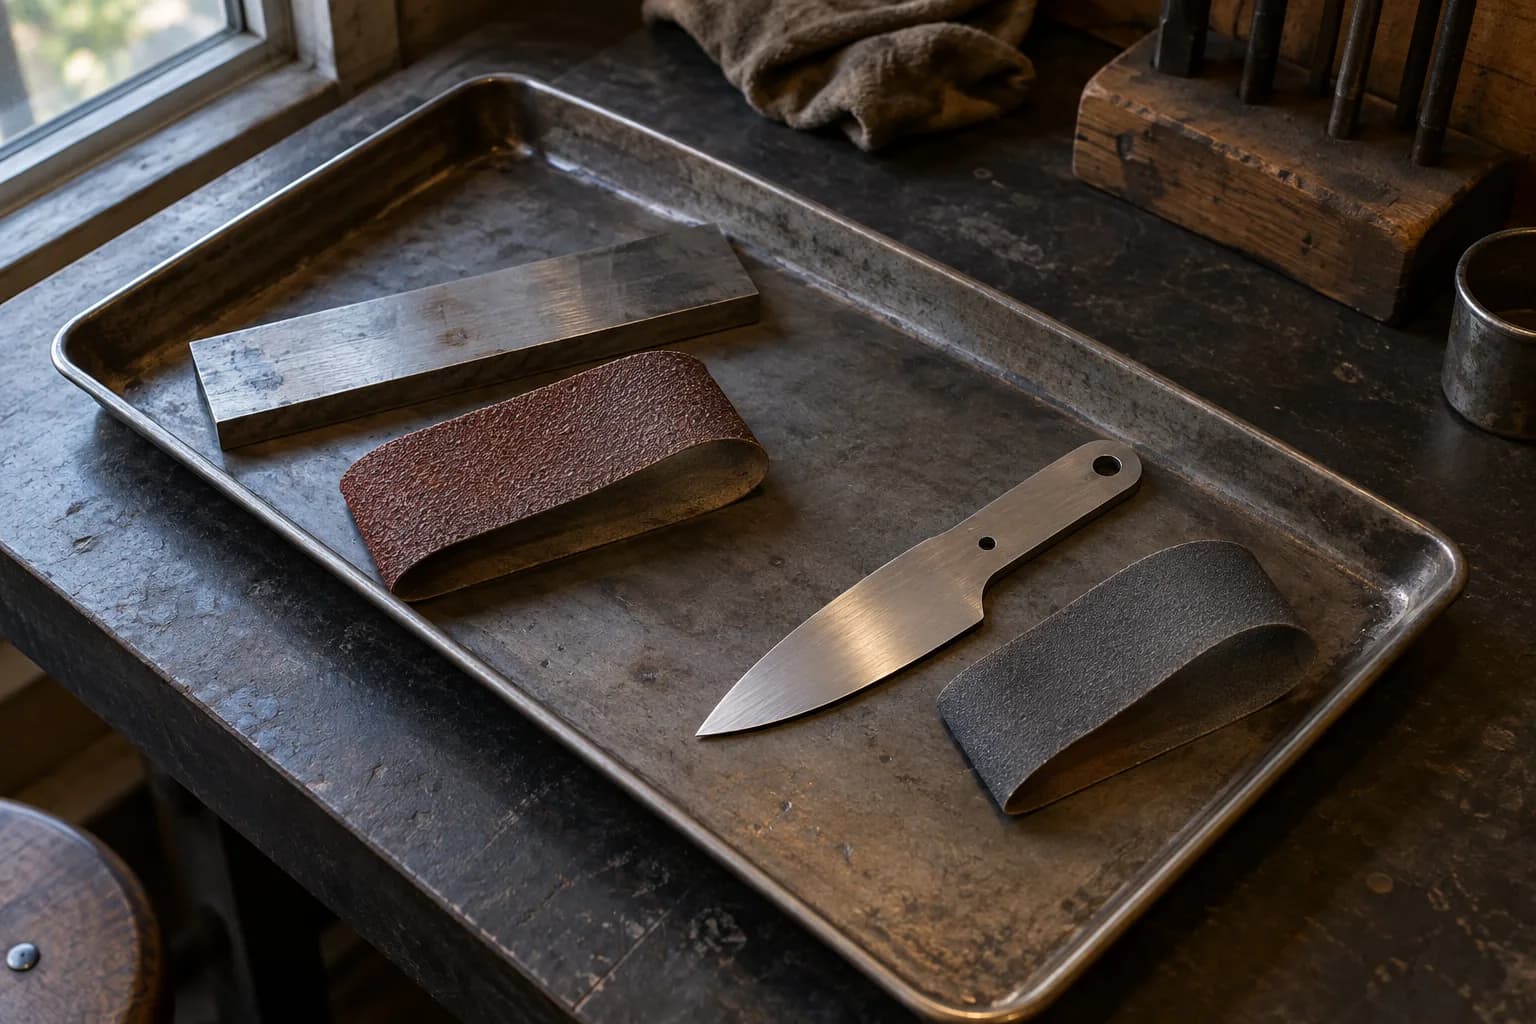
Understanding the grit scale and how it correlates to your project needs will help you make informed decisions when stocking up on belts. In addition to grit size, the material composition of the belts also plays a significant role in their performance. Common materials include aluminum oxide, zirconia, and ceramic, each offering unique benefits depending on the application.
For instance, ceramic belts are known for their durability and heat resistance, making them suitable for high-speed grinding tasks. Conversely, aluminum oxide belts are more cost-effective and work well for general-purpose applications. By carefully considering both grit and material type, you can optimize your grinding process and achieve superior results.
Customizing Your Grinder for Different Materials
Customizing your 2×72 grinder to handle various materials can significantly enhance its functionality and versatility. Different materials, such as steel, wood, or plastic, require specific approaches to achieve optimal results. For instance, when working with metals, it may be beneficial to use a belt designed specifically for metalworking, which can provide better cutting efficiency and longer life.
On the other hand, when grinding wood, a belt with a finer grit may be more appropriate to avoid tearing or damaging the surface. Adjusting the angle of your grinder can also impact how effectively it processes different materials. For example, when sharpening knives or tools, a specific angle can be crucial for achieving the desired edge geometry.
Many grinders come equipped with adjustable tables or platforms that allow users to set precise angles for their workpieces. By taking the time to customize your grinder settings based on the material at hand, you can ensure that you are maximizing both efficiency and quality in your projects.
Enhancing Precision with Jigs and Fixtures
| Metrics | Value |
|---|---|
| Reduction in manufacturing errors | 15% |
| Improvement in product quality | 20% |
| Time saved in production process | 25% |
| Cost savings in material wastage | 30% |
Incorporating jigs and fixtures into your grinding process can greatly enhance precision and consistency in your work. Jigs are tools that help guide your workpiece during grinding, ensuring that you maintain the correct angle and pressure throughout the process. This is particularly important when working on intricate projects or when precision is paramount, such as in knife making or tool sharpening.
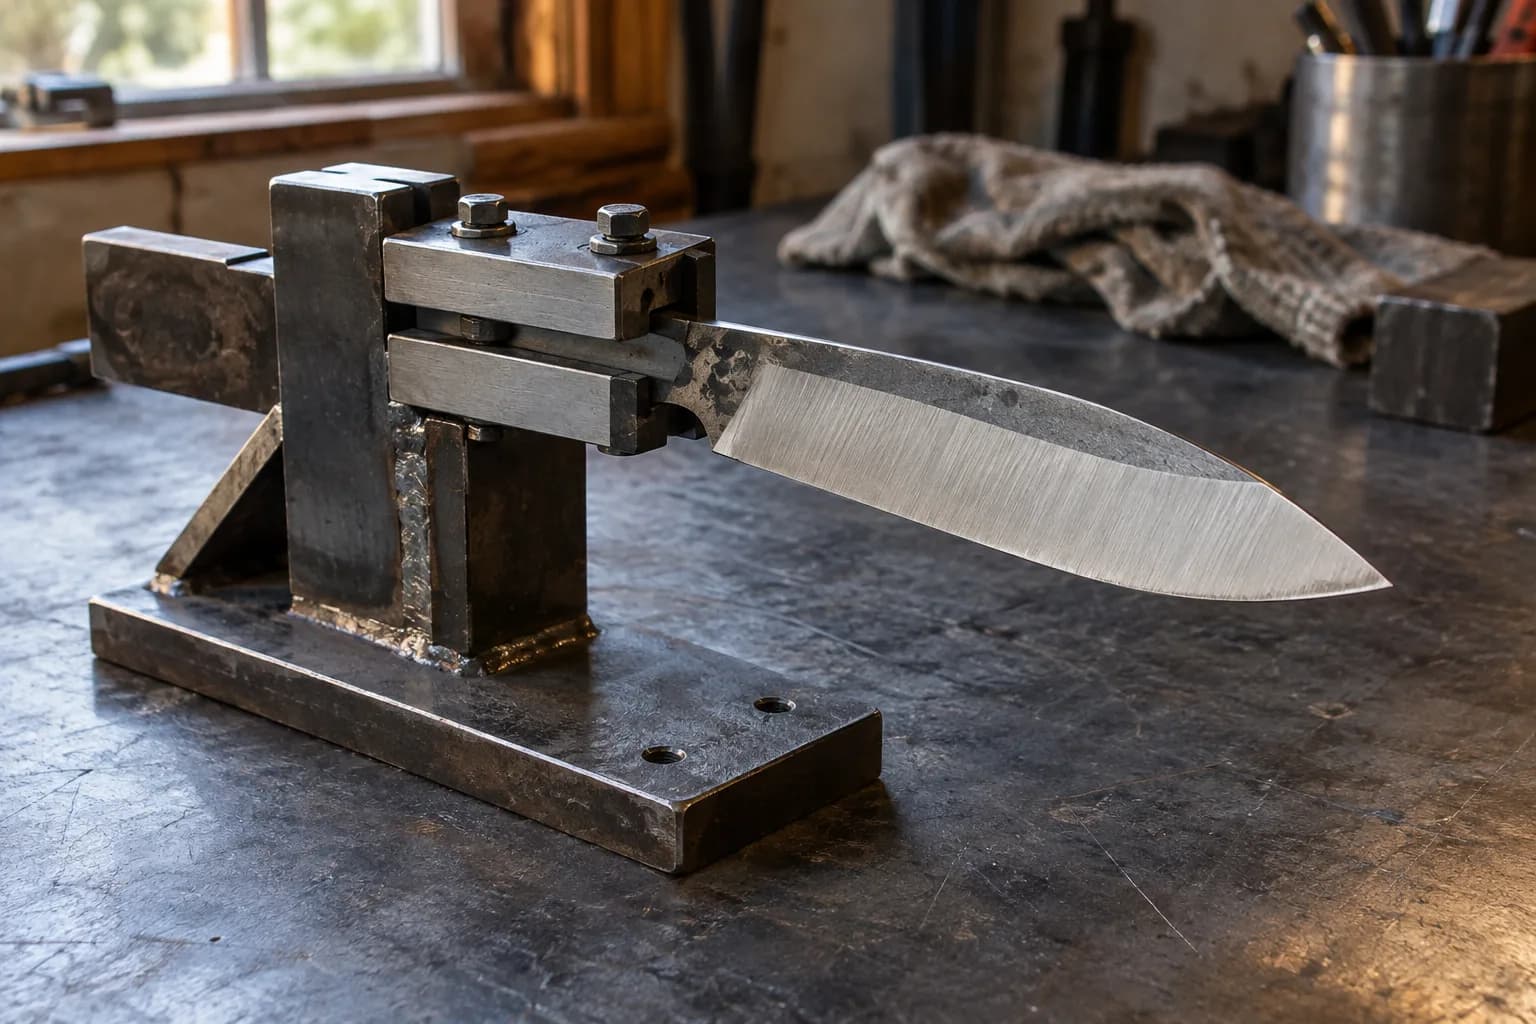
Fixtures serve a similar purpose but are often more permanent setups that hold your workpiece securely in place while you grind. They can be especially useful for repetitive tasks where maintaining uniformity is essential. By investing in high-quality jigs and fixtures designed specifically for use with 2×72 grinders, you can improve your workflow and achieve more accurate results.
Safety Measures and Best Practices
Safety should always be a top priority when operating a 2×72 grinder. The high-speed operation of these machines poses inherent risks, including potential injuries from flying debris or accidental contact with moving parts. To mitigate these risks, it is essential to wear appropriate personal protective equipment (PPE), such as safety glasses, gloves, and hearing protection.
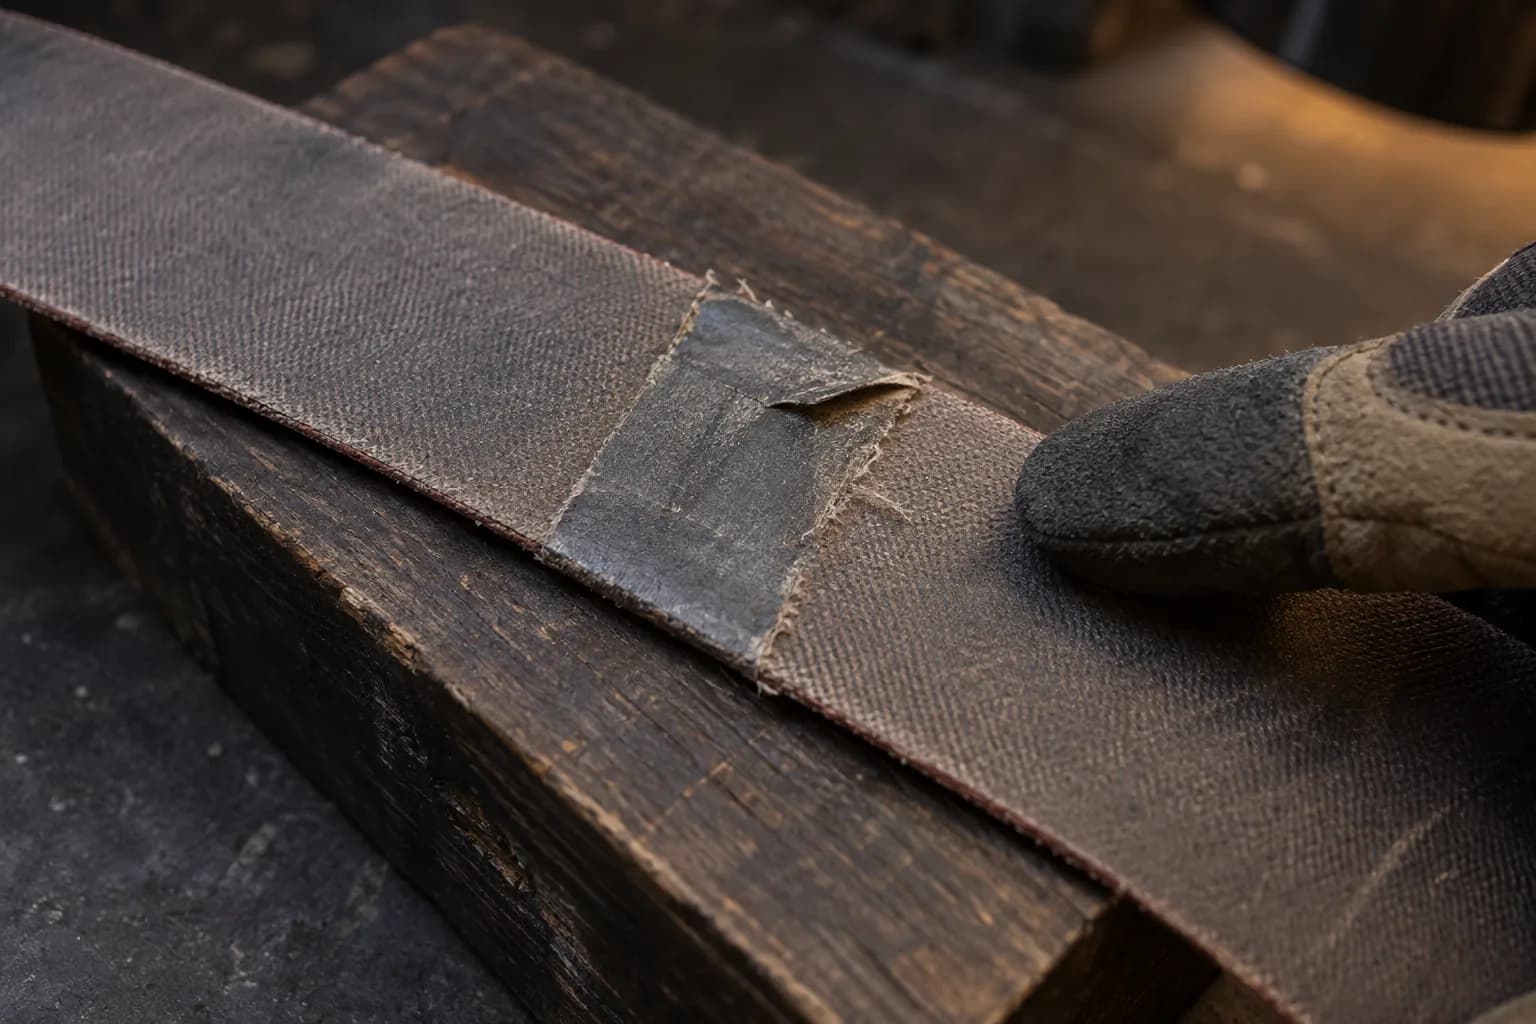
Regularly inspecting your grinder for any signs of wear or damage is also crucial; this includes checking belts for fraying or tears and ensuring that all components are securely fastened. By adhering to these best practices, you can create a safer working environment while maximizing the effectiveness of your 2×72 grinder.
Upgrading Your Grinder with Additional Accessories
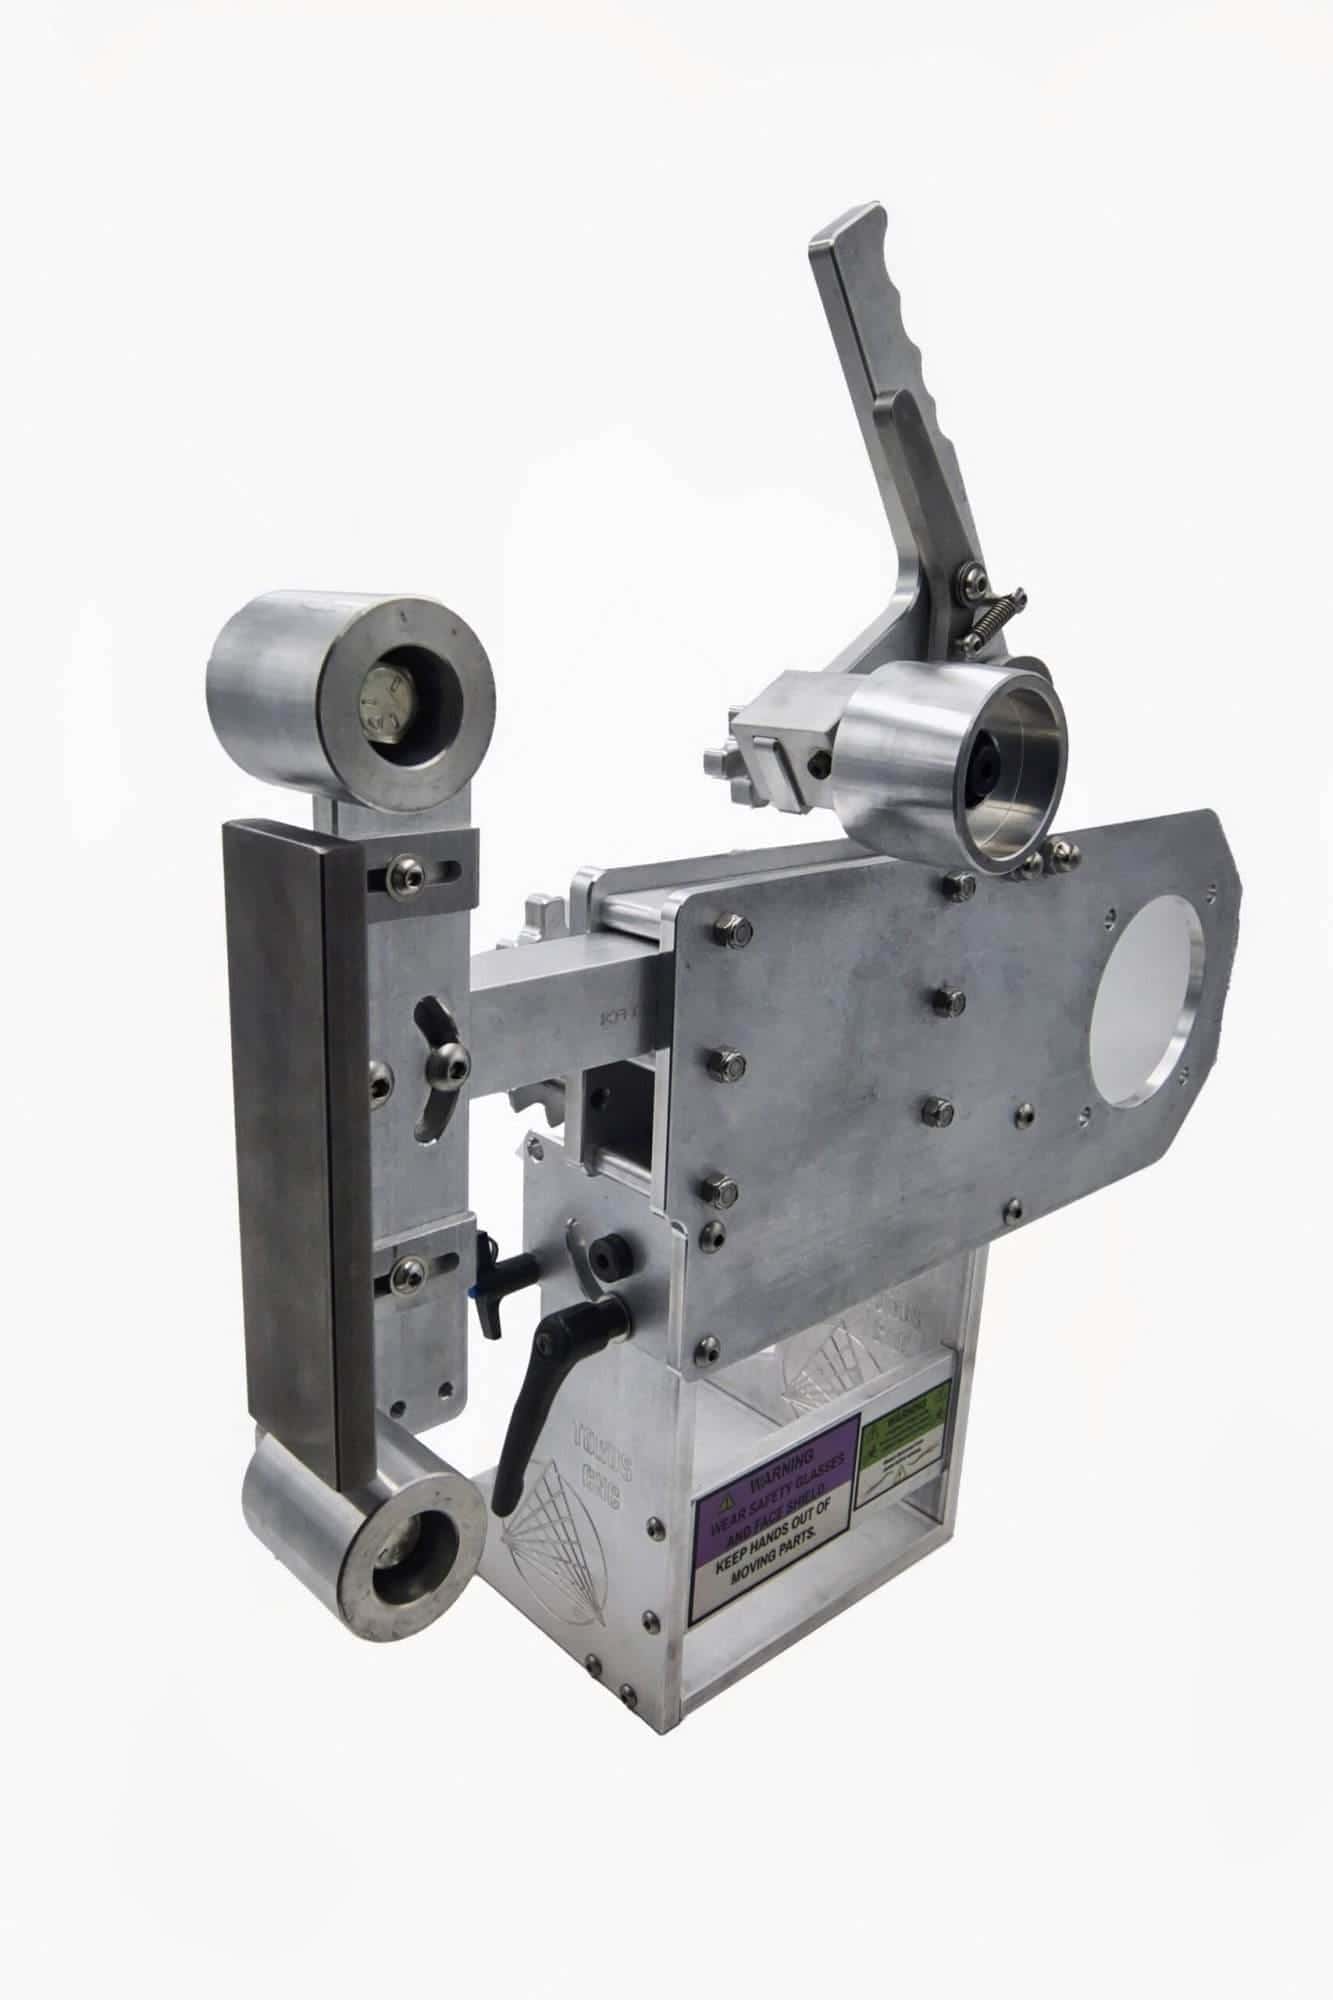
Enhancing your 2×72 grinder with additional accessories can significantly expand its capabilities and improve your overall grinding experience. Various attachments are available that can transform your grinder into a multifunctional tool. For instance, adding a platen attachment allows for flat grinding surfaces that are ideal for finishing tasks or creating specific shapes on your workpieces.
Another popular accessory is the contact wheel attachment, which enables users to perform contour grinding on curved surfaces. This is particularly beneficial for knife makers who require precise shaping of blades. Incorporating a dust collection system can help maintain a clean workspace by minimizing debris generated during grinding.
Maintaining and Troubleshooting Your 2×72 Grinder
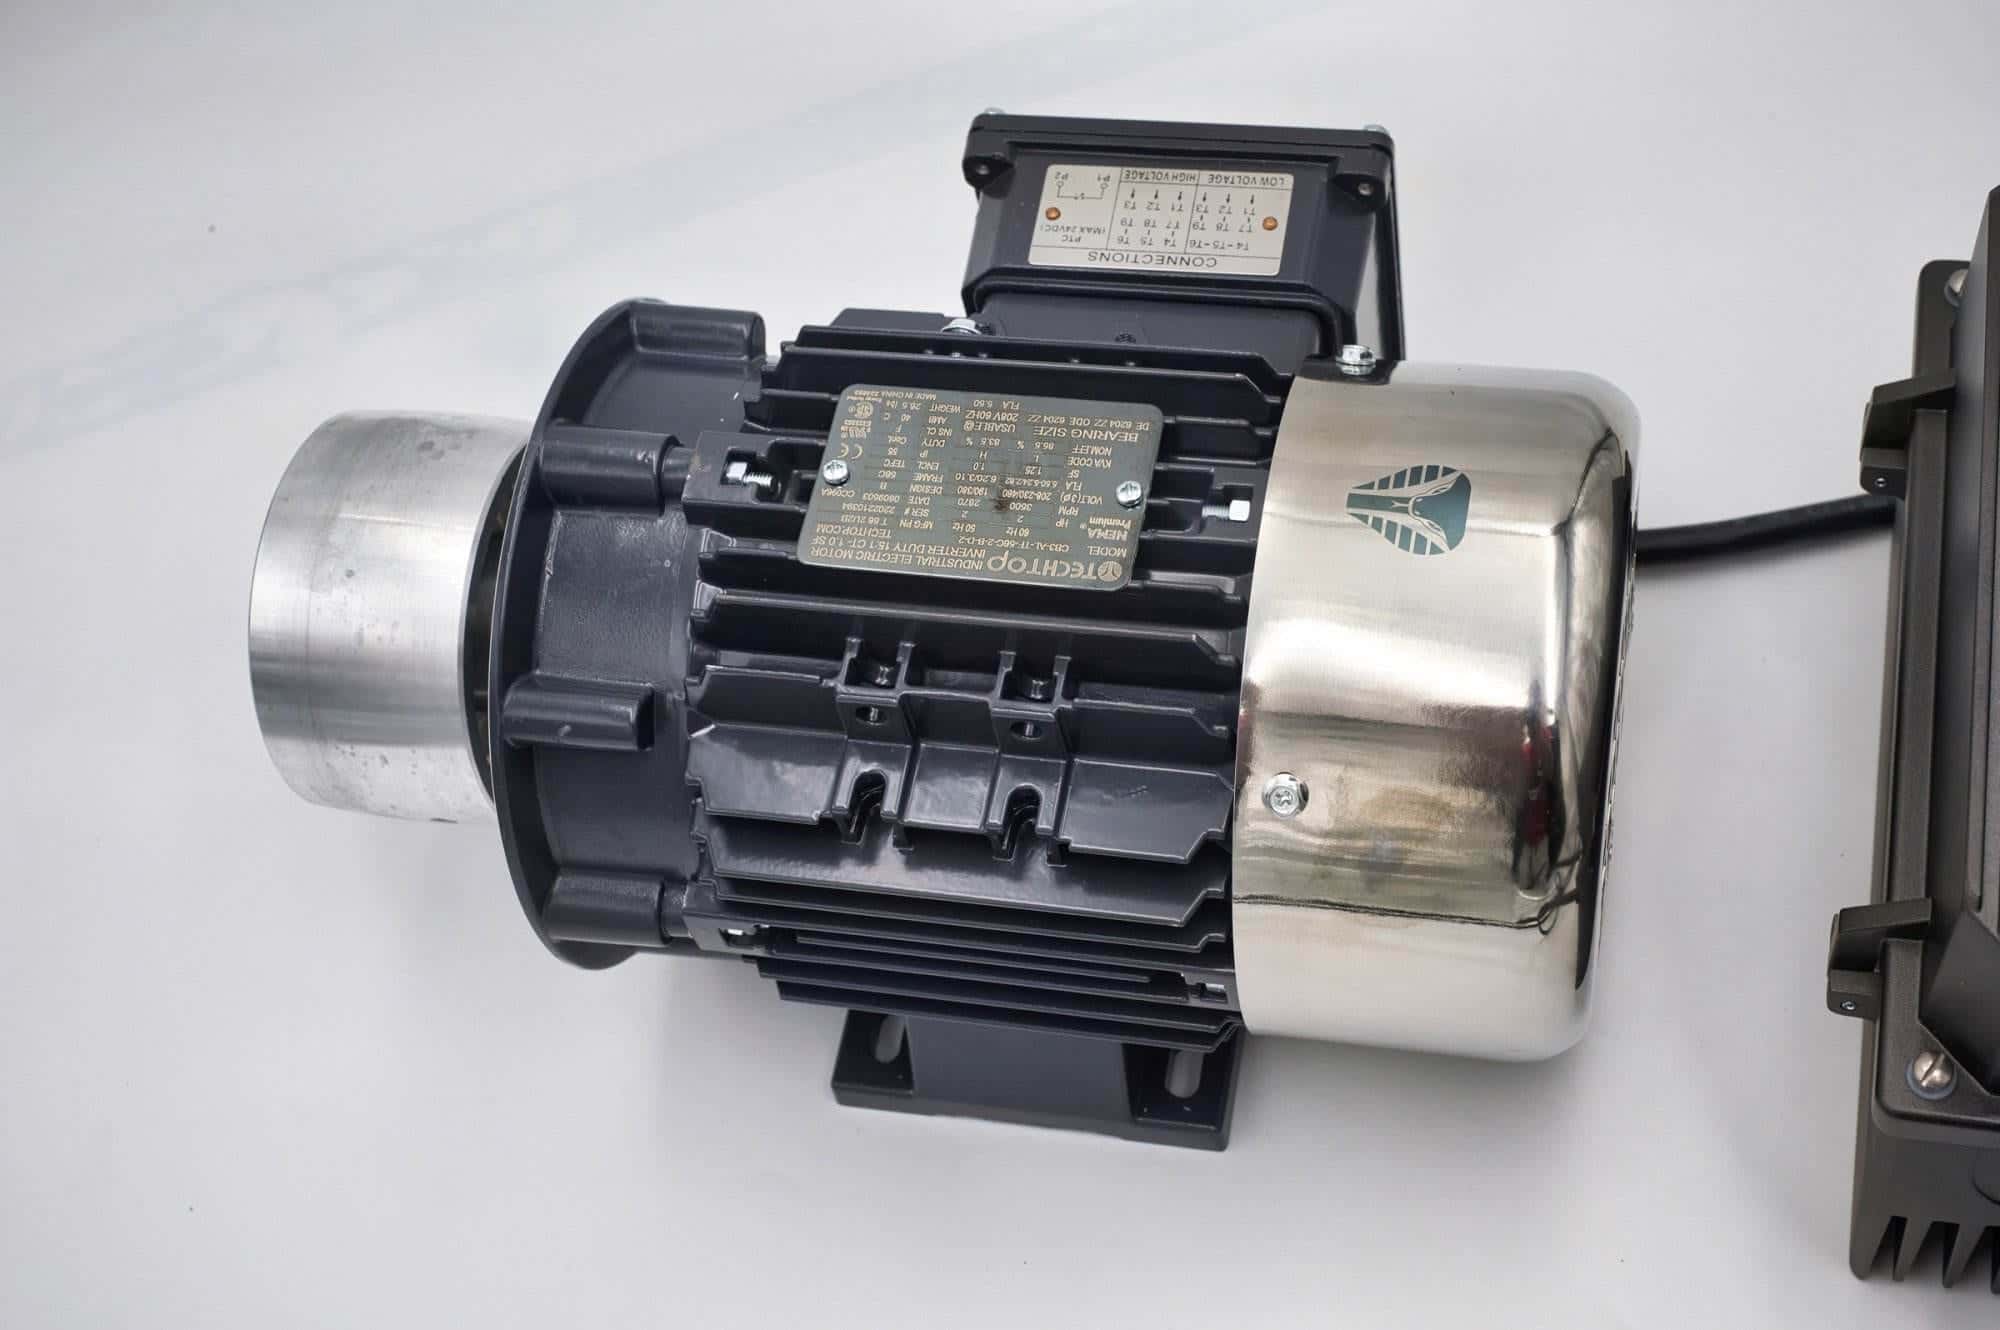
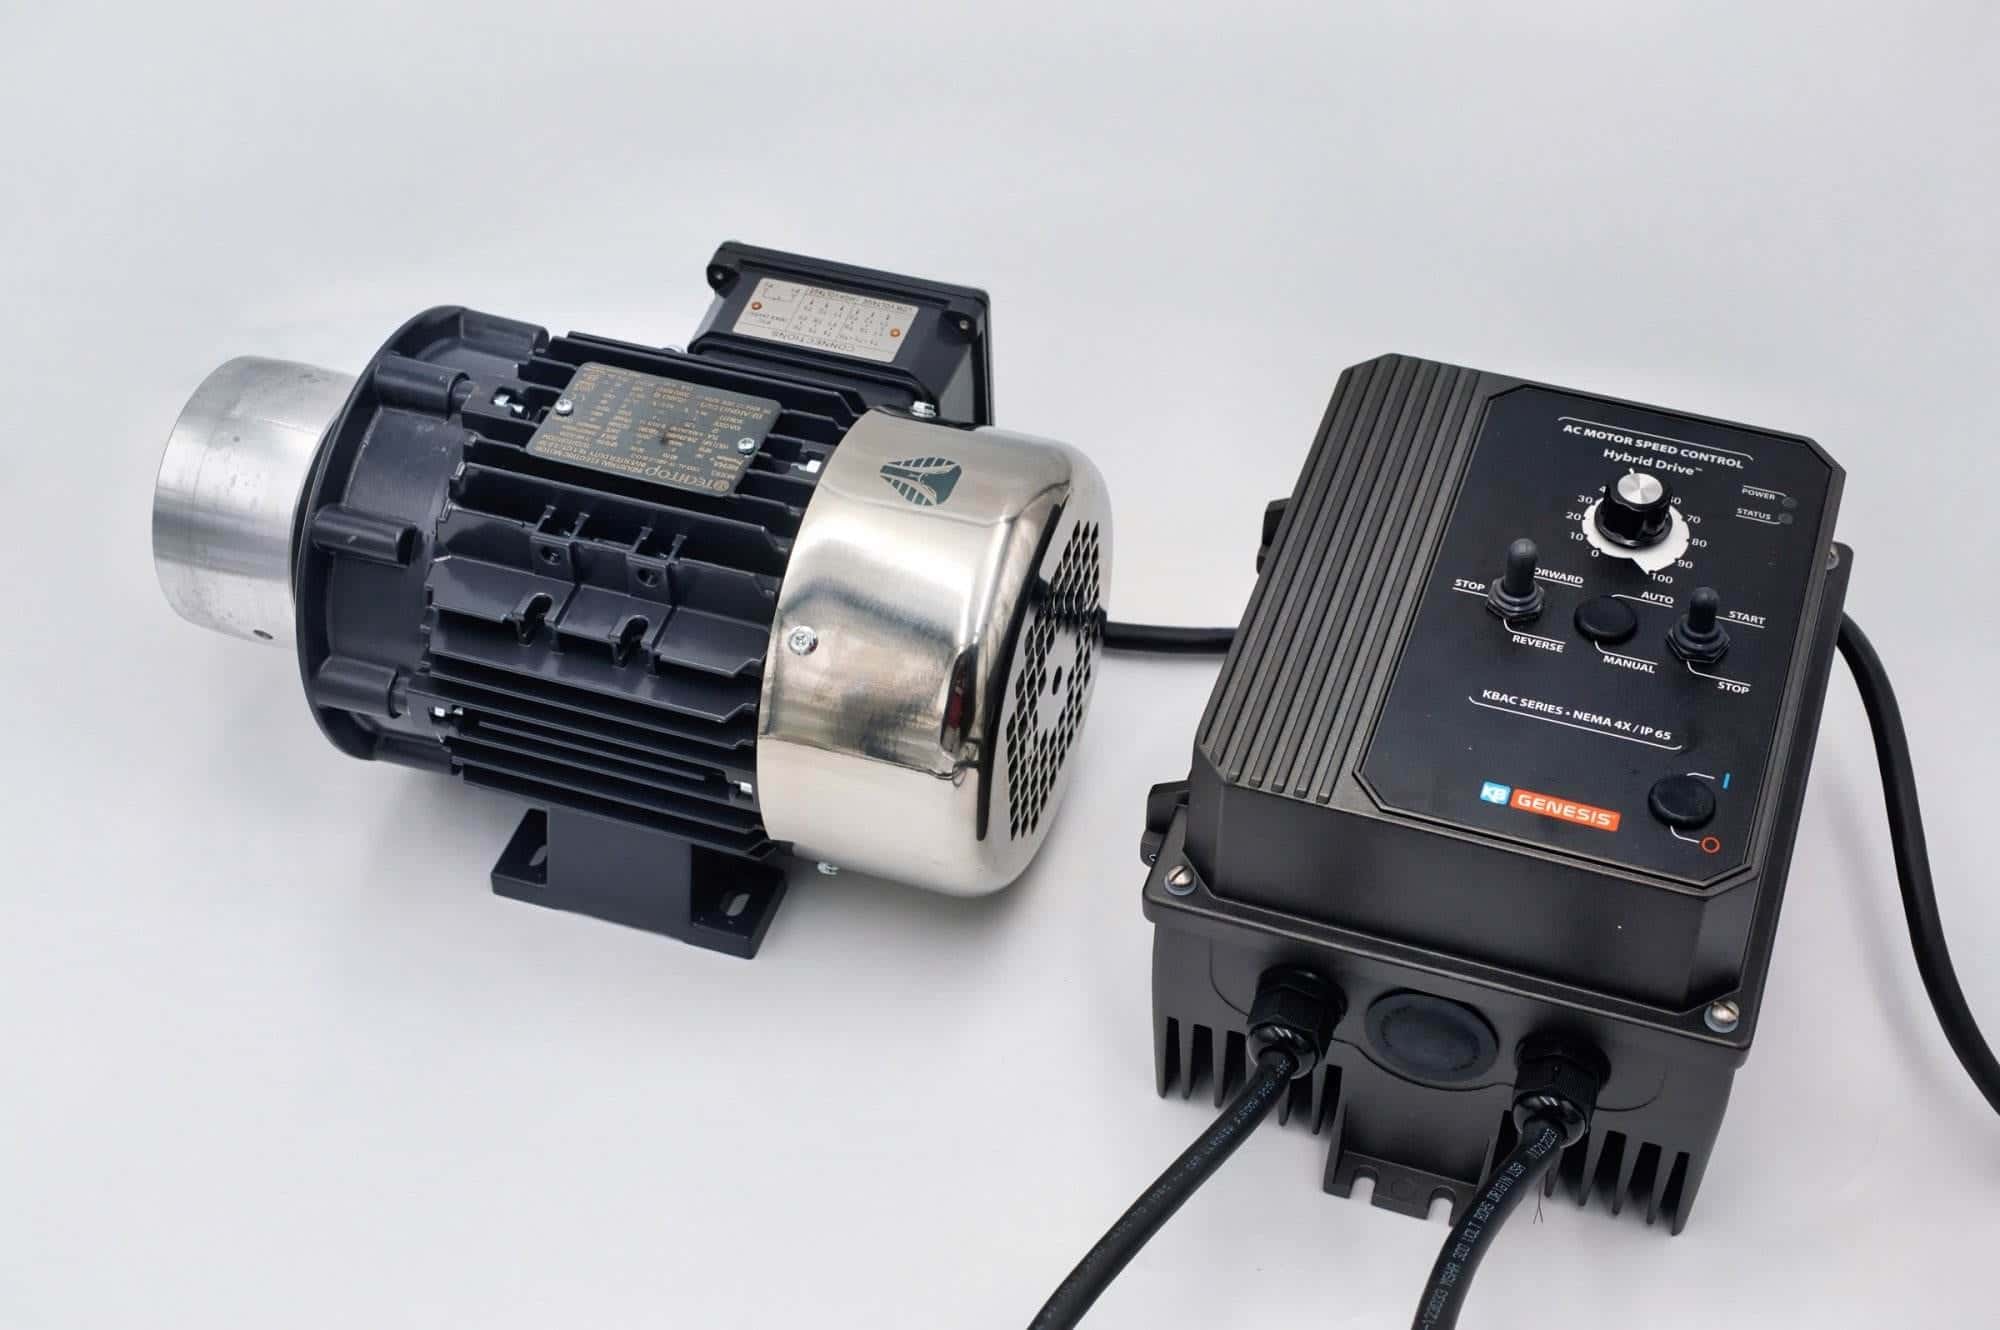
Regular maintenance is key to ensuring the longevity and performance of your 2×72 grinder. Establishing a routine that includes cleaning the machine after each use can prevent dust buildup that may affect its operation. Pay special attention to areas where debris tends to accumulate, such as around the motor and tracking mechanisms.
Keeping these components clean will help maintain optimal performance and reduce wear over time. In addition to cleaning, periodically checking for signs of wear or damage is essential for troubleshooting potential issues before they escalate. This includes inspecting belts for fraying or uneven wear patterns and ensuring that all moving parts are lubricated as needed.
If you encounter problems such as belt slippage or uneven grinding results, it may be necessary to adjust tracking settings or replace worn components. By staying proactive with maintenance and addressing issues promptly, you can keep your 2×72 grinder running smoothly for years to come.
Exploring Advanced Techniques and Applications
As you become more proficient with your 2×72 grinder, exploring advanced techniques can open up new possibilities for your projects. Techniques such as hollow grinding or flat grinding require a deeper understanding of how to manipulate the grinder’s settings effectively. Hollow grinding involves creating a concave surface on a blade edge, which can enhance cutting performance; mastering this technique requires practice and precision.
Experimenting with different belt materials and grits can lead to innovative applications beyond traditional uses. For example, using finer grits combined with specific techniques can allow for intricate detailing on wood projects or metal sculptures. The versatility of the 2×72 grinder means that as you develop your skills, you can adapt it to suit various creative endeavors.
FAQs
What is a 2×72 grinder?
A 2×72 grinder is a type of belt grinder that uses a 2-inch by 72-inch belt for grinding, shaping, and polishing metal and other materials. It is commonly used by knife makers and metalworkers for various fabrication and finishing tasks.
How can a 2×72 grinder be used to expand offerings?
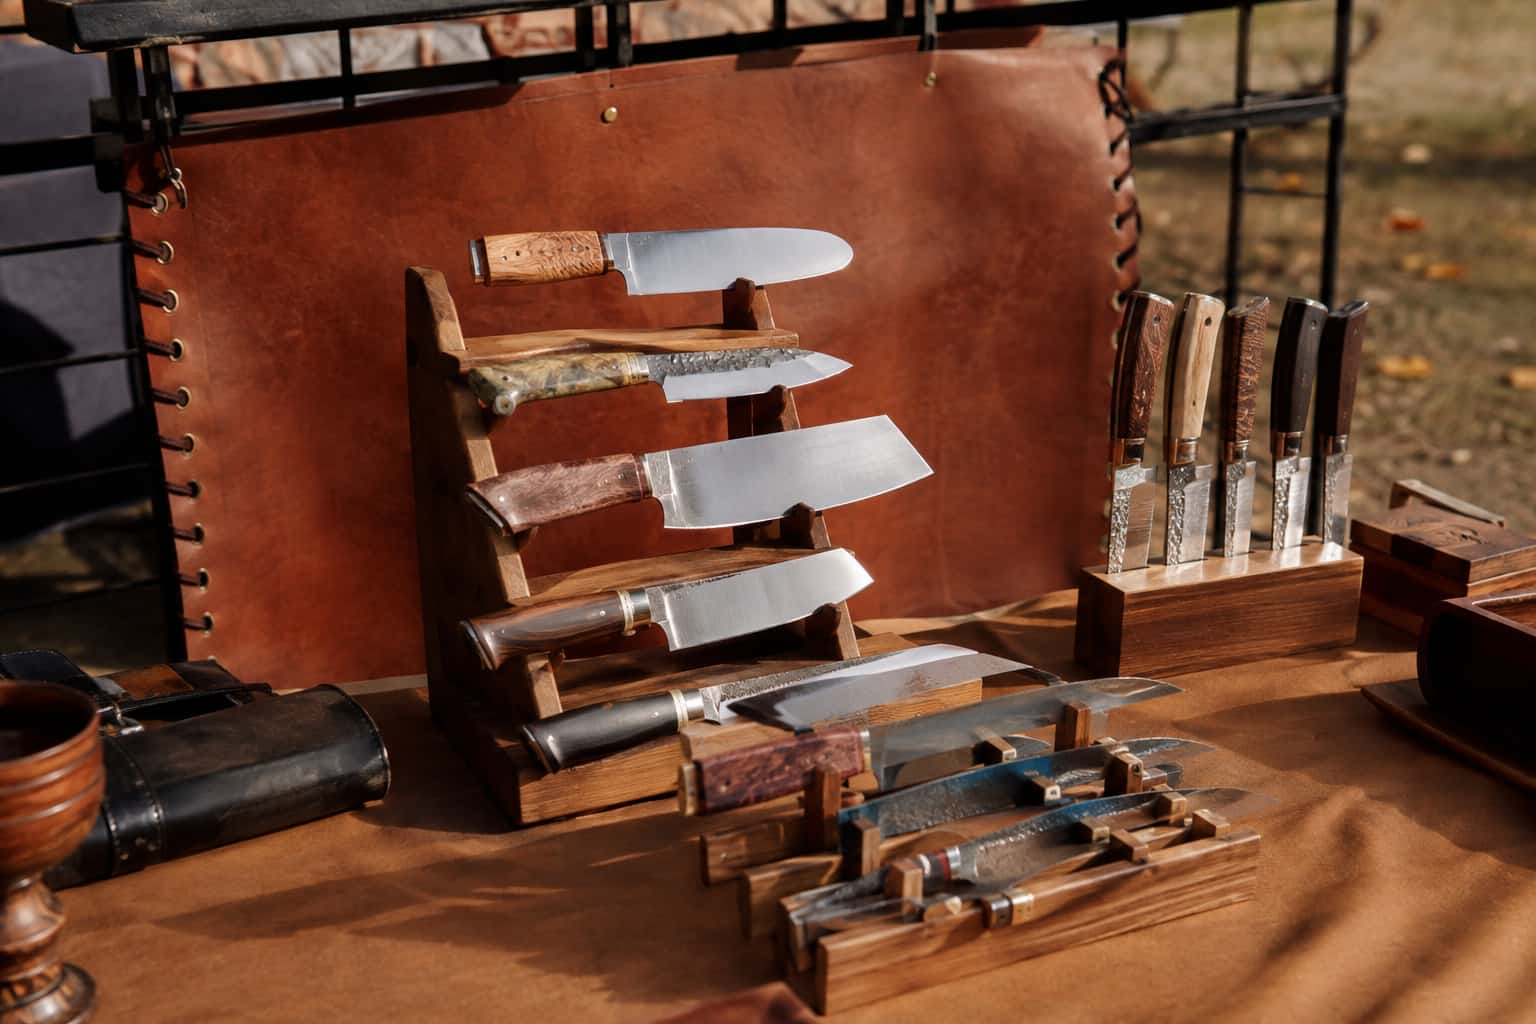
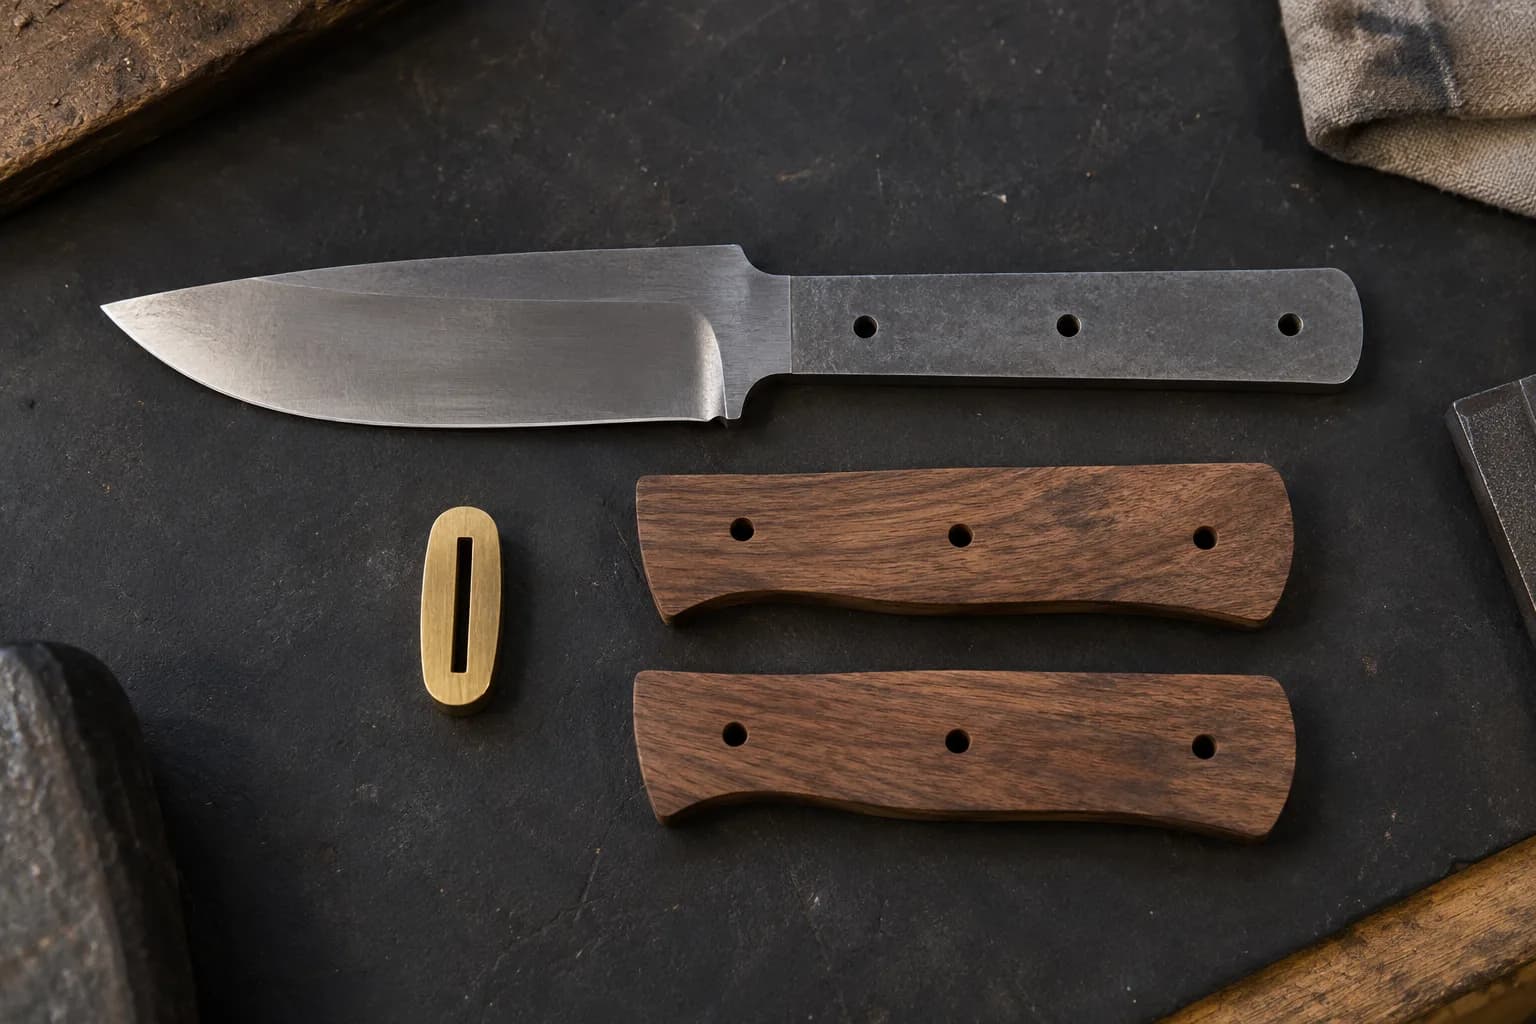
A 2×72 grinder can be used to create custom handles, guards, and other components for knives and other metalwork projects. By utilizing different attachments and techniques, metalworkers can expand their product offerings and provide custom solutions to their customers.
What are some safety considerations when using a 2×72 grinder for custom work?
Safety considerations when using a 2×72 grinder include wearing appropriate personal protective equipment such as safety glasses, gloves, and hearing protection. It is also important to ensure that the grinder is properly secured and that the workpiece is held securely to prevent accidents.
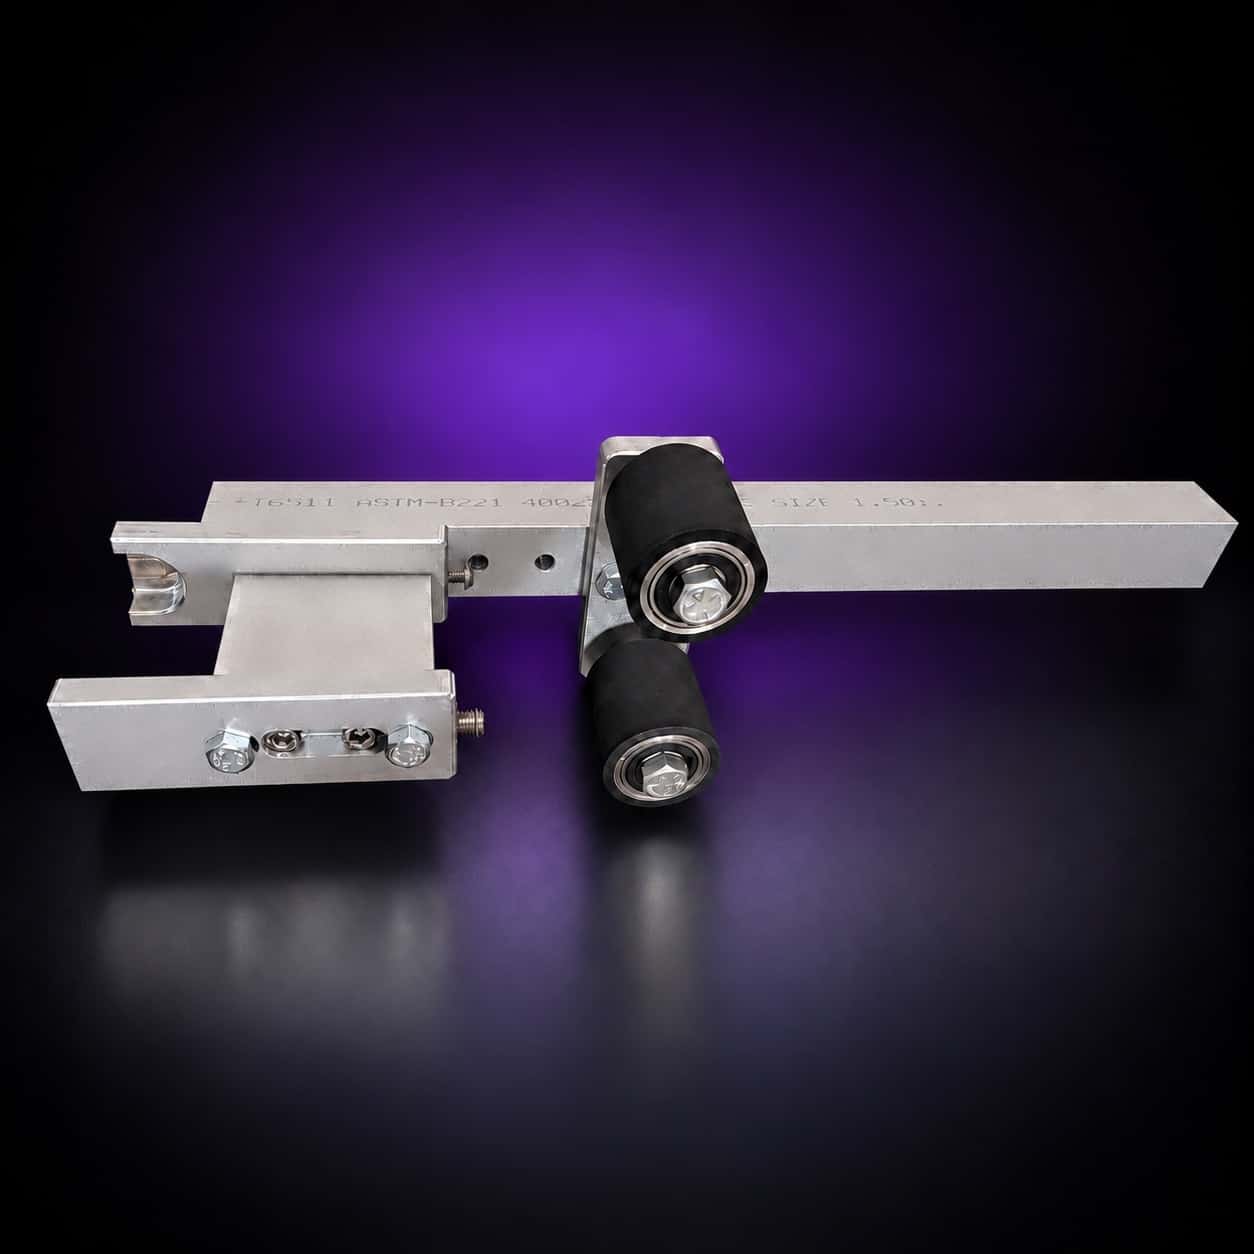
The Torus platform is built to grow: start with a Nova 2×72 with its deep flat platen, then add a small wheel attachment, contact wheel or work table on the same 1.5-inch arm as your projects call for them.