
Leatherwork
Kydex vs Leather: The Honest Comparison
Every sheath conversation eventually arrives at the fork: kydex or leather? The honest answer is unfashionable on both sides of the argument — they are…
Leatherwork
The kydex build start to finish: sheet and foam press setup, heating right, taco vs pancake forming, eyelets, retention tuning and edge finishing.
2 min readWritten by Rich LinvilleFree to read
The kydex-vs-leather comparison settles when kydex wins; this is how the winning gets done. A kydex sheath is a twenty-minute thermoforming job wrapped in a few judgment calls — heat, style, eyelet layout, retention — and a maker’s first one usually works. Here is the full build.
Kydex sheet (0.080″ is the all-round sheath gauge; 0.093″ for big blades), a foam press (two slabs of dense foam in a hinged board rig — bought or shop-built in an hour), a heat source with control (toaster oven dedicated to plastic, or a heat gun with patience), eyelets (1/4″ #8-9 is standard) and a flaring die for the press or hand setter, plus drill, saw or shears, and the grinder’s slack belt for edges. Total tooling lands modest — the batch-speed payoff the comparison guide promised.
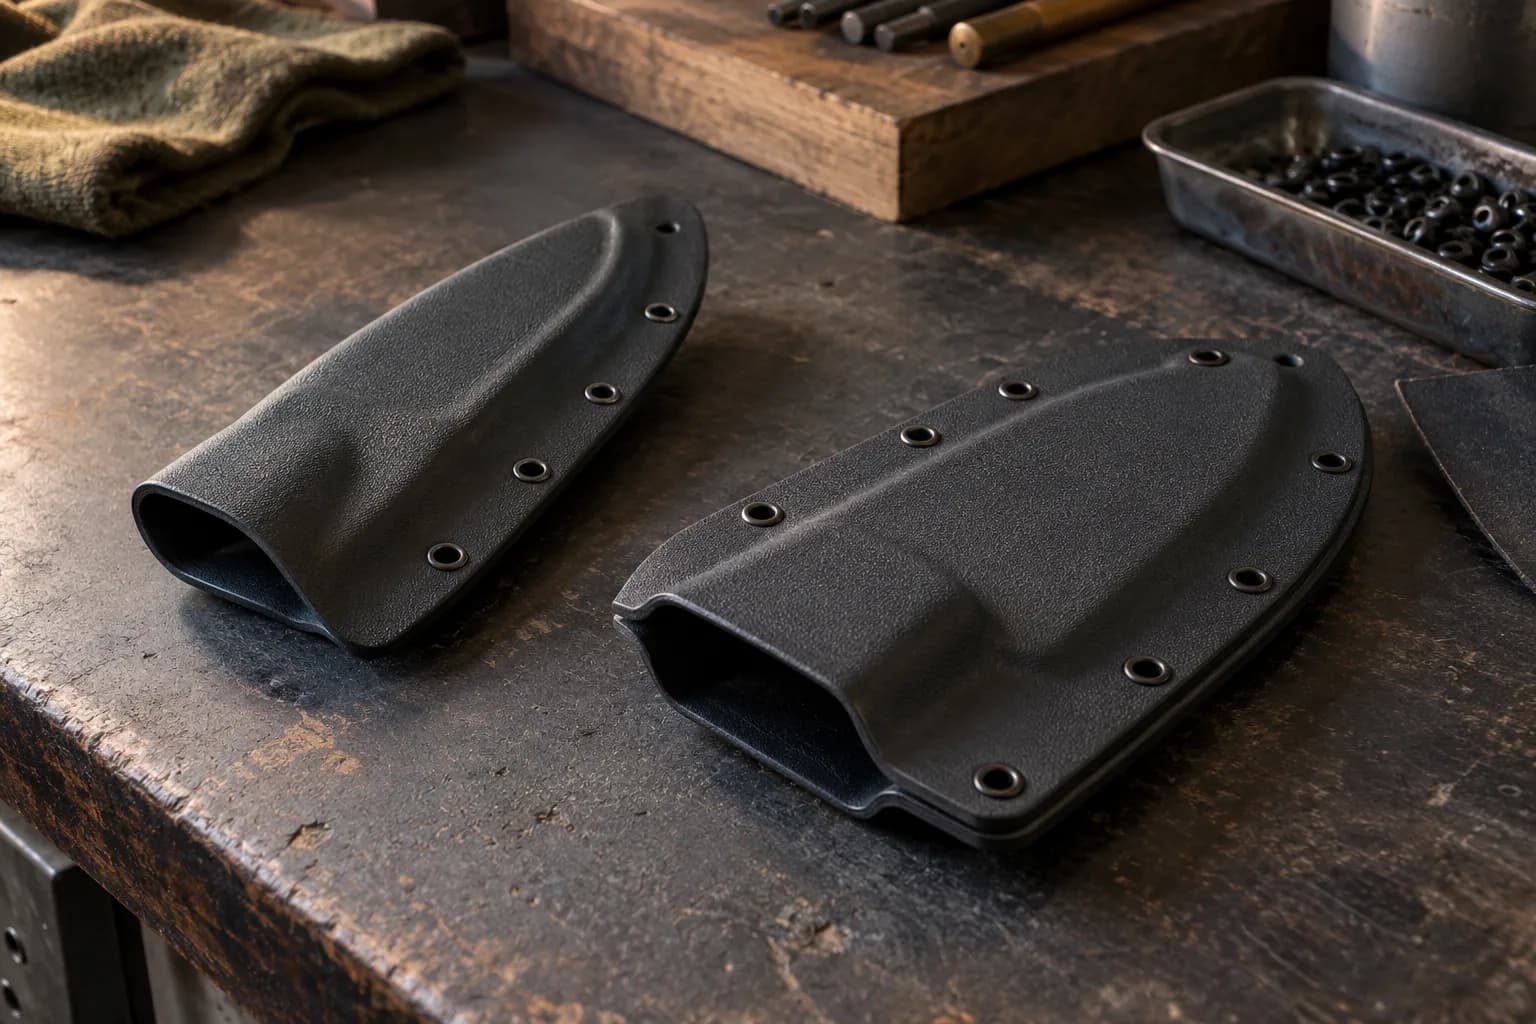
Two constructions cover nearly everything. The taco: one sheet folded around the blade with eyelets along the open edge — fast, slim, the knife-world default. The pancake: two sheets pressed either side, eyelets all around — flatter carry, more mounting real estate, slightly more material and trimming. Pick by carry plan (the same logic as the leather styles guide); build your first as a taco.
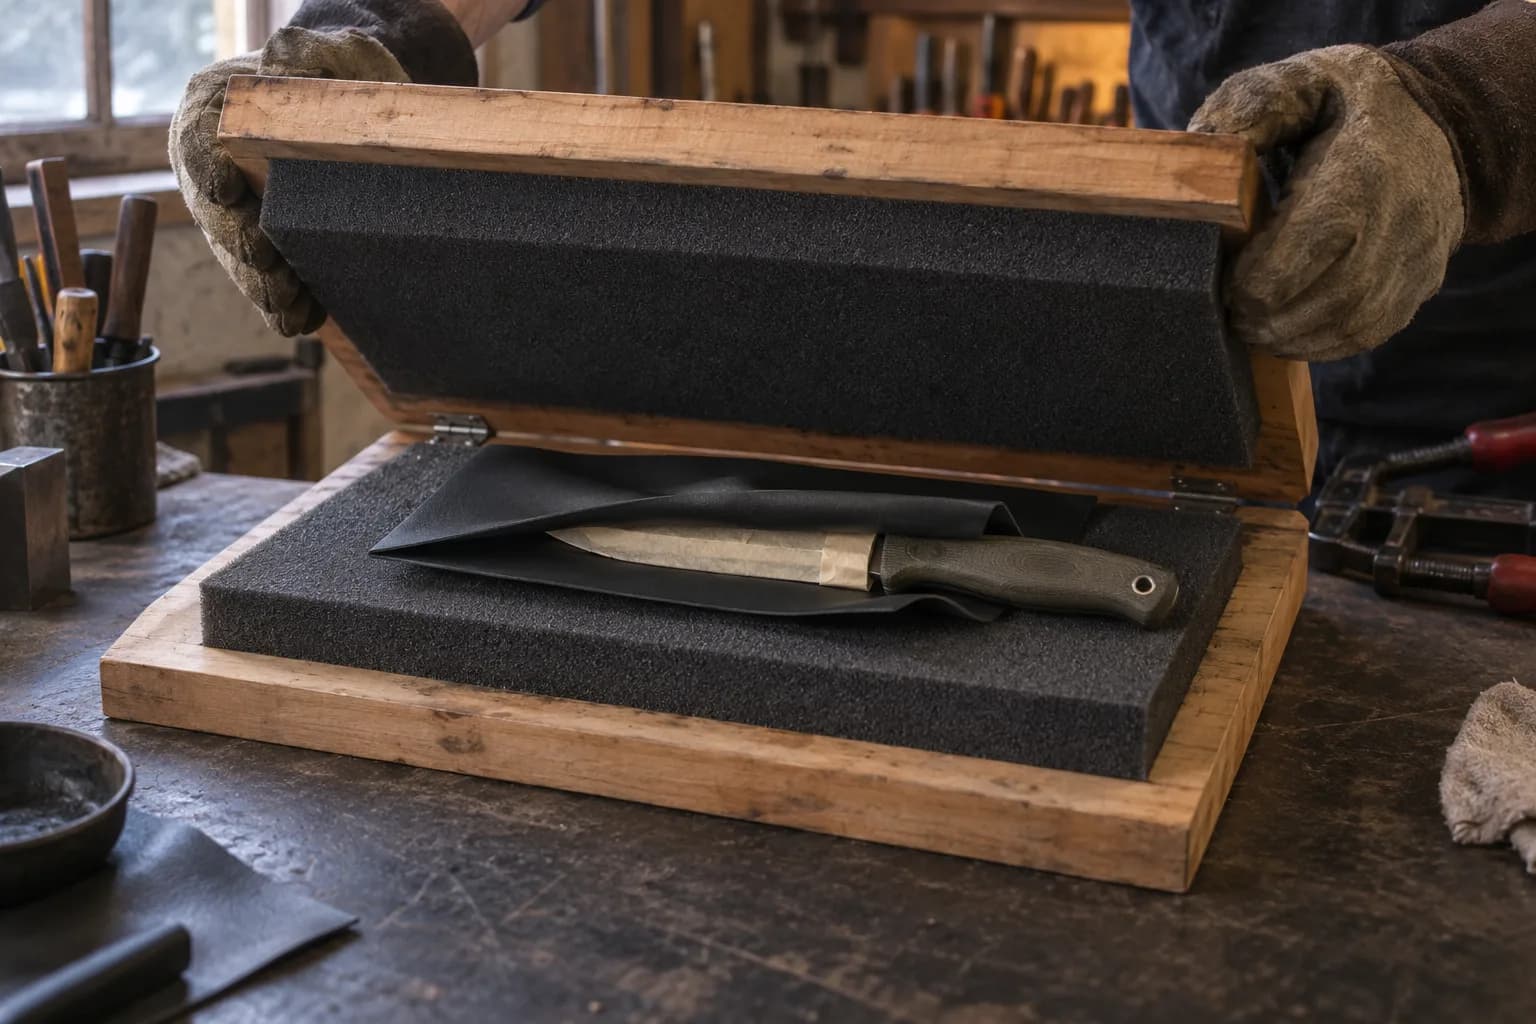
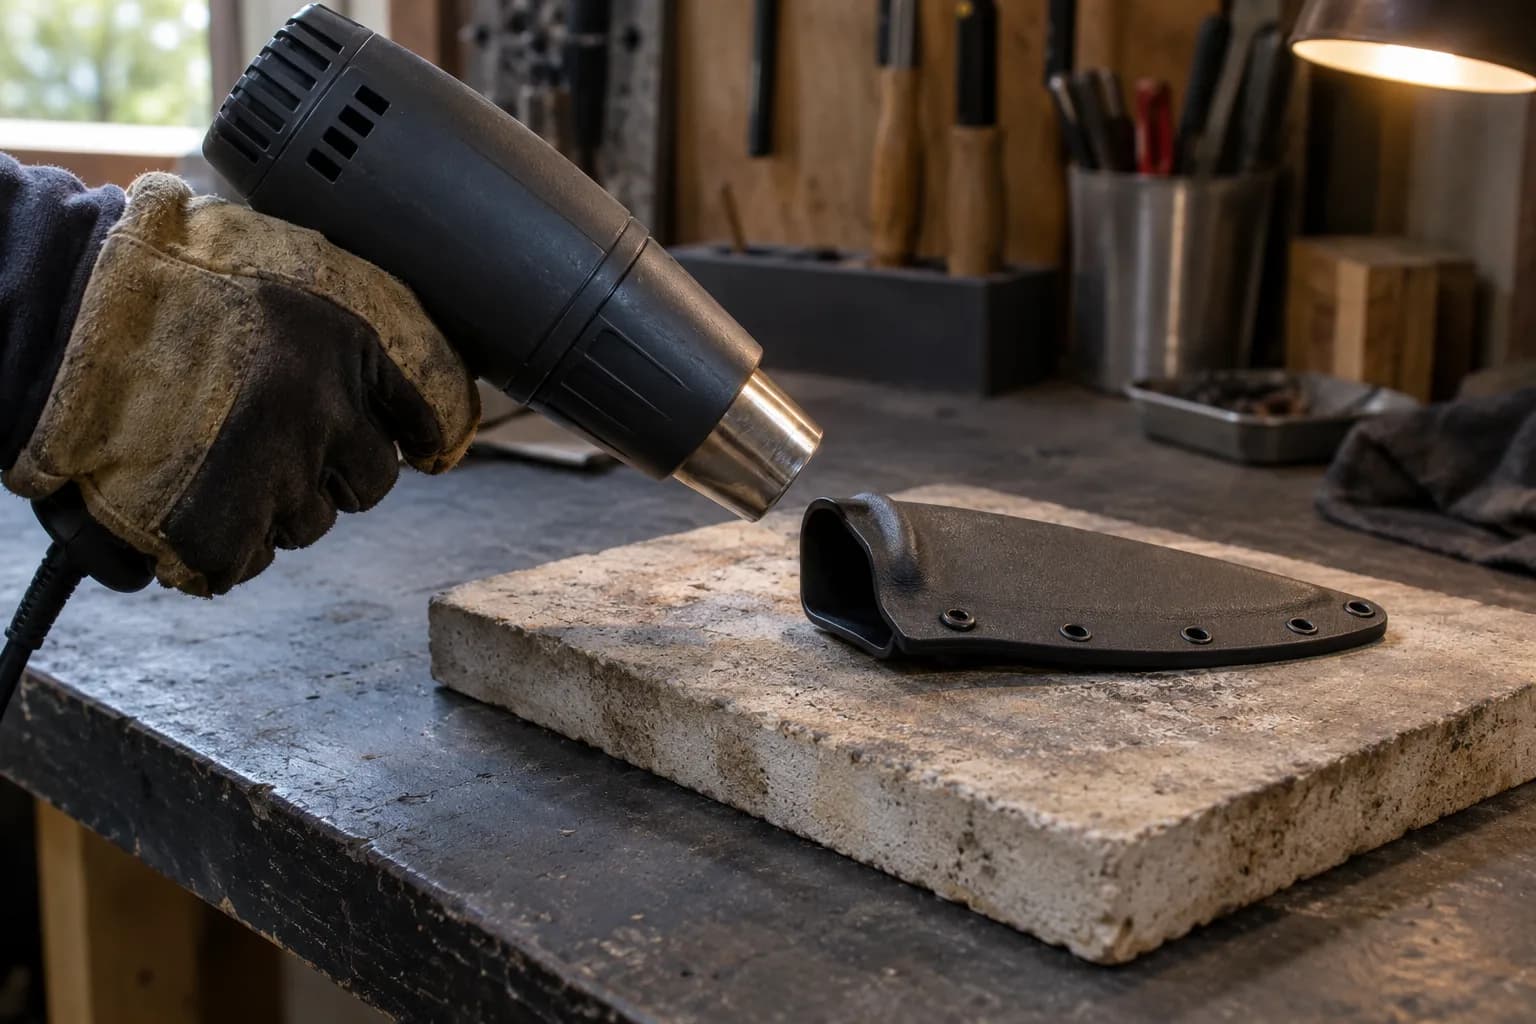
Kydex forms in the 300-350°F window: sheet in the oven until it goes limp and drapey (it relaxes flat, then droops — that is the moment), no hotter (bubbling and shine-loss mean scorched). Blade prepped: taped edge, and any hardware bulges accounted. Move fast — you have seconds: sheet out, fold or stack over the knife, into the foam press, full body weight or clamps, and hold until cool (a couple of minutes). The foam wraps the detail; patience does the rest. Under-formed definition means reheat and re-press — kydex forgives retries, which is why first sheaths work.
Mark the outline (leave 5/8-3/4″ eyelet margin beyond the blade cavity), rough-cut, then true the edges on the grinder. Drill eyelet holes (typically 1″ spacing) through both layers, set eyelets with the flaring die — snug, not crushed; over-set eyelets crack the sheet. Layout rule: eyelets close enough to the blade cavity that the sheath cannot spread, spaced for whatever mounting the carry plan wants (belt loops, clips, MOLLE all bolt through the same holes later).
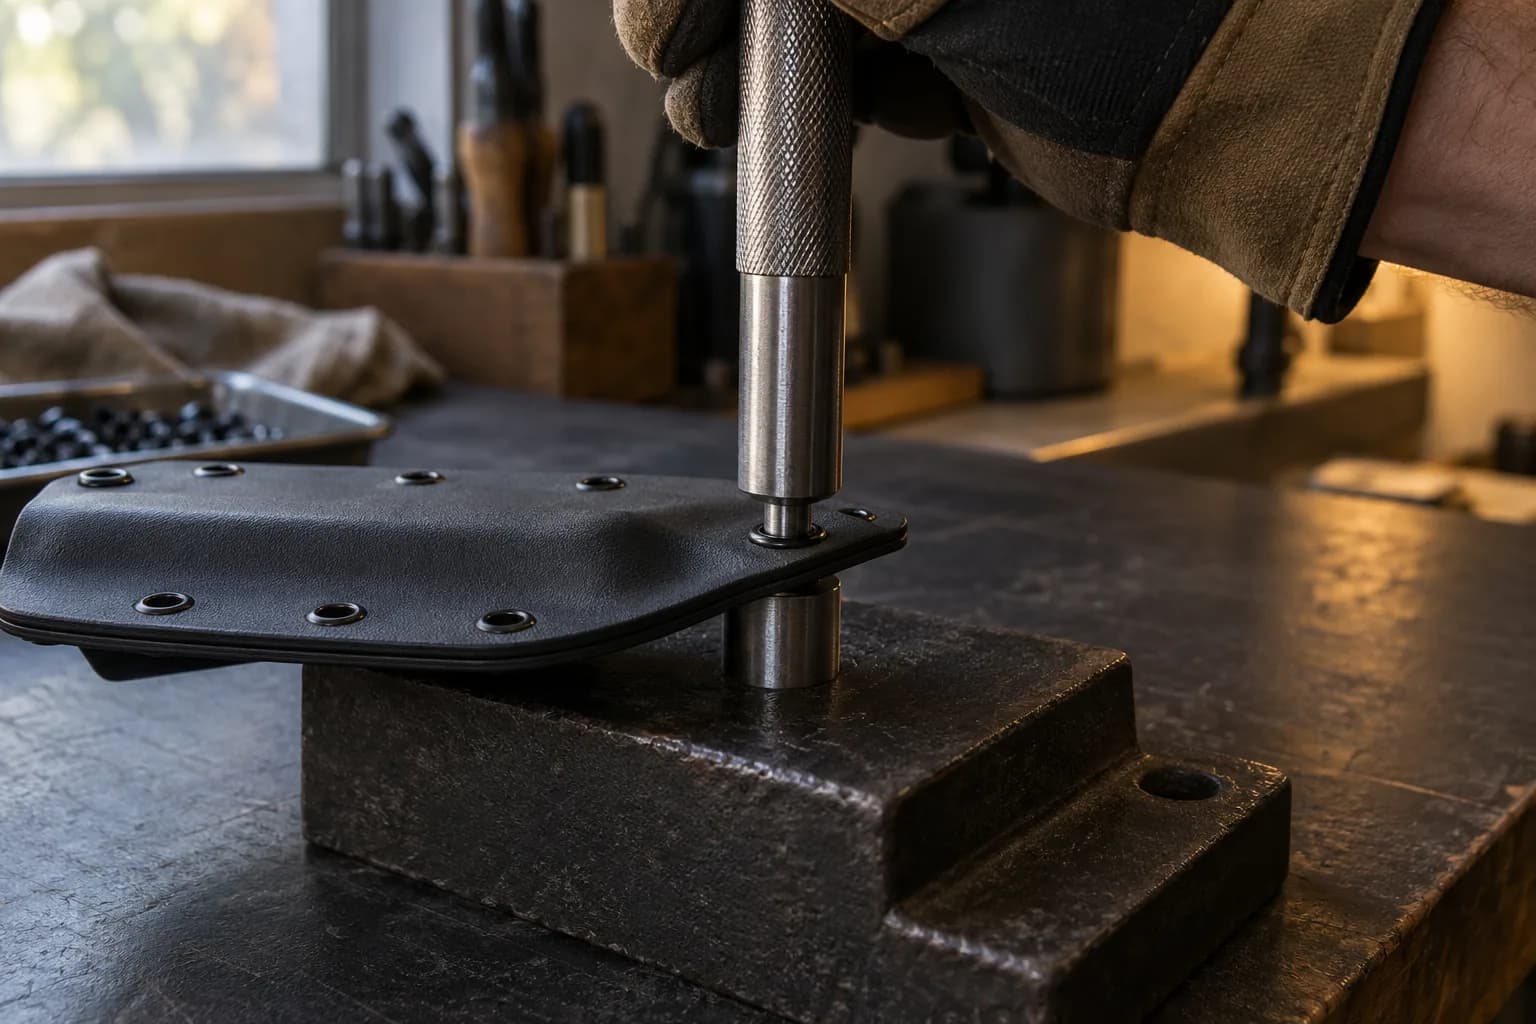
Retention lives at the guard/handle detail the press molded: too loose — spot-reheat that zone with the heat gun and press it tighter; too tight — heat and ease it, or dress the cavity’s contact ridge. Tune to the confident click that survives the shake test. Finish edges on the slack belt at LOW speed (fast belts melt and smear), ease every corner, flame-polish lightly if you like the gloss, wash out dust — then mount hardware and ship it. Drainage note from the comparison guide: leave the tip vented on wet-duty builds; water that cannot leave sits on steel — even LC200N appreciates the courtesy.
Keep reading
Three more from the same bench.
Every sheath conversation eventually arrives at the fork: kydex or leather? The honest answer is unfashionable on both sides of the argument — they are…

Once the fold-over is in hand, the style catalog opens. Sheath styles are carry solutions — each one answers where the knife rides, how it draws, and what…
Wet forming is veg-tan’s party trick and the step that separates a leather envelope from a fitted sheath: dampened correctly, the leather takes the…
Same bench
I machine the parts, hand-assemble, track and test Torus grinders in Sterling, Illinois. Most orders ship in seven to ten business days from time of order.

Current dual-axis platform with a fiber-laser-cut 6061 chassis and single-knob tracking.

Current dual-axis platform with a steel chassis, more mass and less vibration.

Prior-design aluminum chassis, 90-degree tilt and 1.5-inch tooling arms.

One-man shop
I answer my own email. Tell me the steel, the machine and what it is doing, and I will tell you what I would try next.