
Leatherwork
Wet Forming: Molding Leather to the Knife
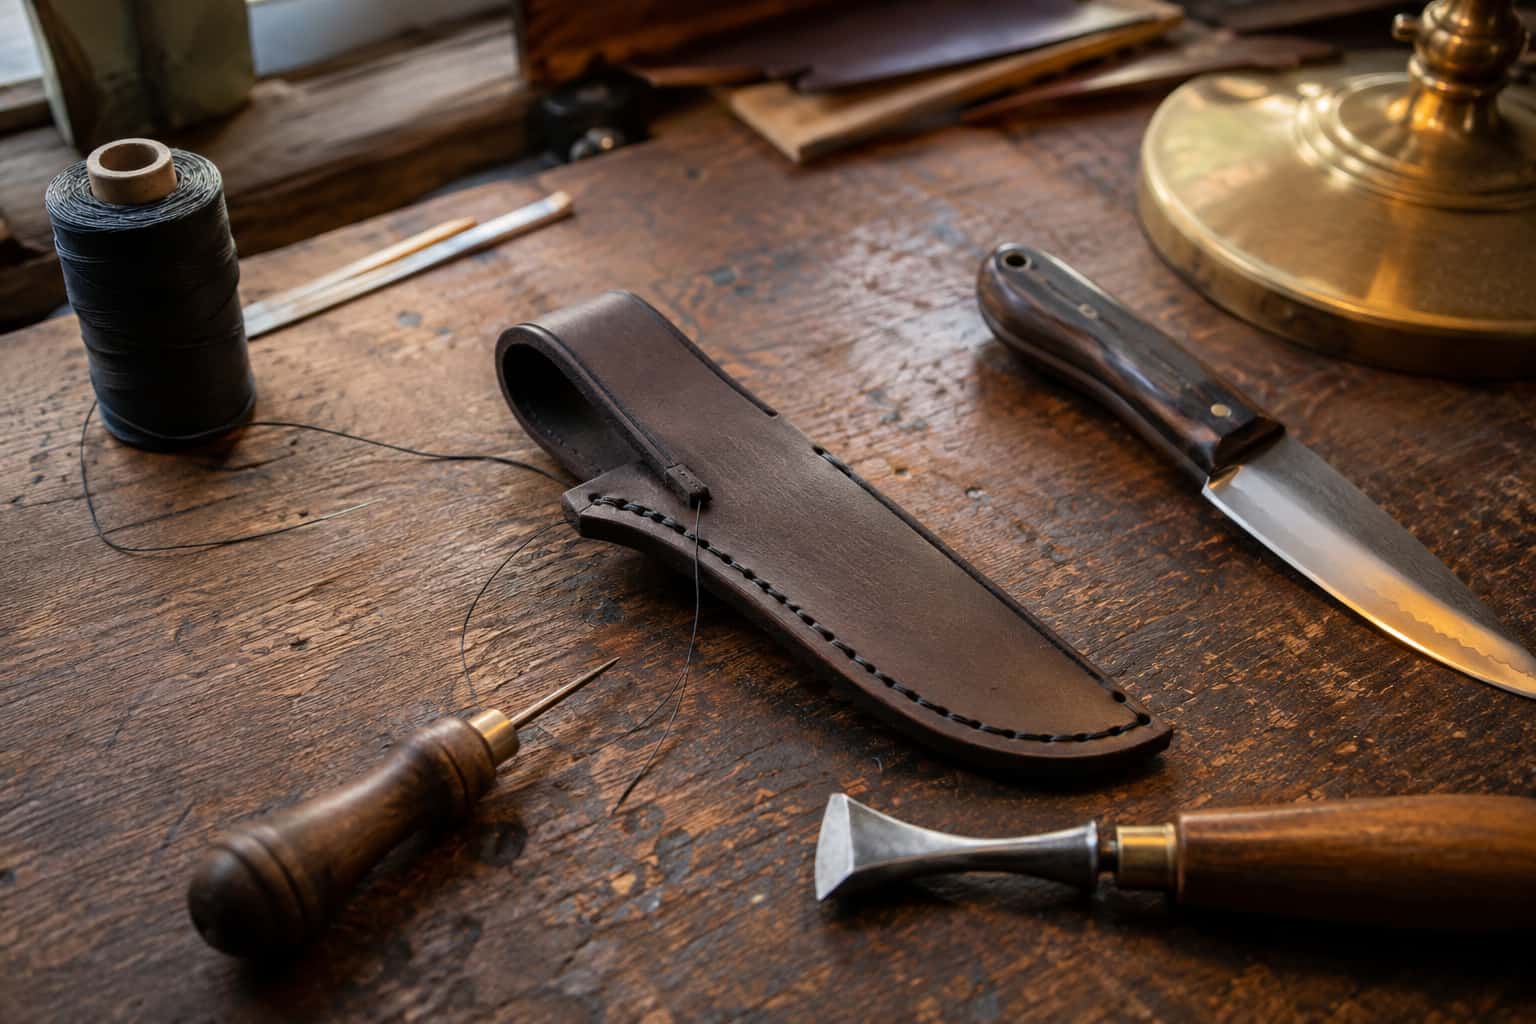
Wet forming is veg-tan’s party trick and the step that separates a leather envelope from a fitted sheath: dampened correctly, the leather takes the…
Leatherwork
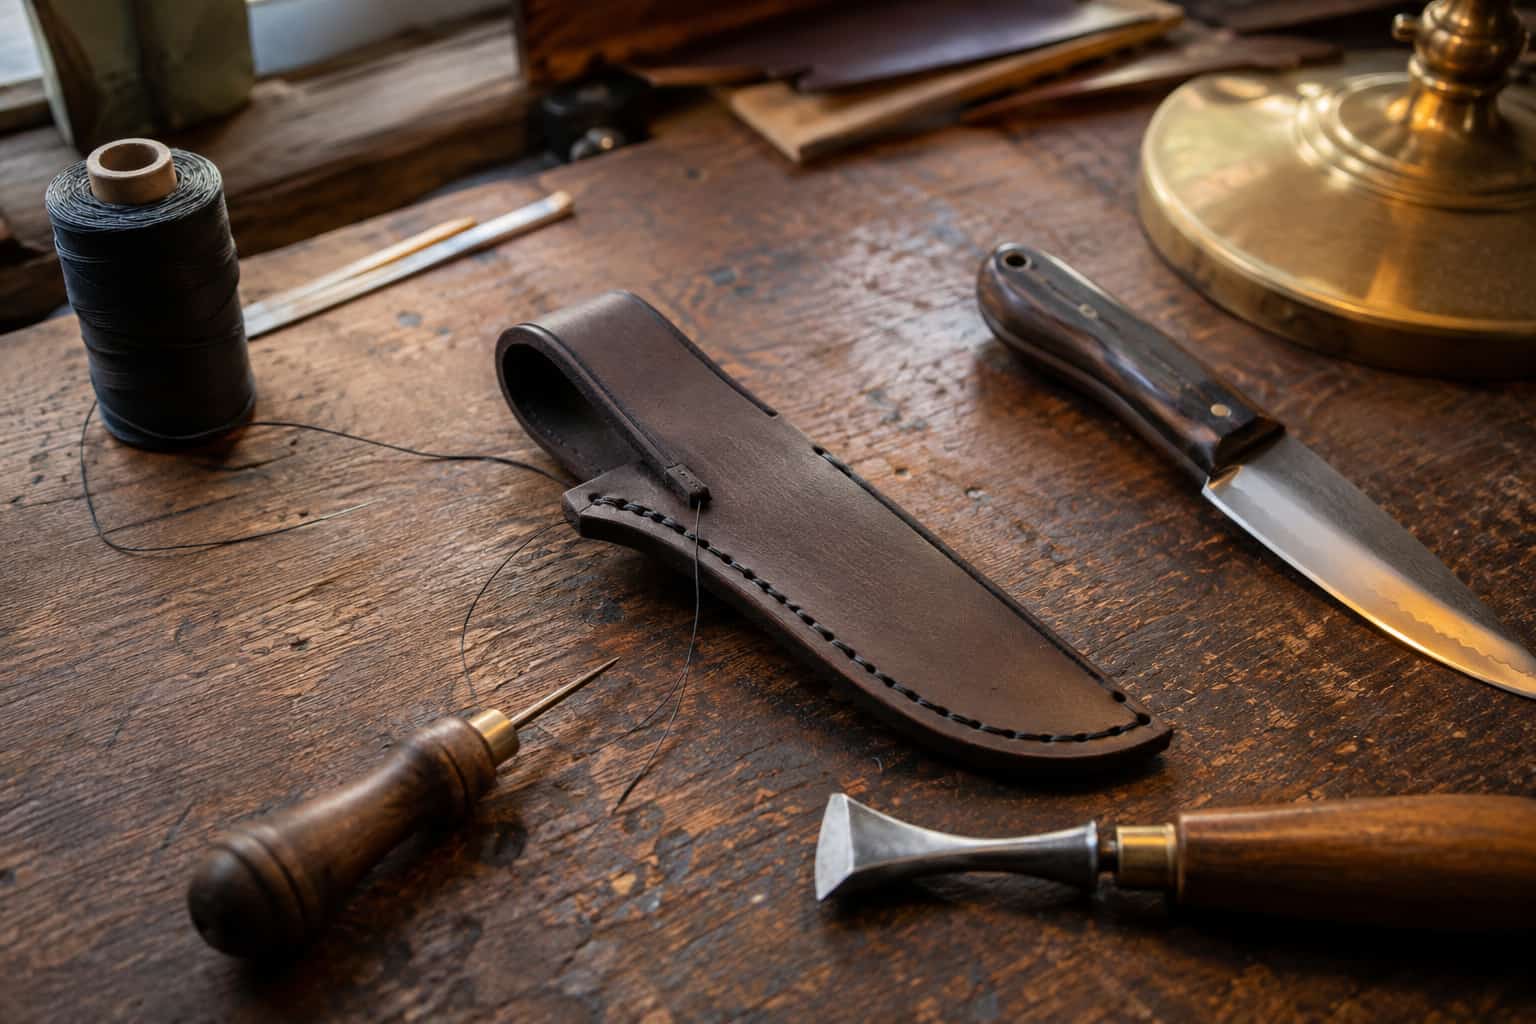
Finish a sheath like a pro: sand edges flush on a slow 2x72, burnish to a glassy line, dye in thin coats, restore oils sparingly and seal, in the right order.
2 min readWritten by Rich LinvilleFree to read
Two details tell every experienced eye whether leatherwork is amateur or professional: the edges and the finish. Neither requires talent — both require sequence, and a knifemaker owns the perfect edge machine already. This is where the 2×72 earns its place in the leather half of the shop.
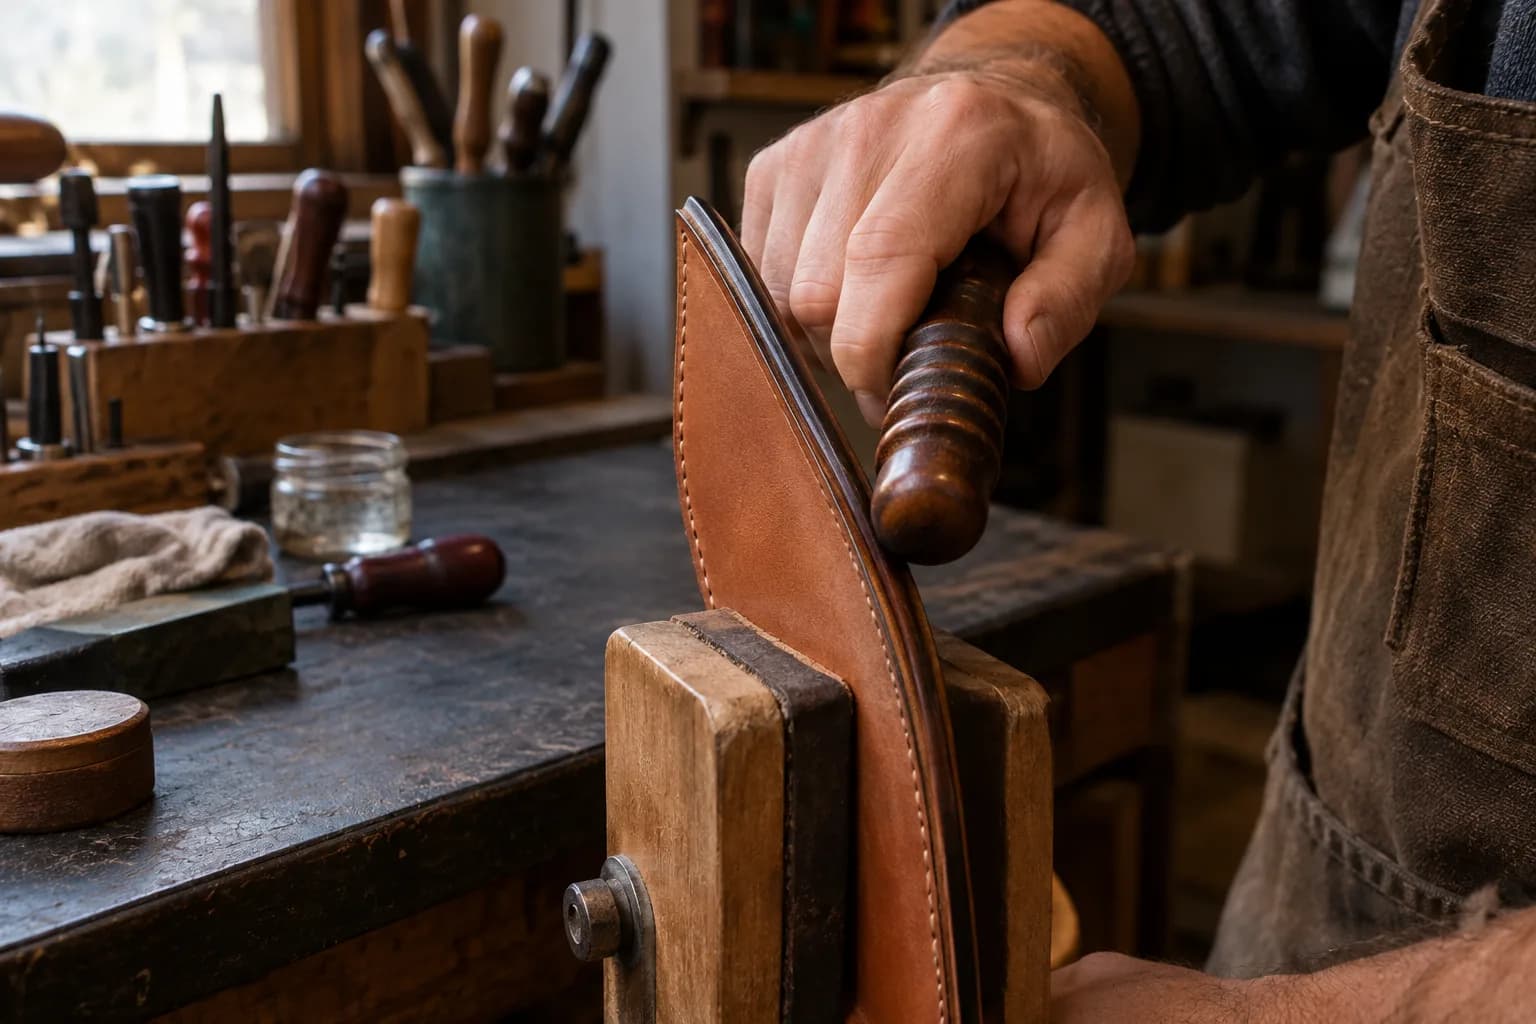
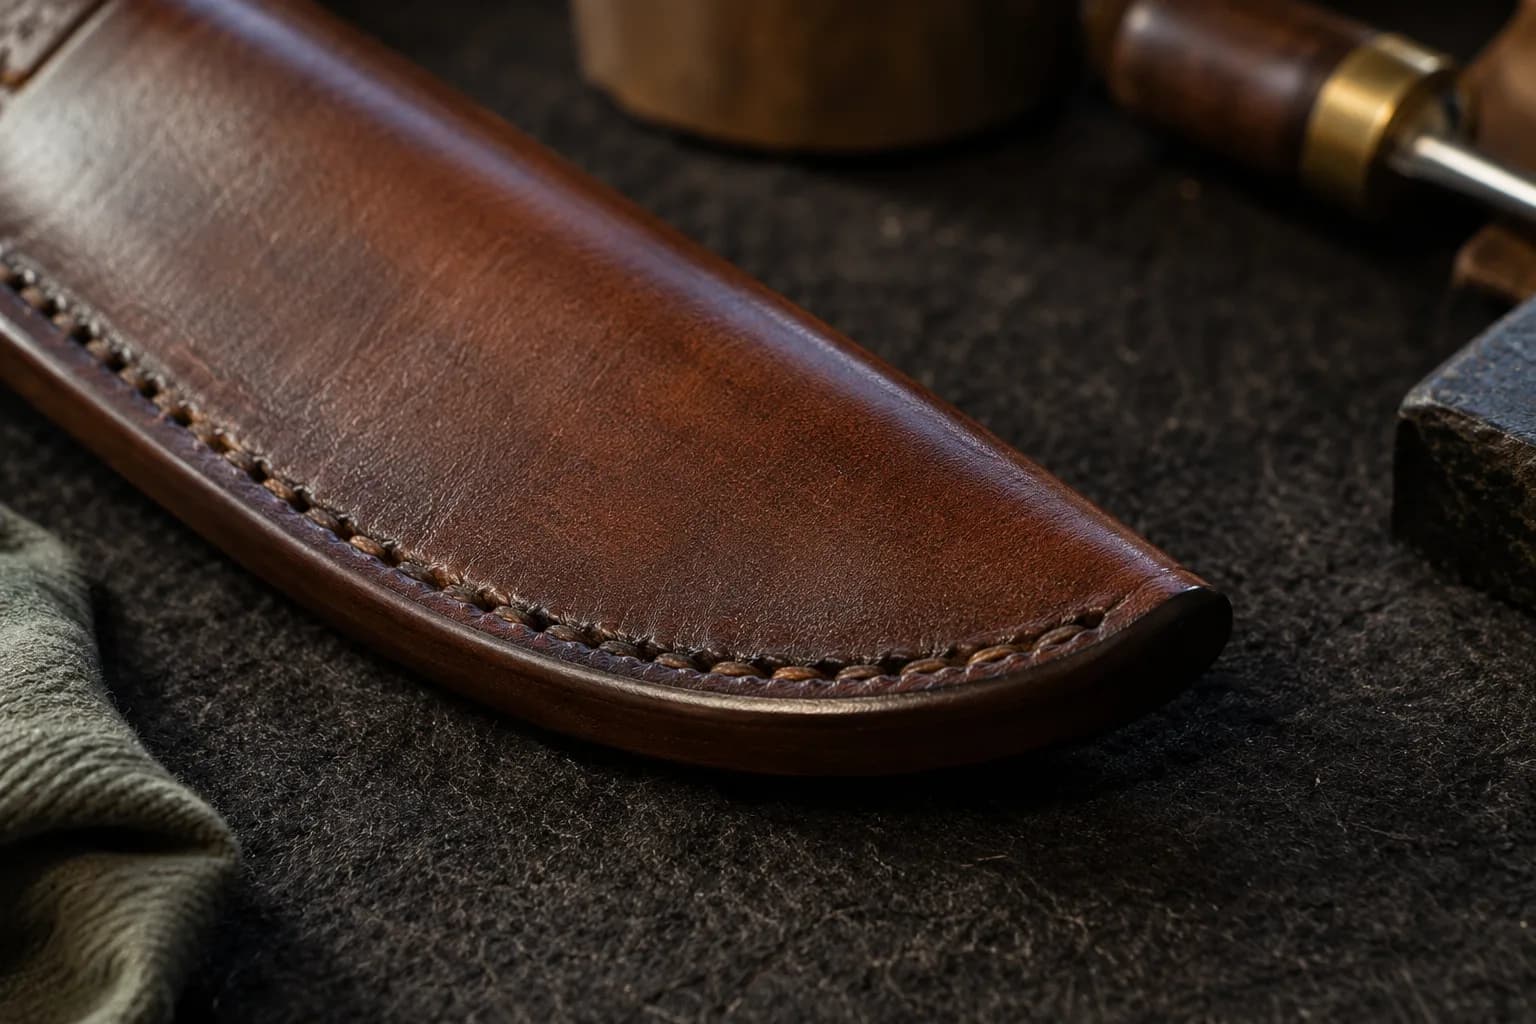
A finished edge starts flush: the glued, stitched layers sanded to one plane — and a 2×72 running SLOW with a worn 220-400 belt does in seconds what edge bevelers and sanding blocks do in minutes; the lightest touch, since fresh coarse belts tear fiber. Then the burnish: dampen the edge (water, or gum tragacanth for the traditional slick), and rub fast with a slicker — hardwood, canvas, or a grooved burnishing wheel chucked in a drill or mounted where a 2×72 small wheel goes. Friction heat melts and polishes the fiber into a dark glassy line. Sand finer, burnish again, and the edge ends looking like molded glass — the single highest-return minute in the craft.
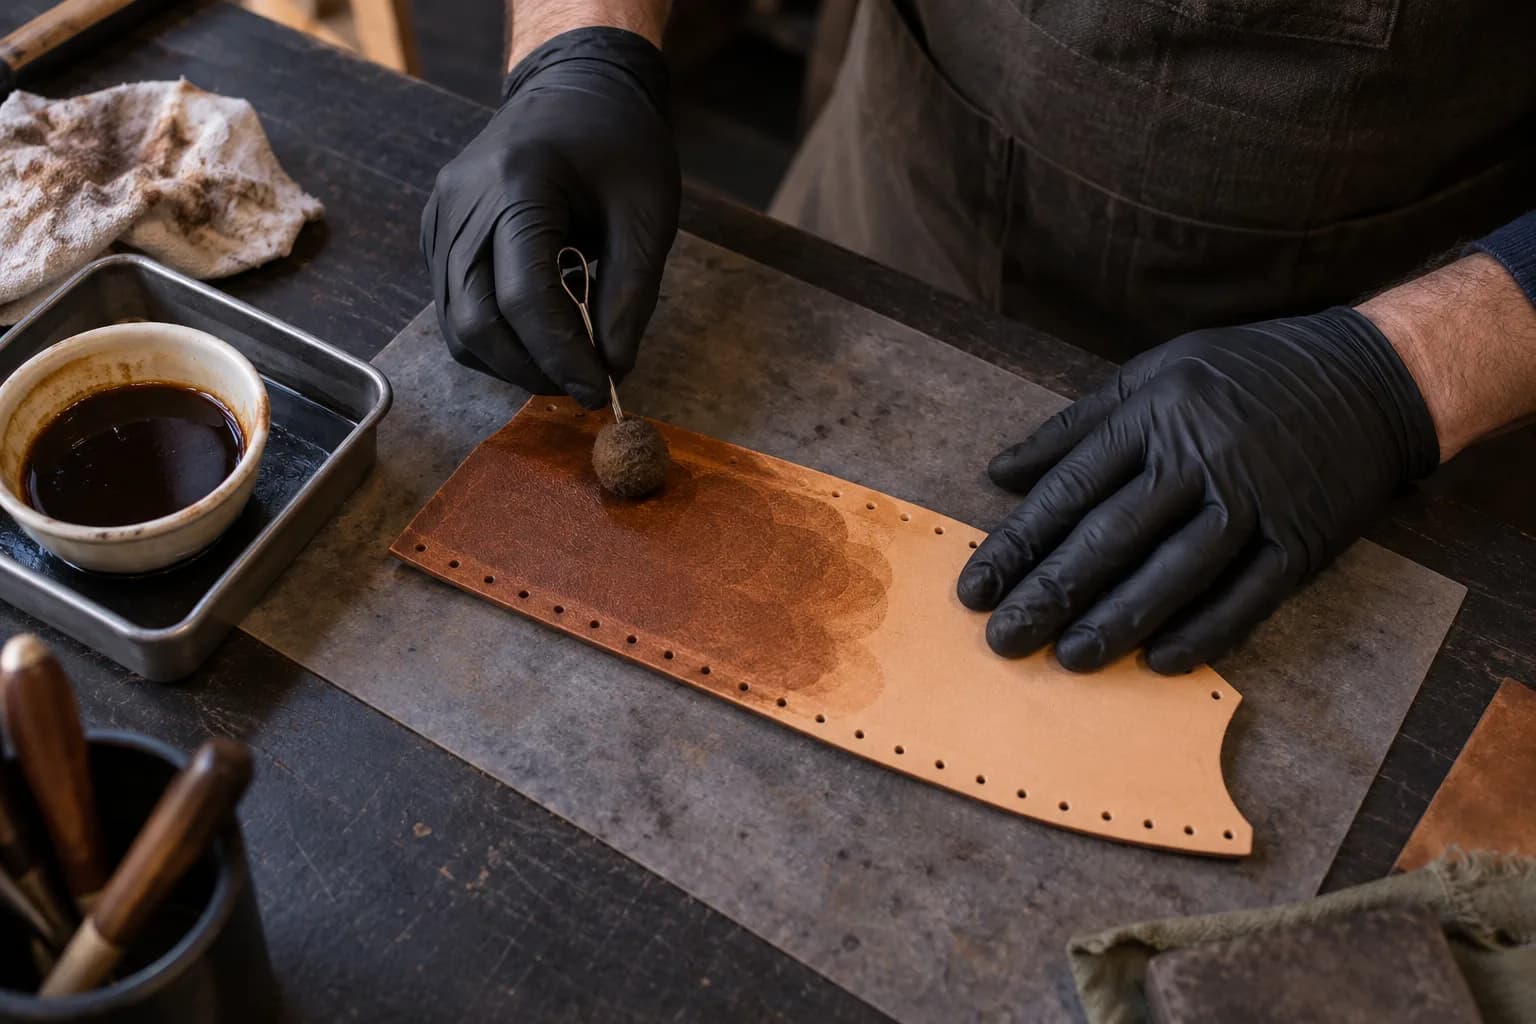
Alcohol-based dyes (the standard bottles) penetrate deep and dry fast, in every brown a knife photo ever needed; oil dyes flow gentler with less streaking on big panels; water-based dyes are forgiving and low-odor with less penetration. Technique beats brand: dye BEFORE assembly where possible, apply in overlapping circles with a wool dauber, expect the first coat to look wrong (blotchy dries even), build in thin coats, and let it dry fully — then buff off the excess pigment until the rag comes clean, or that pigment ends up on a customer’s clothes. Natural undyed veg-tan with just oil and sun remains the classic bushcraft look and asks the least; see the aesthetic pairing logic in Tooling Basics.
Dyeing strips oils; the leather wants them back. A light coat of pure neatsfoot oil (sparingly — oil darkens and over-oiling makes flop), rest a day, then the top coat: acrylic resolene cut 50/50 with water for a flexible protective sheen, carnauba-and-beeswax creams for the softer hand-rubbed look, or a proper wax finish for working sheaths that live outdoors. The wax path doubles as weatherproofing: melted beeswax-and-oil blends worked warm into the surface make a sheath rain can bead off — the traditional treatment behind every old saddle that survived its century.
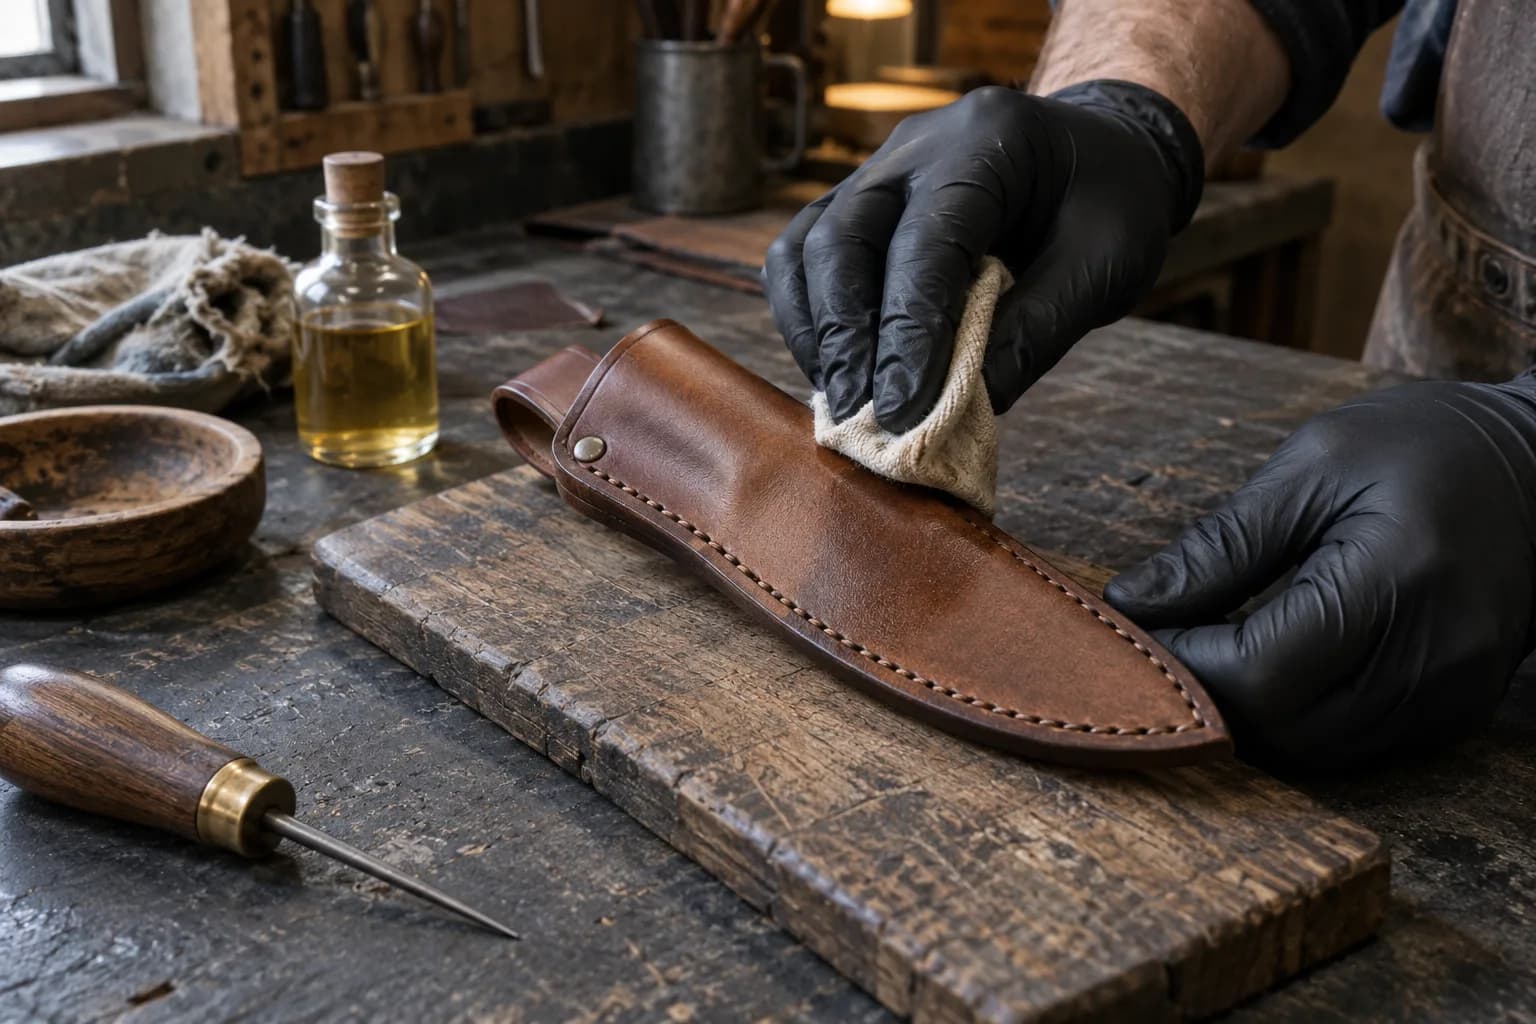
On a formed sheath from the wet-forming guide, fully dry: sand edges flush (slow belt) → first burnish → dye, dry, buff → neatsfoot, rest → edge kote or second burnish over dyed edges → top coat → buff. The blade returns oiled; the sheath meets its product photo wearing glass edges and depth of color — and the listing price quietly follows, per the business section’s standing observation that finish sells.
Keep reading
Three more from the same bench.
Wet forming is veg-tan’s party trick and the step that separates a leather envelope from a fitted sheath: dampened correctly, the leather takes the…

The fold-over (or centerback) sheath is leatherwork’s first-knife project: one piece of leather folded around the blade, a welt guarding the stitches, one…
Belts are the single biggest recurring cost in this hobby, and buying the wrong ones wastes money twice: once on belts that wear out fast, and again on…
Same bench
I machine the parts, hand-assemble, track and test Torus grinders in Sterling, Illinois. Most orders ship in seven to ten business days from time of order.

Current dual-axis platform with a fiber-laser-cut 6061 chassis and single-knob tracking.

Current dual-axis platform with a steel chassis, more mass and less vibration.

Prior-design aluminum chassis, 90-degree tilt and 1.5-inch tooling arms.

One-man shop
I answer my own email. Tell me the steel, the machine and what it is doing, and I will tell you what I would try next.