
Forging & Bladesmithing
Choosing Your First Forge: Gas, Coal, or Two Bricks
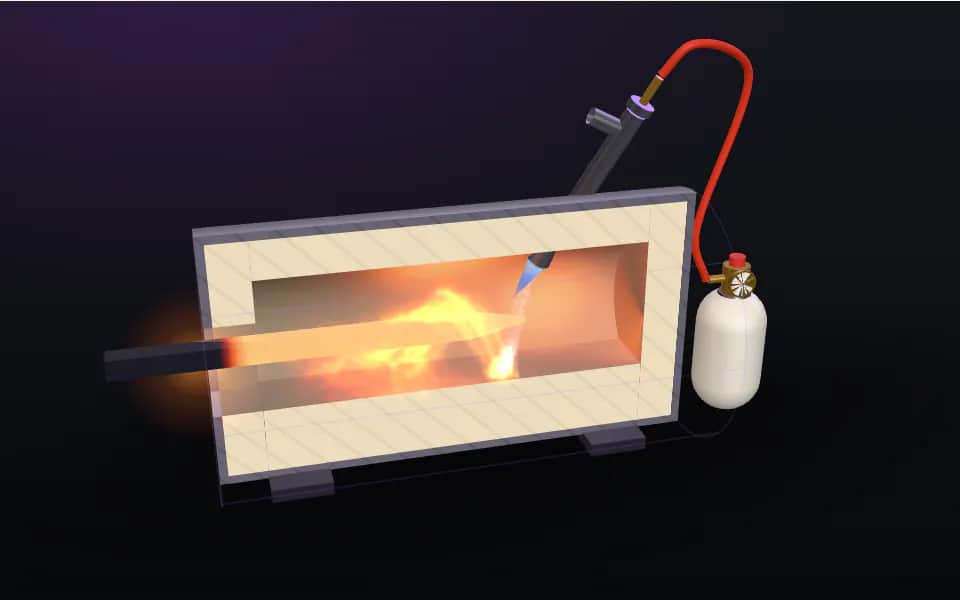
Every forged blade starts with the same purchase decision, and the good news is it’s gotten cheap: a genuinely usable knifemaking forge now costs less…
Forging & Bladesmithing
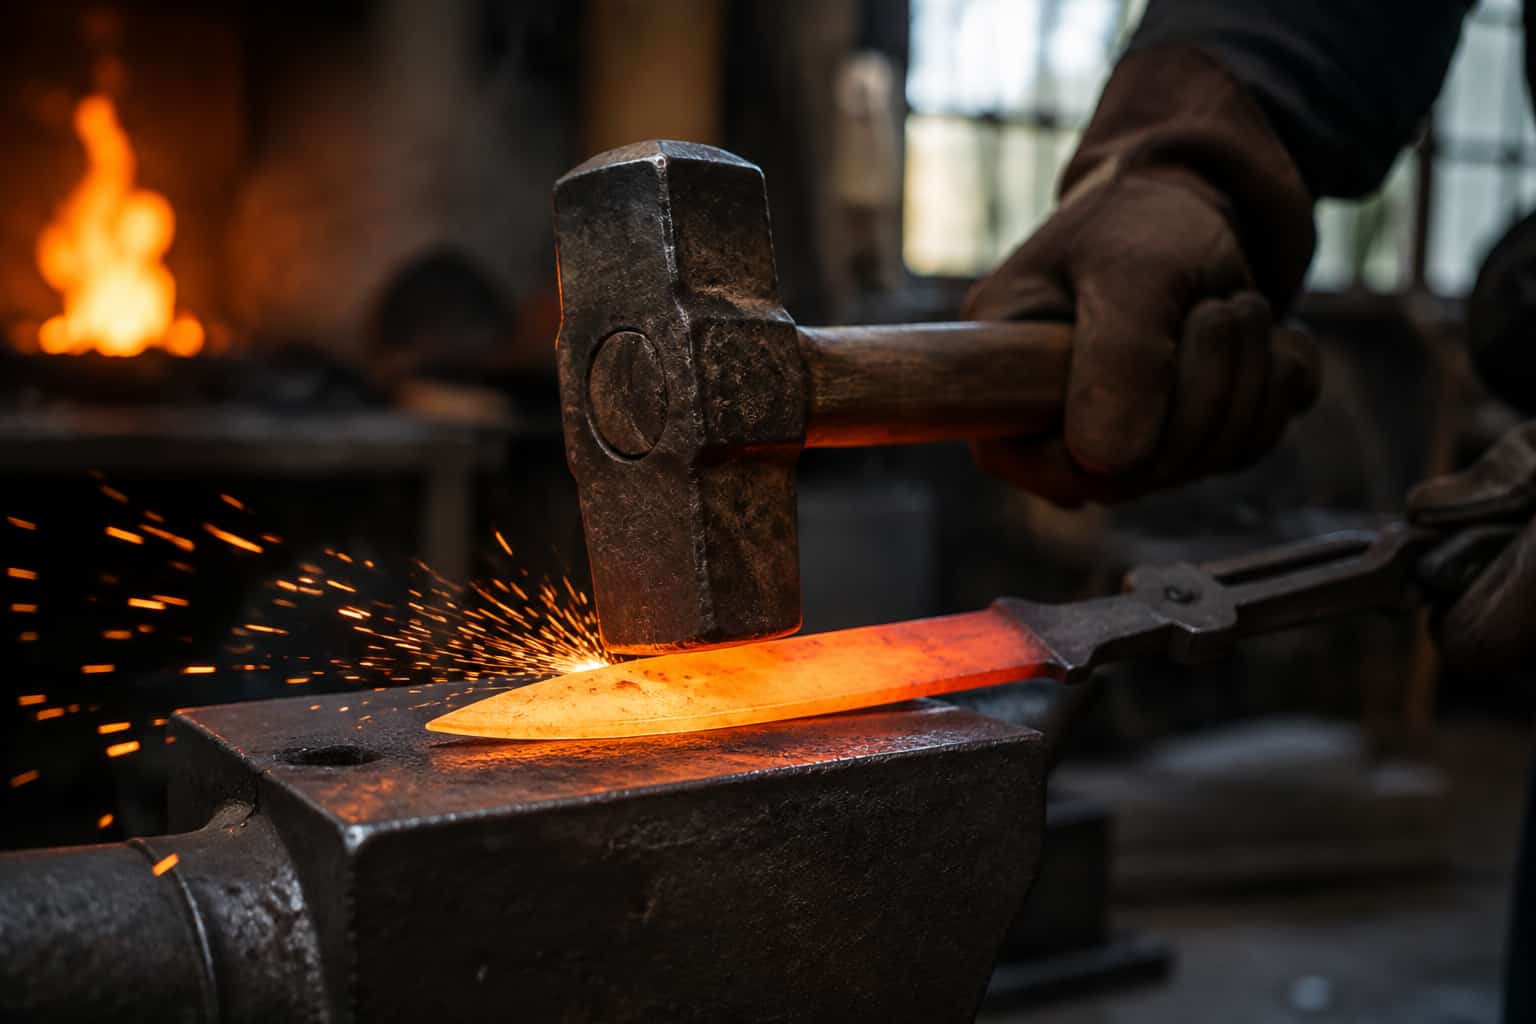
Forge won't reach welding heat? It usually needs tuning, not a bigger burner: recoat the liner, open the exhaust to kill back-pressure, and fix the sputter.
3 min readWritten by Rich LinvilleFree to read
Every gas forge forum has the same recurring thread: “My forge won’t reach welding heat — do I need a bigger burner?” Usually, no. Welding heat is mostly a tuning problem — insulation, back-pressure, and air/fuel balance — and the classic reference on this is Ron Reil’s troubleshooting pages, which have been debugging hobbyist forges since the ’90s. Here’s the systematic version, from a forge that sputters to one that welds damascus on demand.
~2,300°F is not about raw BTUs — it’s about keeping them. A well-insulated small chamber with a modest burner out-welds a leaky big chamber with a monster burner every time (chamber-size logic from the first-forge guide applies double at welding temps).
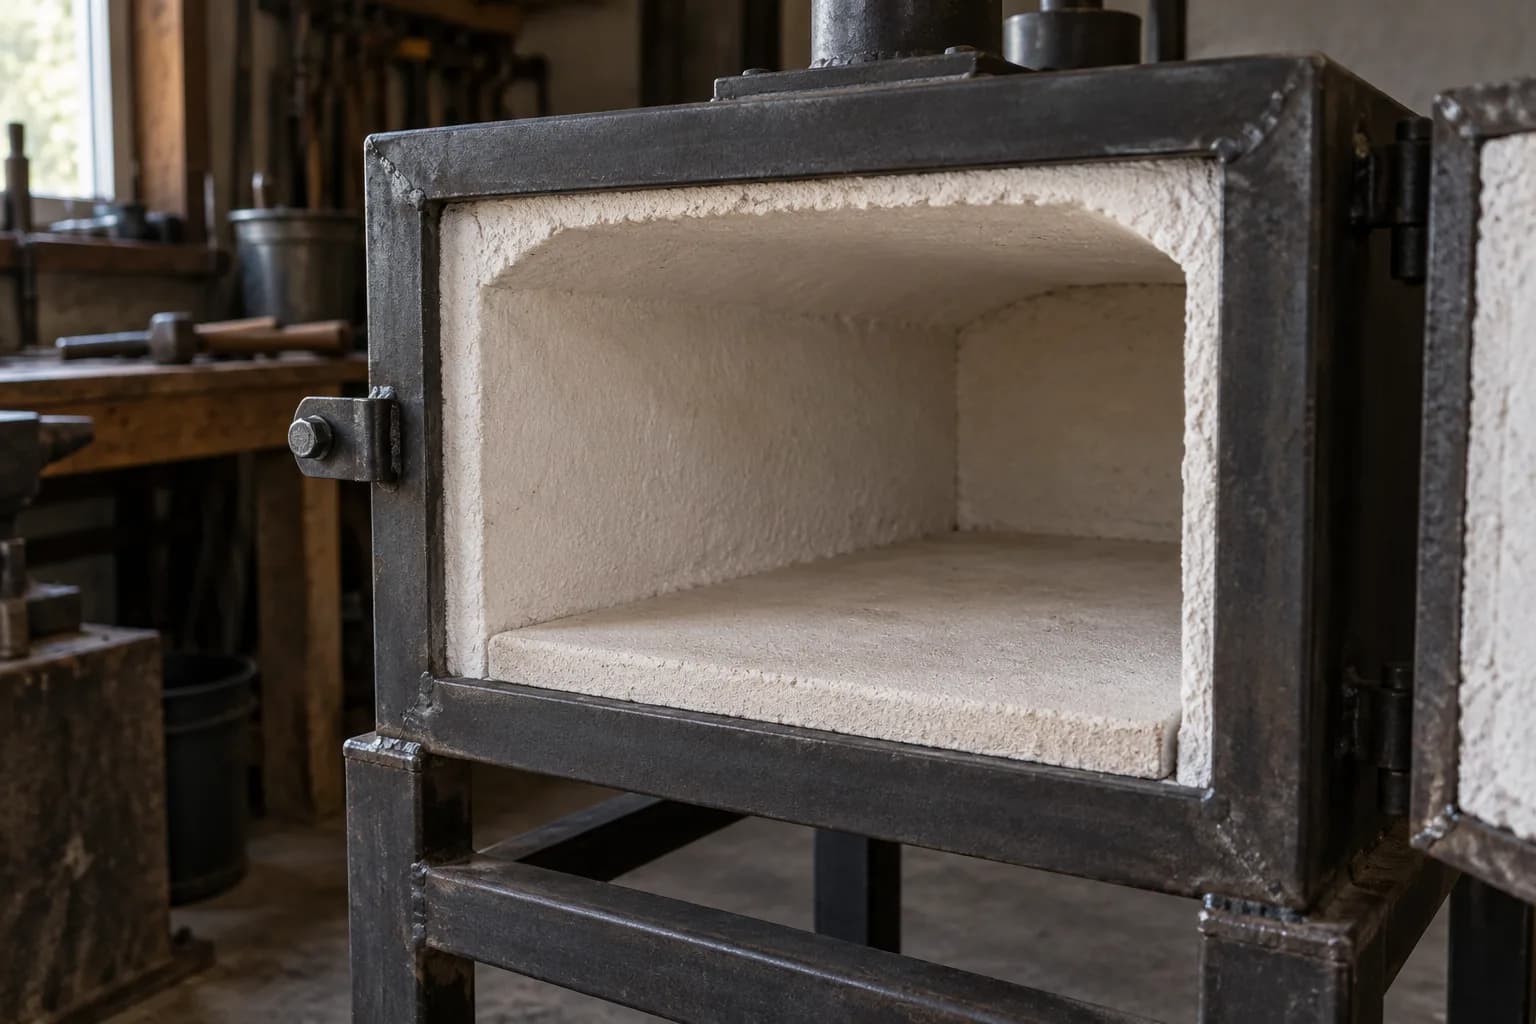
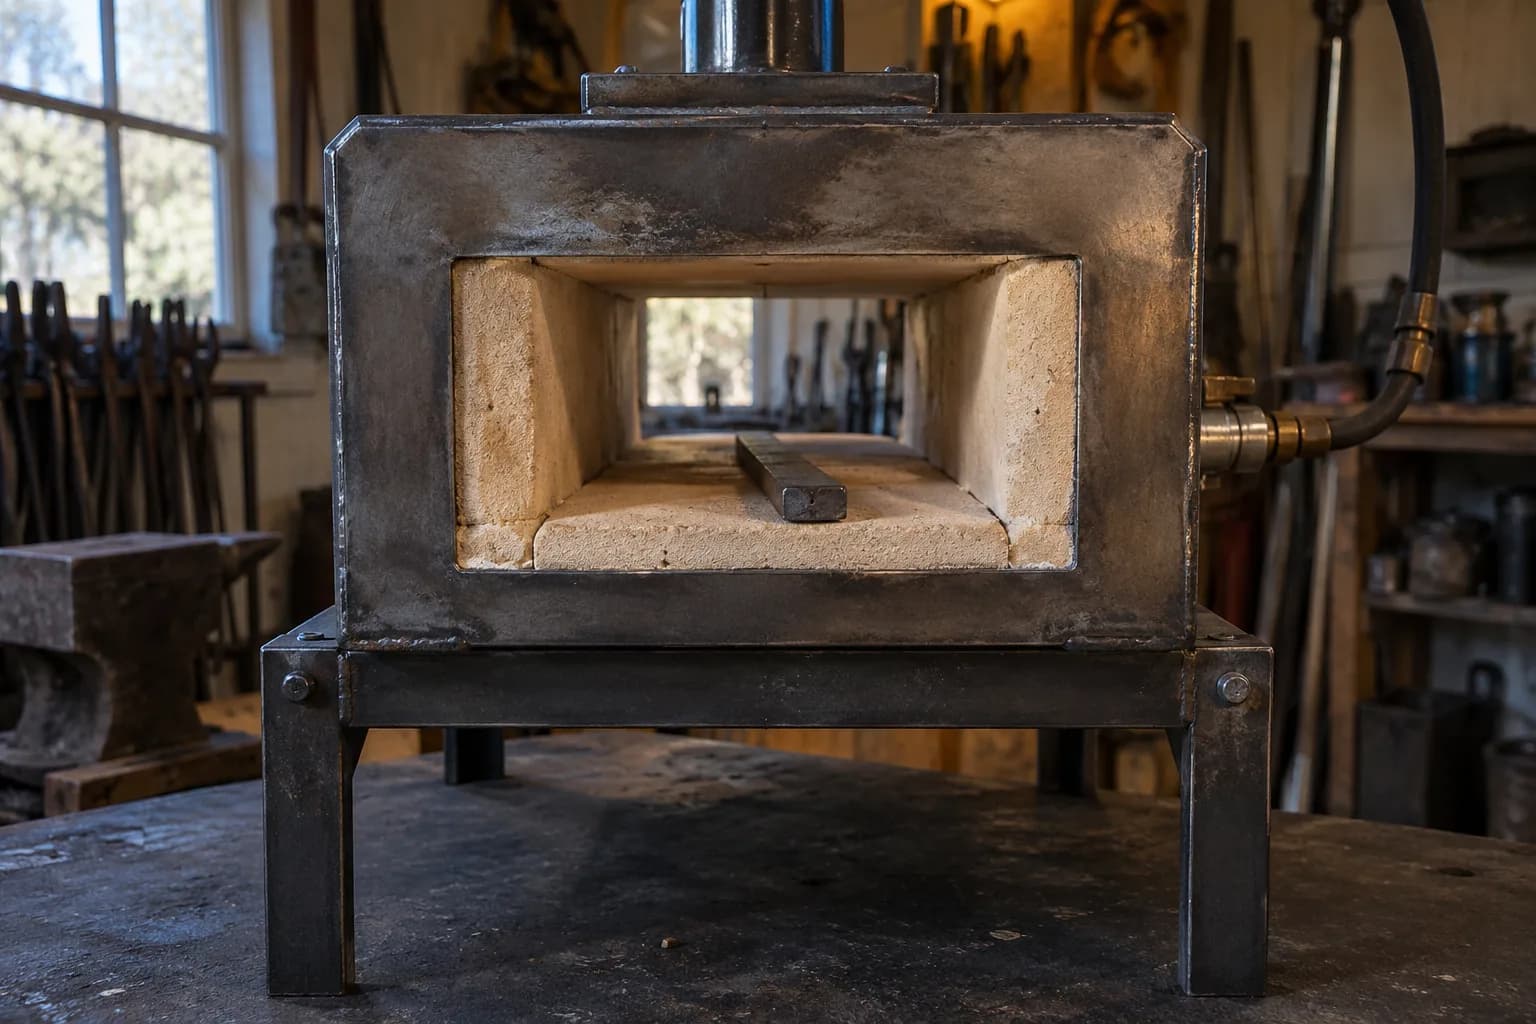
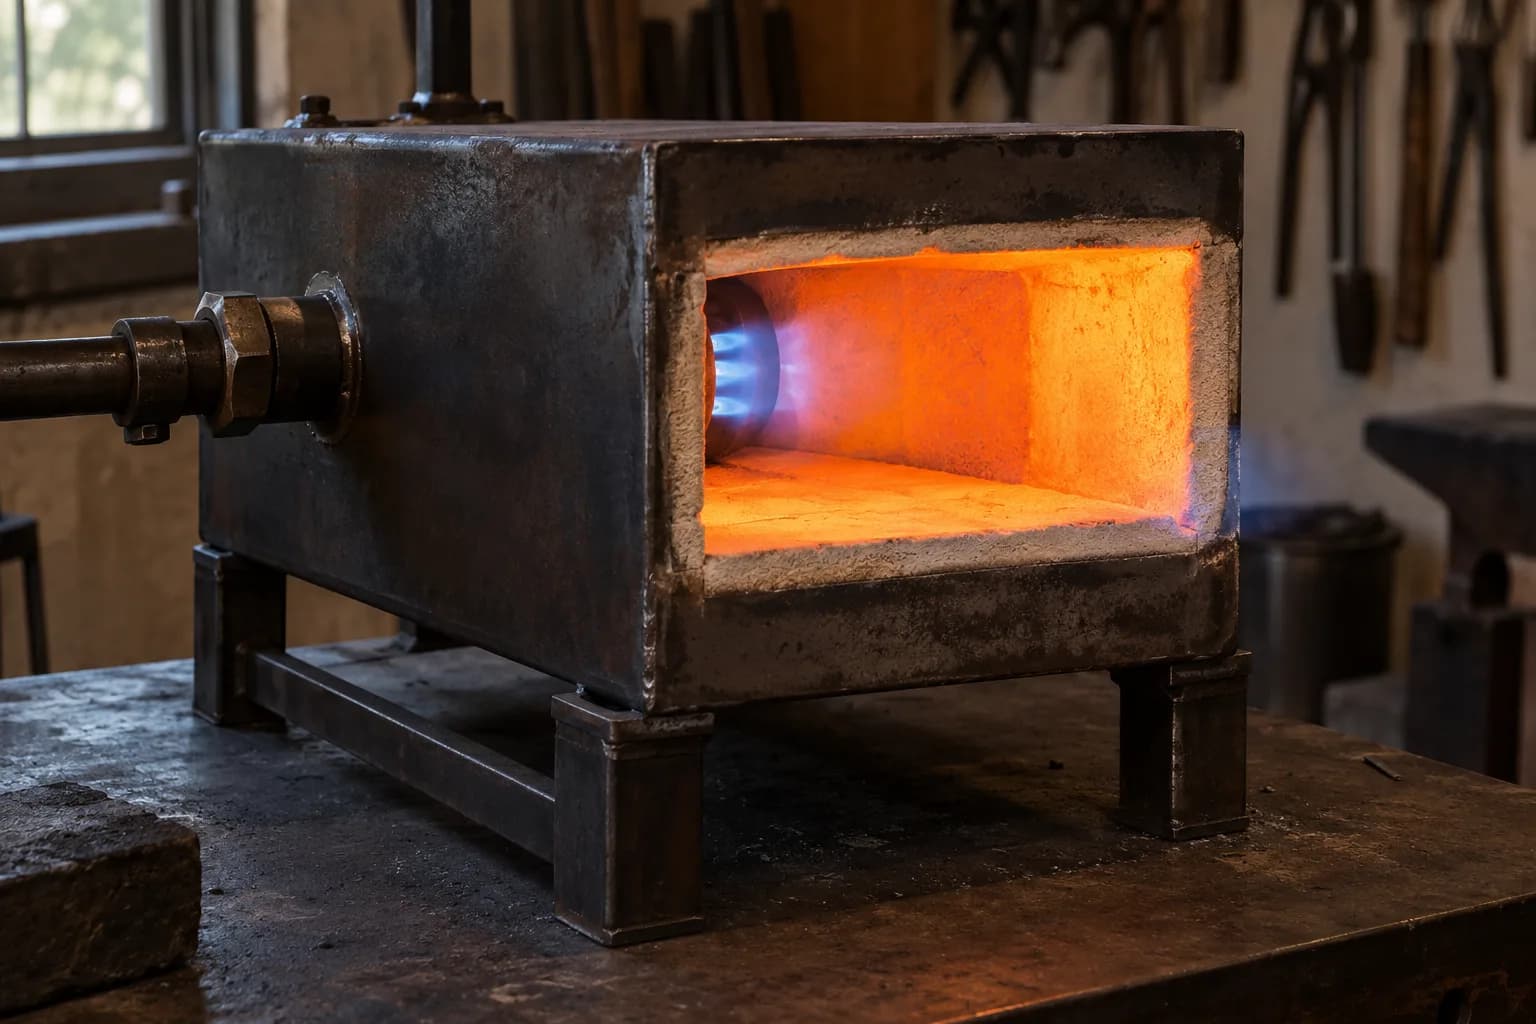
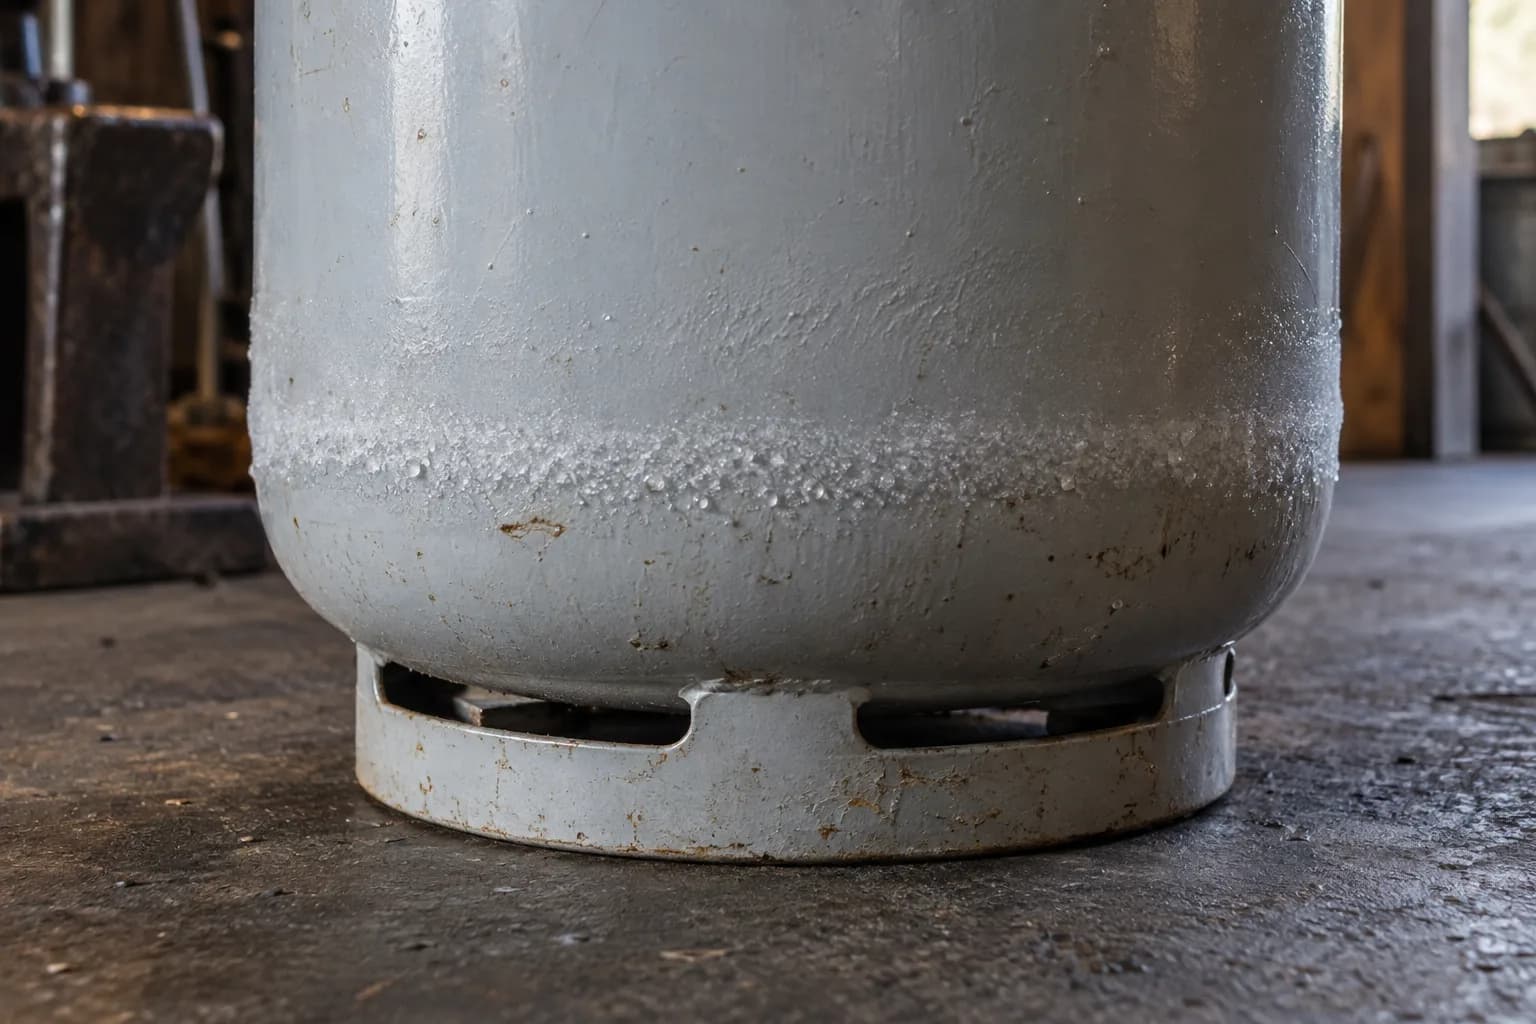
Coated liner → open exhaust → psi up → choke to neutral → doors/bricks arranged to hold heat with clearance around the work → and give it time to soak: chamber walls at color, not just flame on steel (see the damascus welding walkthrough for what “at heat” looks like on a billet). If all of that is right and it still won’t weld, then talk burner upgrades — blown burners cure most stubborn cases by taking the breathing problem out of the equation entirely.
Keep reading
Three more from the same bench.
Every forged blade starts with the same purchase decision, and the good news is it’s gotten cheap: a genuinely usable knifemaking forge now costs less…
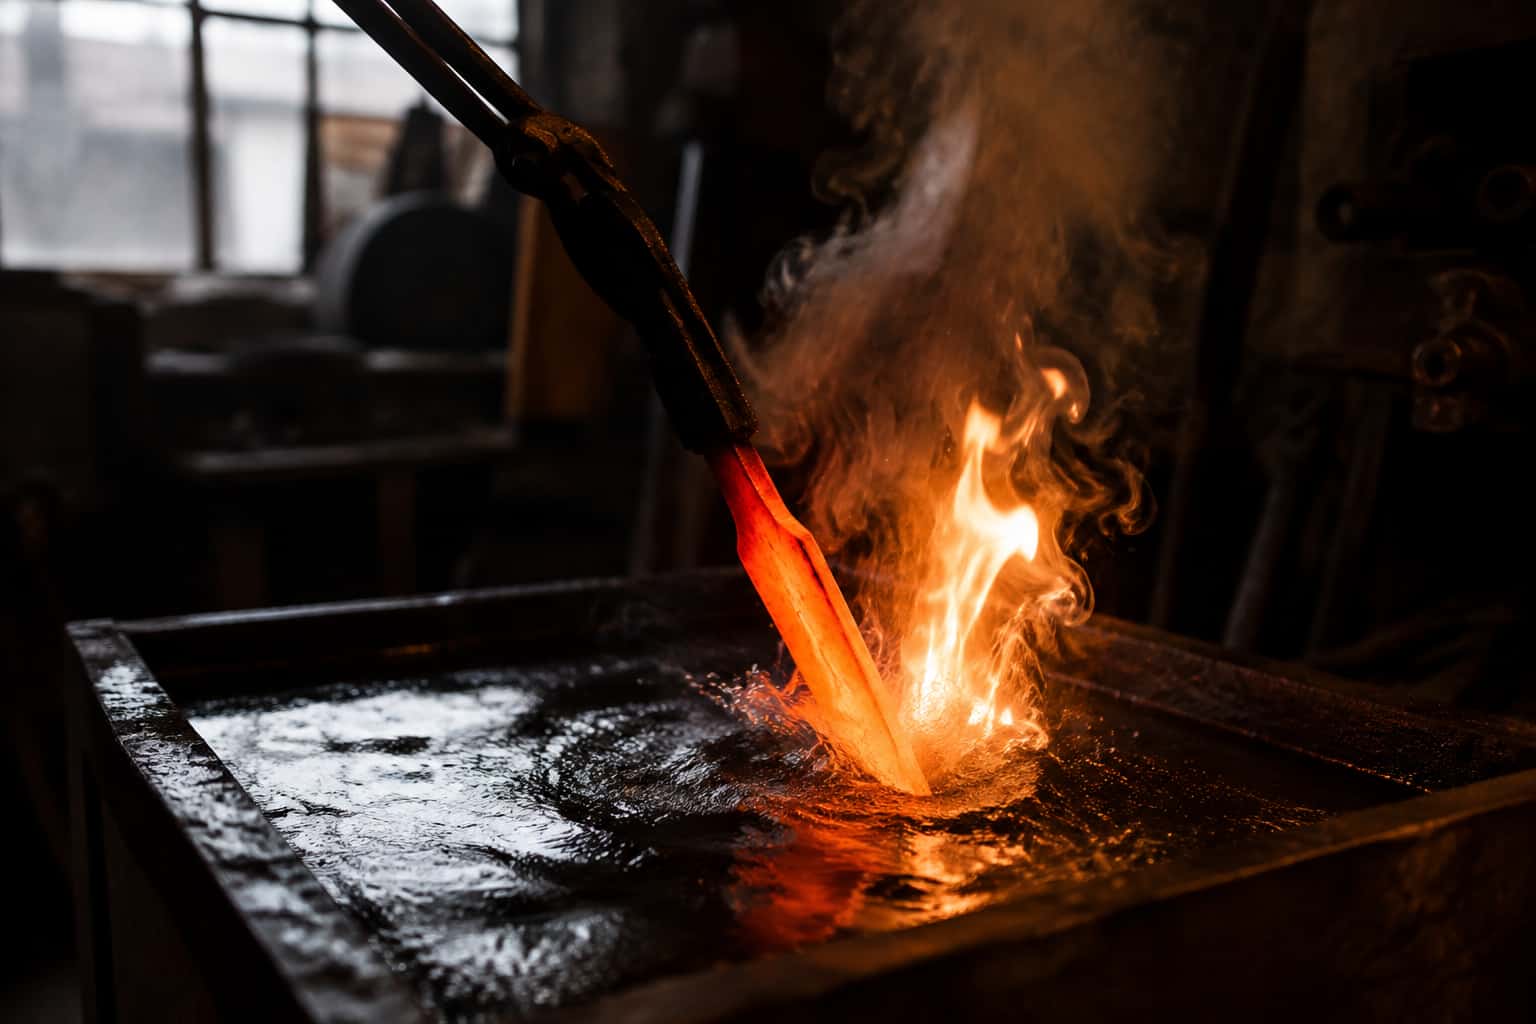
“Do I need a $1,000+ kiln to heat treat a knife?” No — and pretending otherwise keeps a lot of people from ever making their first blade. Makers hardened…
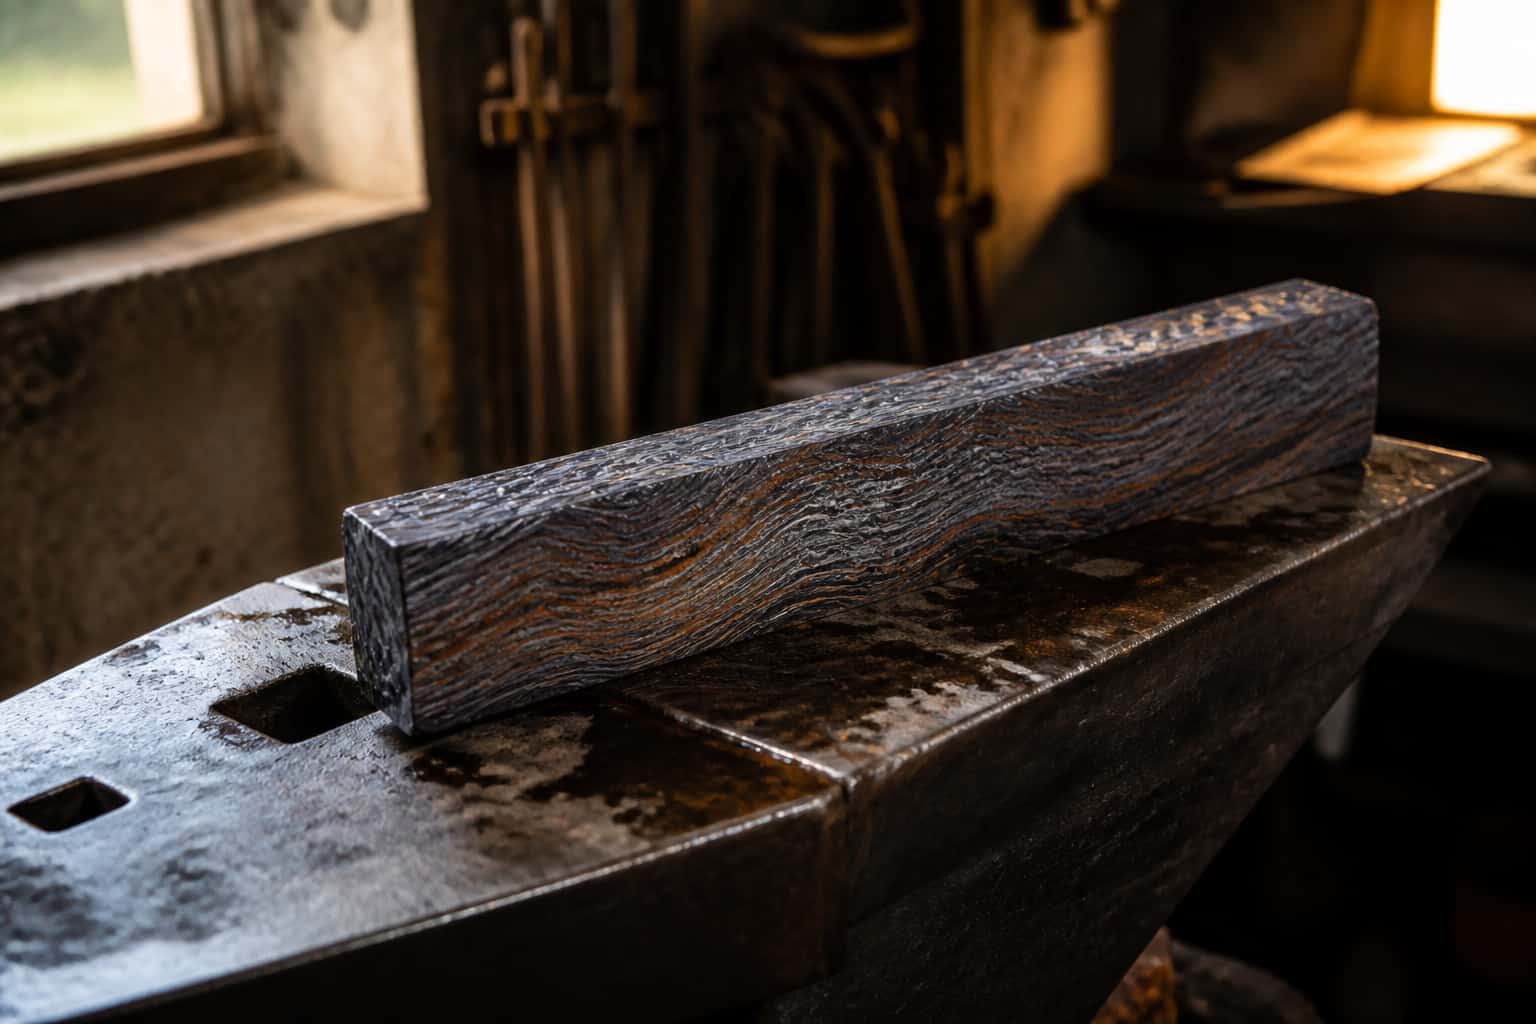
Modern “damascus” is pattern-welded steel: two different steels stacked, forge welded into one solid billet, and manipulated so that grinding and etching…
Same bench
I machine the parts, hand-assemble, track and test Torus grinders in Sterling, Illinois. Most orders ship in seven to ten business days from time of order.

Current dual-axis platform with a fiber-laser-cut 6061 chassis and single-knob tracking.

Current dual-axis platform with a steel chassis, more mass and less vibration.

Prior-design aluminum chassis, 90-degree tilt and 1.5-inch tooling arms.

One-man shop
I answer my own email. Tell me the steel, the machine and what it is doing, and I will tell you what I would try next.