
Beginner Guides
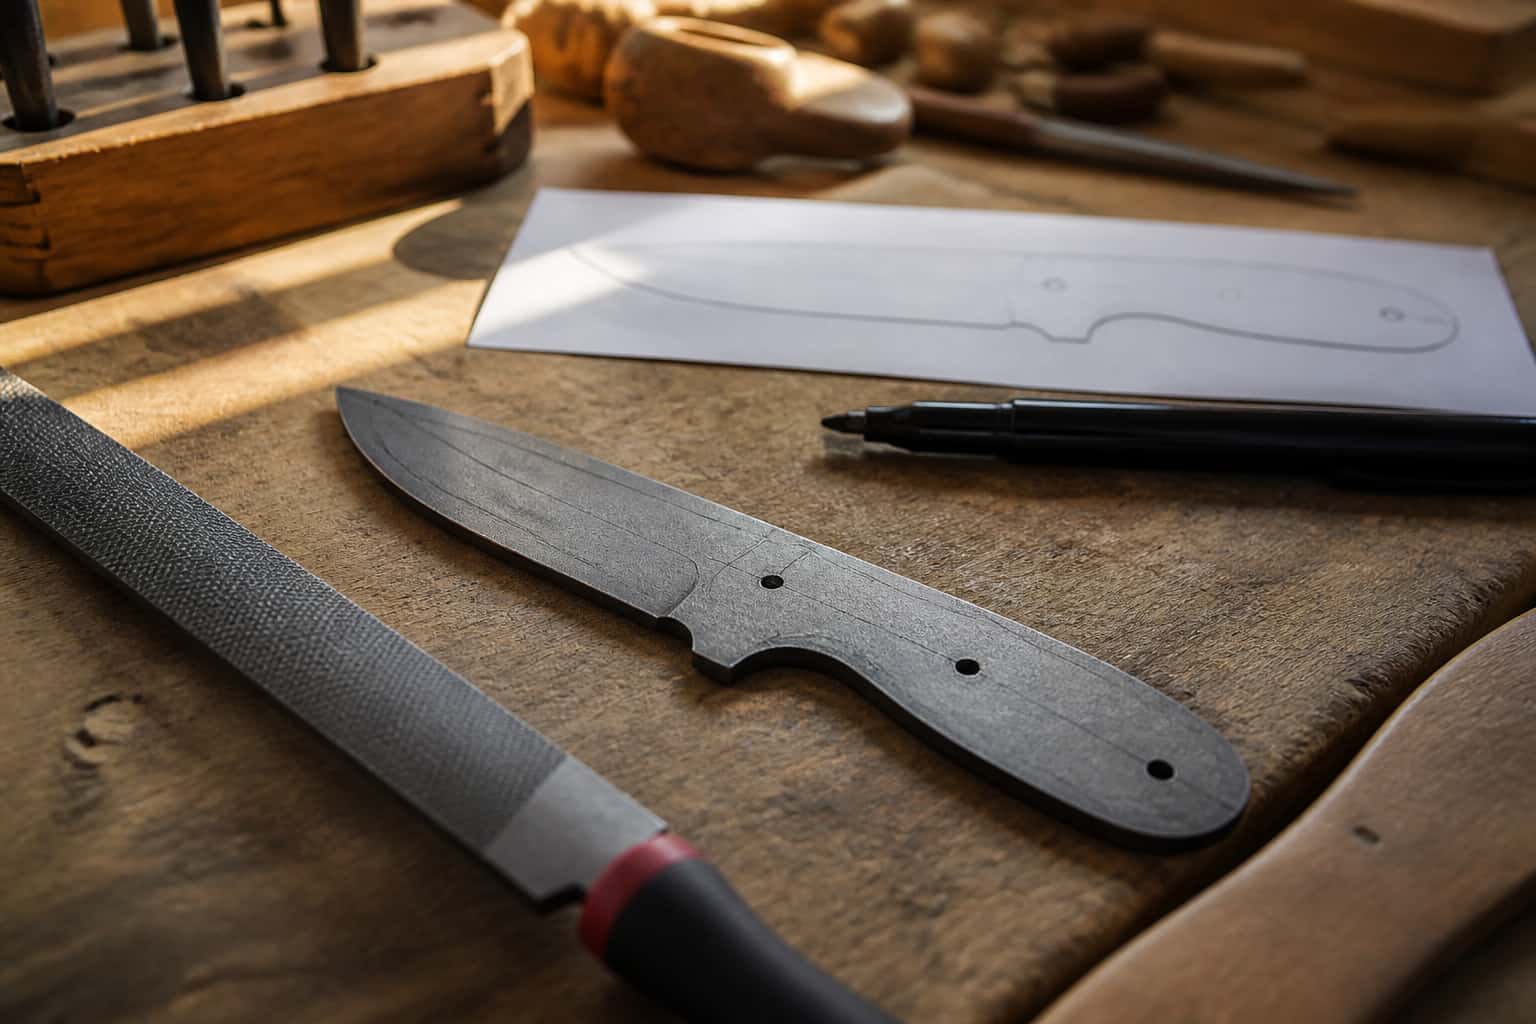
Essential First Tools & Equipment for Knifemaking
It’s easy to look at a fully outfitted professional shop and assume you need all of it to make your first knife. You don’t. Here’s what actually matters…
Blade Design
How to make a knife sheath: leather wet-molding versus Kydex thermoforming, retention basics, tooling costs, and which one a beginner should start with.
3 min readWritten by Rich LinvilleFree to read
A finished knife without a way to carry it safely isn’t really finished, and sheath making is its own small craft with two dominant approaches: leather and Kydex, each with real tradeoffs.
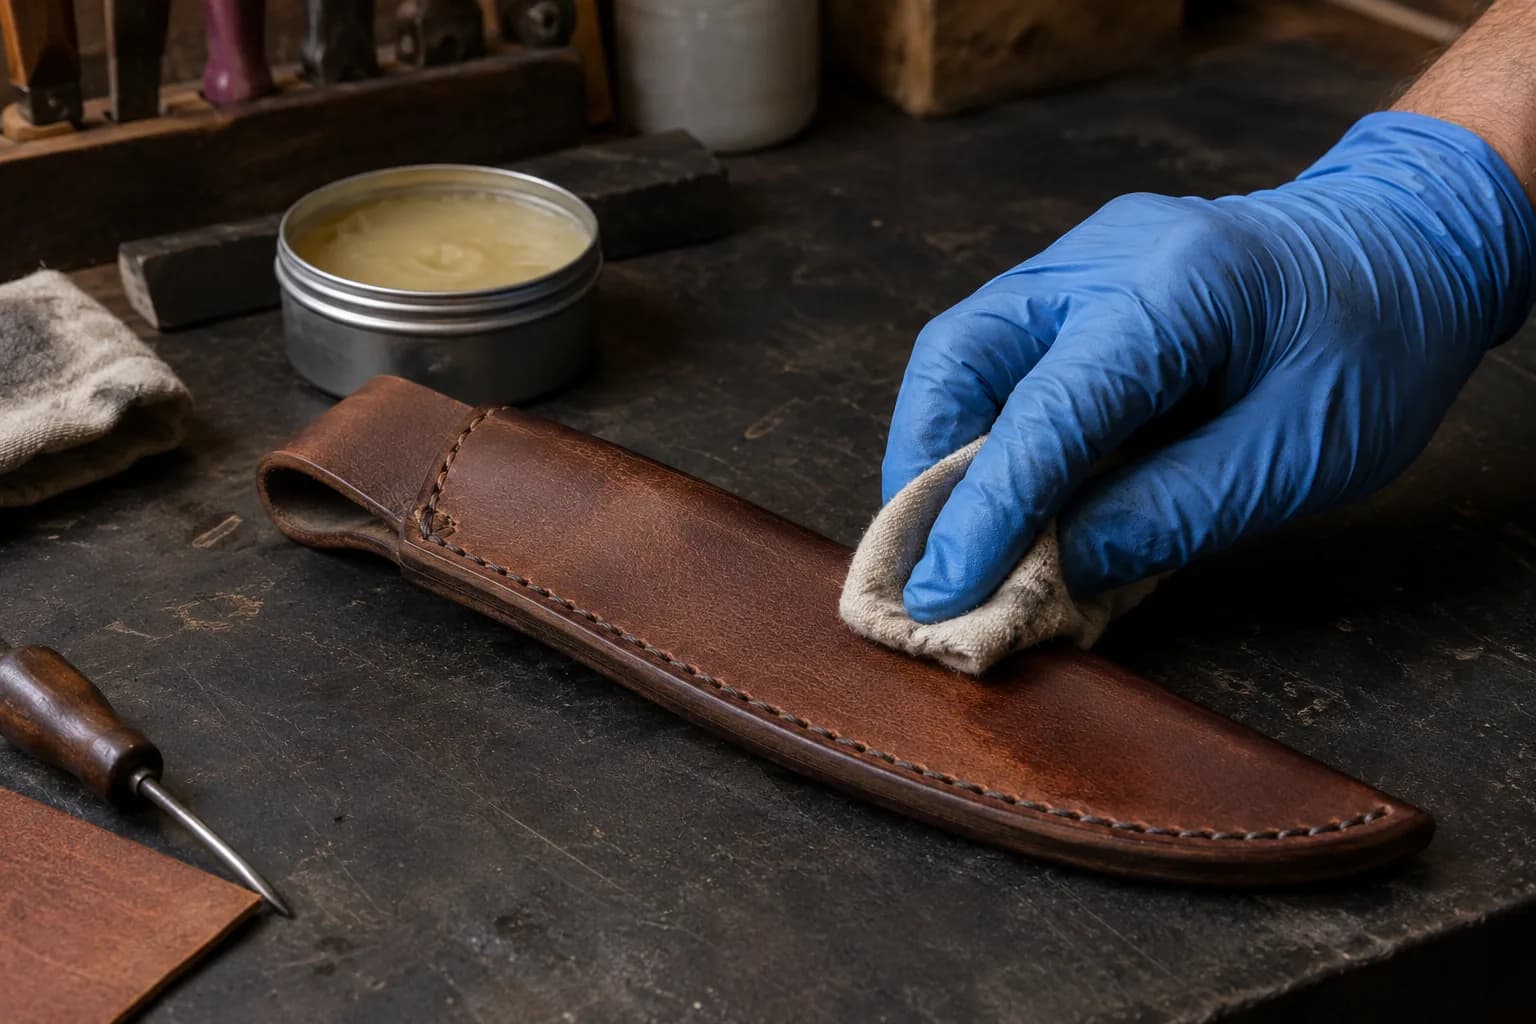
The traditional choice, typically wet-molded (leather dampened and formed around the actual blade to create a snug custom fit) then stitched or riveted along the edges. Leather offers a classic look that pairs naturally with wood or natural-material handles, and a well-made leather sheath is genuinely durable. It requires more hand skill to make well (cutting, wet-molding, stitching or riveting, edge finishing) and needs occasional conditioning to stay supple and crack-resistant over years of use.
A thermoplastic sheet that’s heated until pliable and formed around the blade (with the handle typically masked off) using a vacuum press or foam-and-clamp method, then trimmed and drilled for hardware. Kydex is completely waterproof, requires no conditioning or maintenance, and gives a precise, snug retention fit that holds the blade securely with an audible “click” on a well-made sheath. It has a more modern, tactical look that doesn’t suit every knife style, and the equipment (heat gun or oven, forming setup) is a different investment from leather tools.
Beyond just holding the blade, a sheath needs to retain it securely enough that normal movement, walking, bending, reaching, doesn’t risk the knife falling out, while still allowing a clean draw when needed. Both leather (through snug wet-molding and sometimes a retention strap) and Kydex (through precise thermoforming around the blade’s exact shape) can achieve this well when made correctly; a poorly fitted sheath in either material is a real safety problem, not just an inconvenience.
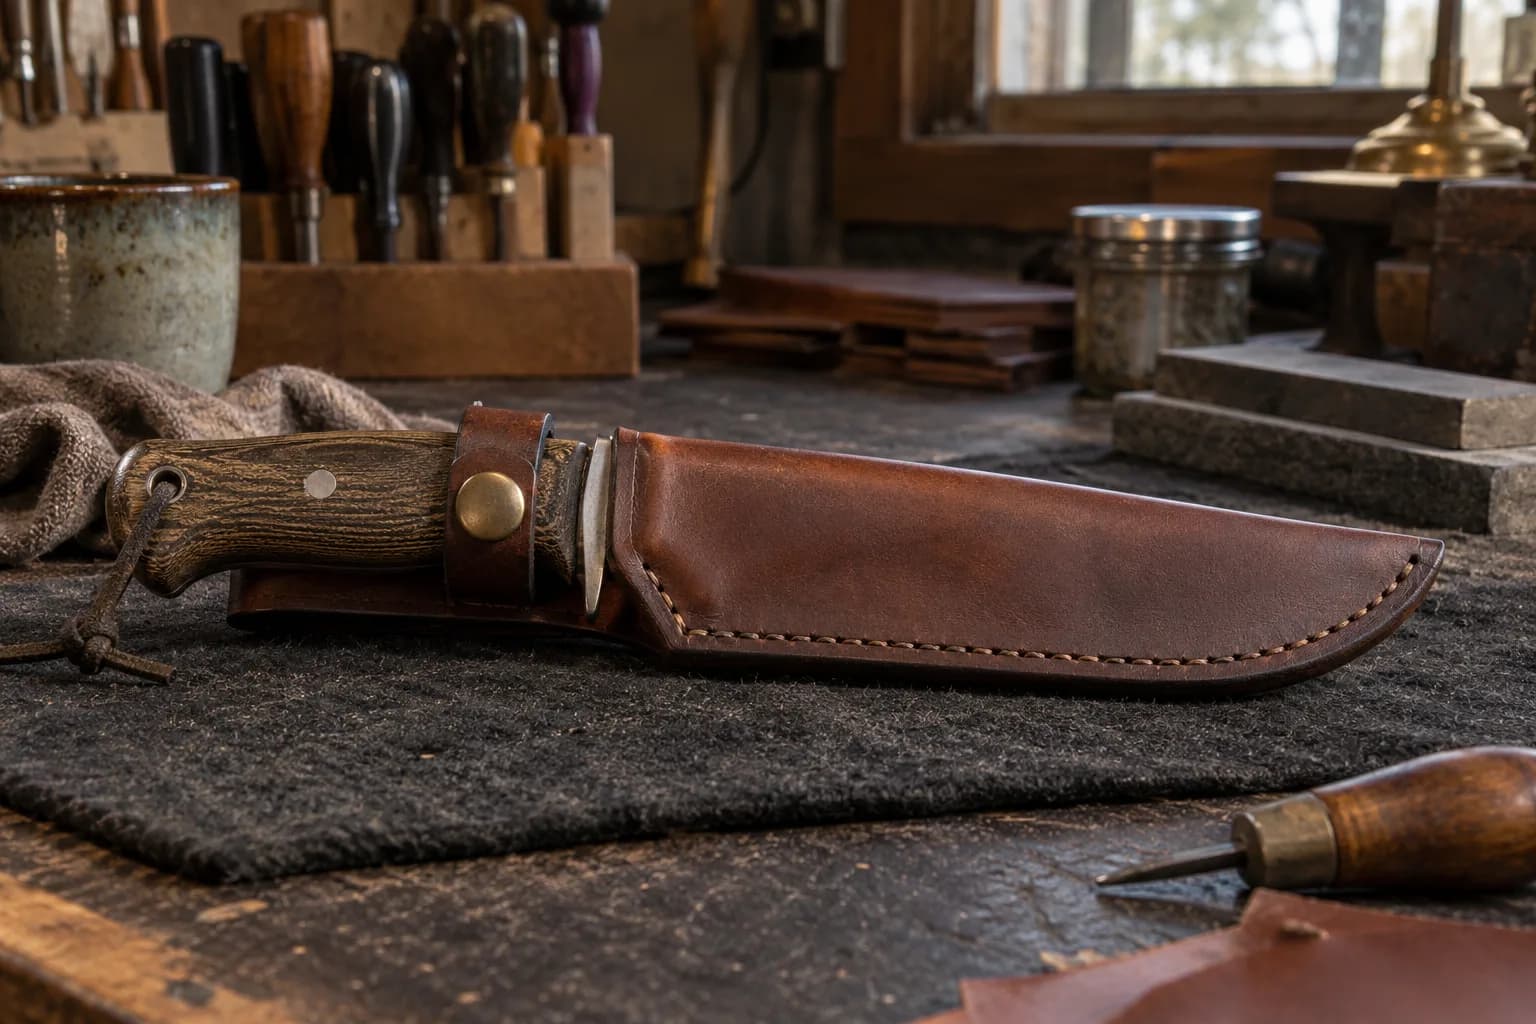
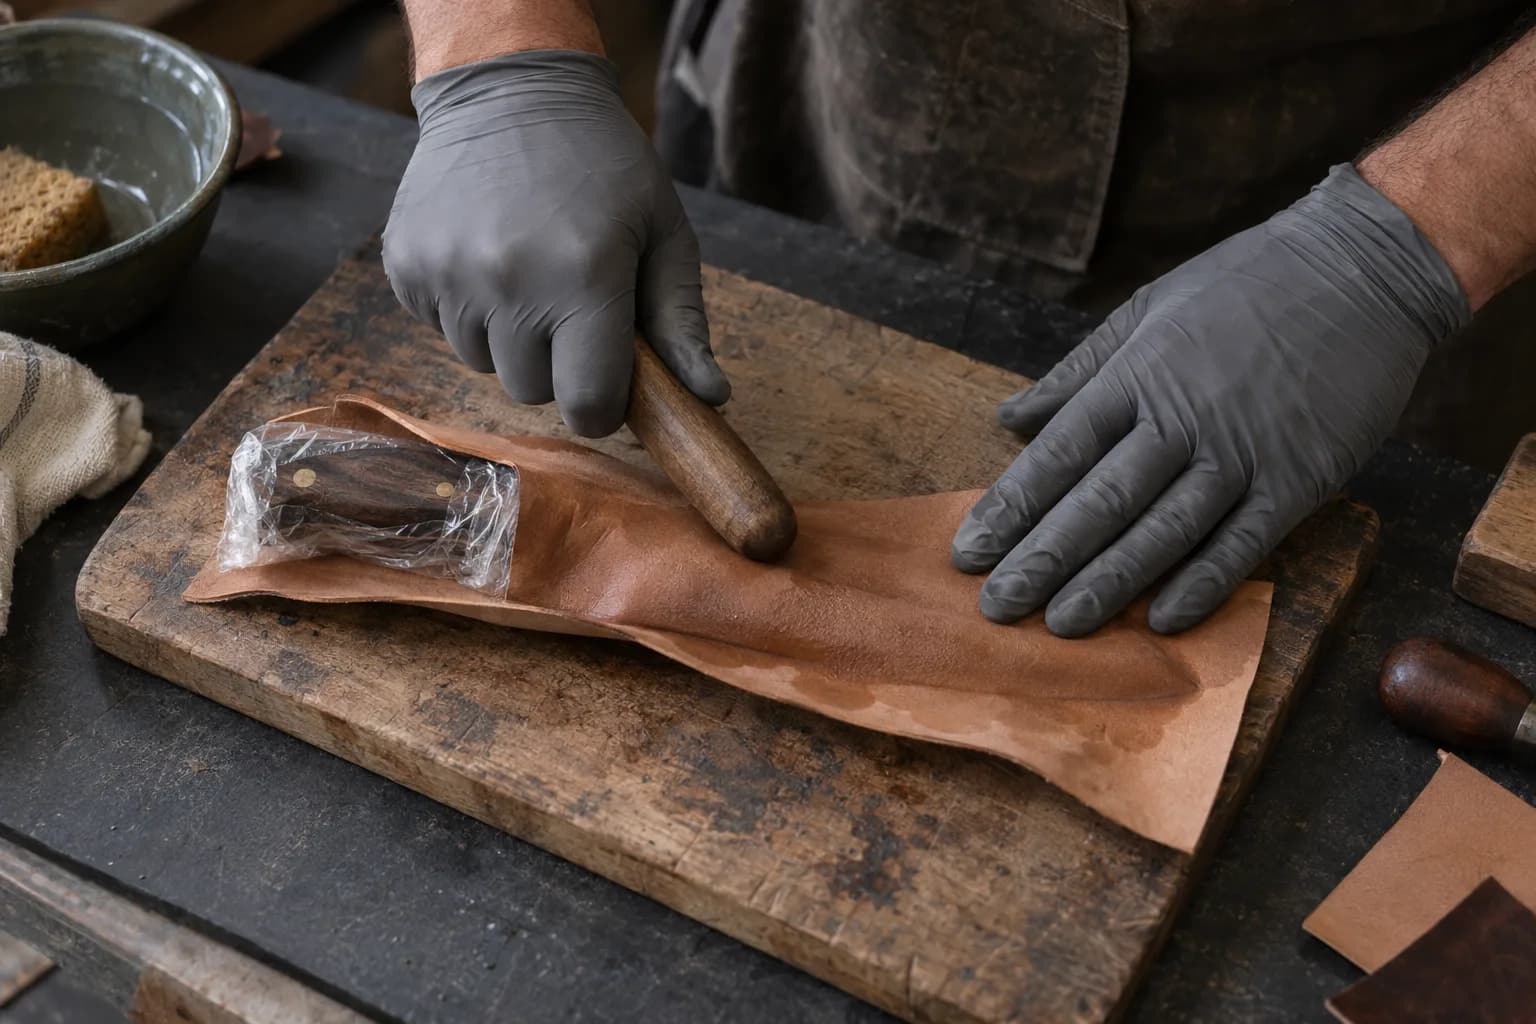
Pattern the sheath shape around the actual blade and handle, cut the leather, wet it thoroughly, then mold it tightly around the blade (often using the blade itself, wrapped in plastic for protection) and let it dry fully in that shape before stitching or riveting the edges. Edge finishing (burnishing, beveling, dye or edge paint) is typically the last step.
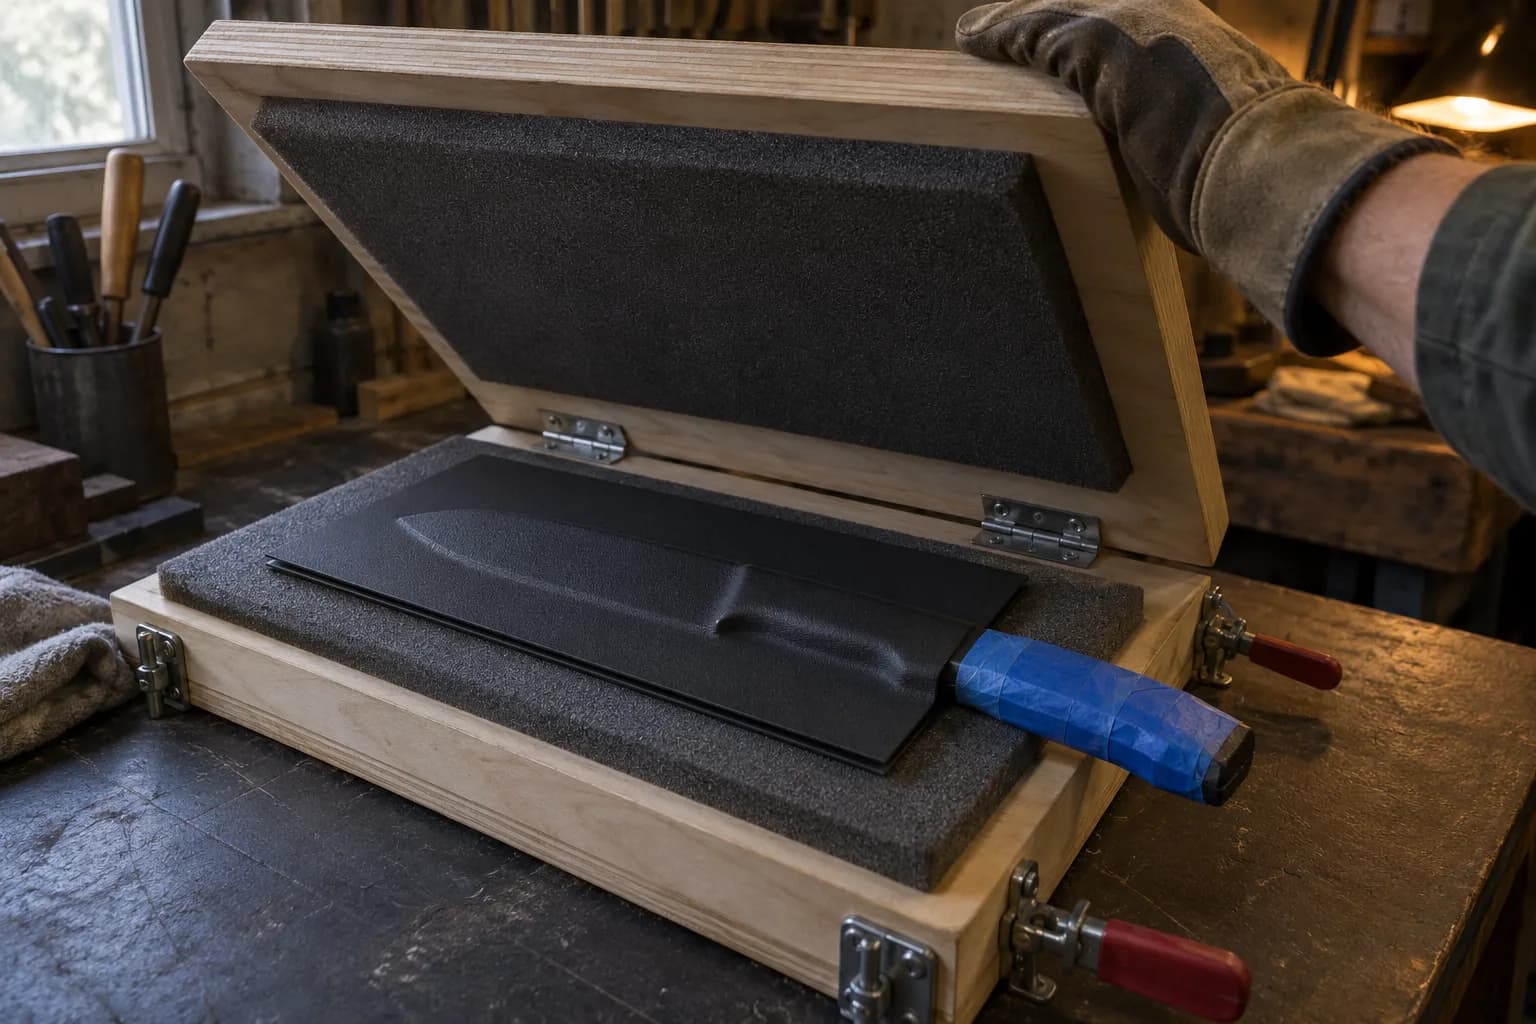
Heat a Kydex sheet until pliable (oven or heat gun depending on setup), then form it around the blade using a foam press or vacuum forming setup, sandwiching the blade between two heated sheets or folding one sheet around it. A dedicated Kydex heat press makes this step far more consistent than an improvised foam-and-clamp setup, worth considering once you’re making more than an occasional sheath. Once cooled and rigid, trim the excess material, drill mounting holes, and add eyelets or hardware for a belt clip or attachment system.
Kydex is generally more forgiving for a first attempt: the process is more mechanical and repeatable (heat, form, trim) with fewer hand-skill variables than wet-molding and stitching leather well. Leather offers a more traditional look and a real hand-craft skill worth learning, but expect a steeper initial learning curve to get a clean, well-fitted result.
For any fixed-blade knife meant to actually be carried or used, yes, a sheath is a functional safety necessity, not an optional accessory. Purely display or collector pieces are sometimes finished without one, but that’s the exception, not the rule.
For a custom blade shape, a properly fitted sheath usually needs to be made specifically for that blade, generic pre-made sheaths rarely fit a hand-forged or custom-ground blade’s exact profile well enough for secure retention.
Kydex is more resistant to water damage and doesn’t need conditioning, genuinely lower-maintenance over years of outdoor use. Leather, properly cared for, is also very durable and ages well, but requires that ongoing care to avoid drying out and cracking.
Keep reading
Three more from the same bench.
It’s easy to look at a fully outfitted professional shop and assume you need all of it to make your first knife. You don’t. Here’s what actually matters…
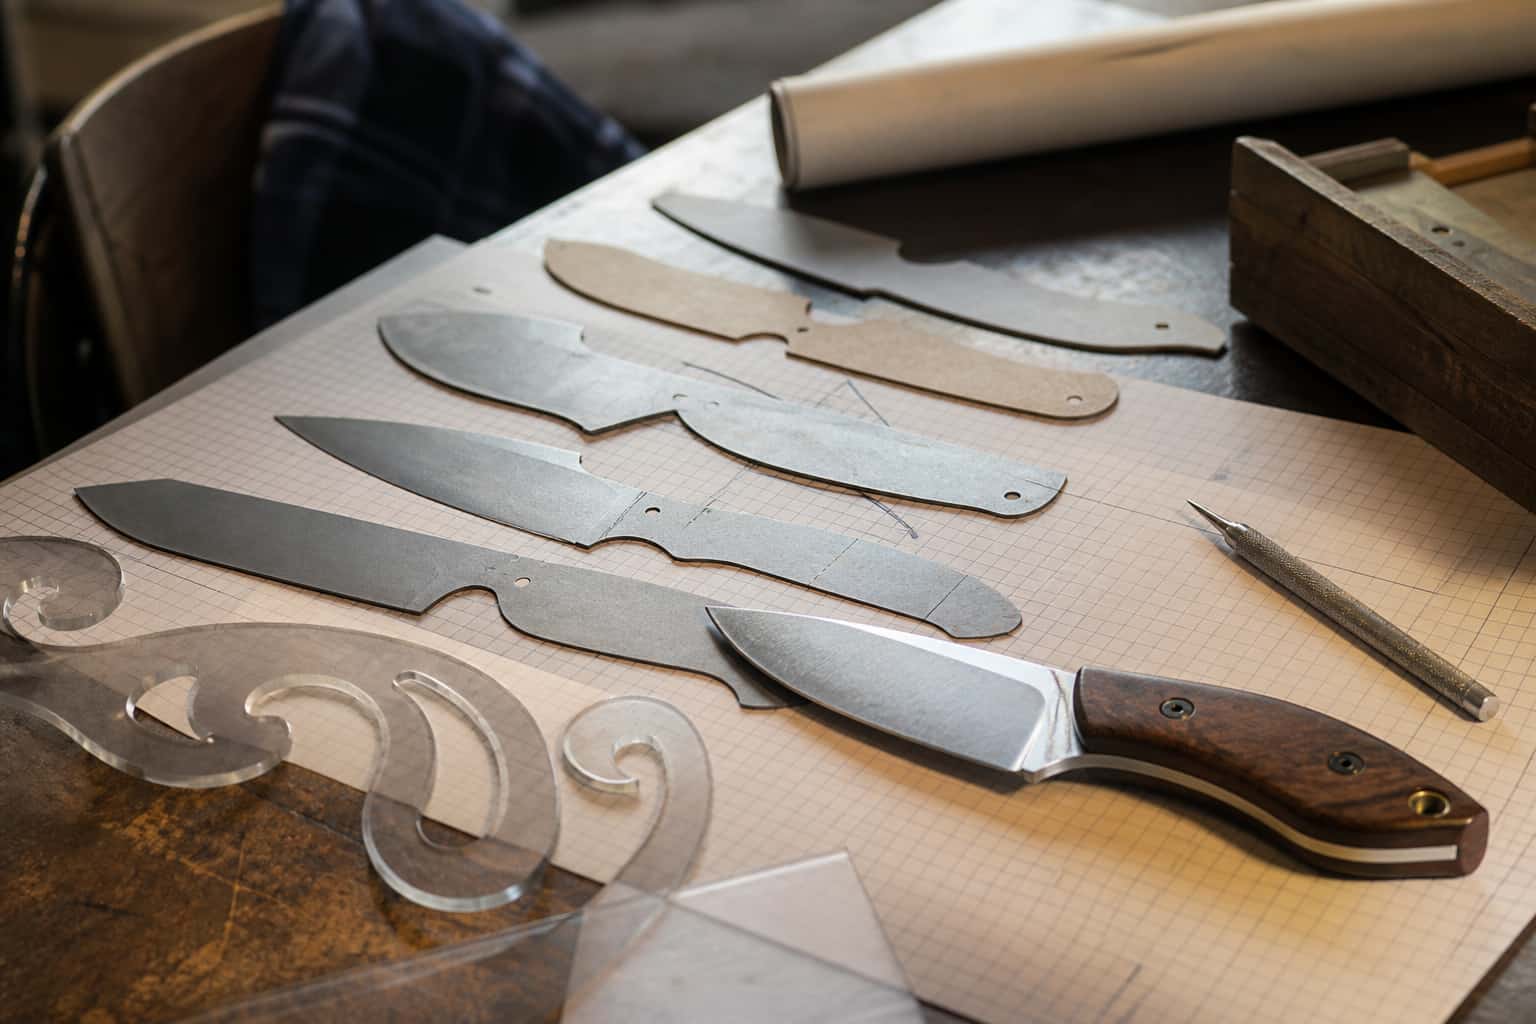
Bolsters and guards sit at the transition between blade and handle, and while they’re sometimes confused with each other, they serve genuinely different…

Attaching handle scales looks simple, glue two pieces of material to a flat tang, but getting a tight, gap-free, structurally sound result depends on a…
Same bench
I machine the parts, hand-assemble, track and test Torus grinders in Sterling, Illinois. Most orders ship in seven to ten business days from time of order.

Current dual-axis platform with a fiber-laser-cut 6061 chassis and single-knob tracking.

Current dual-axis platform with a steel chassis, more mass and less vibration.

Prior-design aluminum chassis, 90-degree tilt and 1.5-inch tooling arms.

One-man shop
I answer my own email. Tell me the steel, the machine and what it is doing, and I will tell you what I would try next.