Knife Making
Creating a Handle Shaping Station
Handles take longer than blades and make more dust. A dedicated shaping station around the 2×72 fixes both. Here is how I lay one out: templates, rough cutting, slack belt and small wheel work, sanding and finish.
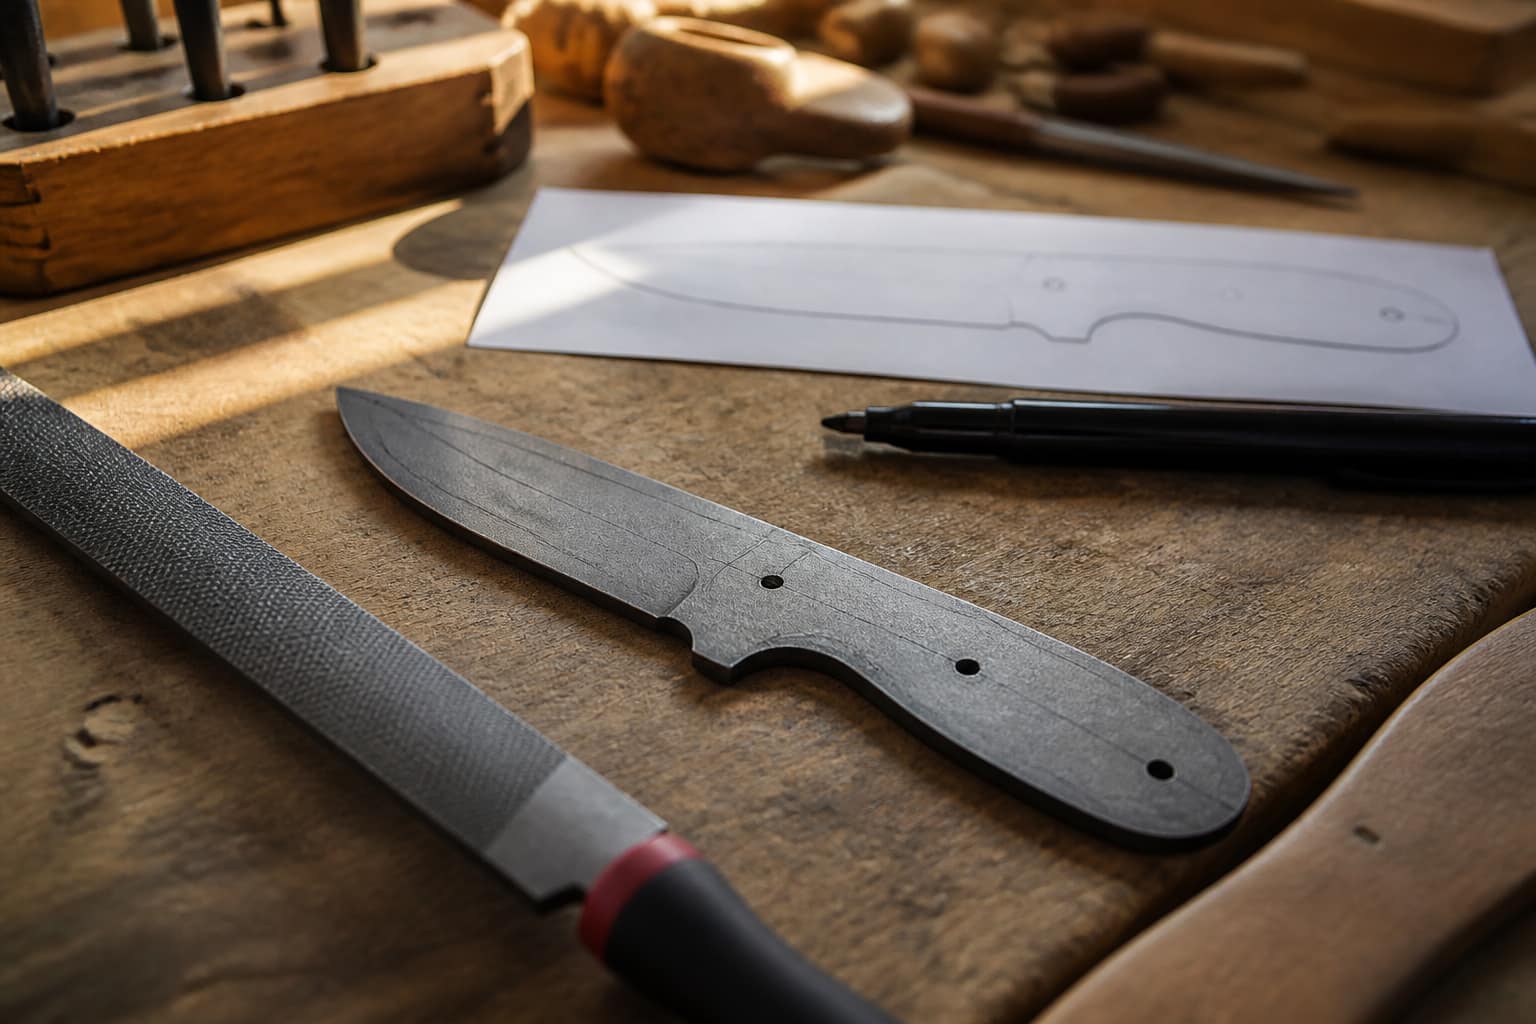
Blades get all the attention, but handles take more time and make more dust. A dedicated handle shaping station keeps that mess in one place and makes every handle come out the same. Here is how I set mine up around the 2×72: templates for repeat shapes, rough cutting, slack belt and small wheel work for the contours, dust control, and the sanding and finishing steps that make a handle feel right.
Key Takeaways
- A handle shaping station is a useful tool for creating custom handles for various woodworking projects.
- Tools and materials needed for handle shaping include a bandsaw, spokeshave, sandpaper, and oil or varnish for finishing.
- Setting up a work area with proper lighting and ventilation is essential for safe and efficient handle shaping.
- Creating a template for handle shapes helps ensure consistency and precision in the shaping process.
- Using a bandsaw to rough cut the handles and a spokeshave to shape and smooth them is an effective method for handle shaping.
Tools and Materials Needed
To start handle shaping, it is vital to gather the right tools and materials. The primary materials typically include hardwoods such as walnut, maple, or oak, which are favored for their durability and aesthetic qualities. Synthetic materials like G10 or Micarta can be used for those seeking modern alternatives that offer unique textures and colors.
Selecting the right material is crucial, as it will affect not only the appearance of the handle but also its weight and feel in hand. In terms of tools, a handle shaping station requires several key instruments. A bandsaw is essential for rough cutting the handle shapes from larger blocks of material.
A spokeshave is invaluable for refining the contours and achieving the desired ergonomic shape. Sanding tools, including various grits of sandpaper and possibly a power sander, are necessary for smoothing the surface and preparing it for finishing. Other helpful tools include clamps for securing the workpiece, a drill for adding holes if needed, and chisels for intricate detailing.
Setting Up the Work Area
Creating an efficient work area is a critical step in establishing a handle shaping station. The workspace should be well-lit and organized to facilitate easy access to tools and materials. A sturdy workbench is essential, providing a stable surface for cutting and shaping.
Ensure that your workspace is equipped with proper ventilation, especially if you are working with materials that produce dust or fumes during sanding or finishing. A clean and well-structured work area will significantly improve your efficiency and enjoyment while working on handle shaping projects.
Creating a Template for Handle Shapes
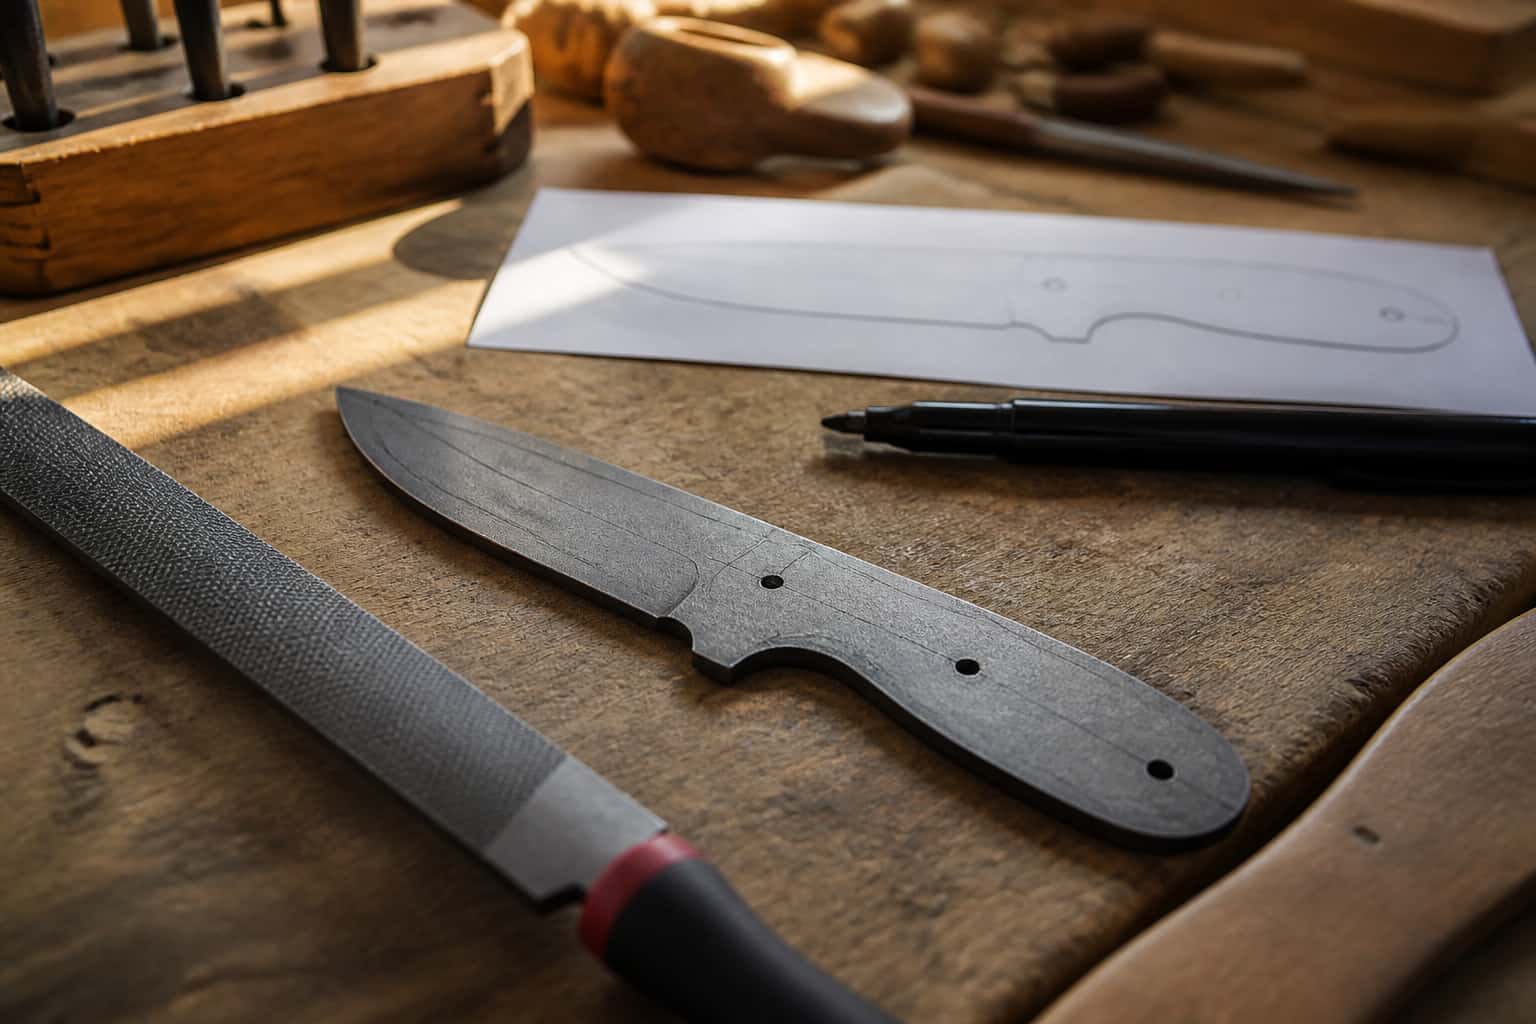
Before diving into the actual shaping process, creating a template for your handle shapes is a wise step. A template serves as a guide that ensures consistency across multiple handles, allowing you to replicate designs with ease. You can create templates from cardboard or thin plywood, tracing out the desired shape based on ergonomic principles or personal preferences.
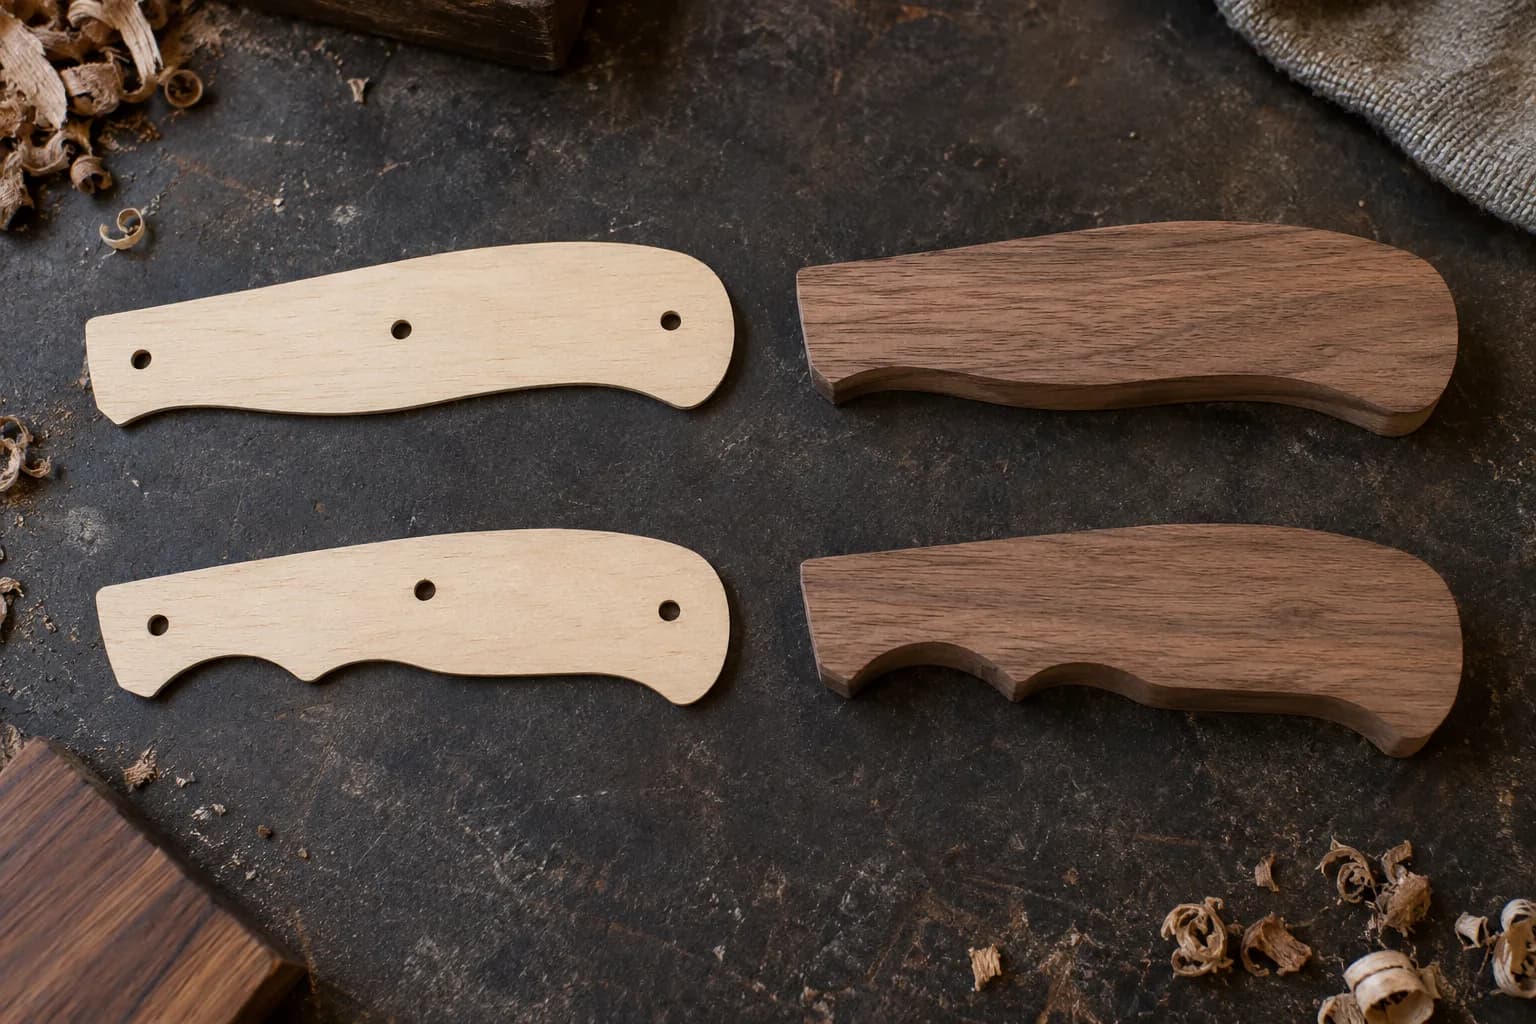
When designing your template, consider factors such as grip size, contouring, and any specific features you want to incorporate into the handle. It’s beneficial to create several variations of templates to experiment with different shapes before committing to a final design. Once you have your templates ready, they can be used to trace onto your chosen material, providing a clear outline for your cutting and shaping processes.
Using a Bandsaw to Rough Cut the Handles
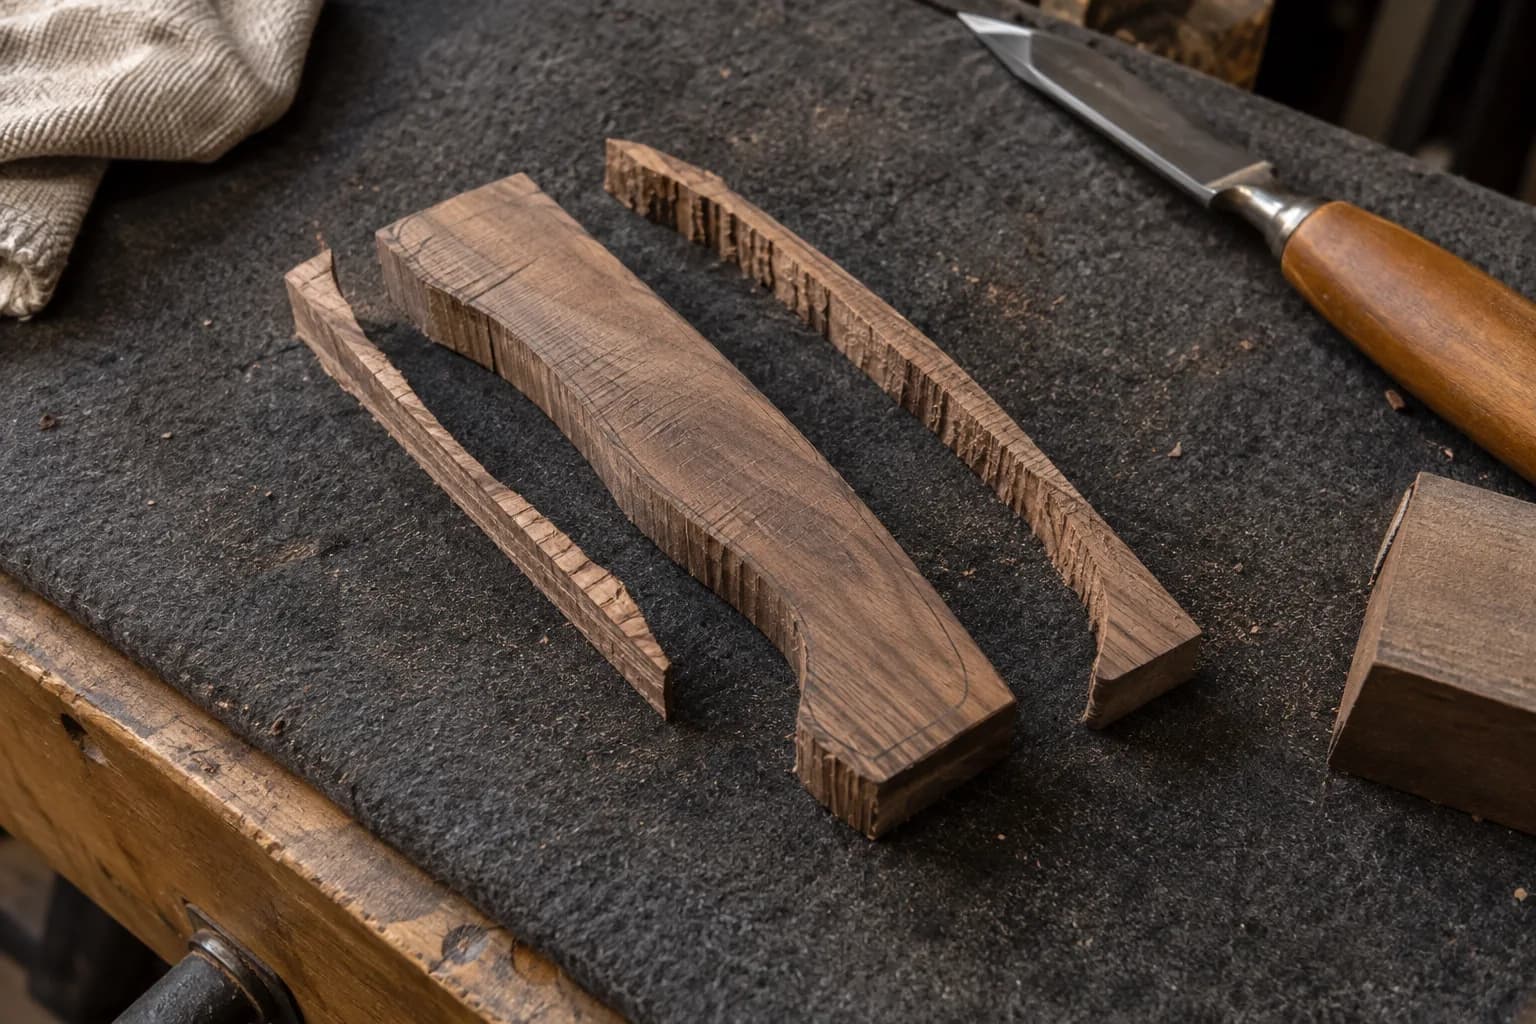
With your template in hand, it’s time to use a bandsaw for rough cutting the handles from your selected material. The bandsaw is an excellent tool for this task due to its ability to make precise cuts while handling thicker pieces of wood or synthetic materials. Begin by securing your material firmly on the bandsaw table, ensuring it is stable throughout the cutting process.
As you cut along the lines of your template, maintain a steady pace and focus on following the contours accurately. It’s important to remember that this step is just the initial rough cut; precision can be refined later in the shaping process. After completing the rough cuts, you will have a basic handle shape that can be further refined using other tools in your handle shaping station.
Shaping the Handles with a Spokeshave
Once you have your rough-cut handles, it’s time to refine their shape using a spokeshave. This tool is particularly effective for creating smooth curves and contours that enhance both aesthetics and ergonomics. Begin by holding the spokeshave firmly with both hands, positioning it at an angle that allows for effective material removal.
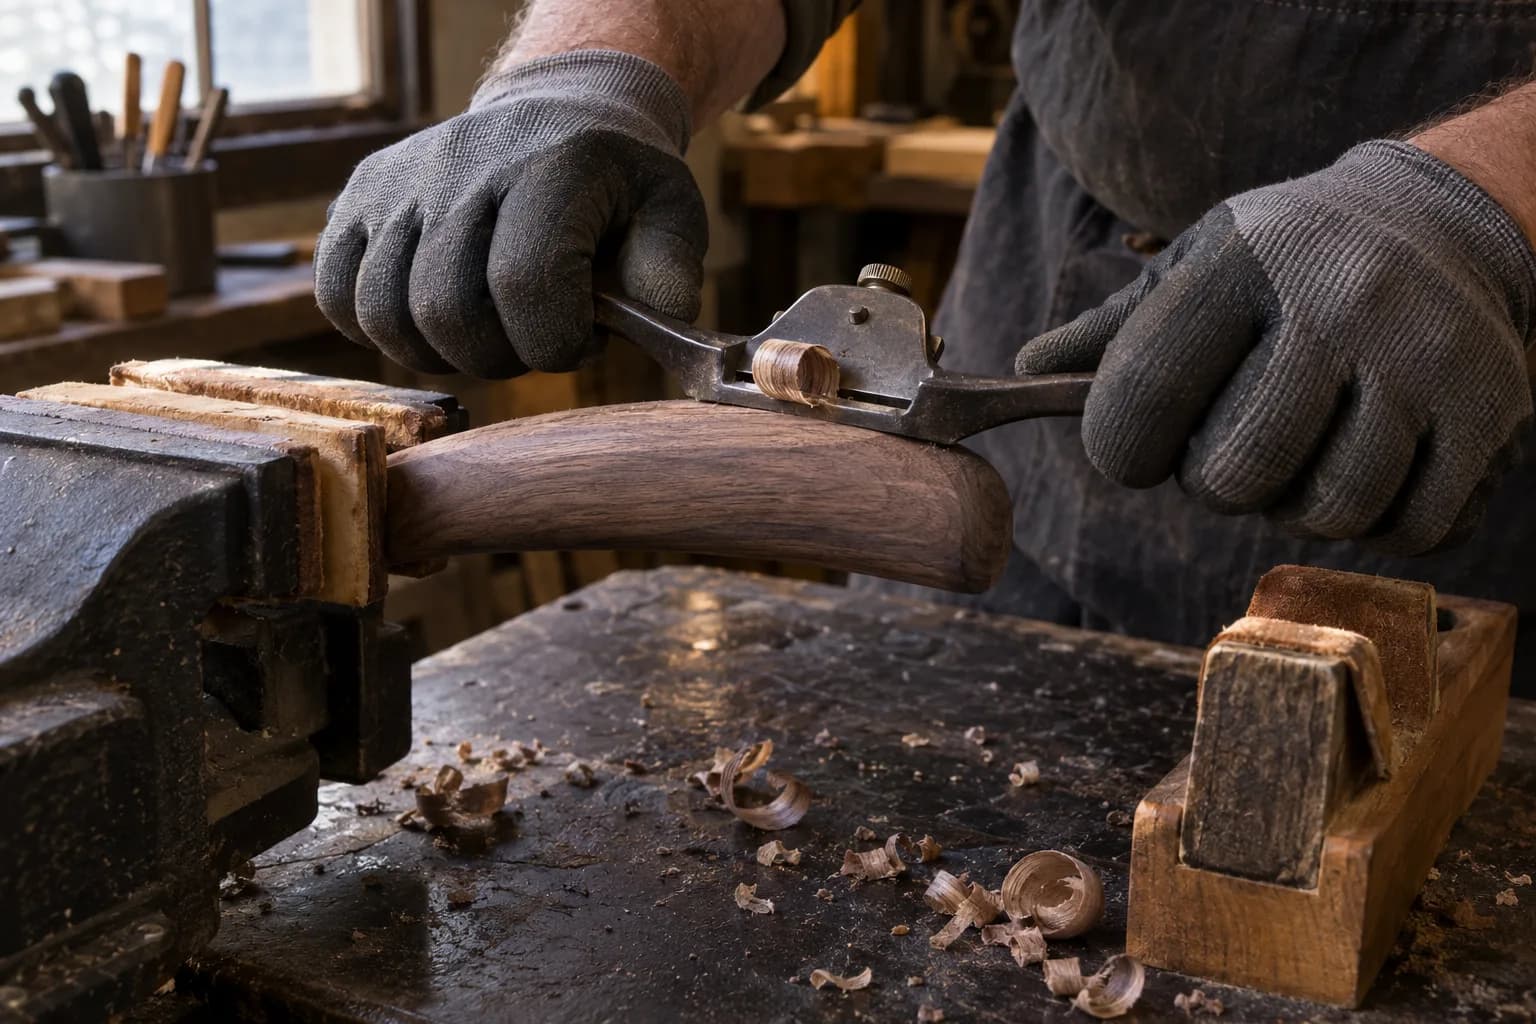
As you work with the spokeshave, take your time to gradually shape the handle according to your design specifications. Focus on areas where comfort is paramount, such as finger grooves or palm rests. The beauty of using a spokeshave lies in its ability to provide tactile feedback; you can feel how much material you are removing and adjust your pressure accordingly.
Sanding and Smoothing the Handles
After achieving the desired shape with the spokeshave, sanding becomes essential for creating a smooth finish on your handles. Start with coarser grits of sandpaper to remove any tool marks left from previous shaping processes. Gradually progress to finer grits, ensuring that each pass removes scratches from the previous grit until you achieve a silky-smooth surface.
Pay special attention to corners and edges during sanding; these areas often require extra care to ensure they are comfortable to hold. It’s also beneficial to sand in the direction of the wood grain to avoid creating unsightly scratches that could detract from the overall appearance of the handle. Once satisfied with the smoothness, wipe down the handles with a damp cloth to remove any dust particles before proceeding to the finishing stage.
Adding Decorative Details to the Handles
To improve your handles beyond mere functionality, consider adding decorative details that reflect your personal style or enhance their visual appeal. This could involve carving intricate patterns into the wood or incorporating contrasting materials such as brass or resin inlays. These embellishments not only add character but can also serve practical purposes, such as improving grip or balance.
When adding decorative elements, take care to maintain harmony with the overall design of the handle. The goal is to enhance its beauty without compromising its functionality or comfort. Experimenting with different techniques—such as burning designs into wood or using dyes—can yield stunning results that make each handle unique.
Finishing the Handles with Oil or Varnish
The final step in creating beautiful handles involves applying a finish that protects the wood while enhancing its natural beauty. Options such as oil or varnish can be used depending on your desired outcome. Oil finishes penetrate deeply into the wood fibers, providing a warm glow while allowing for easy maintenance over time.
On the other hand, varnish creates a protective layer on top of the wood, offering durability against wear and moisture. Before applying any finish, ensure that your handles are completely free of dust from sanding. Apply your chosen finish evenly using a clean cloth or brush, following manufacturer instructions regarding drying times between coats.
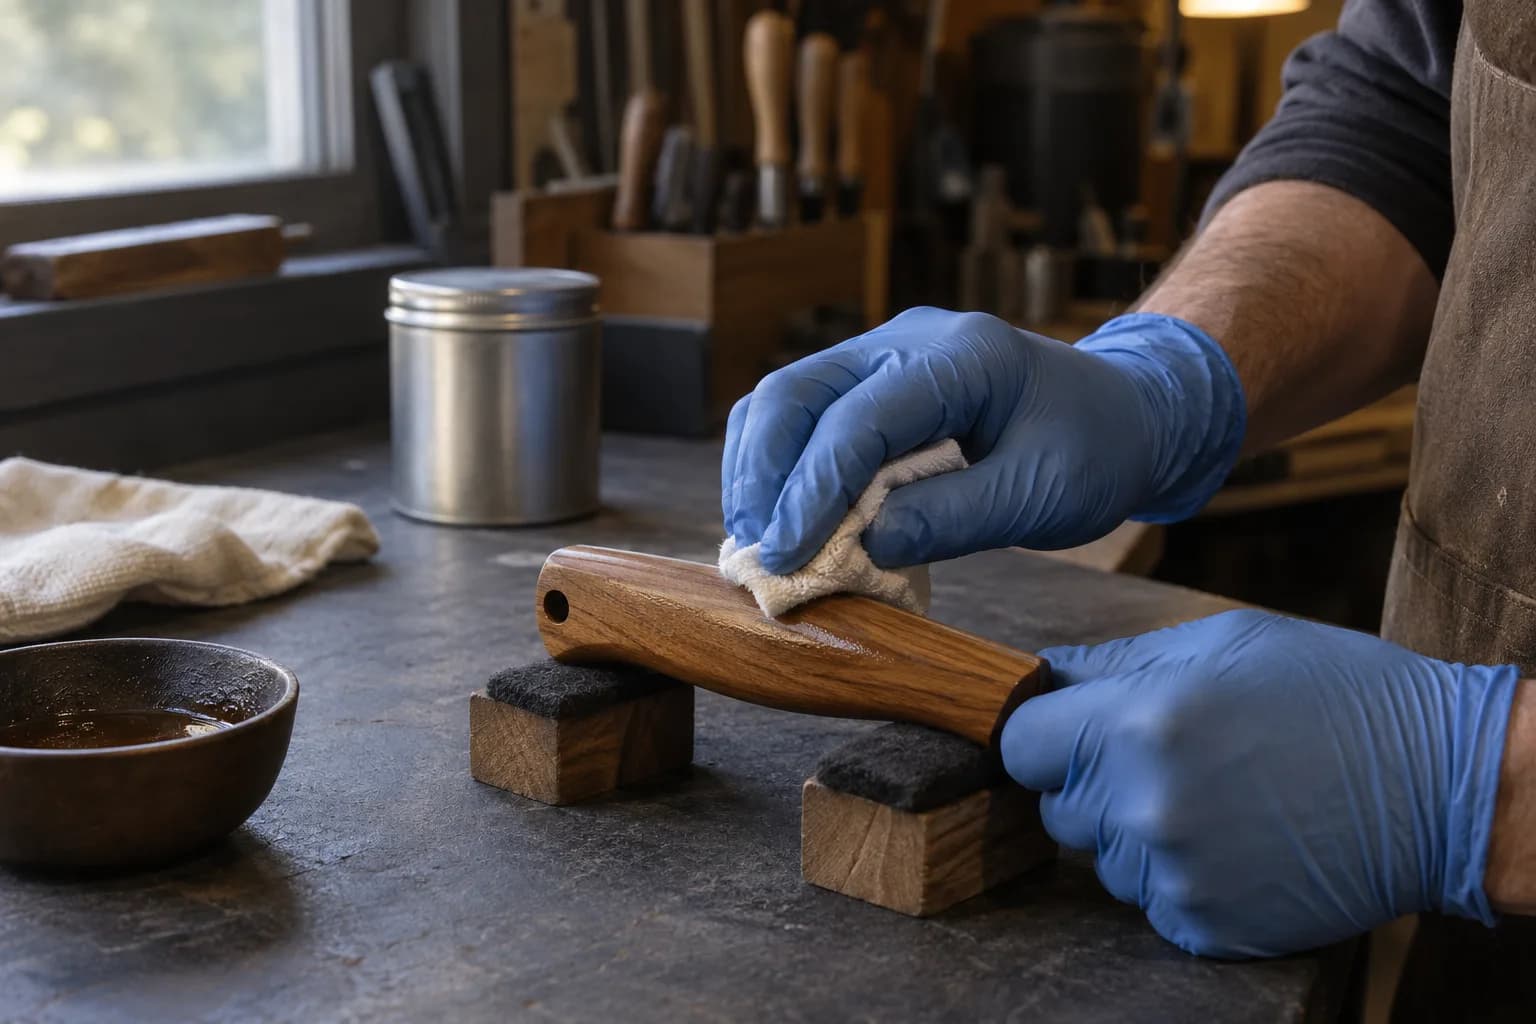
Multiple layers may be necessary to achieve optimal protection and appearance; be patient during this process as it significantly impacts the final look of your handles.
Safety Precautions to Consider
Safety should always be a top priority when working in a handle shaping station. Ensure you are wearing appropriate personal protective equipment (PPE), including safety glasses to protect your eyes from flying debris and dust masks to avoid inhaling harmful particles during sanding or cutting processes. Hearing protection may be necessary when using power tools like bandsaws.
It’s also crucial to maintain a clean workspace free from clutter that could lead to accidents. Keep tools organized and ensure that cords from power tools do not pose tripping hazards. Familiarize yourself with each tool’s operation before use, paying attention to safety features and guidelines provided by manufacturers.
Tips for Maintaining and Using the Handle Shaping Station
To ensure longevity and efficiency in your handle shaping station, regular maintenance of tools and equipment is essential. Keep blades sharp on tools like bandsaws and spokeshaves; dull blades can lead to poor results and increase the risk of accidents due to excessive force being applied during use. Clean tools after each session to prevent resin buildup or rust formation.
FAQs
What is a dedicated handle shaping station?
A dedicated handle shaping station is a specialized work area or setup used for shaping and finishing the handles of various tools, such as hammers, axes, chisels, and other hand tools.
What equipment is typically included in a dedicated handle shaping station?
A dedicated handle shaping station may include equipment such as a lathe, sanders, rasps, files, carving tools, and other specialized tools for shaping and finishing handles.
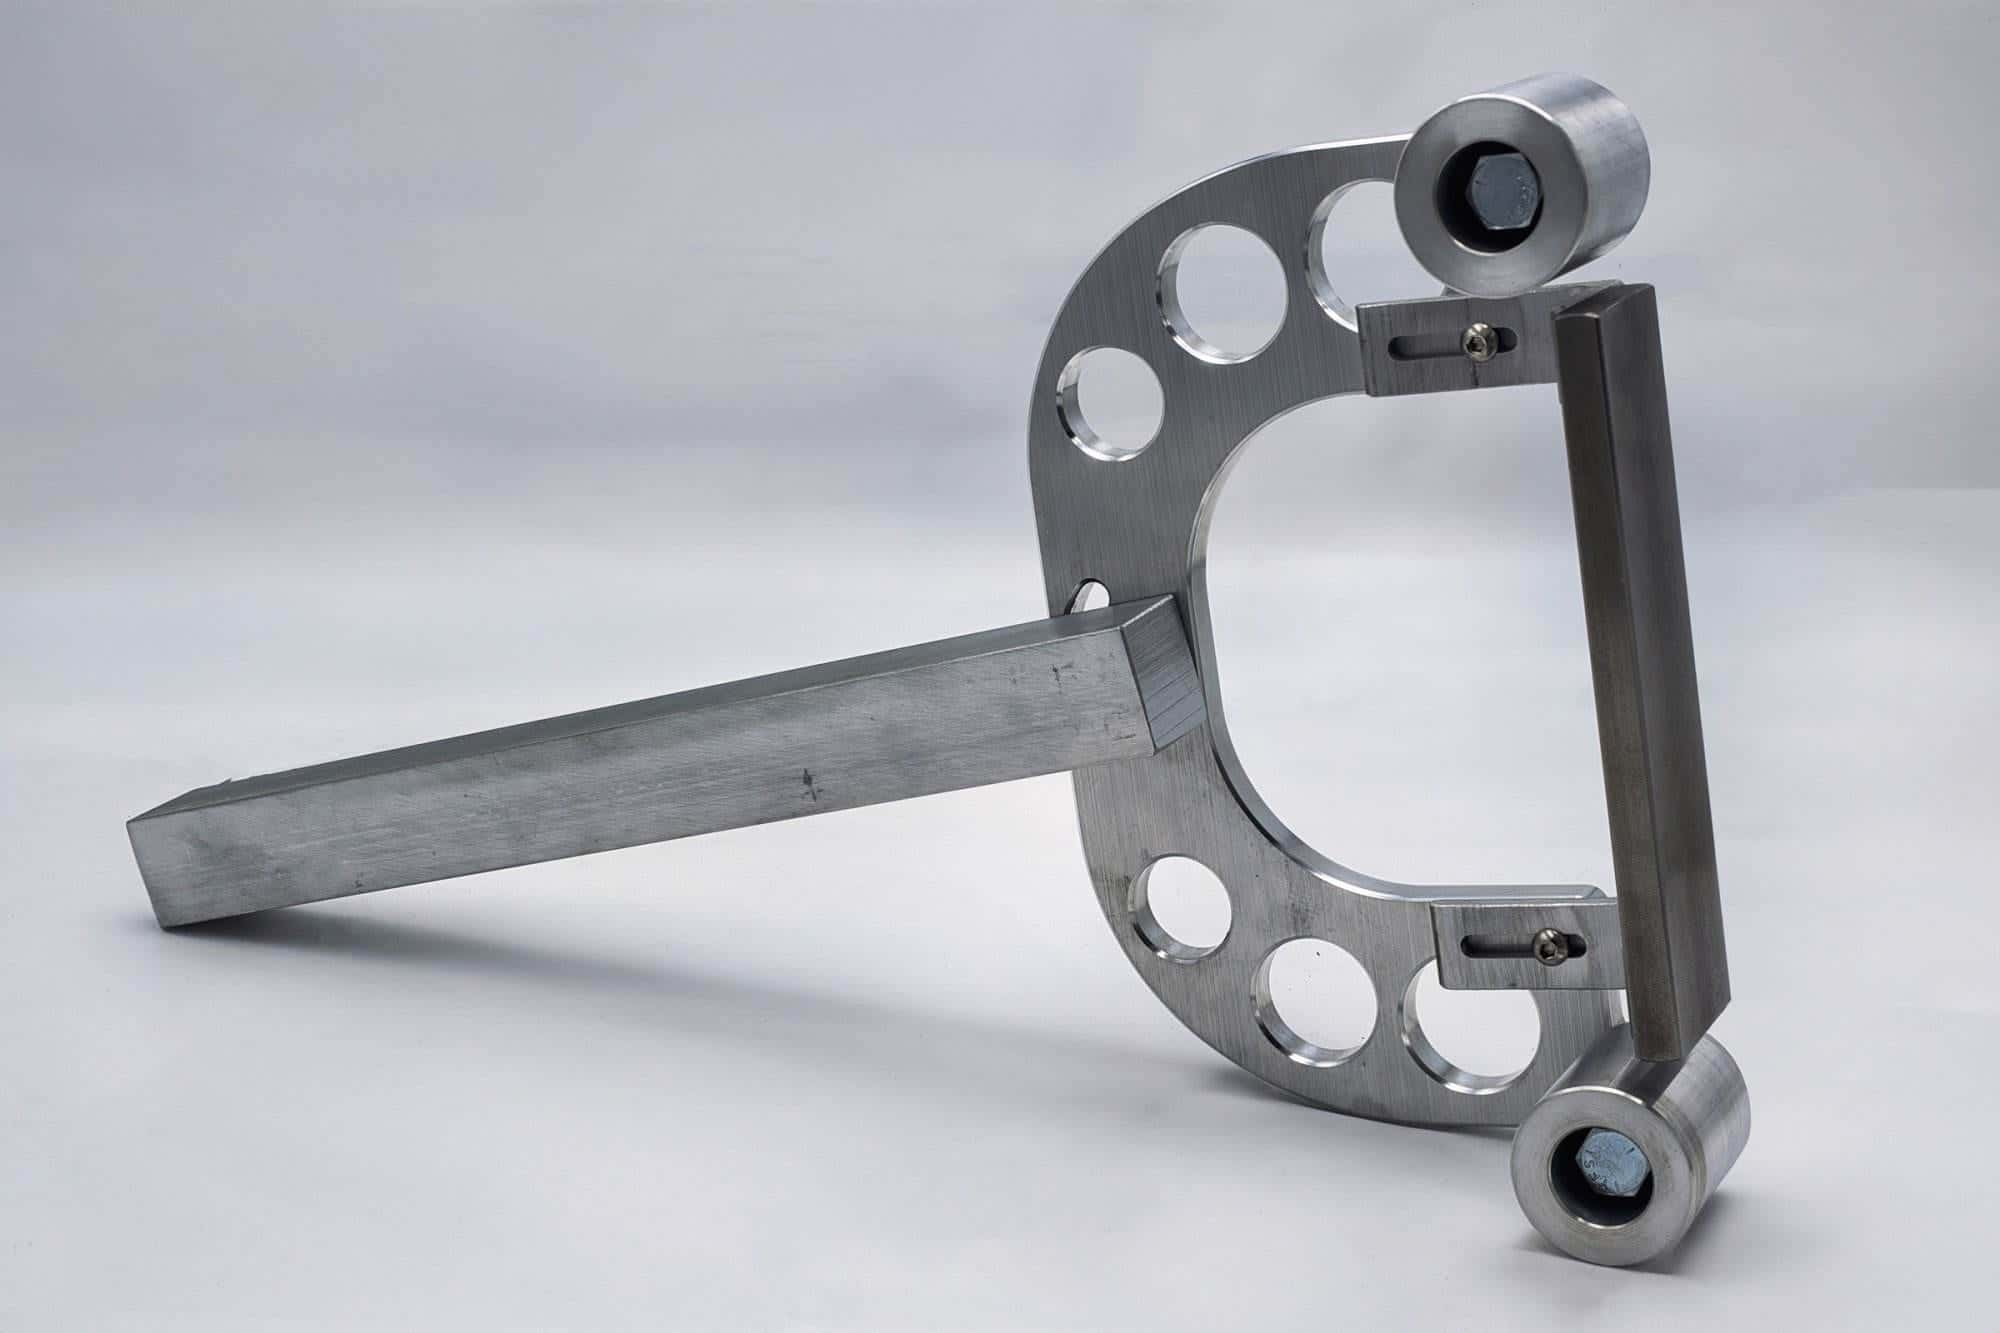
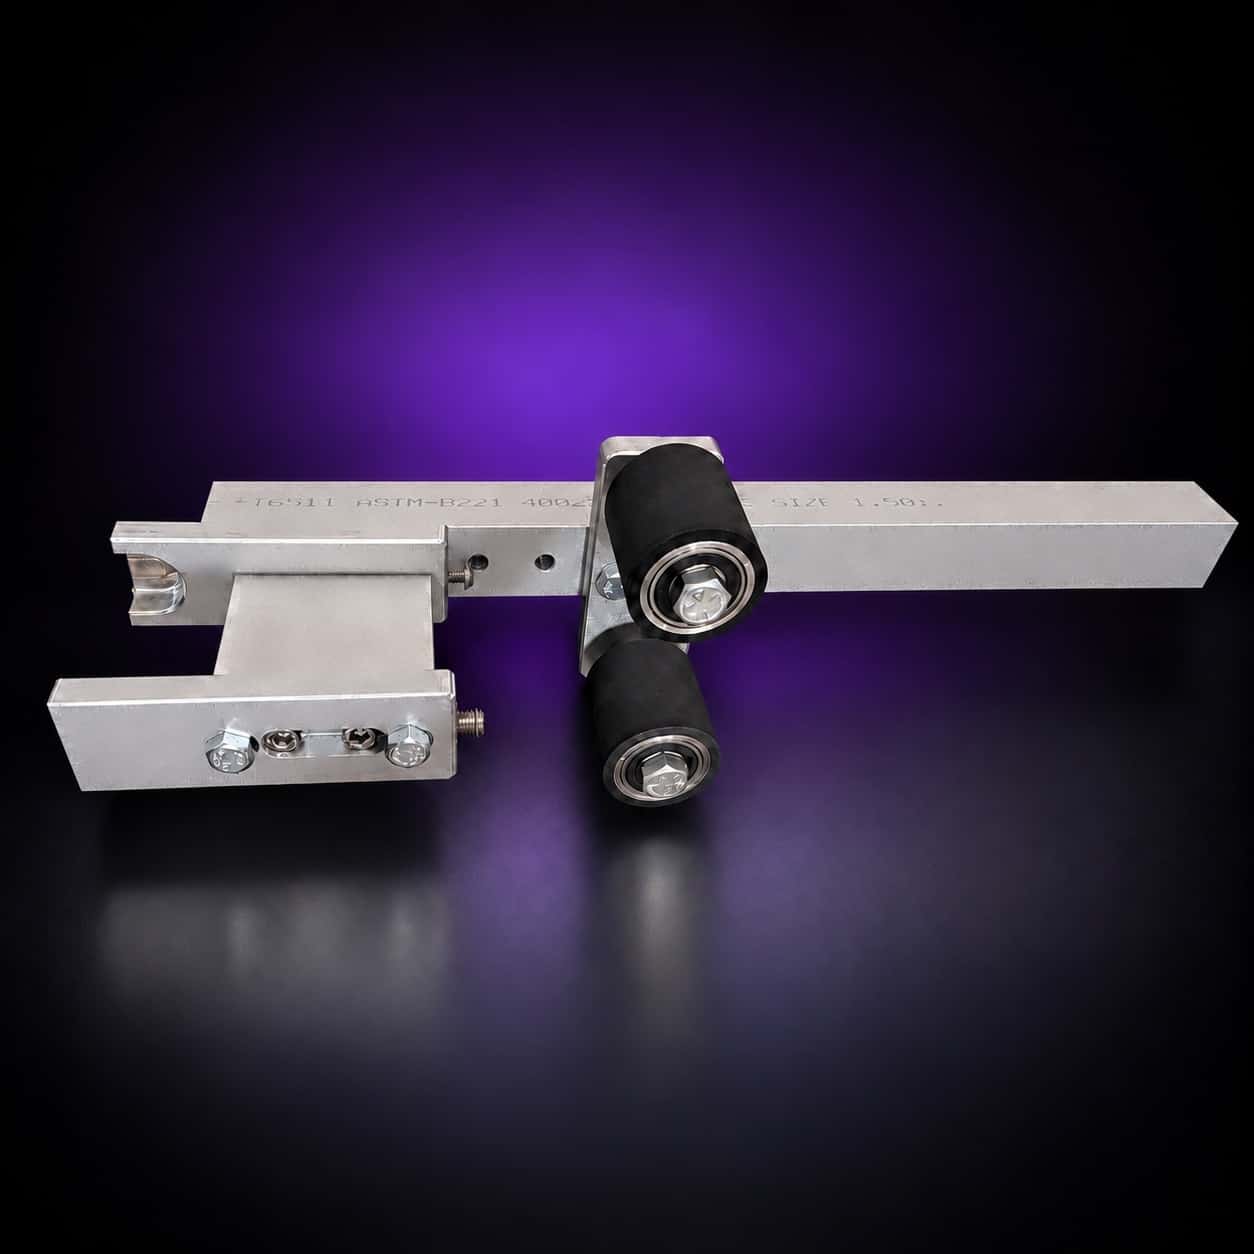
Handle contours are small wheel work. My small wheel attachment runs 1/2 to 1.5-inch rubber wheels on a 20-inch aluminum arm, and it drops into the Nova 2×72 next to the flat platen. Tilt the grinder horizontal and the station is done.