2x72 Grinder Tips

The Belt Grit Progression That Actually Works (and Why Your 220 Bumps)

Which grits, how many steps, and why the finish falls apart when the belts get fine. Here is the belt progression I run on my own blades, 36-grit ceramic to 400, and the fix for the bump nobody mentions.
3 min readBy Rich Linville
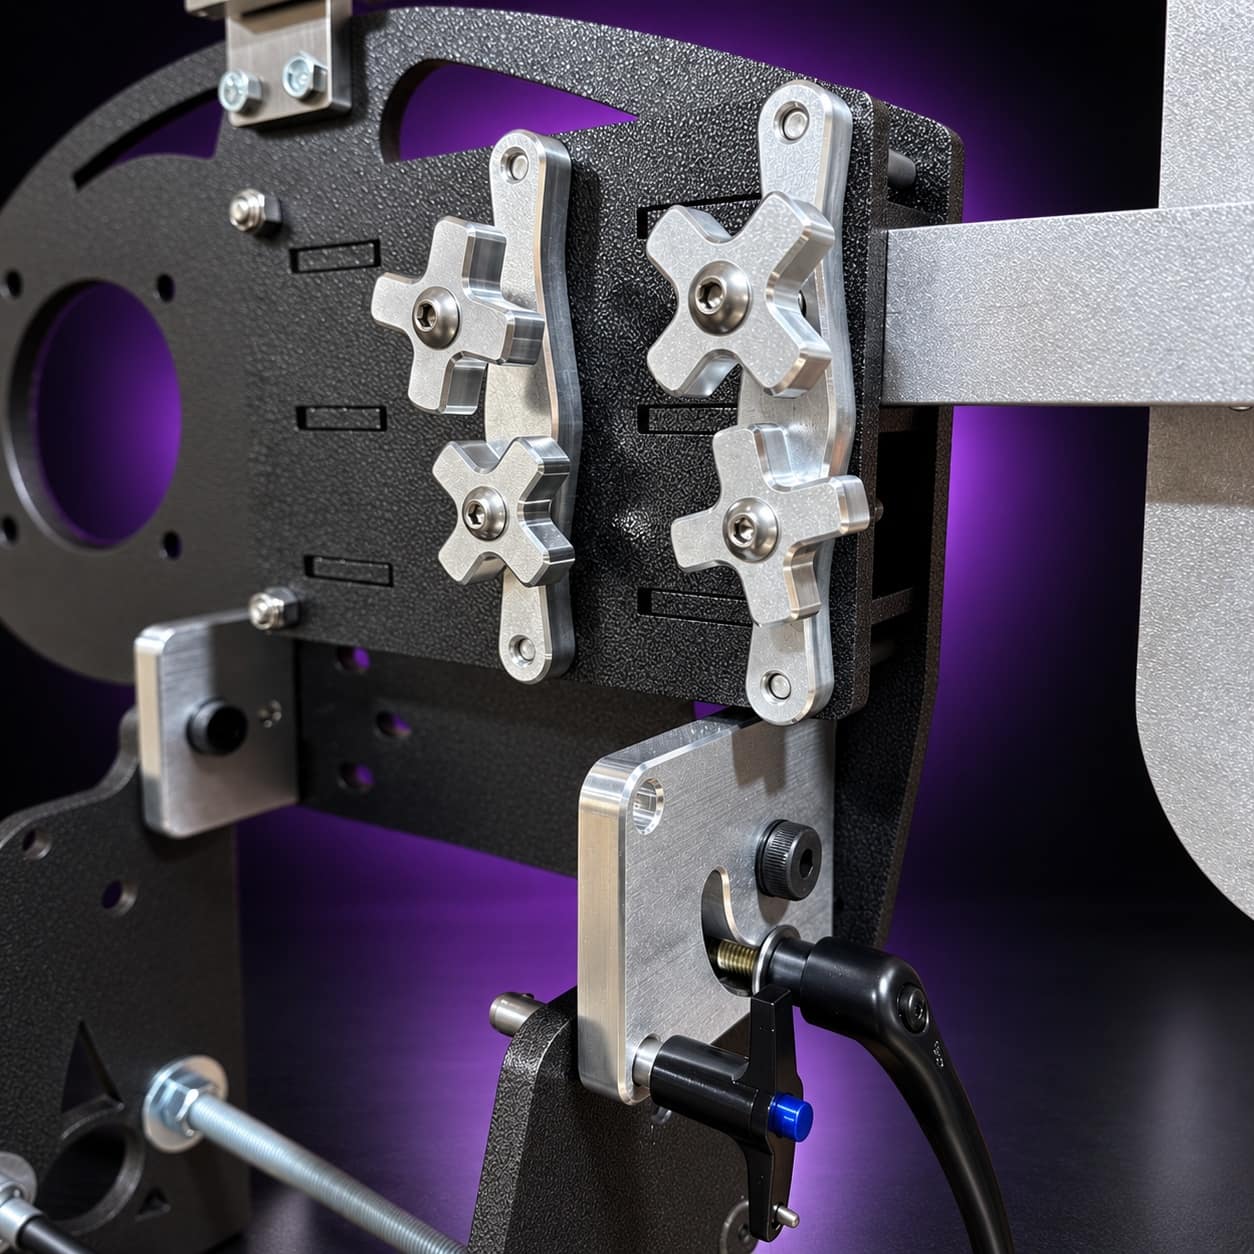
Nebula close-up: four star knobs on clamp plates, arm bar and black cam lever, on black with a purple glow

Belt progression questions keep coming up: which grits, how many steps, and why the finish falls apart right when the belts get fine. Here is the ladder I run on my own blades, from fresh 36-grit ceramic through 400, and the fix for the bump at higher grits that nobody warns you about.

KEY TAKEAWAYS

  • The working ladder: 36 or 60 to hog, 120 to shape, 220 to smooth, 400-plus to finish.
  • Never skip more than one doubling. Each grit only has to erase the last one’s scratches.
  • Buy coarse belts in bulk and premium quality. Knife grinding eats 36s – cheap ones cost more per blade.
  • The high-grit “bump” is usually the belt splice. There is a fix.
  • Slow the machine down as the grits go up. Speed that hogs will burn a finish pass.

THE LADDER

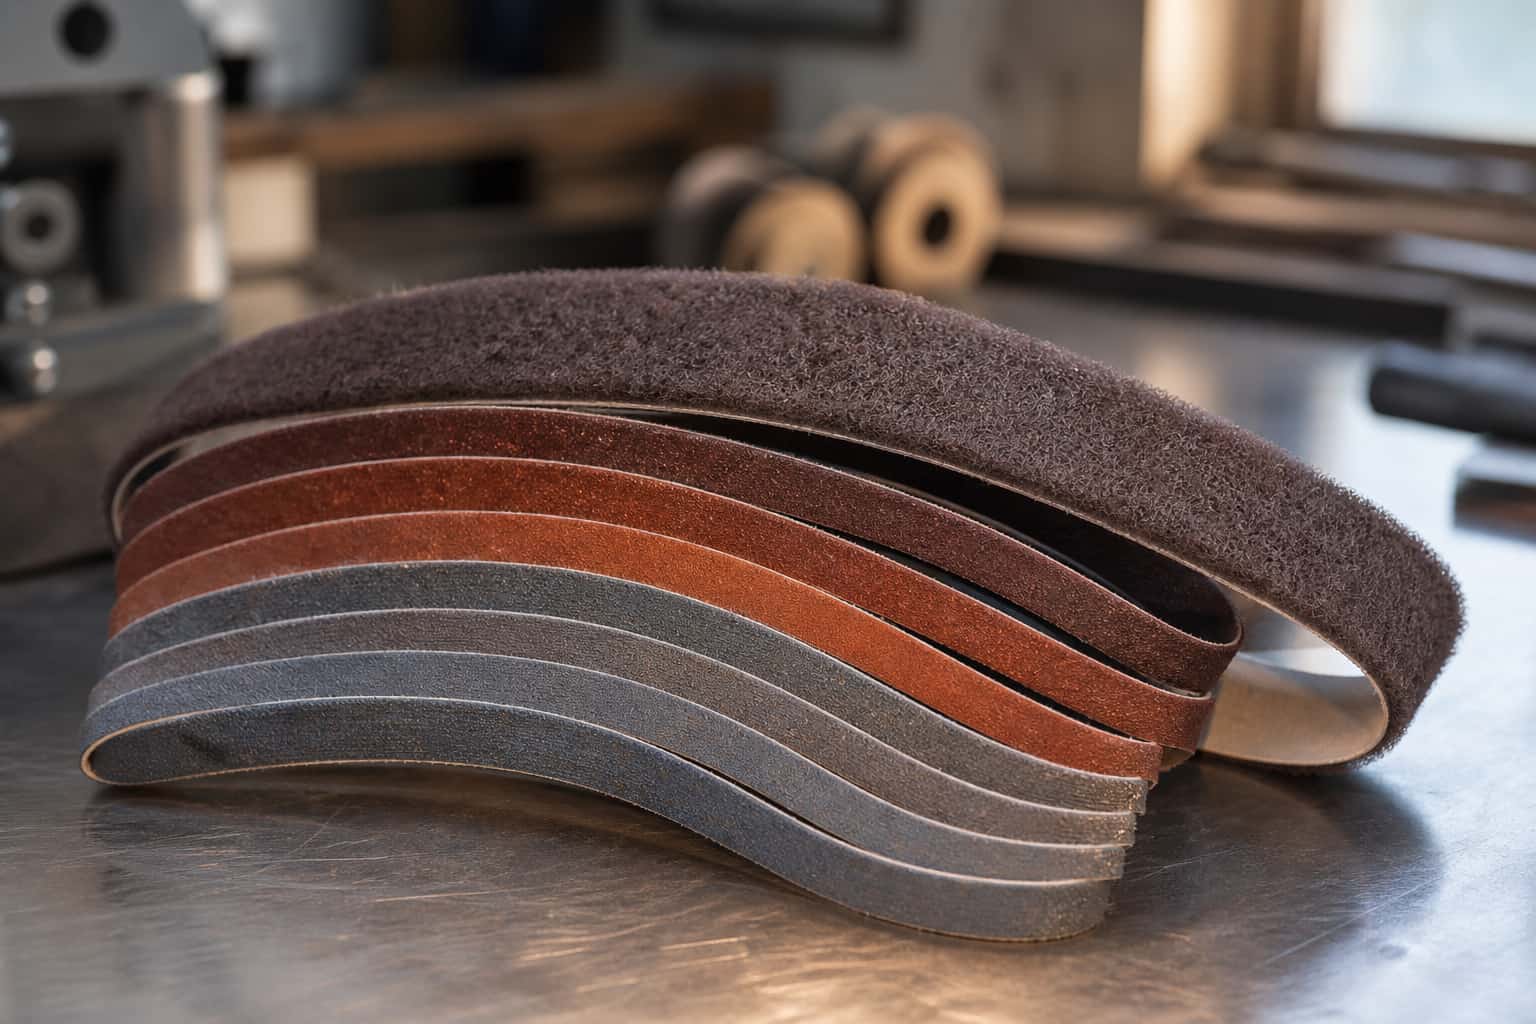
Profile and rough bevels at 36 or 60 grit with fresh premium ceramic. This is where steel actually moves, and where cheap belts rob you blind – a dull 36 rubs and heats instead of cutting. Shape at 120. Smooth at 220. Then finishing belts from 400 up if the blade wants satin off the machine, or jump to hand sanding after 220 for the hand-rubbed look. That is four or five belts per blade, not ten. Each step has one job: erase the scratches the last belt left. Skip from 60 to 220 and you will spend longer at 220 than both middle steps combined – the deep scratches hide until the fine grit shows them off.
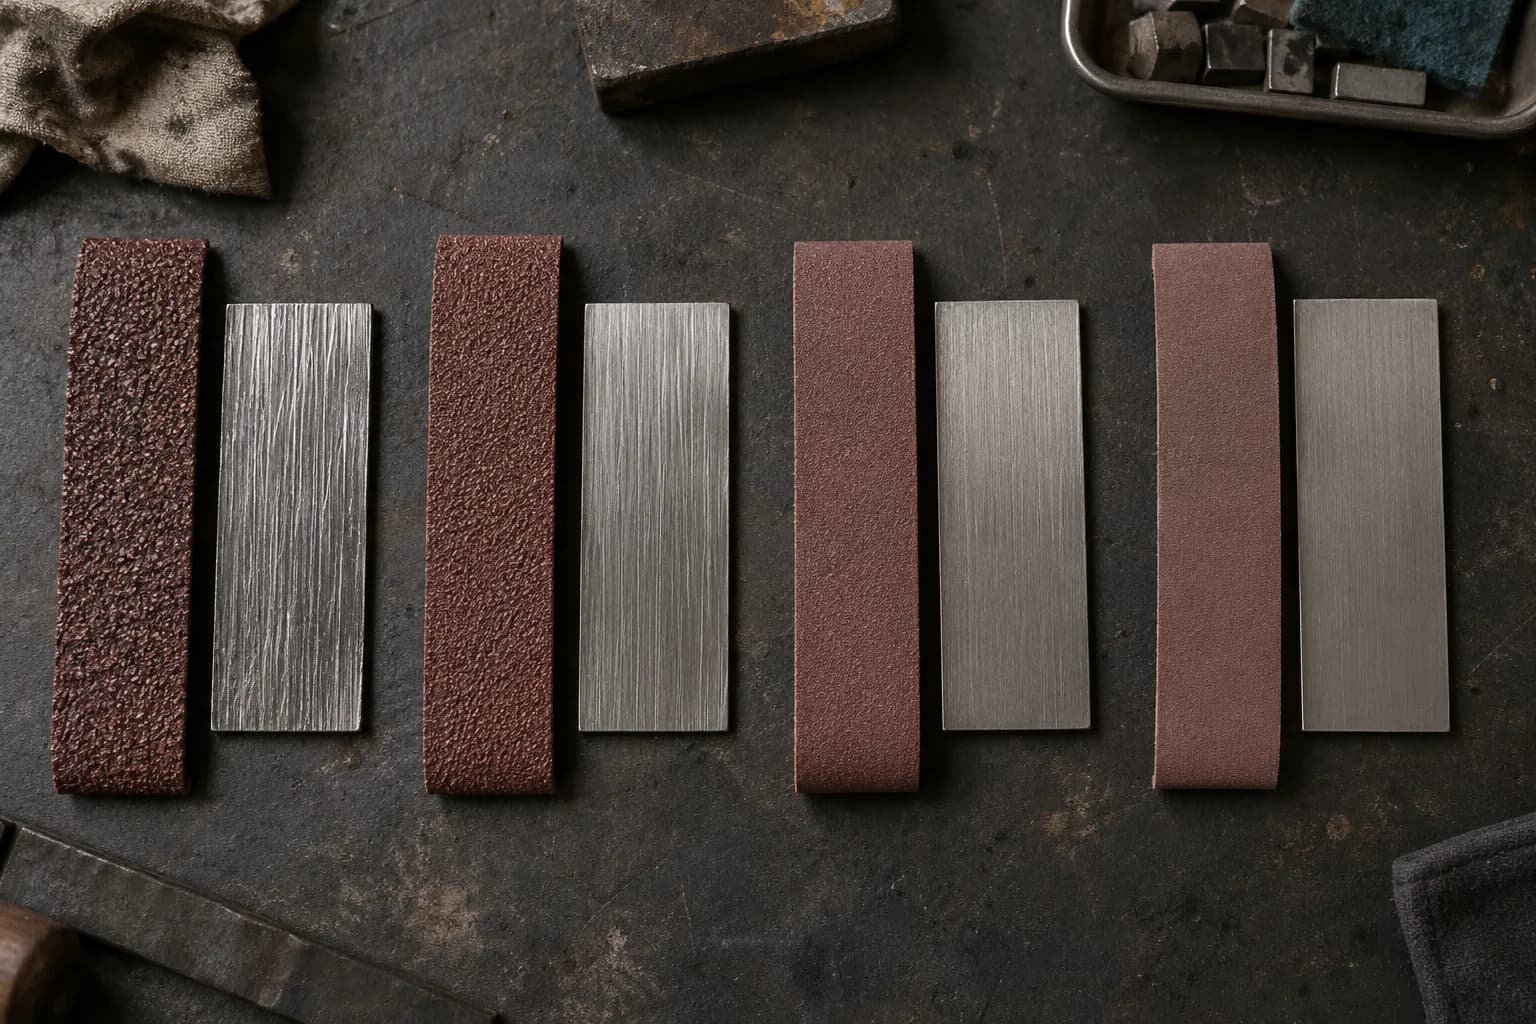
Four abrasive belt strips from coarse to fine, each beside a steel coupon with progressively finer straight scratches

THE BUMP AT HIGHER GRITS

Here is the one the forums keep rediscovering: you move up to 220 or 400, and now the belt slaps the blade every revolution – a tick-tick-tick that prints witness marks across a nearly finished bevel. That is the splice. Fine belts ride thinner backings, and the taped joint stands proud enough to bump. The working fix: dress the running belt’s splice with a diamond block or dressing stick – light touch, machine on, a few seconds – and the joint levels out. Better still, buy finishing belts known for flat splices in the first place. Our full belt guide covers which types earn their keep: the 2×72 Belt Buyer’s Guide.
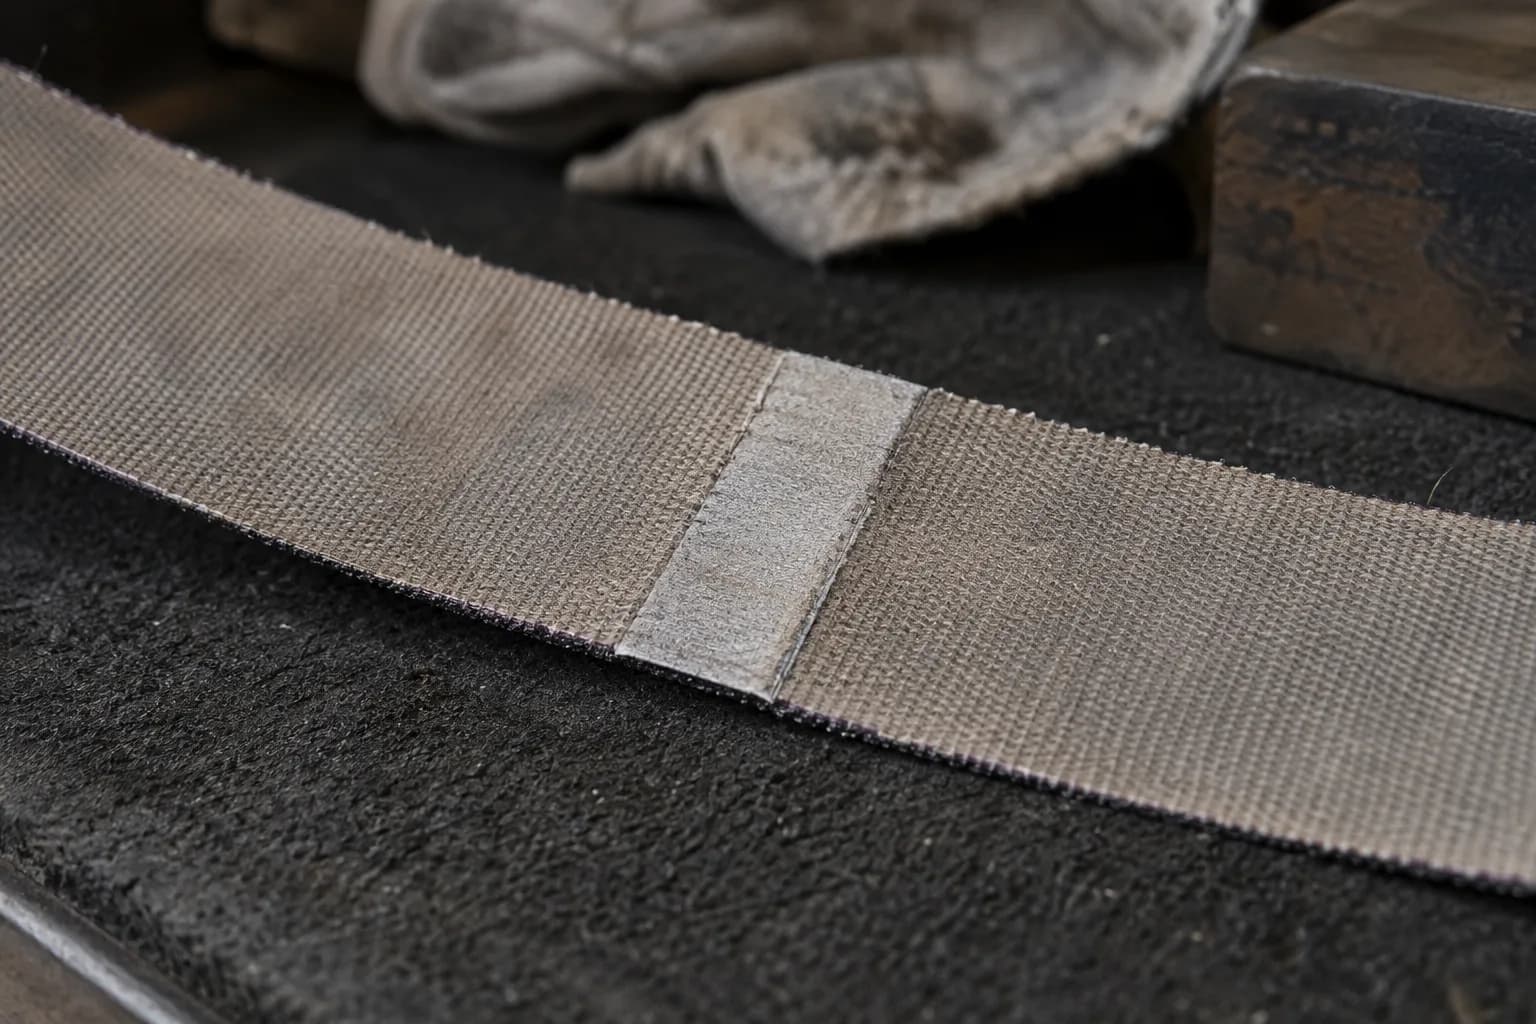
Taped splice joint across the cloth backing of a fine abrasive belt lying on a dark felt bench pad

SPEED CHANGES WITH GRIT

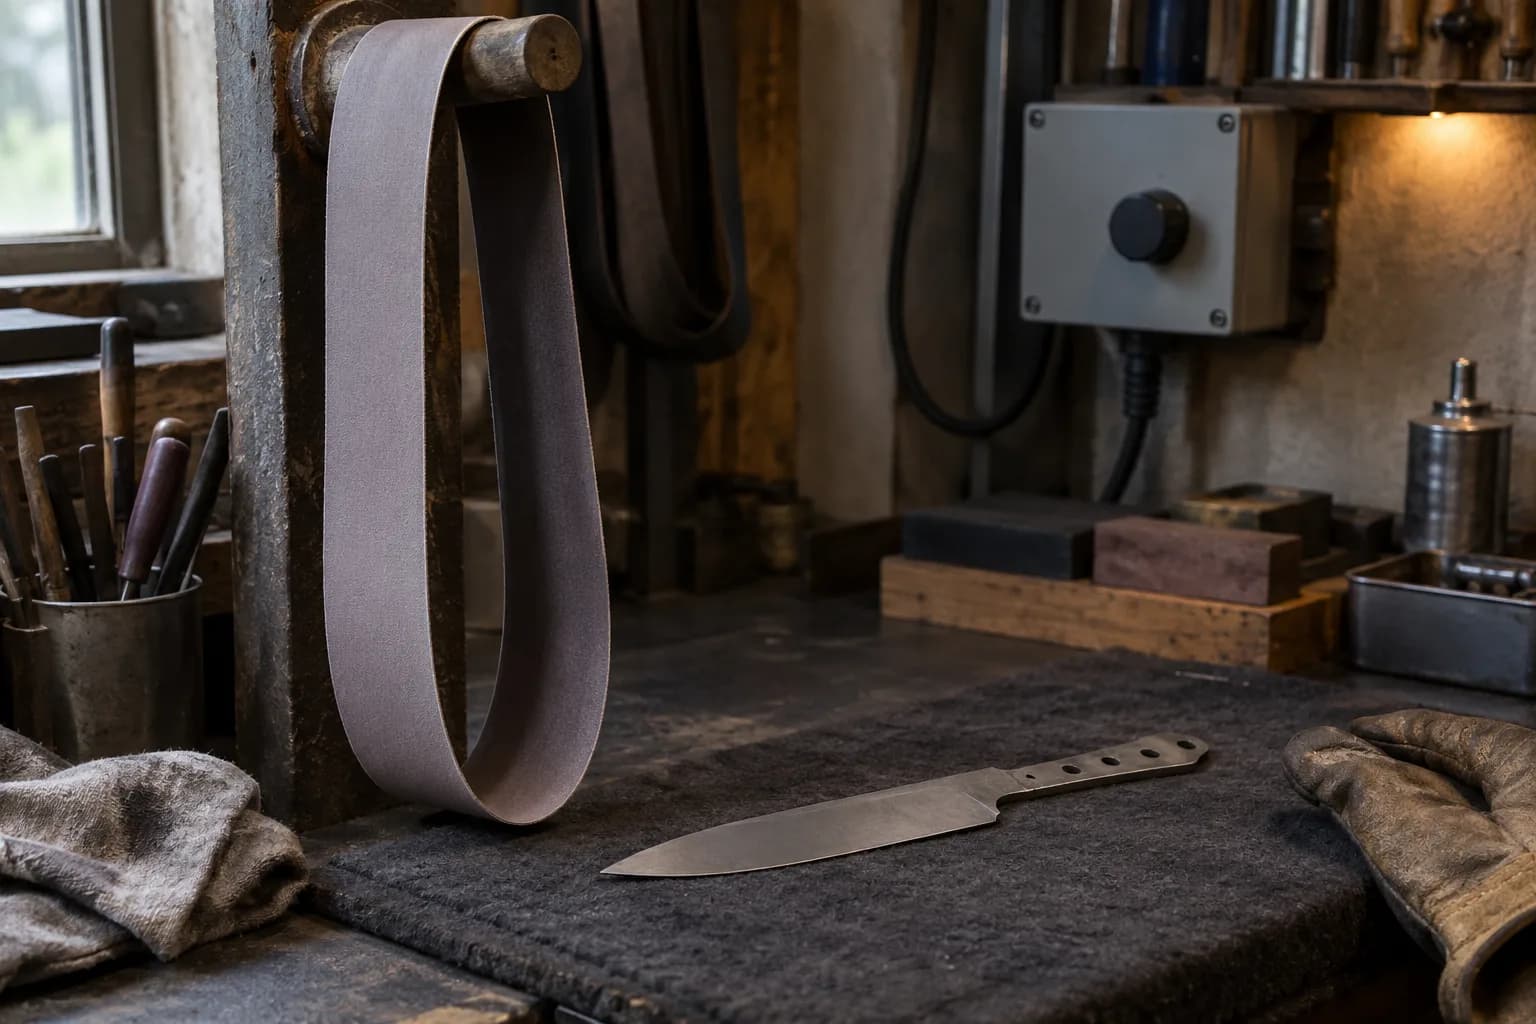
The other half of clean finishing is the dial. Full speed and a fresh 36 is correct – sharp coarse ceramic runs cool when it is cutting hard. Full speed and a 400 belt on a hardened edge is how tempers die. As the grits climb, the speed drops: finish passes want less than half of hogging speed, with light pressure and constant motion. We put the working numbers in one chart: Belt Speed by Task. Variable speed is the whole ballgame here – it is what lets one machine run the entire ladder right, which is exactly what the NOVA was built to do all day.
Unprinted finishing belt hanging from a peg, a thin blade blank on a felt pad, and a plain grey control box with a knob

CONSISTENCY IS THE REAL PROGRESSION

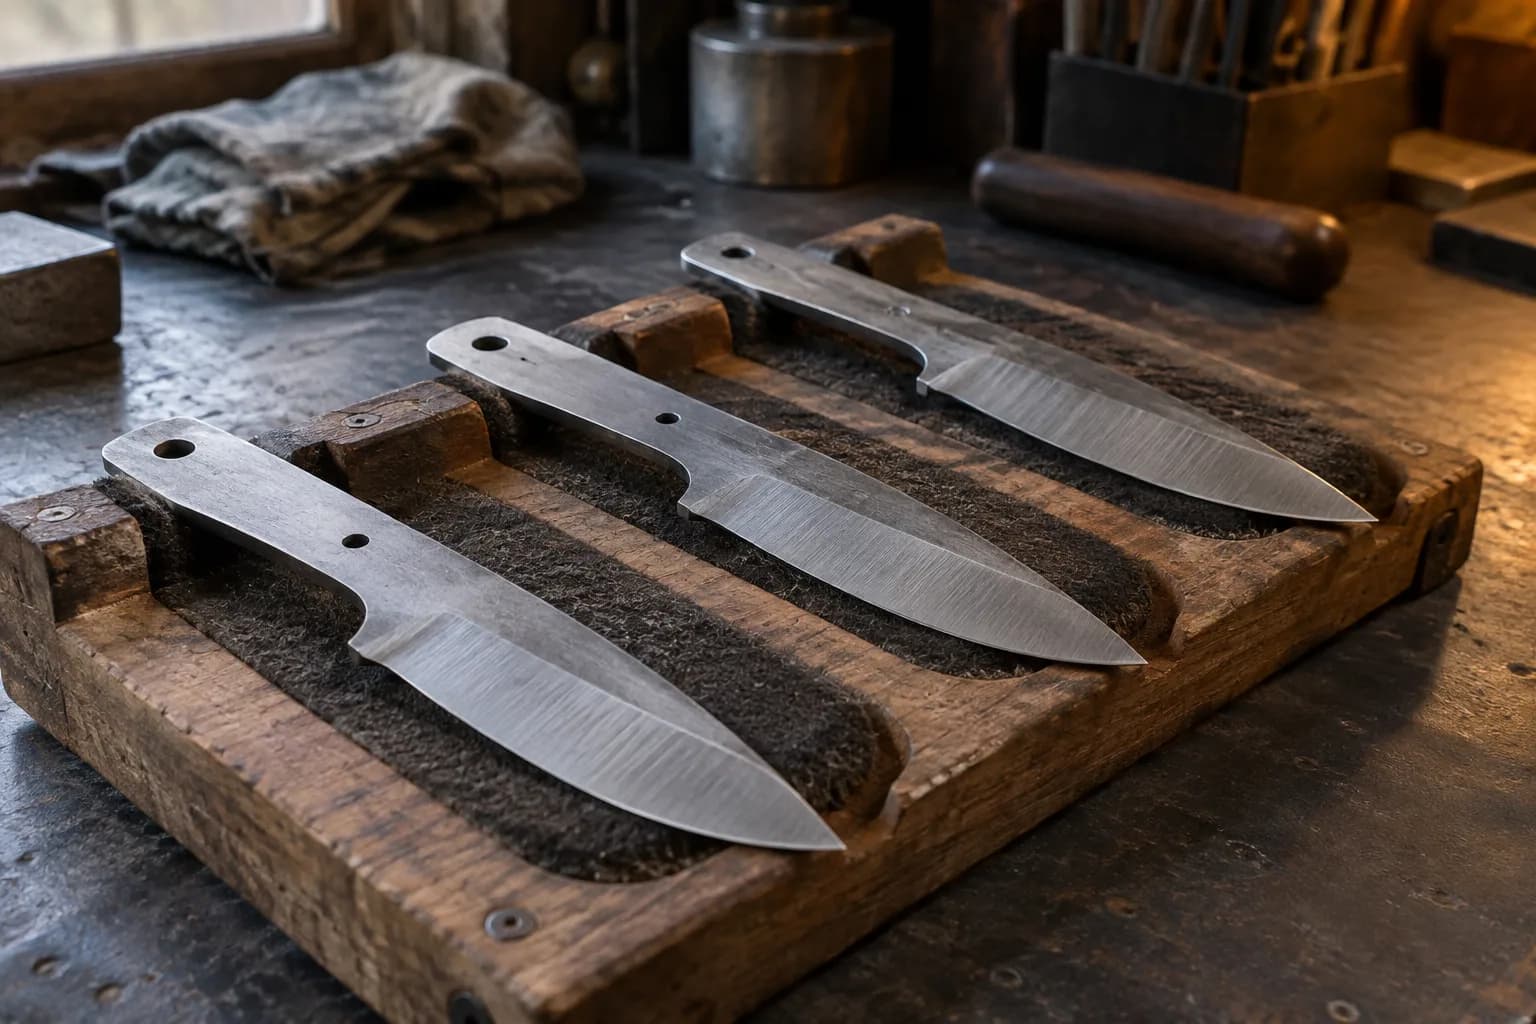
The ladder only works if each pass lands where the last one did. A grinder that tracks true and holds its settings turns grit progression into a system instead of a gamble – the same argument as equipment that supports repeatable results. Pick your ladder, write it on the wall, run it the same way every blade.
Three matching unhandled blade blanks with even grind scratches resting in padded recesses of a wooden rack

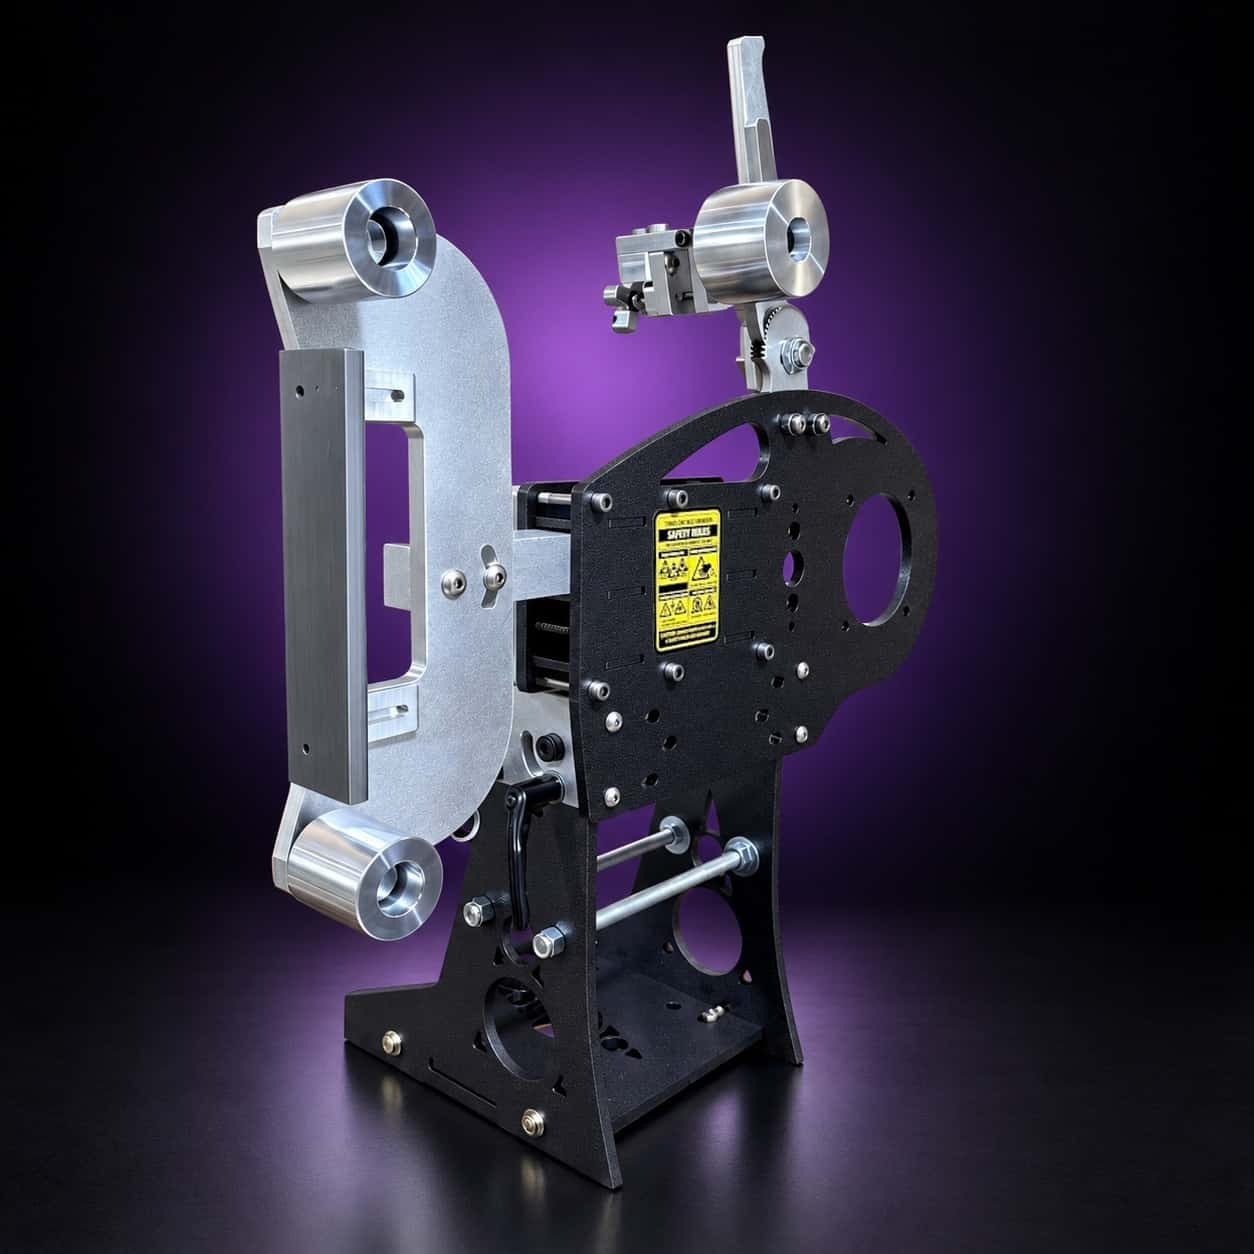
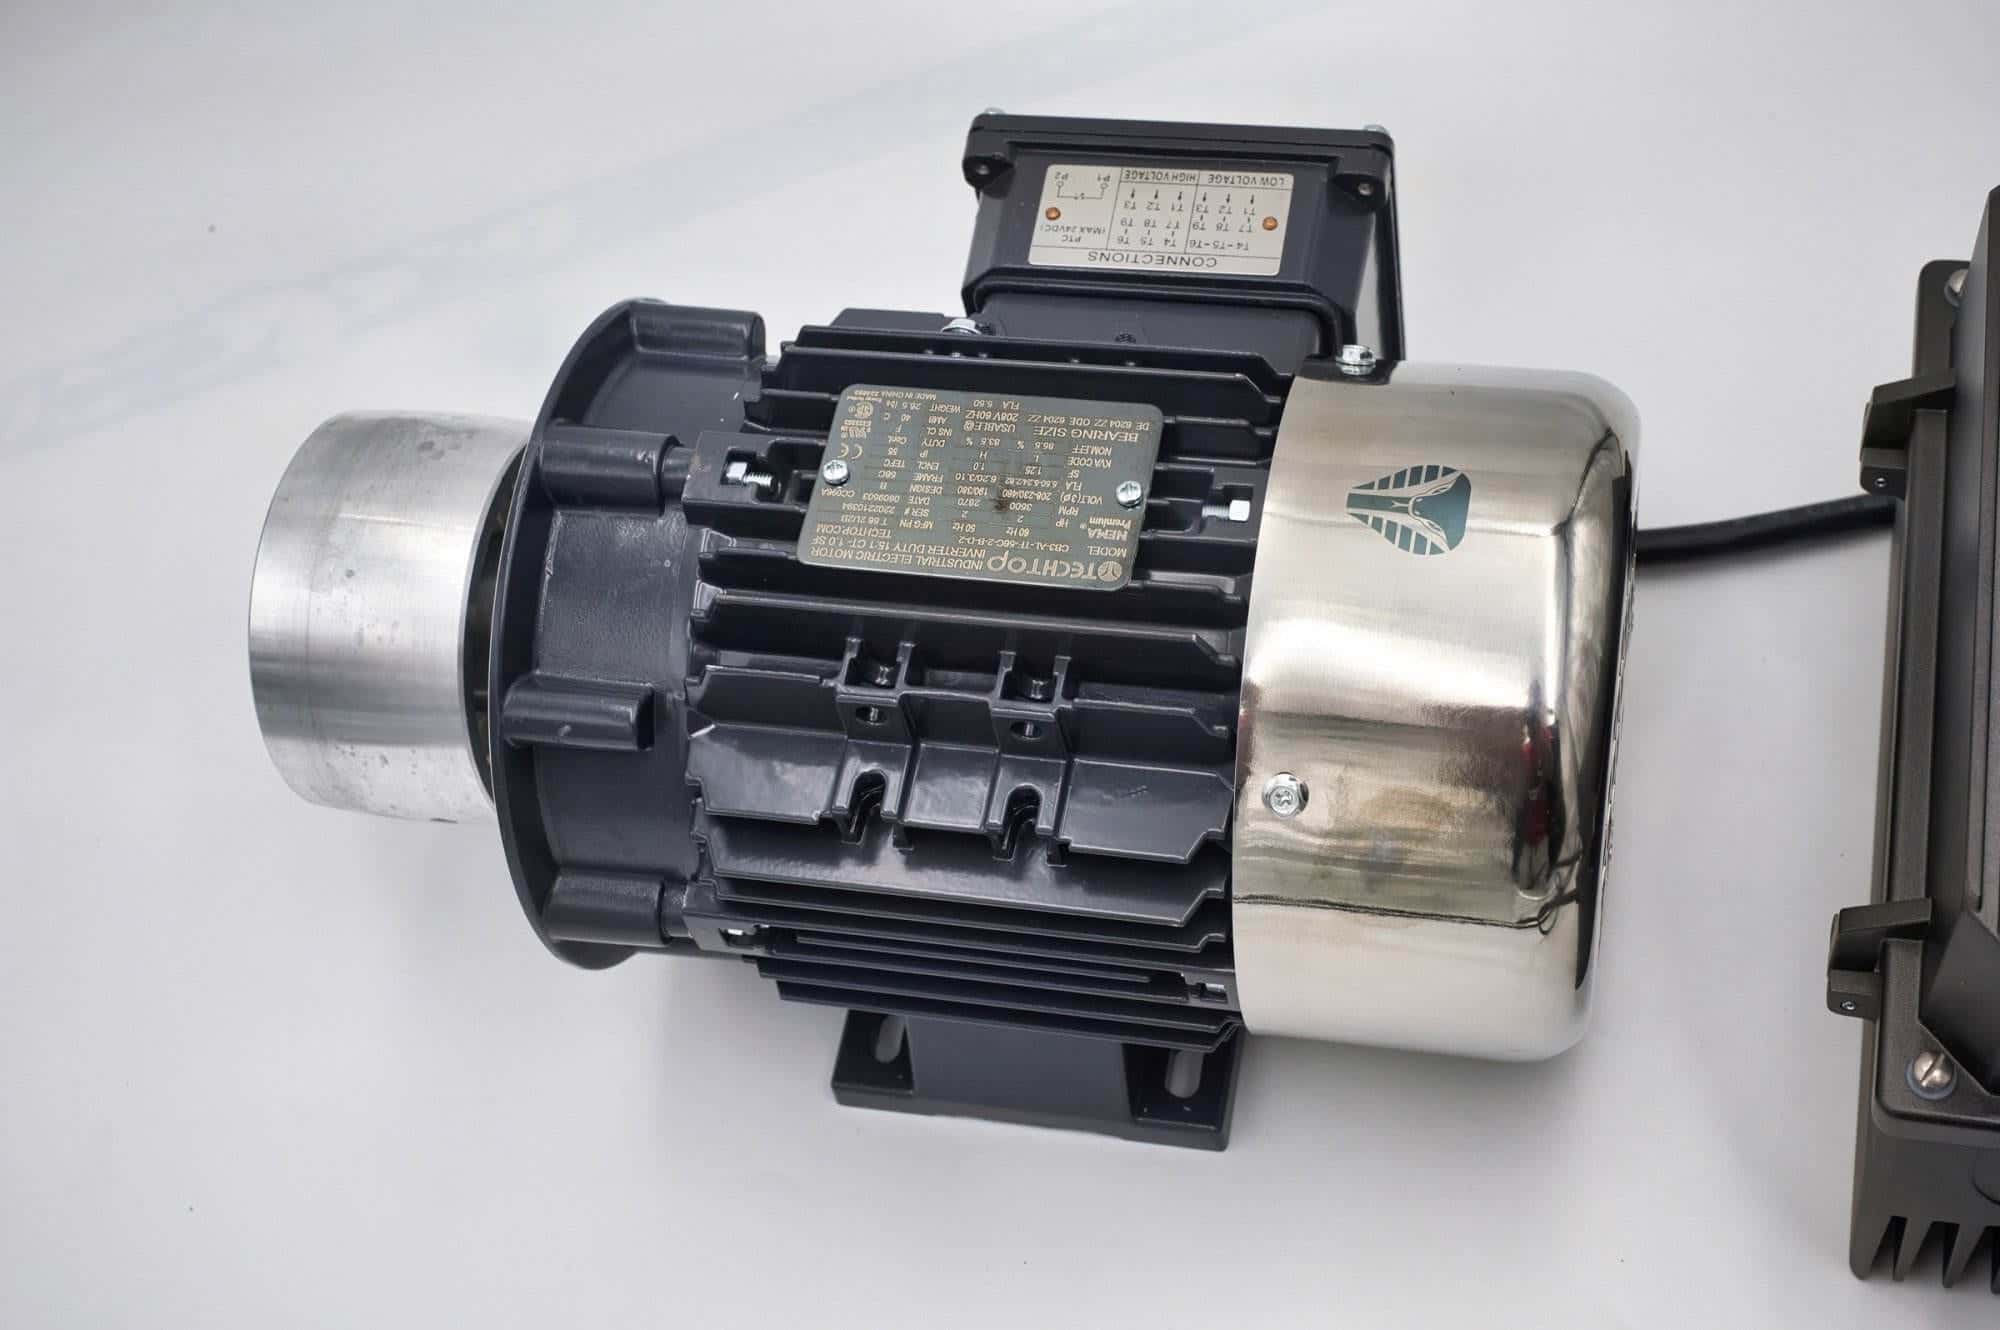
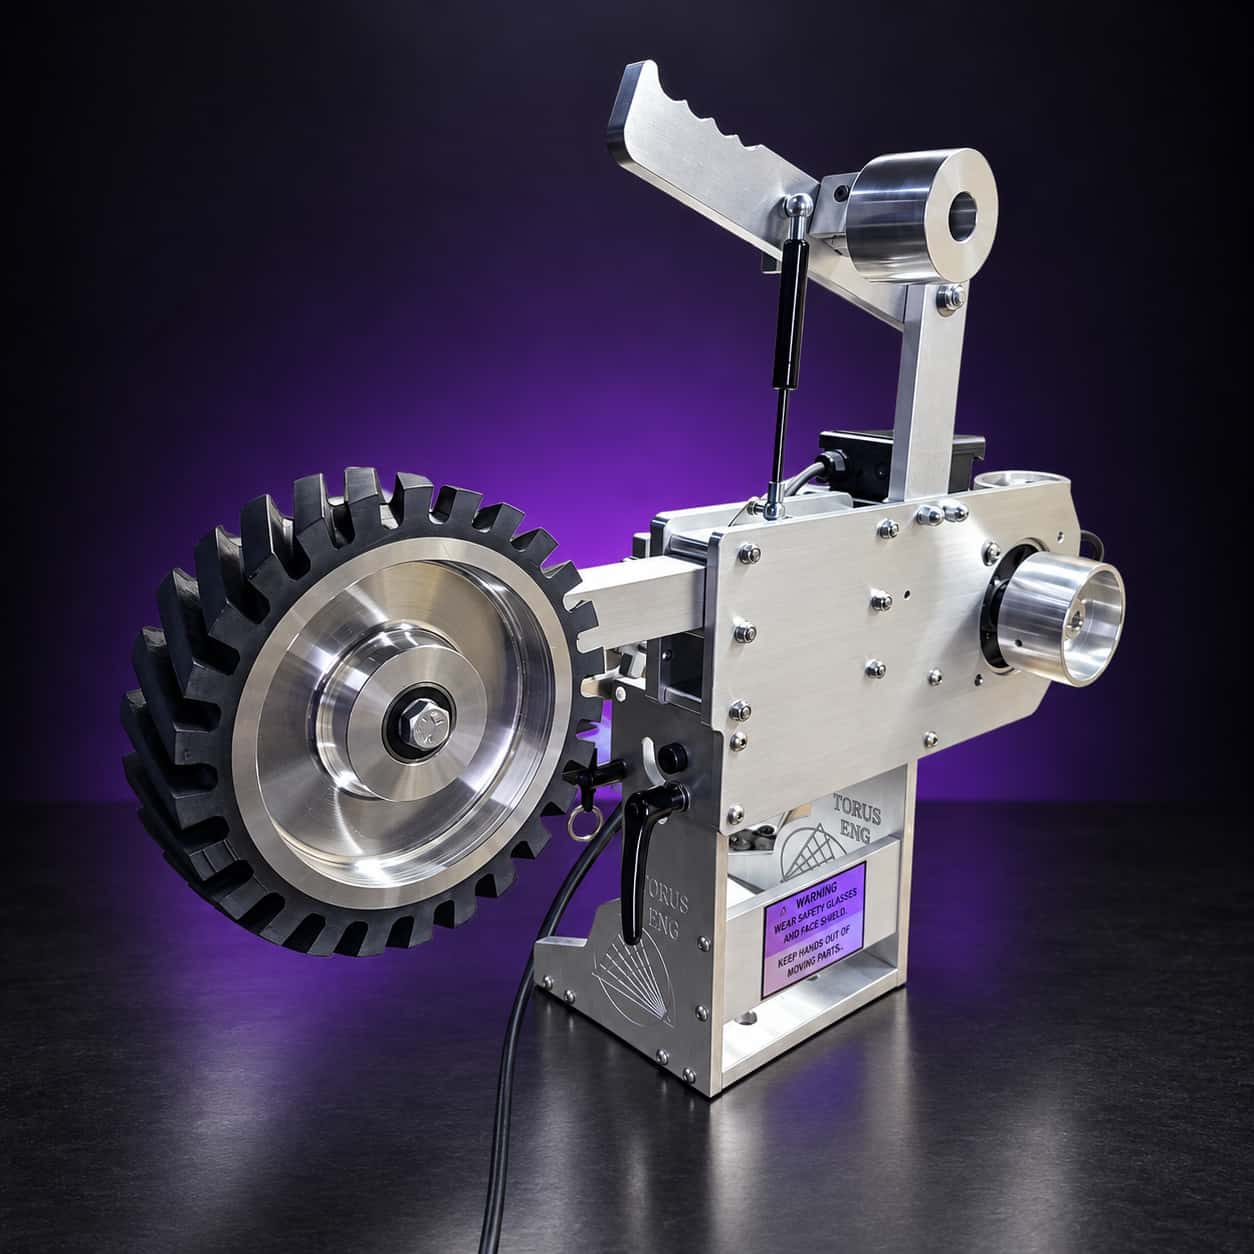
A grit ladder only works on a machine that tracks the same at 36 as it does at 400. The Nova 2×72 holds its settings between belt changes thanks to machined dual-axis tracking and a stainless ratchet tensioner, and it ships assembled and tested from my shop. Build yours, write the ladder on the wall, and run it the same way every blade.
Keep grinding

Related shop notes

  • Grinder with a serrated rubber contact wheel, gas-spring tensioner and drive wheel, no belt, on black with a purple glow
    Belt Grinders15 min read

    What a 2×72 Grinder Adds to a Knife Shop

    A 2×72 can speed profiling, beveling, handle shaping and sharpening, but it is one route, not a requirement. Here is what it adds to a knife shop, what to compare before buying, and where another tool may still fit.

  • Tall vertical view of a Torus CNC tooling arm with tracking wheel, quick-release pin, and engraved base
    Knife Making6 min read

    Grinder Maintenance: 50-Hour Checkup Essentials

    Every 50 hours my grinder gets the same checkup: blow it out, spin every wheel, check tension and tracking, tighten what moved, listen to the motor. Here is the list, in order, and what each step catches.

ForgeBrain

Go deeper on the technique

Free reference guides from the ForgeBrain library — no sign-up, no paywall.

  • Abrasive belts in several textures and colors fanned on a steel bench, nonwoven belt on top.
    Abrasives

    Belt Buyer’s Guide: Which Abrasives to Actually Buy

    Belts are the single biggest recurring cost in this hobby, and buying the wrong ones wastes money twice: once on belts that wear out fast, and again on the extra time spent fighting a dull or mismatched belt instead of actually grinding. Here’s what to actually buy. The Three Abrasive Types Aluminum oxide is the…

    Read the guide
  • Abrasive belts in several textures and colors fanned on a steel bench, nonwoven belt on top.
    Abrasives

    Grinding and Sharpening O1: Belt Recommendations & Technique

    O1 is one of the easiest steels in the shop to work, and one of the easiest to ruin with heat. It arrives as precision ground flat stock — genuinely flat and square, so you can lay out and profile without any surface prep — and it grinds, files and hand-sands like a steel that…

    Read the guide

Built in Sterling

The machines behind these notes

I machine the parts, hand-assemble, track and test each grinder before it ships. Most orders leave in seven to ten business days from time of order.

  • Nebula 2x72 grinder, front three-quarter view: aluminum arm, black plate, Safety Rules label, on black with a purple glow
    Corvus Edition · Only 14 remain.

    Torus Nebula 2x72 - Corvus Edition

    Nebula 2x72 - Corvus Edition: an exclusive Gunmetal Grey / silver vein powdercoat finish on our precision-engineered steel 2×72.

    Starts at$1,495View
  • Small wheel attachment from above: holder fork, engraved aluminum arm and two rubber wheels, on black with a purple glow

    Small Wheel Attachment with 1.5″ Aluminum Tooling Arm

    Reaches the choils, finger grooves and inside curves a flat platen never will. Wheels from 1/2 to 1.5 inches.

    Starts at$289View
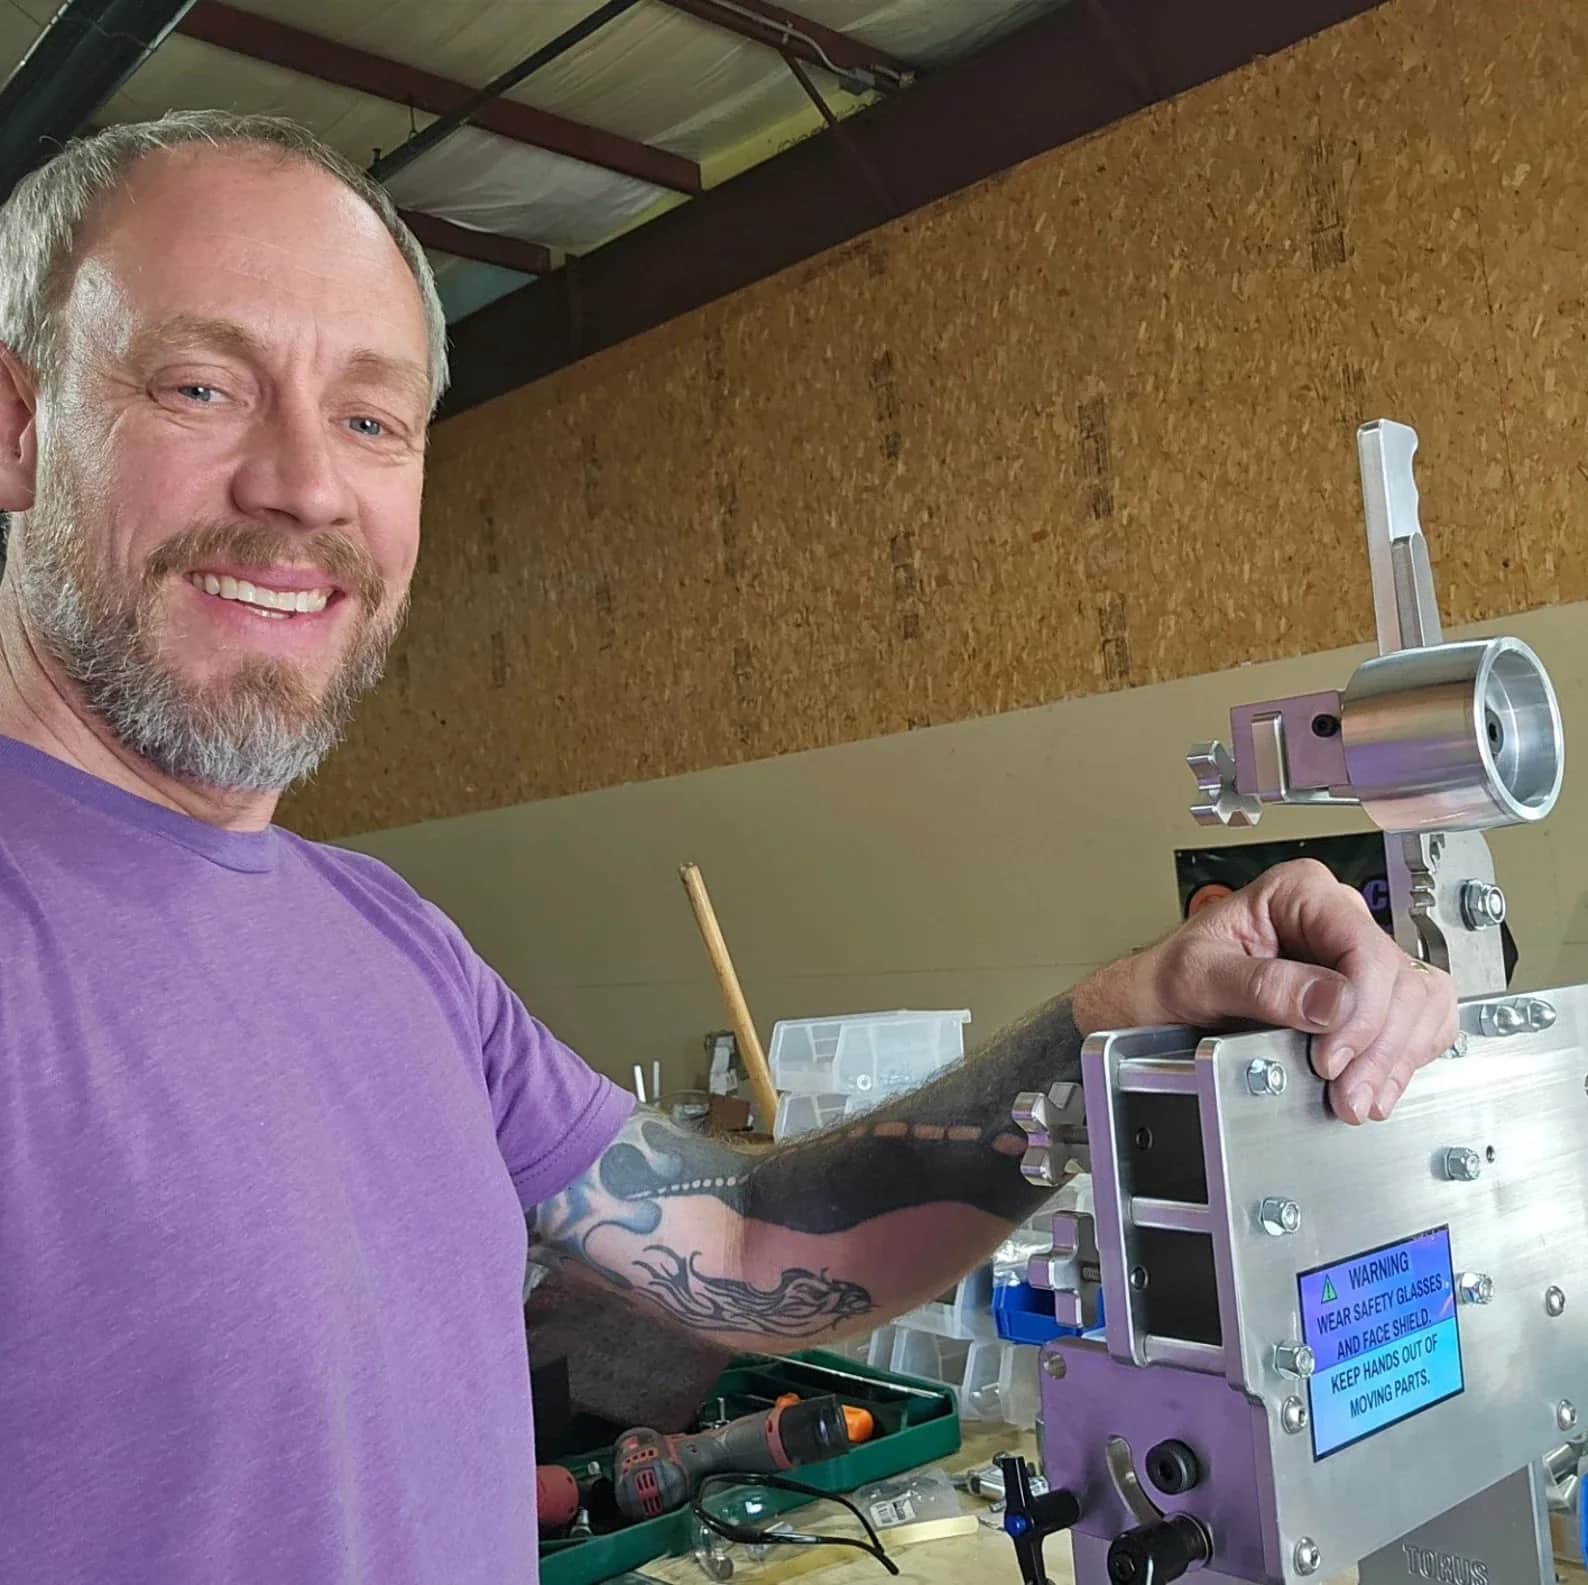
Rich Linville in the Torus CNC shop with a finished 2x72 belt grinder

Built to order

Tell me what you are building

I answer my own email. Tell me the work you do and which grinder you are considering.