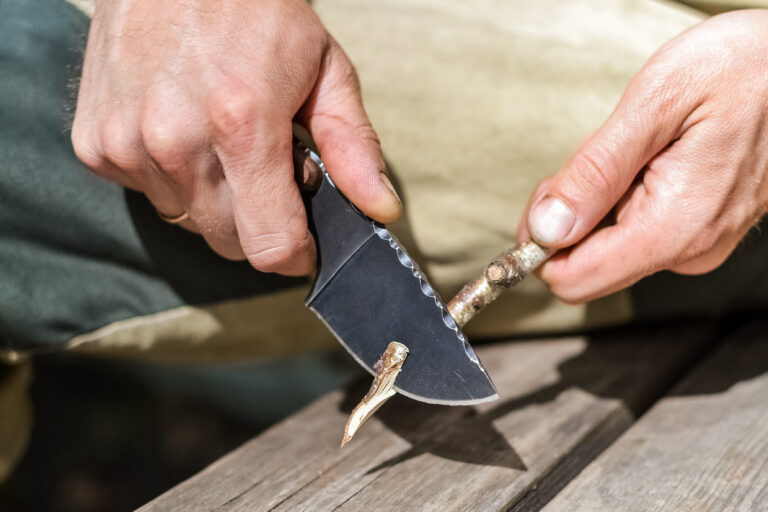
Leather stropping belts are essential tools for anyone serious about maintaining the sharpness of their blades. These belts serve as a final step in the sharpening process, allowing users to refine the edge of their knives, chisels, and other cutting instruments. The act of stropping involves polishing the blade against a smooth surface, which helps to realign the microscopic teeth of the edge, resulting in a sharper and more polished finish.
A well-crafted leather stropping belt can significantly enhance the performance of your tools, making it a valuable addition to any workshop or tool collection. The versatility of leather stropping belts extends beyond just sharpening; they can also be used for honing and polishing various materials. Whether you are a professional craftsman or a hobbyist, understanding how to create and maintain a high-quality stropping belt can elevate your sharpening game.
This article will guide you through the process of selecting the right leather, preparing it for crafting, and ultimately creating a personalized stropping belt that meets your specific needs.
Key Takeaways
- Leather stropping belts are essential tools for maintaining the sharpness of knives and other cutting tools.
- Selecting the right type of leather is crucial for creating an effective stropping belt.
- Proper preparation and cutting of the leather are necessary steps for crafting a high-quality stropping belt.
- Attaching hardware and adding compound to the stropping belt are important for its functionality.
- Regular maintenance and care are essential for ensuring the longevity of your leather stropping belt.
Selecting the Right Leather for Your Stropping Belt
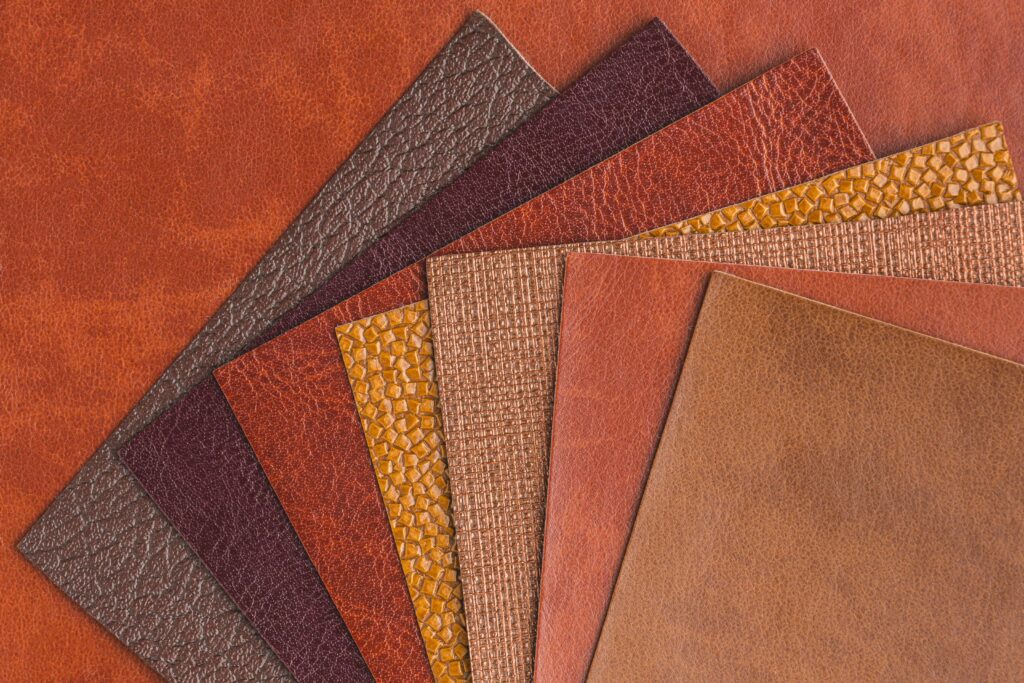
Choosing the appropriate leather for your stropping belt is crucial to achieving optimal results. The type of leather you select will influence the performance and longevity of your belt. Full-grain leather is often considered the best option due to its durability and natural characteristics.
This type of leather retains its strength and flexibility over time, making it ideal for repeated use. Additionally, full-grain leather has a natural texture that can enhance the stropping process, providing a better grip on the blade. Another option is vegetable-tanned leather, which is known for its ability to hold compounds well.
This type of leather is treated with natural tannins, making it environmentally friendly and suitable for those who prefer sustainable materials. Vegetable-tanned leather can also develop a beautiful patina over time, adding character to your stropping belt. When selecting leather, consider factors such as thickness, texture, and finish, as these elements will affect how well your stropping belt performs.
Preparing the Leather for Crafting
Once you have selected the right leather for your stropping belt, the next step is to prepare it for crafting. This preparation involves cleaning and conditioning the leather to ensure it is ready for use. Start by wiping down the leather with a damp cloth to remove any dust or debris that may have accumulated during storage.
This step is essential as it helps to prevent any imperfections from affecting the final product. After cleaning, it is advisable to condition the leather using a suitable leather conditioner. Conditioning helps to keep the leather supple and prevents it from drying out or cracking over time.
Apply a small amount of conditioner evenly across the surface of the leather, allowing it to absorb fully before proceeding with cutting and sizing. Proper preparation not only enhances the appearance of your stropping belt but also contributes to its overall functionality and durability.
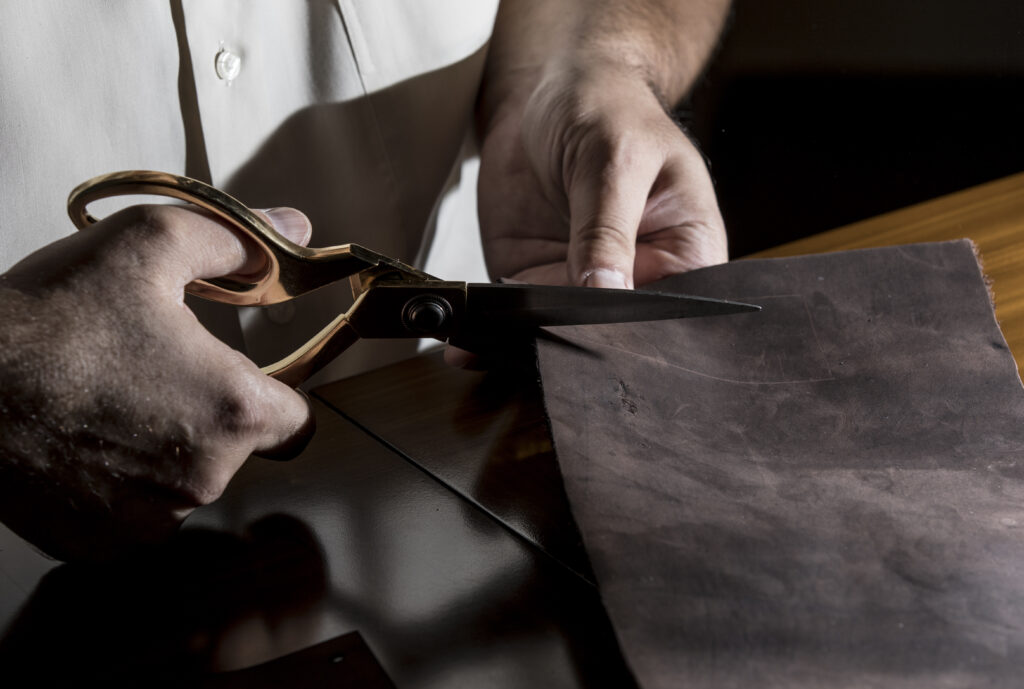
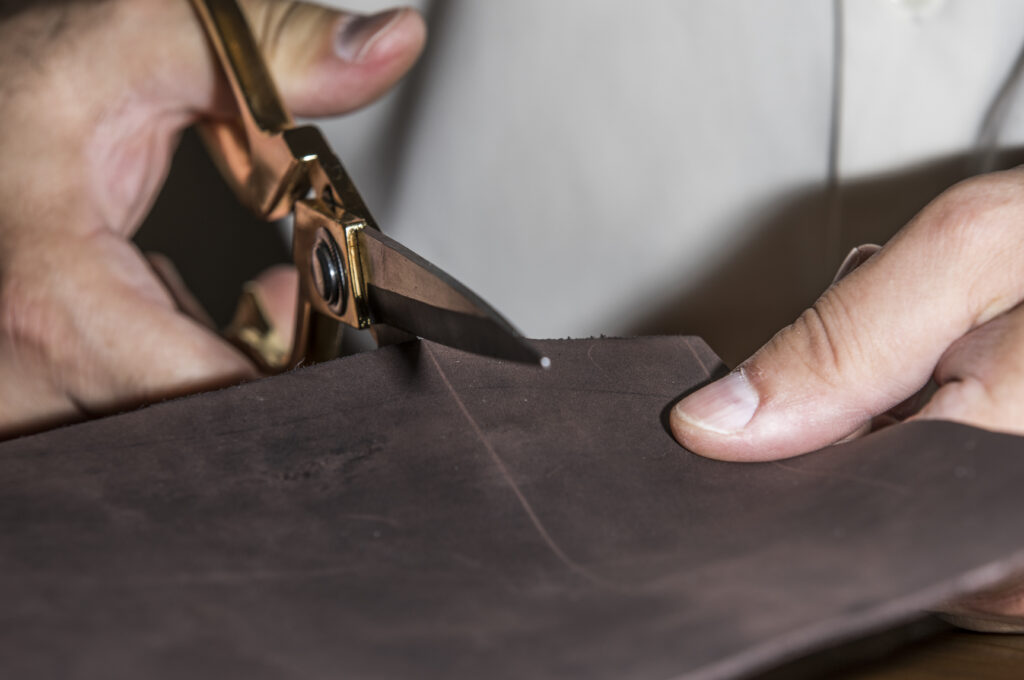
Cutting and Sizing the Leather for Your Stropping Belt
With your leather prepared, you can now move on to cutting and sizing it for your stropping belt. The dimensions of your belt will depend on personal preference and intended use. A common width for stropping belts ranges from 2 to 3 inches, while lengths can vary based on how you plan to use it—whether attached to a machine or used manually.
It’s essential to measure accurately and mark your cutting lines clearly to ensure precision. Using a sharp utility knife or rotary cutter, carefully cut along the marked lines. Take your time during this process; precision is key to creating an effective stropping belt.
If you are new to cutting leather, consider practicing on scrap pieces first to gain confidence in your technique. Once cut, check the edges for any rough spots or imperfections that may need smoothing out before moving on to attaching hardware.
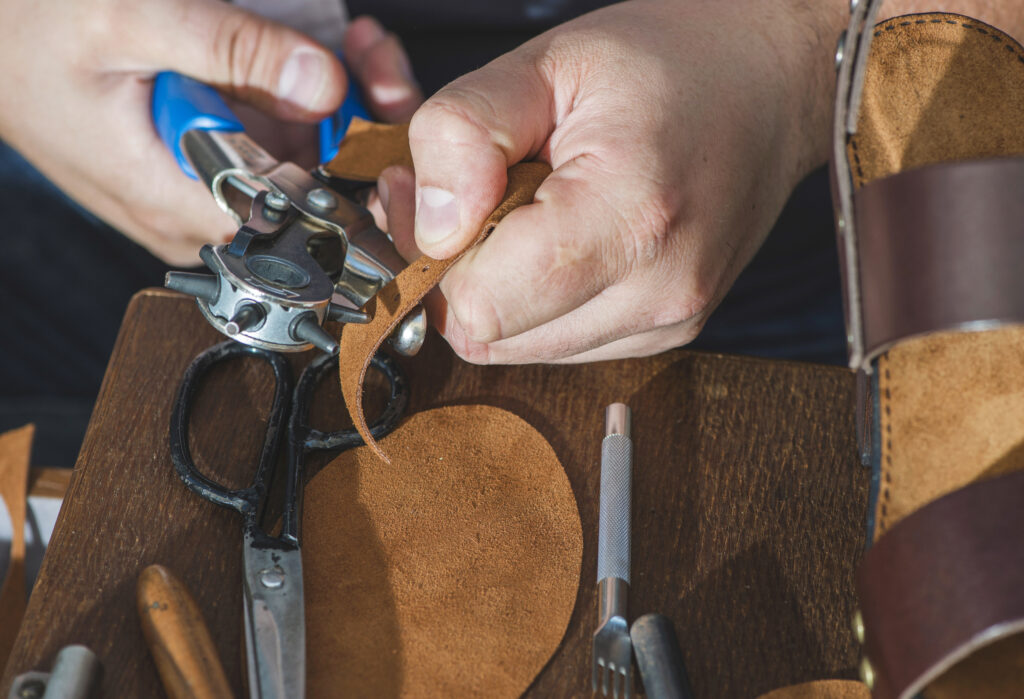
Attaching Hardware to Your Stropping Belt
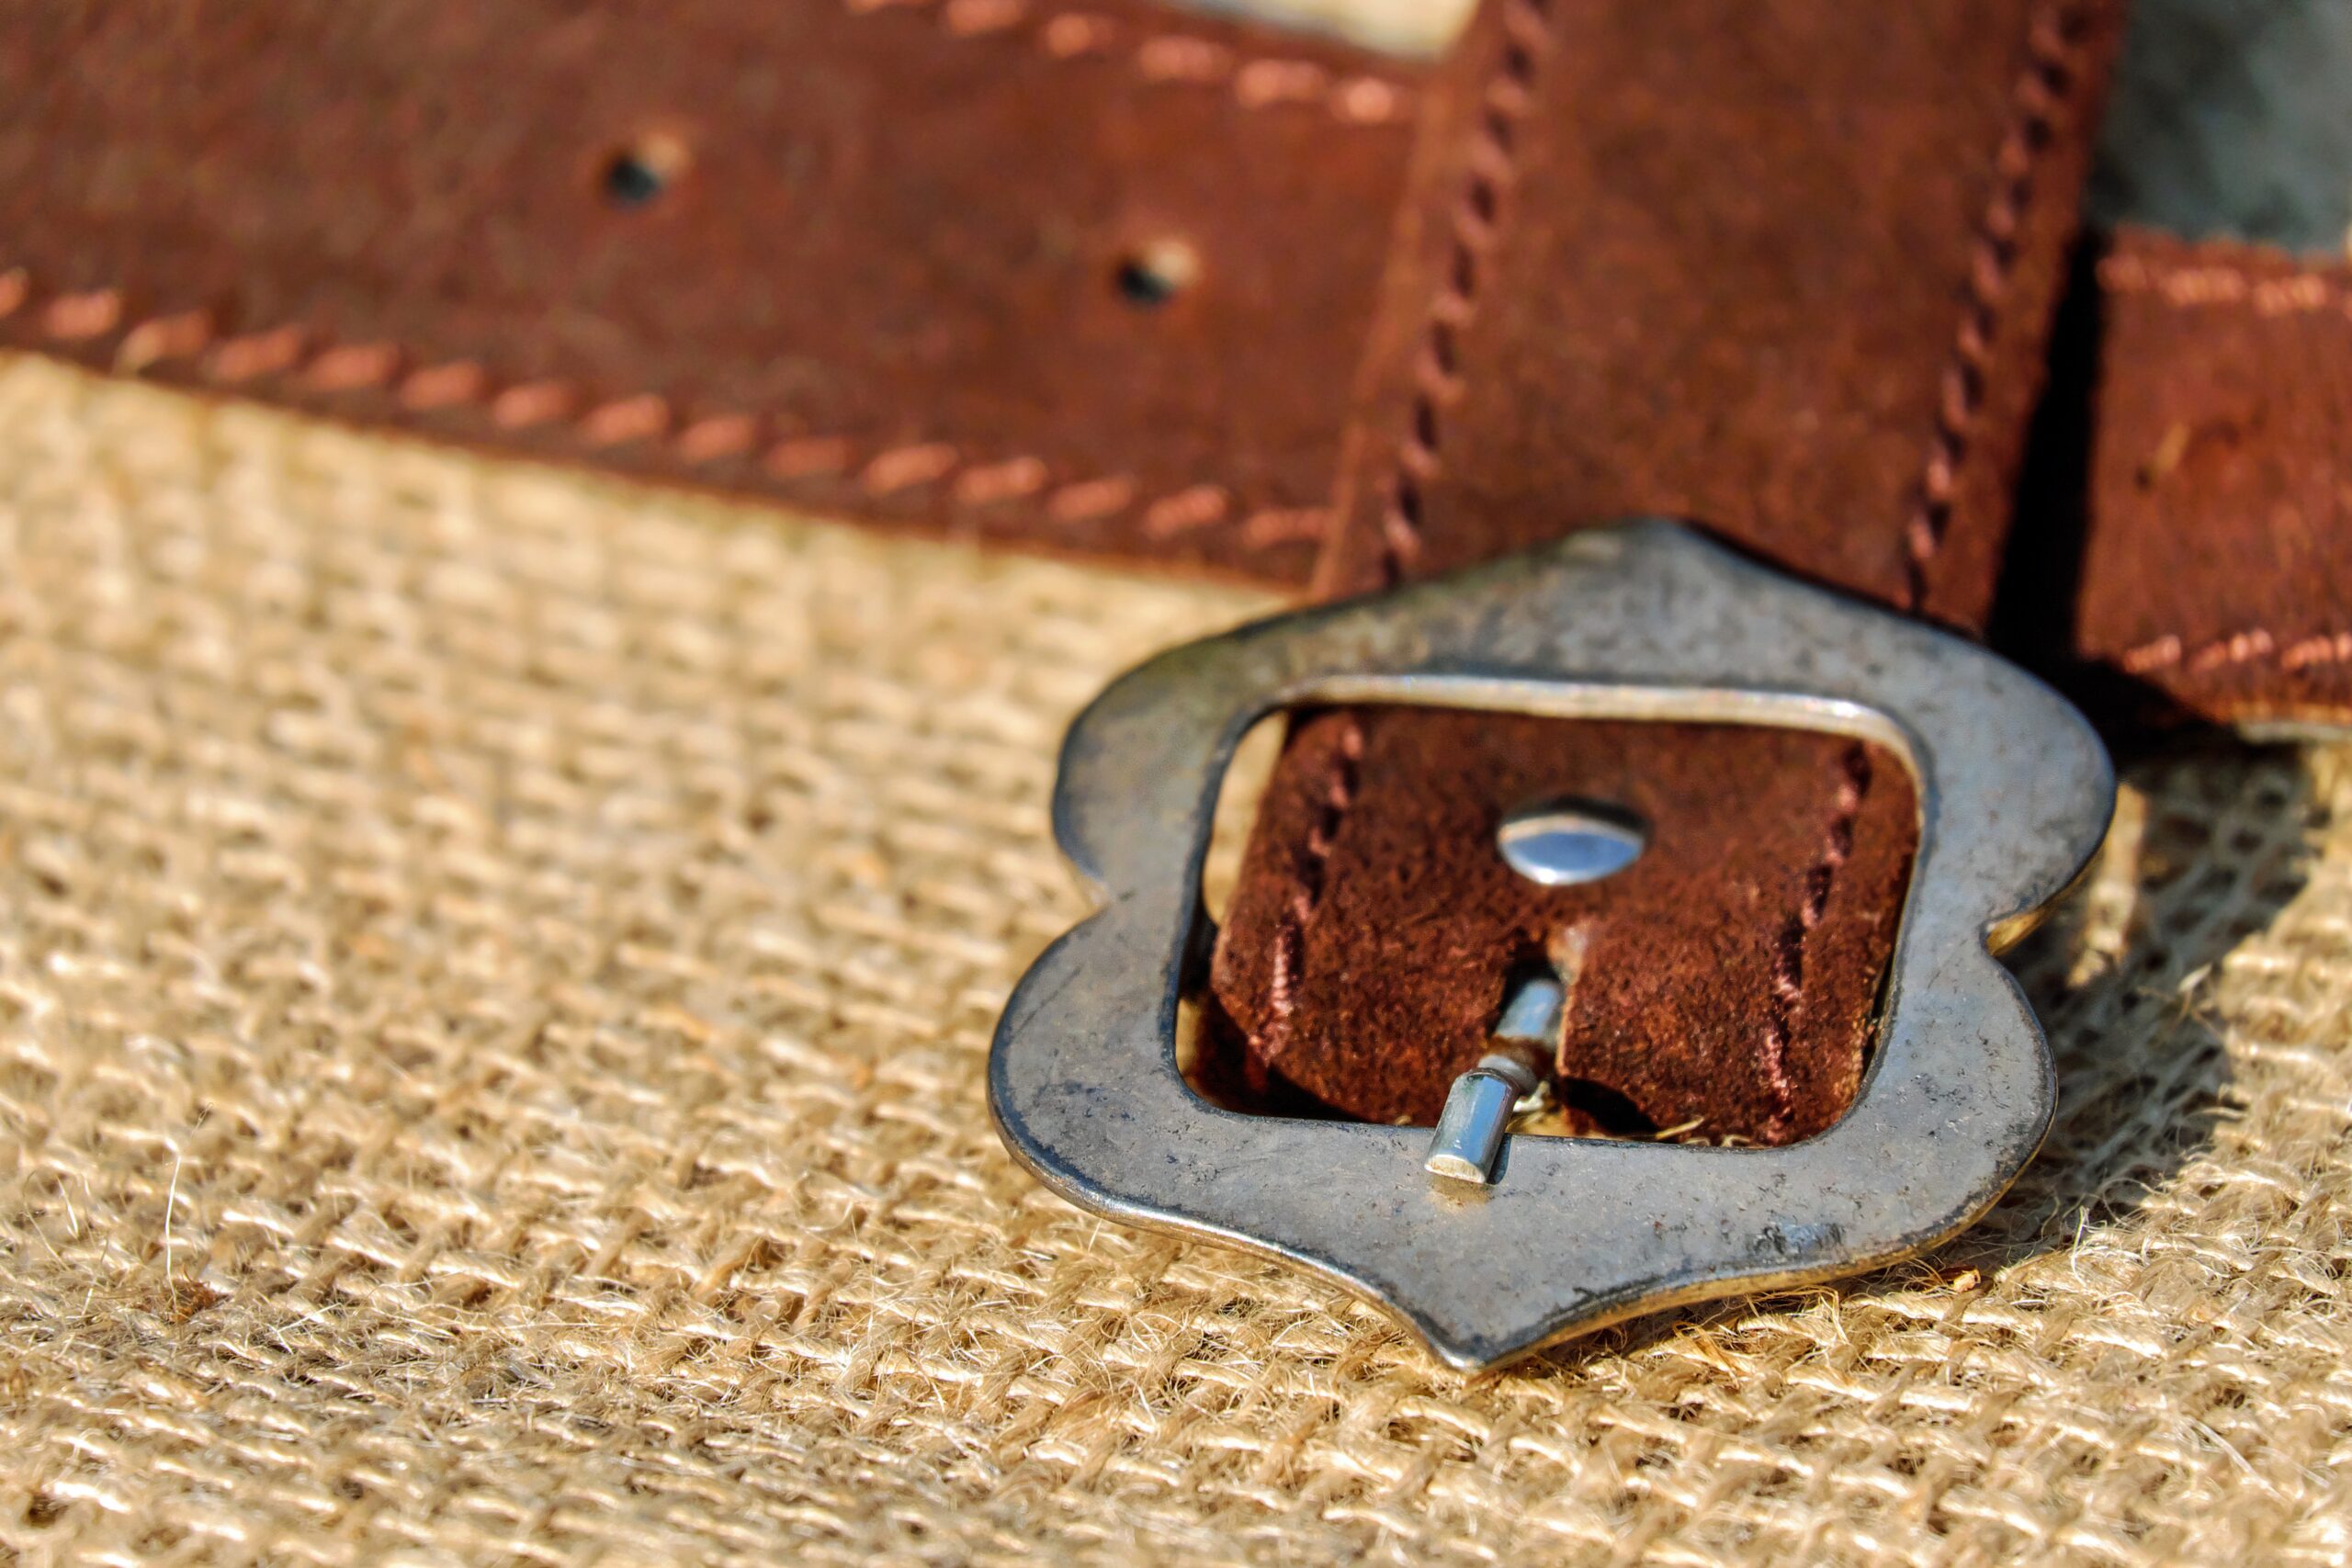
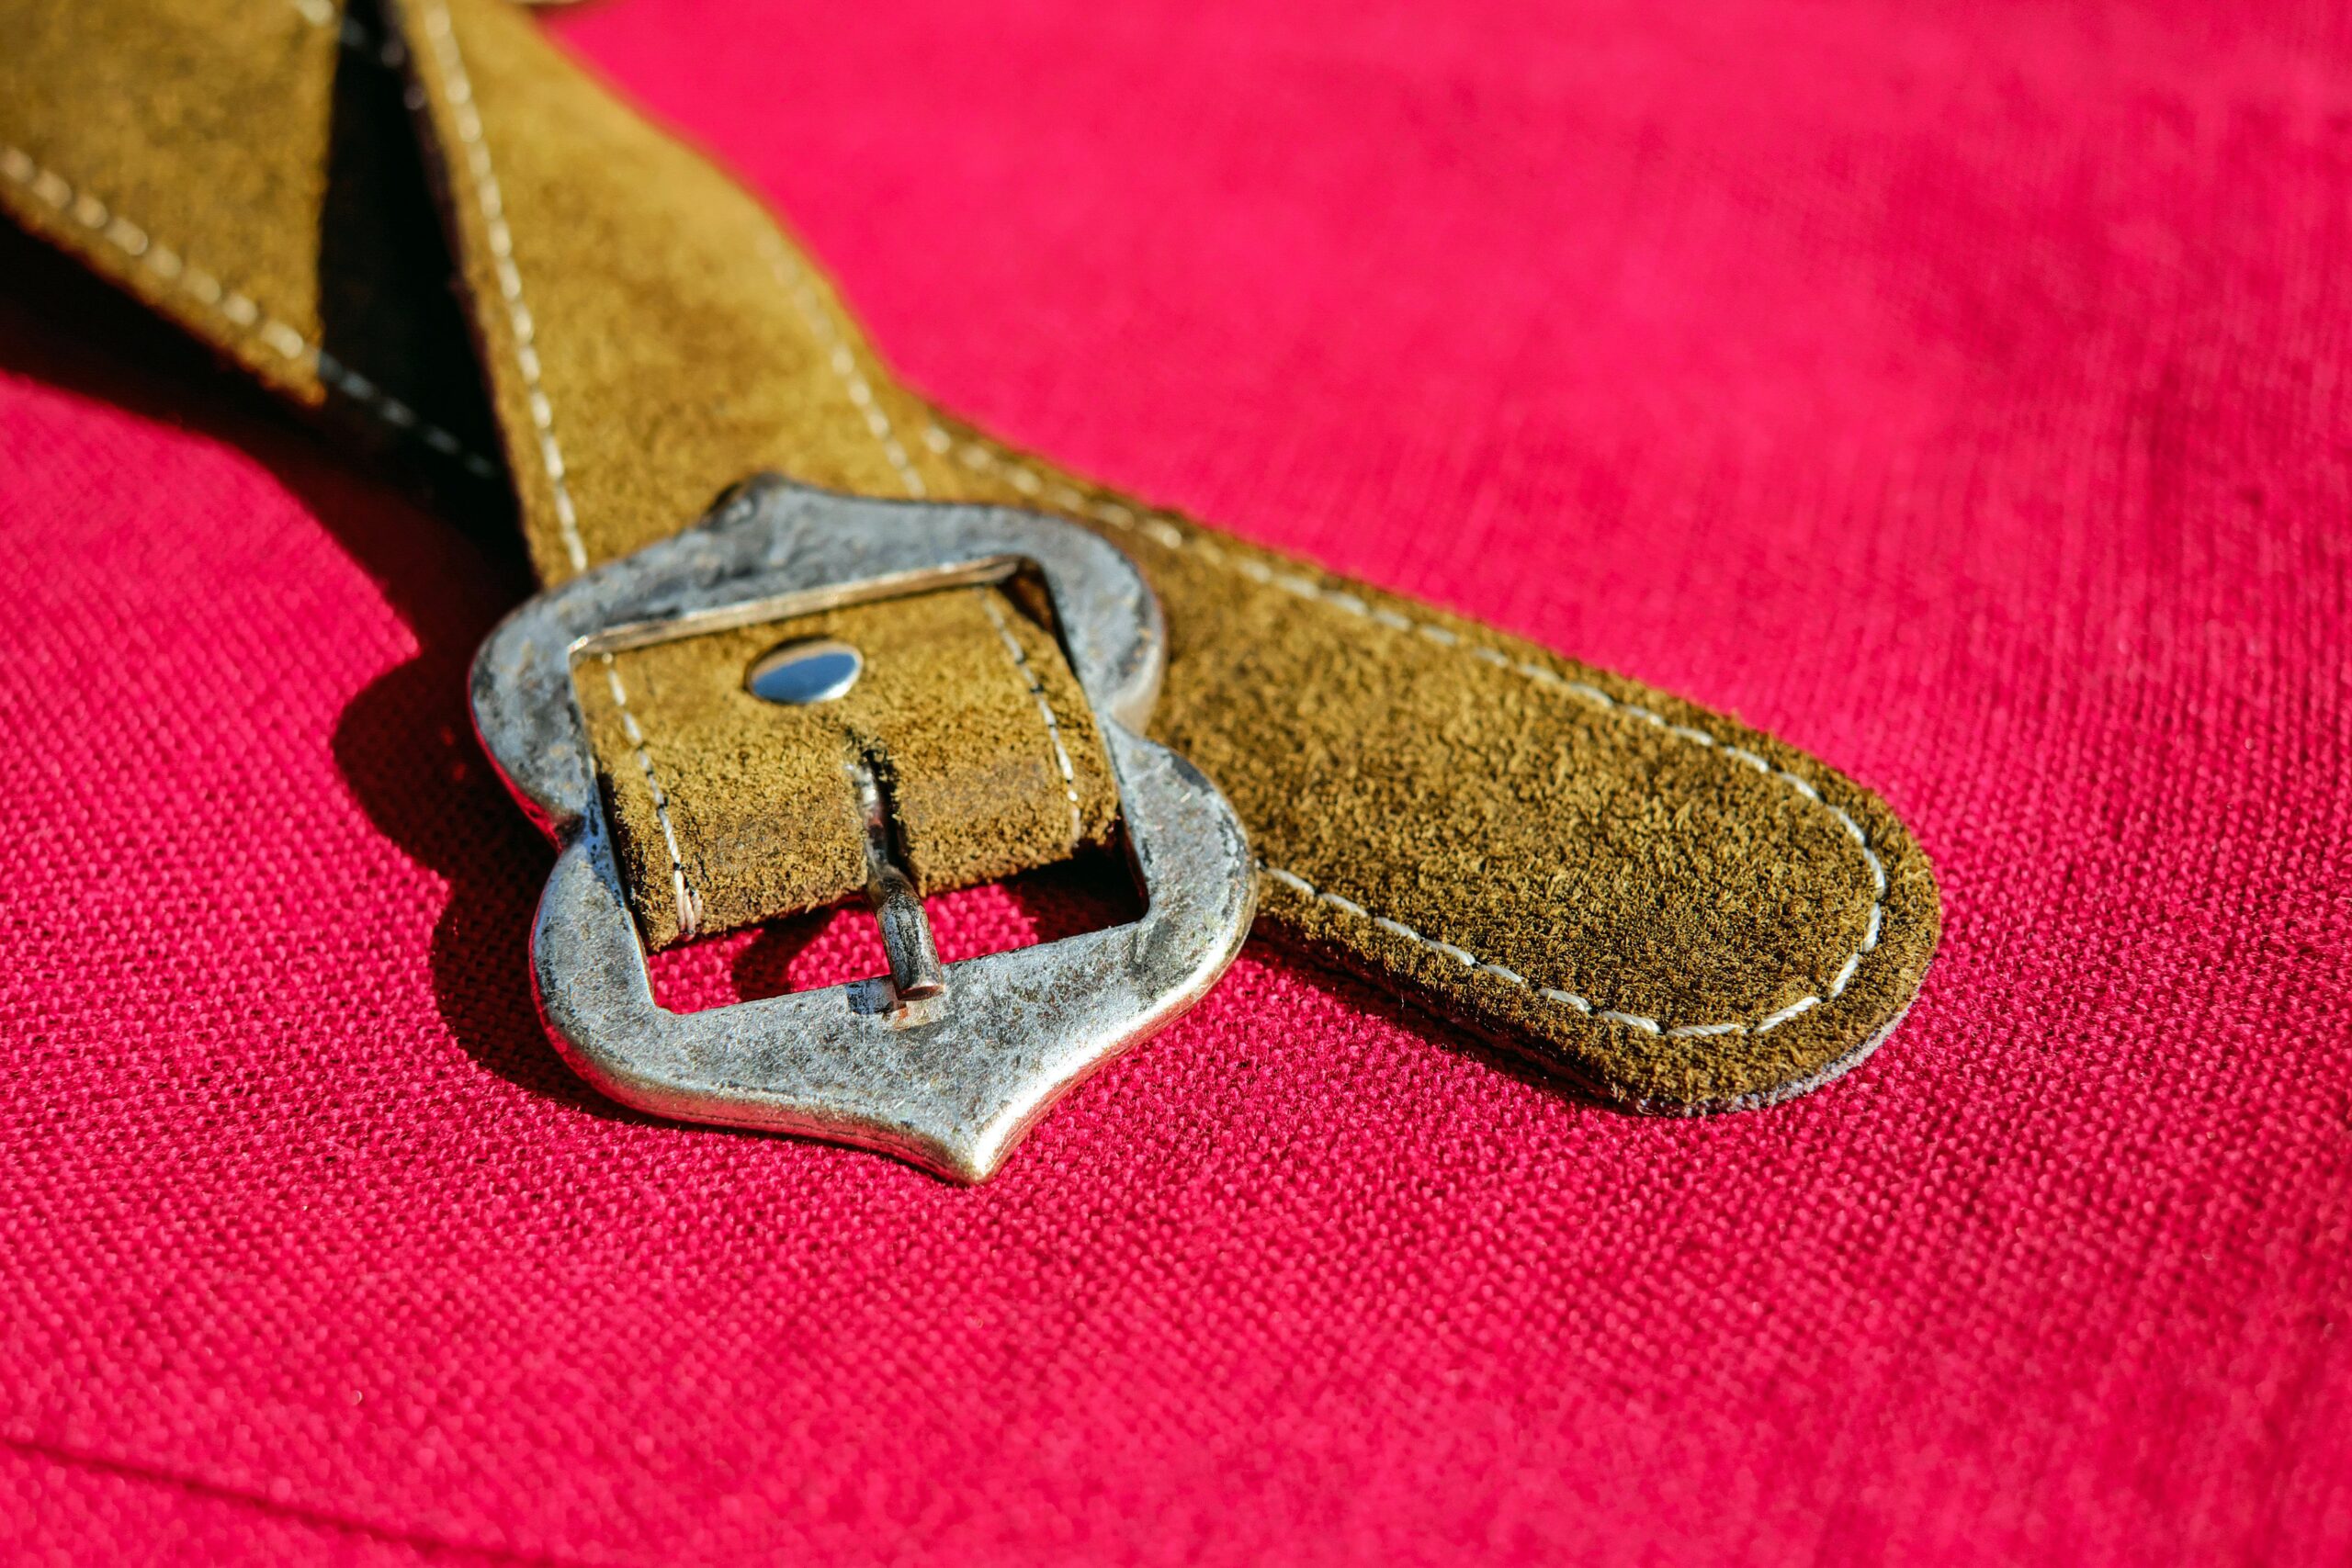
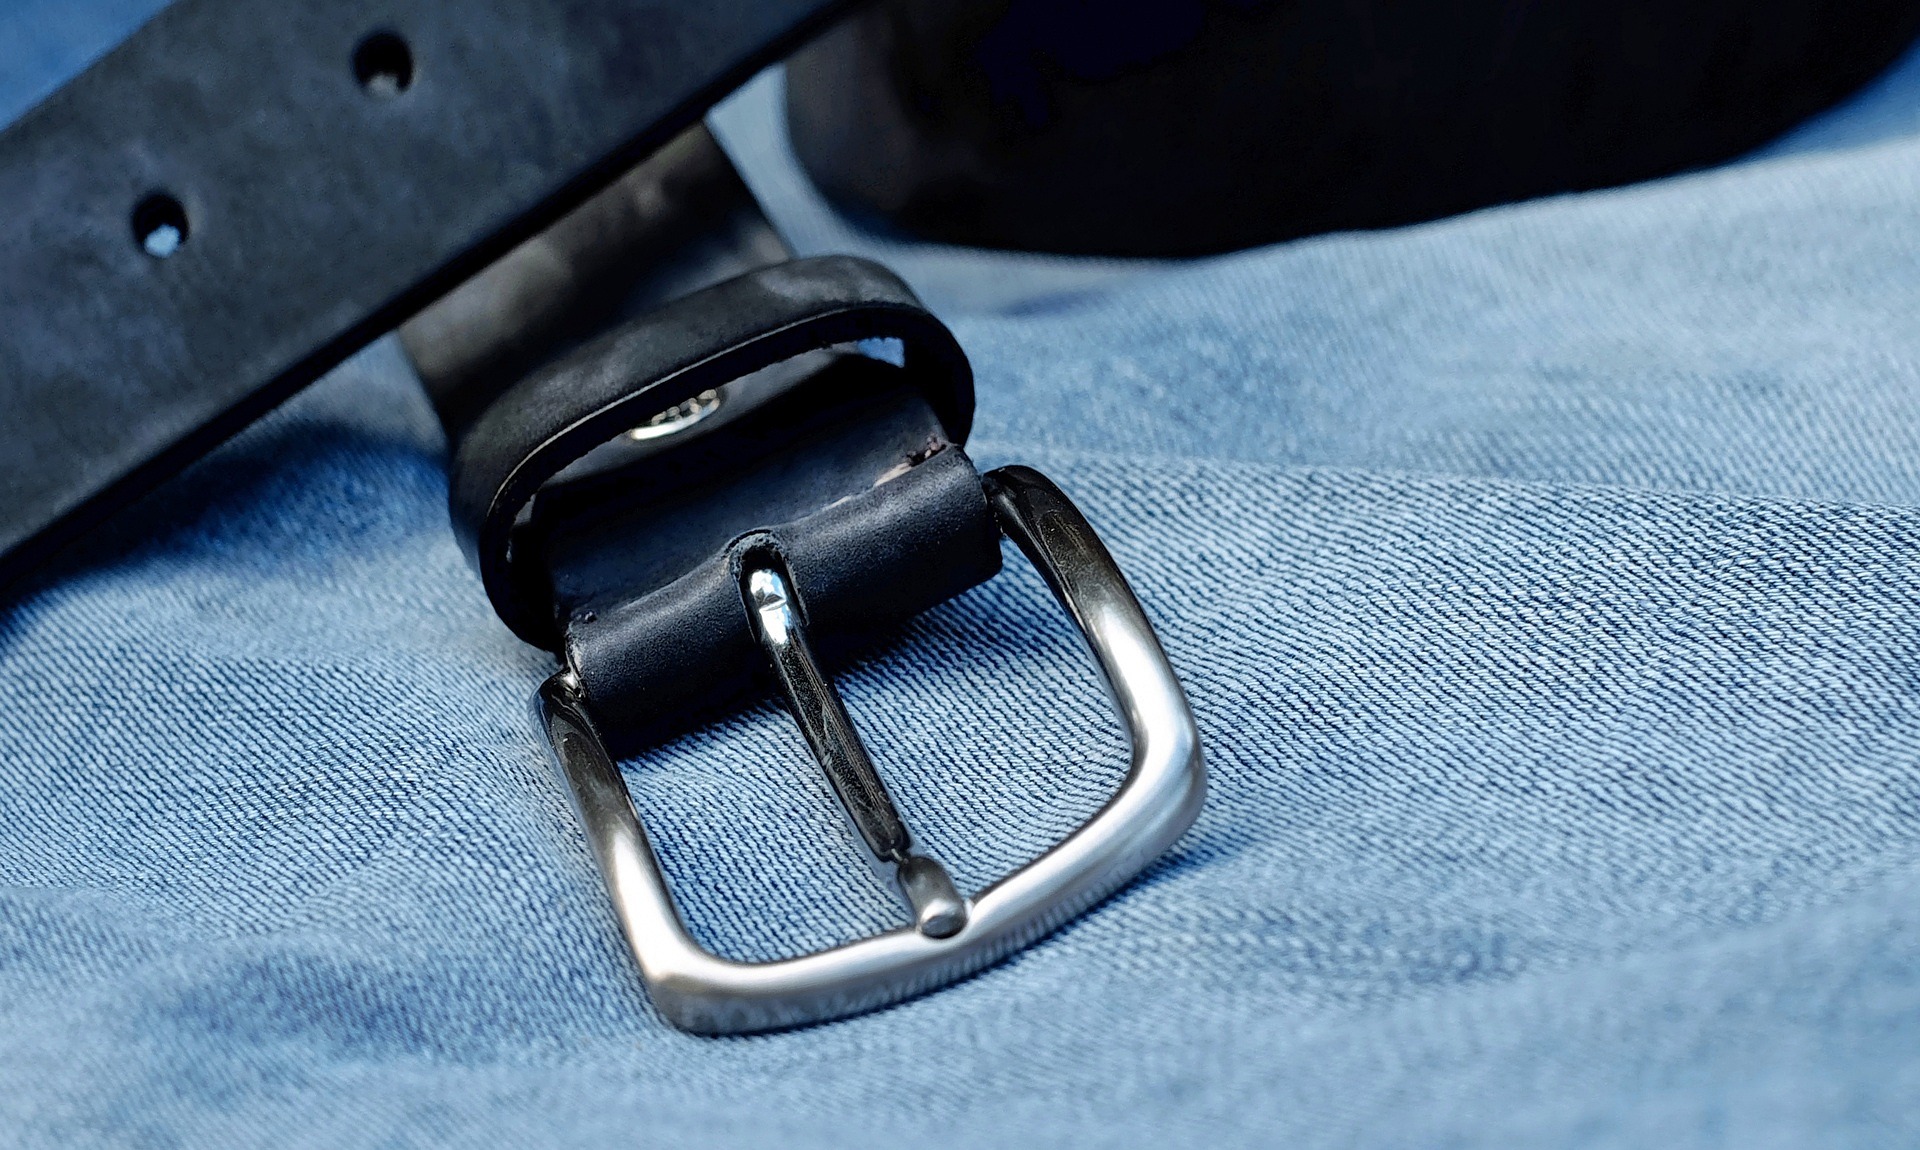
Attaching hardware is an important step in completing your leather stropping belt. Depending on your design, you may need to incorporate buckles, clips, or D-rings that will allow you to secure the belt during use. When selecting hardware, ensure that it complements the thickness and weight of your leather; sturdy hardware will provide stability and longevity.
To attach the hardware, start by marking where each piece will go on your leather. Use a punch tool to create holes for screws or rivets, ensuring they are evenly spaced and aligned properly. After making the holes, insert the hardware and secure it tightly.
If using rivets, be sure to set them properly using a rivet setter tool for a clean finish. Properly attached hardware not only enhances functionality but also contributes to the overall aesthetic appeal of your stropping belt.
Adding a Compound to Your Stropping Belt
To maximize the effectiveness of your leather stropping belt, adding a compound is highly recommended. Stropping compounds come in various grits and formulations, each designed to enhance the sharpening process in different ways. For instance, chromium oxide is a popular choice for achieving a fine polish on blades, while other compounds may be more suited for initial sharpening stages.
When applying compound to your stropping belt, start by selecting an appropriate grit based on your needs. Use a clean cloth or applicator to spread a thin layer of compound evenly across the surface of the leather. Avoid overloading the belt with too much compound; a little goes a long way in achieving optimal results.
Allow the compound to dry before using your stropping belt; this ensures that it adheres properly and provides effective sharpening when in use.
Finishing and Burnishing the Edges of Your Stropping Belt
Finishing and burnishing the edges of your stropping belt is an essential step that enhances both its appearance and durability. Raw edges can be rough and may fray over time if not properly treated. To achieve a polished look, use an edge beveler to round off the edges slightly before burnishing.
Burnishing can be done using a variety of tools such as a bone folder or a dedicated burnishing tool. Apply a small amount of water or edge finishing solution along the edges before using your burnishing tool to create friction. This process smooths out any rough spots and gives the edges a sleek finish.
A well-finished edge not only looks professional but also helps prevent wear and tear on your stropping belt over time.
Personalizing Your Stropping Belt with Tooling or Stamping
Personalization adds a unique touch to your leather stropping belt, allowing you to express your style or brand identity. Tooling or stamping designs into the leather can create intricate patterns or logos that enhance its visual appeal. Before starting this process, sketch out your design on paper or use templates for guidance.
To begin tooling or stamping, you will need specific tools such as stamps or swivel knives designed for leatherwork. Position your design carefully on the leather surface and apply even pressure when stamping or carving. Take your time with this step; precision is key in achieving clean lines and details in your design.
Once completed, consider applying a finish or dye to highlight your work further and protect it from wear.
Maintaining and Caring for Your Leather Stropping Belt
Proper maintenance is vital for ensuring the longevity of your leather stropping belt. Regular cleaning should be part of your routine; simply wipe down the surface with a damp cloth after each use to remove any residue from compounds or oils that may have accumulated during sharpening sessions. Avoid soaking the leather in water as this can lead to damage.
In addition to cleaning, conditioning should be performed periodically to keep the leather supple and prevent cracking. Depending on usage frequency, conditioning every few months may be sufficient. When storing your stropping belt, keep it in a cool, dry place away from direct sunlight to prevent fading or drying out.
By following these maintenance tips, you can ensure that your handcrafted stropping belt remains functional and visually appealing for years to come.
Tips and Tricks for Using Your Stropping Belt
To get the most out of your leather stropping belt, consider implementing some tips and tricks that can enhance its effectiveness during use. First, always ensure that your blade is clean before stropping; any debris left on the blade can scratch or damage both the blade and the leather surface of your belt. When using the stropping belt, maintain a consistent angle while drawing the blade across its surface—this will help achieve uniform results and prevent uneven wear on both the blade and the belt itself.
Additionally, apply light pressure; excessive force can lead to premature wear on your stropping belt and may not yield better results in sharpening. Lastly, practice makes perfect; take time to refine your technique until you find what works best for you.
Enjoying the Benefits of Your Handcrafted Stropping Belt
Creating a handcrafted leather stropping belt offers numerous benefits that extend beyond mere functionality; it allows you to engage in a rewarding craft while producing a tool tailored specifically to your needs. The satisfaction derived from crafting something with your own hands cannot be overstated—it fosters a deeper connection with your tools and enhances your overall sharpening experience. By following this comprehensive guide, you can create a high-quality stropping belt that not only meets but exceeds your expectations in performance and aesthetics.
With proper care and maintenance, this tool will serve you well for years to come, ensuring that your blades remain sharp and ready for any task at hand. Embrace the art of crafting your own leather stropping belt and enjoy all its benefits as you elevate your sharpening skills to new heights.
FAQs
What is a leather stropping belt?
A leather stropping belt is a tool used for sharpening and polishing knives and other cutting tools. It is typically made from a strip of leather that is used with a stropping compound to hone the edge of a blade.
What are the benefits of making your own leather stropping belt?
Making your own leather stropping belt allows you to customize the size, shape, and material of the belt to suit your specific needs. It can also be a cost-effective alternative to purchasing pre-made stropping belts.
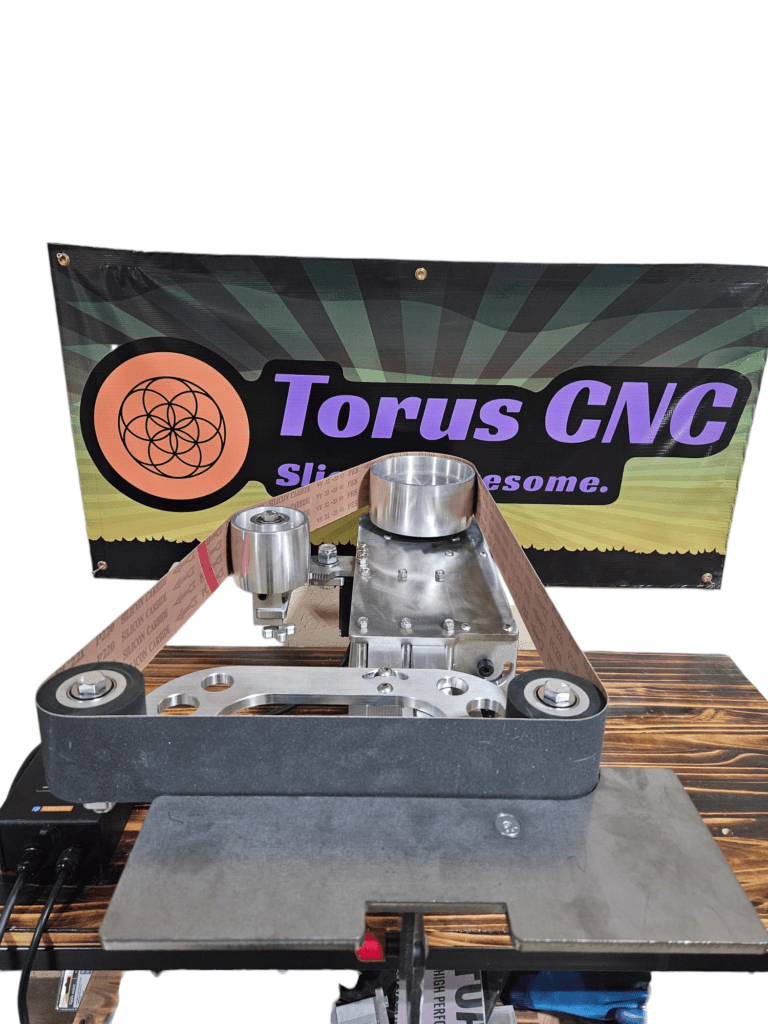
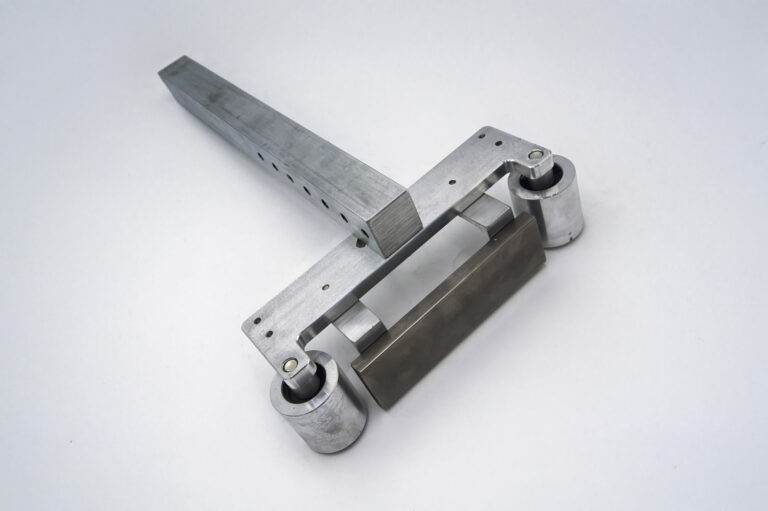
What materials are needed to make a leather stropping belt for the 2×72 grinder?
To make a leather stropping belt for the 2×72 grinder, you will need a piece of leather, adhesive, and a method for attaching the leather to the grinder, such as a belt clamp or adhesive-backed Velcro.
What is the process for making a leather stropping belt for the 2×72 grinder?
The process for making a leather stropping belt for the 2×72 grinder involves cutting the leather to the desired size, applying adhesive to the back of the leather, and then attaching it to the grinder using a belt clamp or adhesive-backed Velcro.
What are some tips for using a leather stropping belt effectively?
When using a leather stropping belt, it is important to apply the stropping compound evenly to the leather surface and to maintain a consistent angle and pressure while stropping the blade. It is also important to regularly clean and condition the leather to ensure optimal performance.