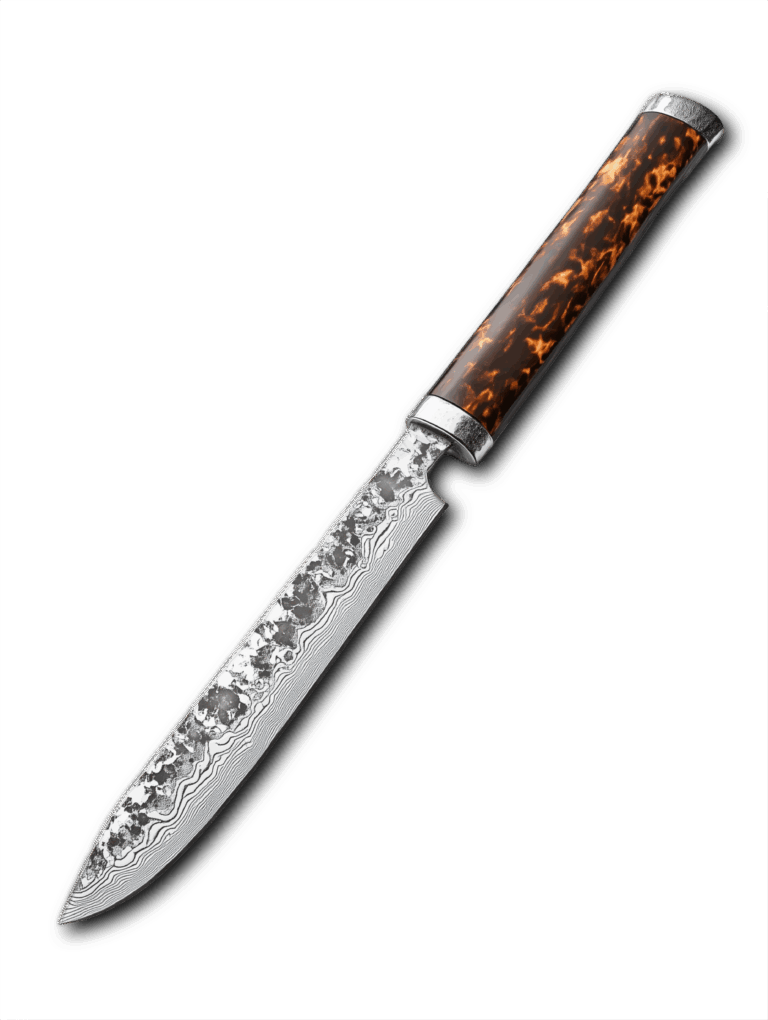
Flattening handle scales is a crucial step in the knife-making process, ensuring that the scales fit perfectly onto the tang of the blade. A well-flattened handle not only enhances the aesthetic appeal of the knife but also contributes to its overall functionality and comfort during use. One of the most effective tools for achieving this precision is the slack belt.
This method allows for a controlled and efficient way to create a flat surface on handle scales, whether they are made from wood, micarta, or other materials. Using a slack belt for flattening handle scales offers several advantages over traditional methods. The flexibility of the slack belt allows it to conform to the contours of the material, providing an even surface without the risk of creating unwanted dips or grooves.
This technique is particularly beneficial for knife makers who seek to achieve a high level of craftsmanship in their work. In this article, we will explore the intricacies of using a slack belt for flattening handle scales, from preparation to final finishing touches.

Key Takeaways
- Flattening handle scales with a slack belt is an essential step in knife making for achieving a smooth and even finish.
- The slack belt is a versatile tool that can be used for grinding, shaping, and polishing handle scales.
- Before flattening, handle scales need to be prepared by marking the high spots and removing any excess material.
- Setting up the slack belt involves adjusting the tension and tracking to ensure even and consistent grinding.
- Safety precautions such as wearing eye protection and using a dust mask should be taken when using a slack belt for flattening handle scales.
Understanding the Slack Belt and its Uses in Knife Making
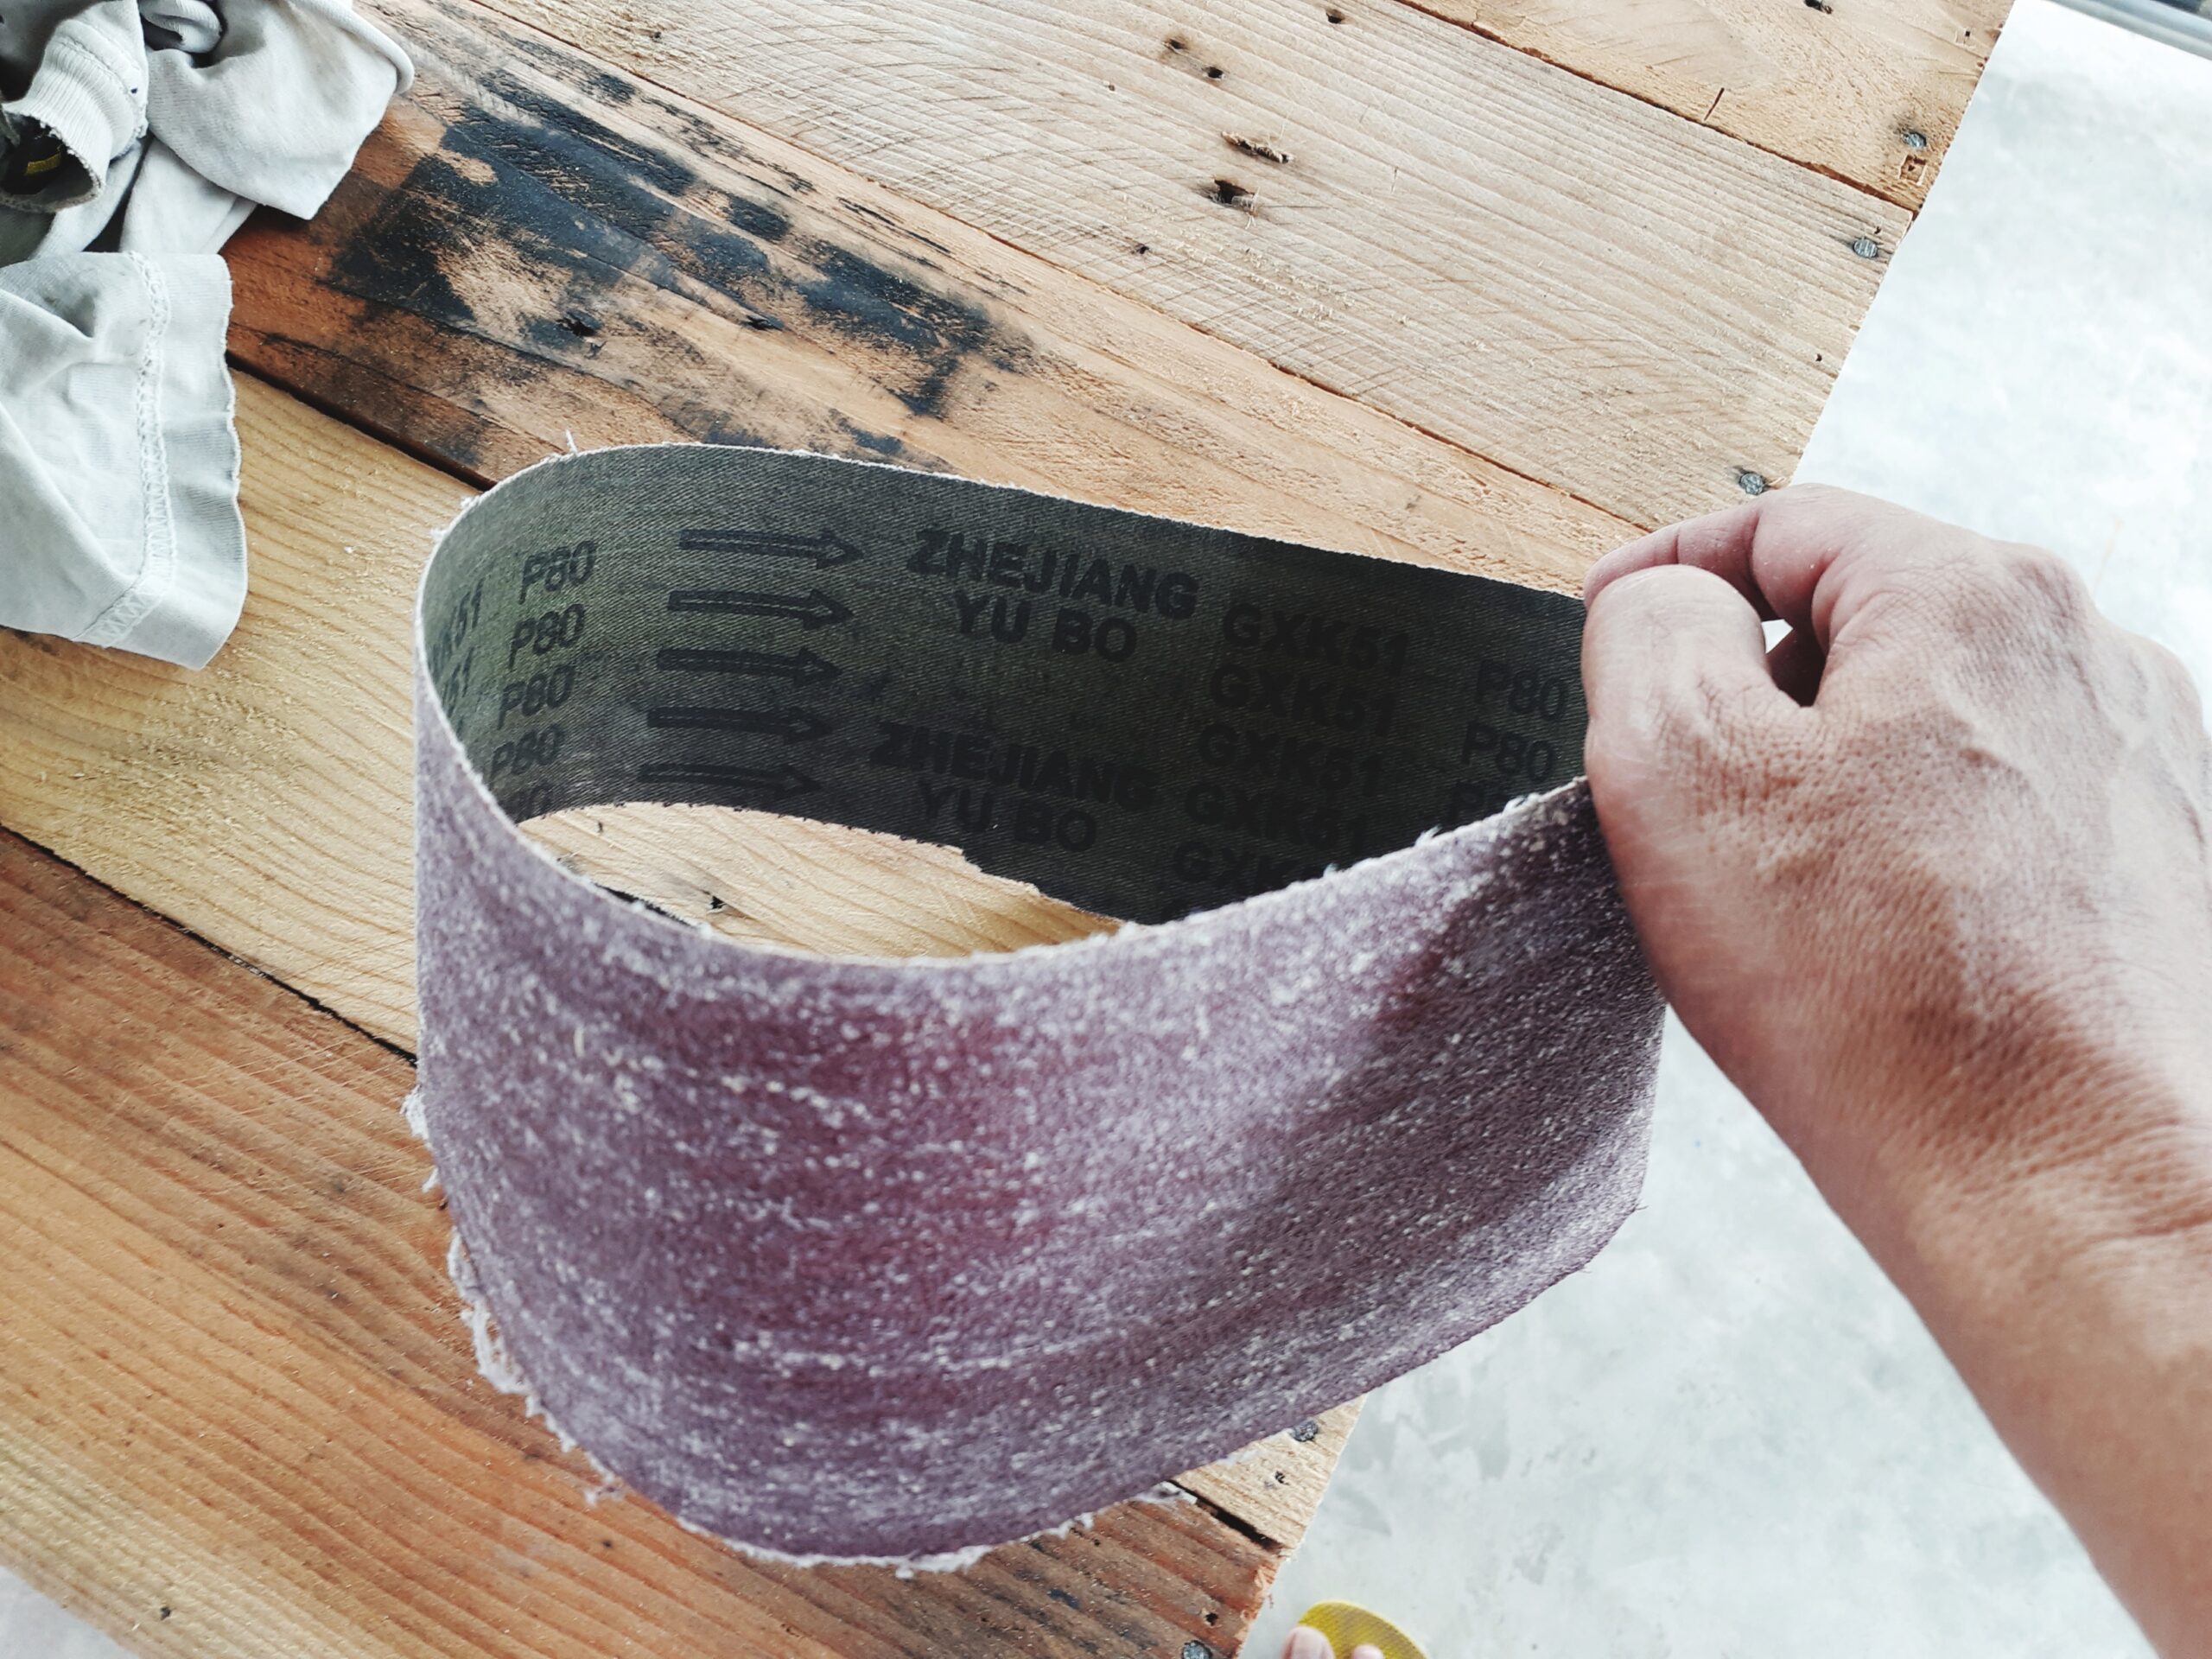
A slack belt is a type of sanding belt that is not tightly tensioned on the machine, allowing it to have a certain degree of flexibility. This characteristic makes it ideal for various applications in knife making, particularly when it comes to shaping and flattening materials. The slack belt can adapt to the surface of the handle scales, providing a more uniform finish compared to rigid sanding methods.
This adaptability is essential for achieving the desired flatness without compromising the integrity of the material. In knife making, the slack belt is often used in conjunction with other tools and techniques. It can be employed for initial shaping, removing excess material, and refining surfaces before moving on to finer grits for polishing.
The versatility of the slack belt makes it an indispensable tool in a knife maker’s workshop, allowing for both efficiency and precision in the crafting process. Understanding how to effectively use a slack belt can significantly enhance the quality of the final product.
Preparing the Handle Scales for Flattening
Before diving into the flattening process, proper preparation of the handle scales is essential. This step involves selecting the right materials and ensuring they are free from defects that could affect the final outcome. Inspecting the scales for any cracks, warps, or inconsistencies is crucial, as these imperfections can lead to uneven surfaces during flattening.
If any issues are detected, it may be necessary to address them before proceeding. Once the handle scales have been inspected and deemed suitable for flattening, they should be securely mounted or held in place during the process. This can be achieved using clamps or a vise, ensuring that they do not move while being worked on.
Properly securing the scales not only enhances safety but also allows for more accurate results. With everything in place, you are ready to begin the flattening process with confidence.
Setting Up the Slack Belt for Flattening
Setting up the slack belt correctly is vital for achieving optimal results when flattening handle scales. Begin by selecting an appropriate grit for your initial pass; typically, a coarser grit is used to remove material quickly and efficiently. Ensure that the slack belt is properly installed on your machine, with enough slack to allow for flexibility while still maintaining control during operation.
Adjusting the speed of your machine is another important consideration. A moderate speed is often ideal for flattening, as it allows for better control and reduces the risk of overheating the material. Once everything is set up, take a moment to familiarize yourself with the machine’s operation and ensure that all safety features are functioning correctly.
A well-prepared setup will make the flattening process smoother and more effective.
Safety Precautions to Take When Using a Slack Belt
Safety should always be a top priority when working with power tools like a slack belt sander. Before starting any work, it is essential to wear appropriate personal protective equipment (PPE), including safety glasses, hearing protection, and a dust mask. These items will help protect you from flying debris and harmful dust particles generated during the flattening process.
Additionally, ensure that your workspace is organized and free from clutter. A clean environment reduces the risk of accidents and allows you to focus on your work. Always keep your hands clear of the sanding area and maintain a firm grip on the handle scales while working.
By adhering to these safety precautions, you can minimize risks and create a safer working environment.
Step 1: Grinding the Handle Scales with the Slack Belt
With everything set up and safety measures in place, you can begin grinding the handle scales using the slack belt. Start by gently bringing the scales into contact with the slack belt at a consistent angle. It’s important to maintain even pressure throughout this process to avoid creating uneven surfaces or gouges in the material.
Move the scales back and forth across the belt, allowing it to do its job without forcing it. As you grind, periodically check your progress by inspecting the surface of the handle scales. Look for any high spots or areas that may require additional attention.
The flexibility of the slack belt will help you achieve a flat surface while conforming to any slight contours in your material. Continue this process until you achieve an even surface across both handle scales, ensuring that they are ready for further refinement.
Step 2: Checking for Evenness and Adjusting as Needed
After grinding, it’s crucial to check for evenness across both handle scales thoroughly. This step involves visually inspecting each scale and using tools such as calipers or straight edges to measure flatness accurately. If you notice any discrepancies or areas that are not level, adjustments will need to be made before proceeding further.
If one scale appears thicker or uneven compared to the other, return it to the slack belt for additional grinding in those specific areas. It’s essential to take your time during this step; rushing can lead to mistakes that may compromise the quality of your final product. By ensuring both handle scales are even before moving on, you set yourself up for success in achieving a professional finish.
Step 3: Fine-Tuning the Handle Scales for a Smooth Finish
Once you have confirmed that both handle scales are even, it’s time to fine-tune them for a smooth finish. This step typically involves switching to a finer grit on your slack belt sander. The finer grit will help eliminate any scratches or marks left by coarser grits while refining the surface texture of your handle scales.
As you work with finer grits, maintain consistent pressure and movement across the slack belt. Pay close attention to any areas that may require extra care or focus, as these spots can often be overlooked during initial grinding. The goal here is to achieve a smooth surface that feels comfortable in hand while also enhancing the overall appearance of your knife handle.
Step 4: Sanding and Polishing the Handle Scales
After fine-tuning your handle scales with finer grits, it’s time to move on to sanding and polishing them for a final touch. This step can involve hand sanding with various grits or using a polishing compound on a buffing wheel, depending on your desired finish and material type. Hand sanding allows for greater control over specific areas while buffing can provide a high-gloss finish quickly.
When sanding by hand, start with a medium grit and gradually progress to finer grits until you achieve your desired smoothness. Be sure to sand in different directions to ensure an even finish across all surfaces. If using a buffing wheel, apply polishing compound sparingly and allow it to work into the material without overheating it.
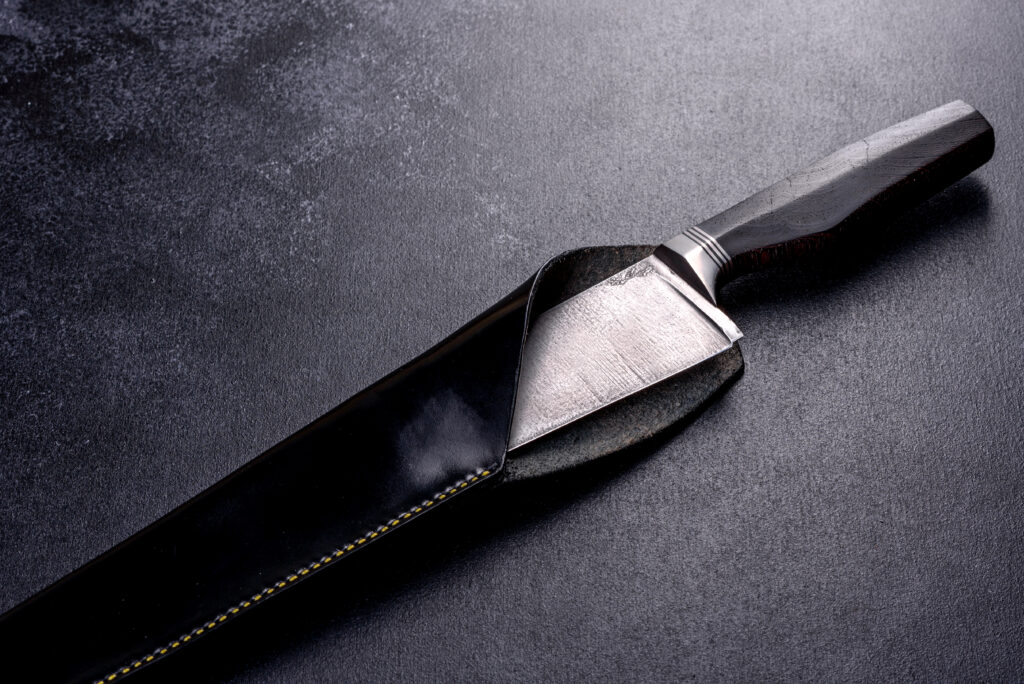
This final step will elevate your handle scales’ appearance and prepare them for installation on your knife.
Final Touches and Finishing the Handle Scales
With sanding and polishing complete, it’s time for those final touches that will truly make your handle scales stand out. Consider applying an appropriate finish or sealant based on your material choice; this could include oils for wood or epoxy coatings for synthetic materials. These finishes not only enhance aesthetics but also provide protection against moisture and wear over time.
After applying any finishes, allow sufficient drying time before handling or installing your handle scales onto your knife tang. Once dry, inspect them one last time for any imperfections or areas needing attention before final assembly. Taking these extra steps ensures that your knife not only looks great but also performs well in practical use.
Conclusion and Tips for Flattening Handle Scales with a Slack Belt
Flattening handle scales with a slack belt is an invaluable skill in knife making that can significantly enhance both functionality and aesthetics. By understanding how to prepare materials properly, set up equipment correctly, and follow safety precautions, you can achieve professional results in your projects. Remember that patience is key; taking your time during each step will yield better outcomes than rushing through.
As you gain experience with this technique, consider experimenting with different materials and finishes to discover what works best for your style and preferences. Each knife maker develops their unique approach over time; embrace this journey as you refine your craft further. With practice and dedication, you’ll find that mastering flattening handle scales with a slack belt opens up new possibilities in your knife-making endeavors.
FAQs
What is flattening handle scales with a slack belt?
Flattening handle scales with a slack belt is a process used in knife making and woodworking to smooth and flatten the surface of handle scales, typically made of materials such as wood, G-10, or micarta.
What is a slack belt?
A slack belt is a type of abrasive belt used in belt sanders and grinders that is not tensioned tightly, allowing for more flexibility and a softer touch when working on delicate materials.
Why is flattening handle scales important?
Flattening handle scales is important for creating a smooth and even surface for the handle of a knife or woodworking project. This not only improves the appearance of the handle, but also ensures a comfortable and ergonomic grip.
What are the steps involved in flattening handle scales with a slack belt?
The steps involved in flattening handle scales with a slack belt typically include securing the handle scales, using the slack belt to gradually remove material and flatten the surface, and then refining the finish with finer grit belts or sandpaper.
What materials can be used for handle scales?
Handle scales can be made from a variety of materials including wood, G-10 (a type of fiberglass laminate), micarta (a composite material), and various types of synthetic and natural materials. Each material has its own unique properties and characteristics.