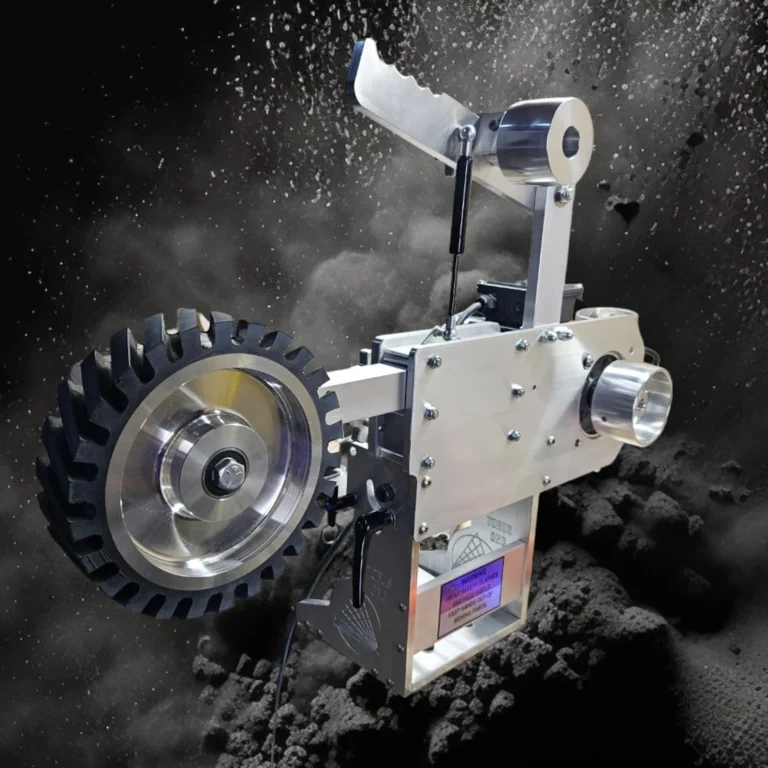
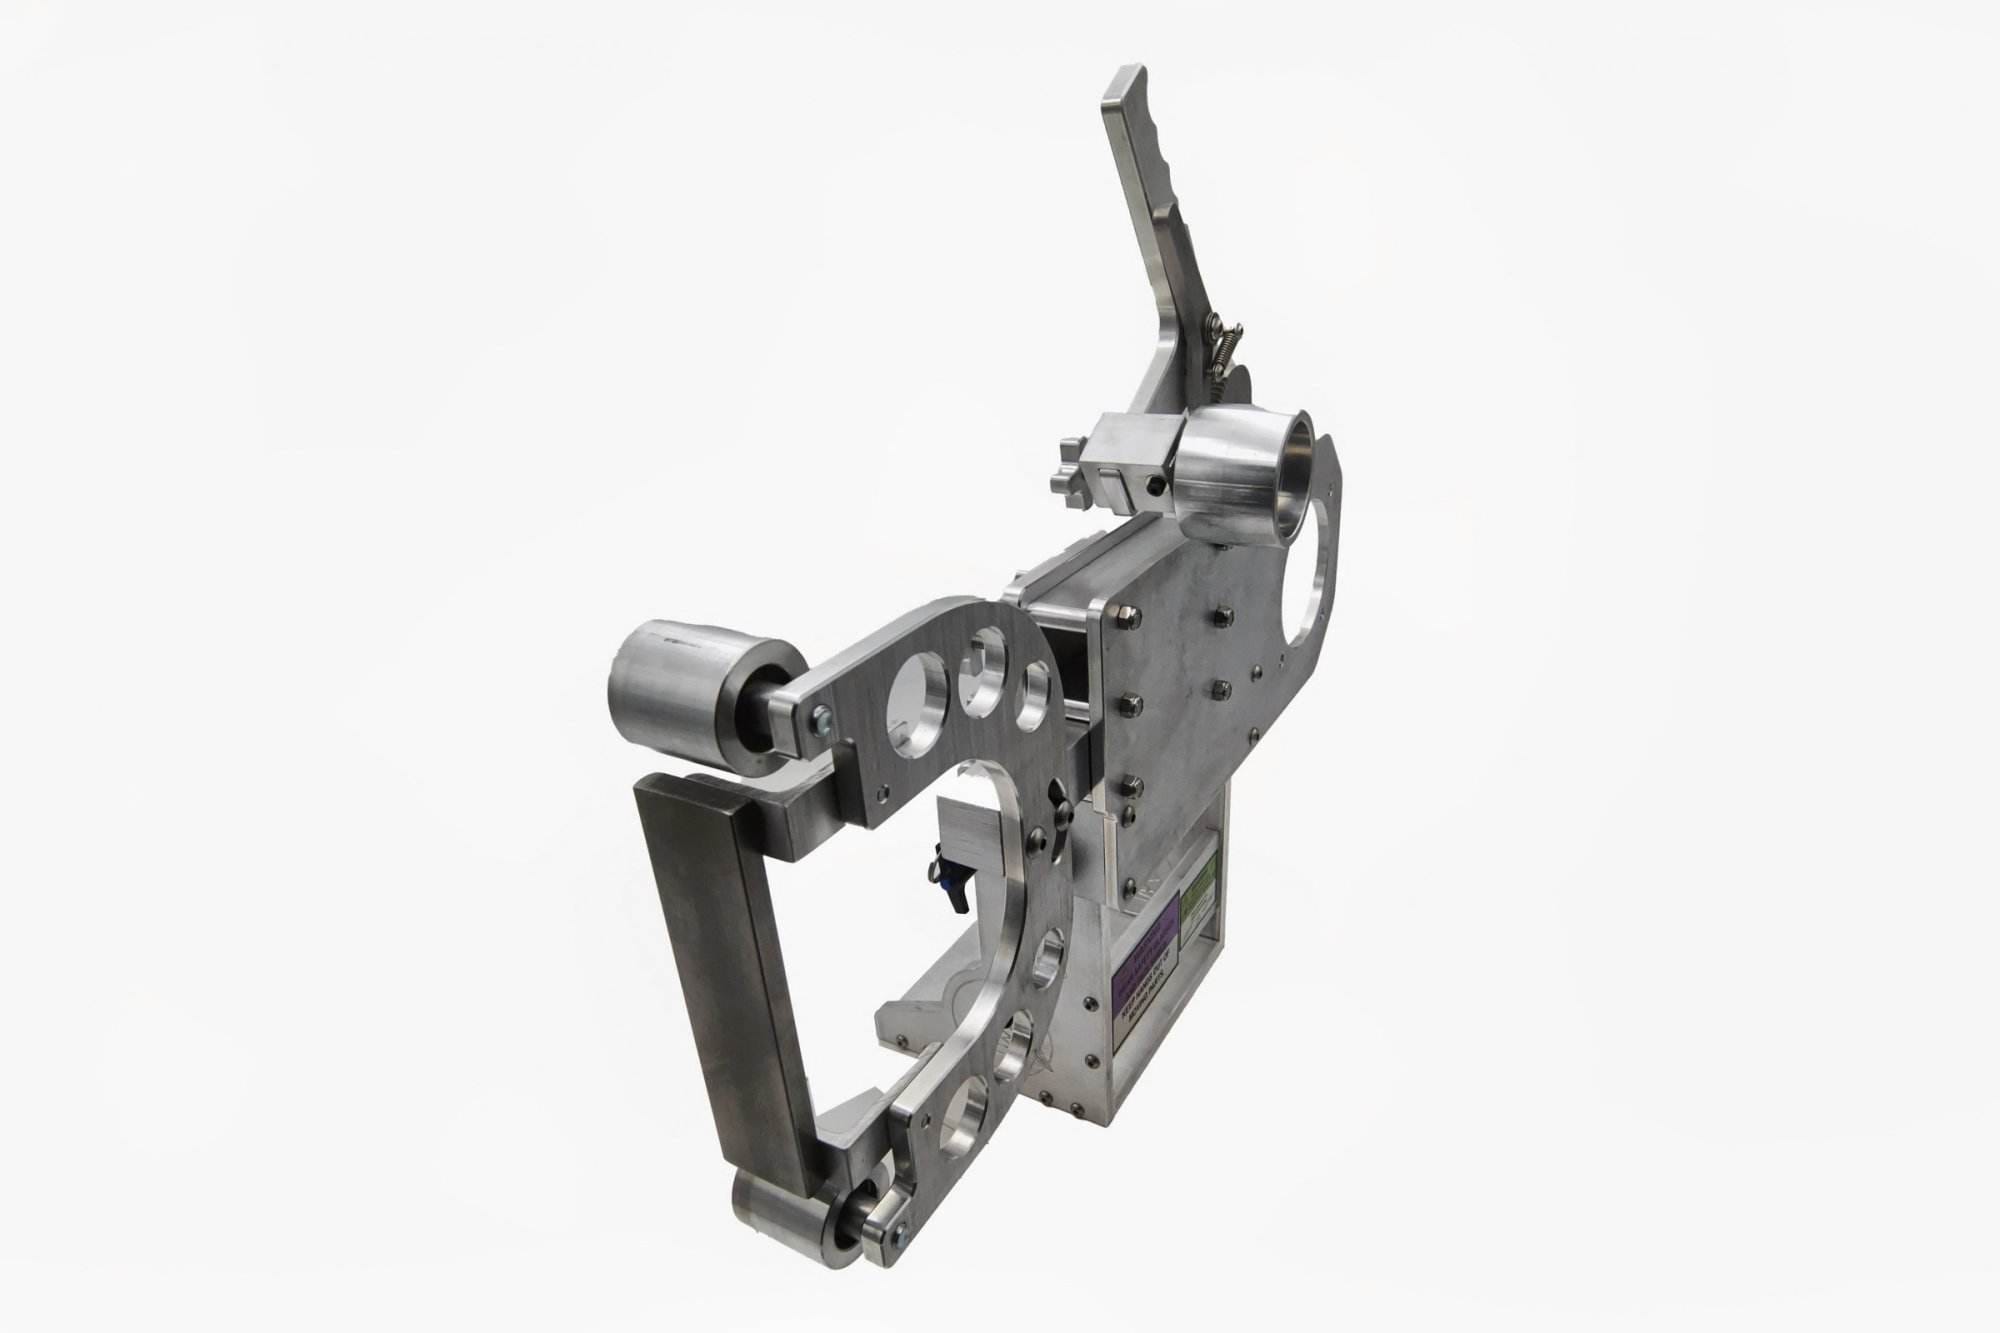
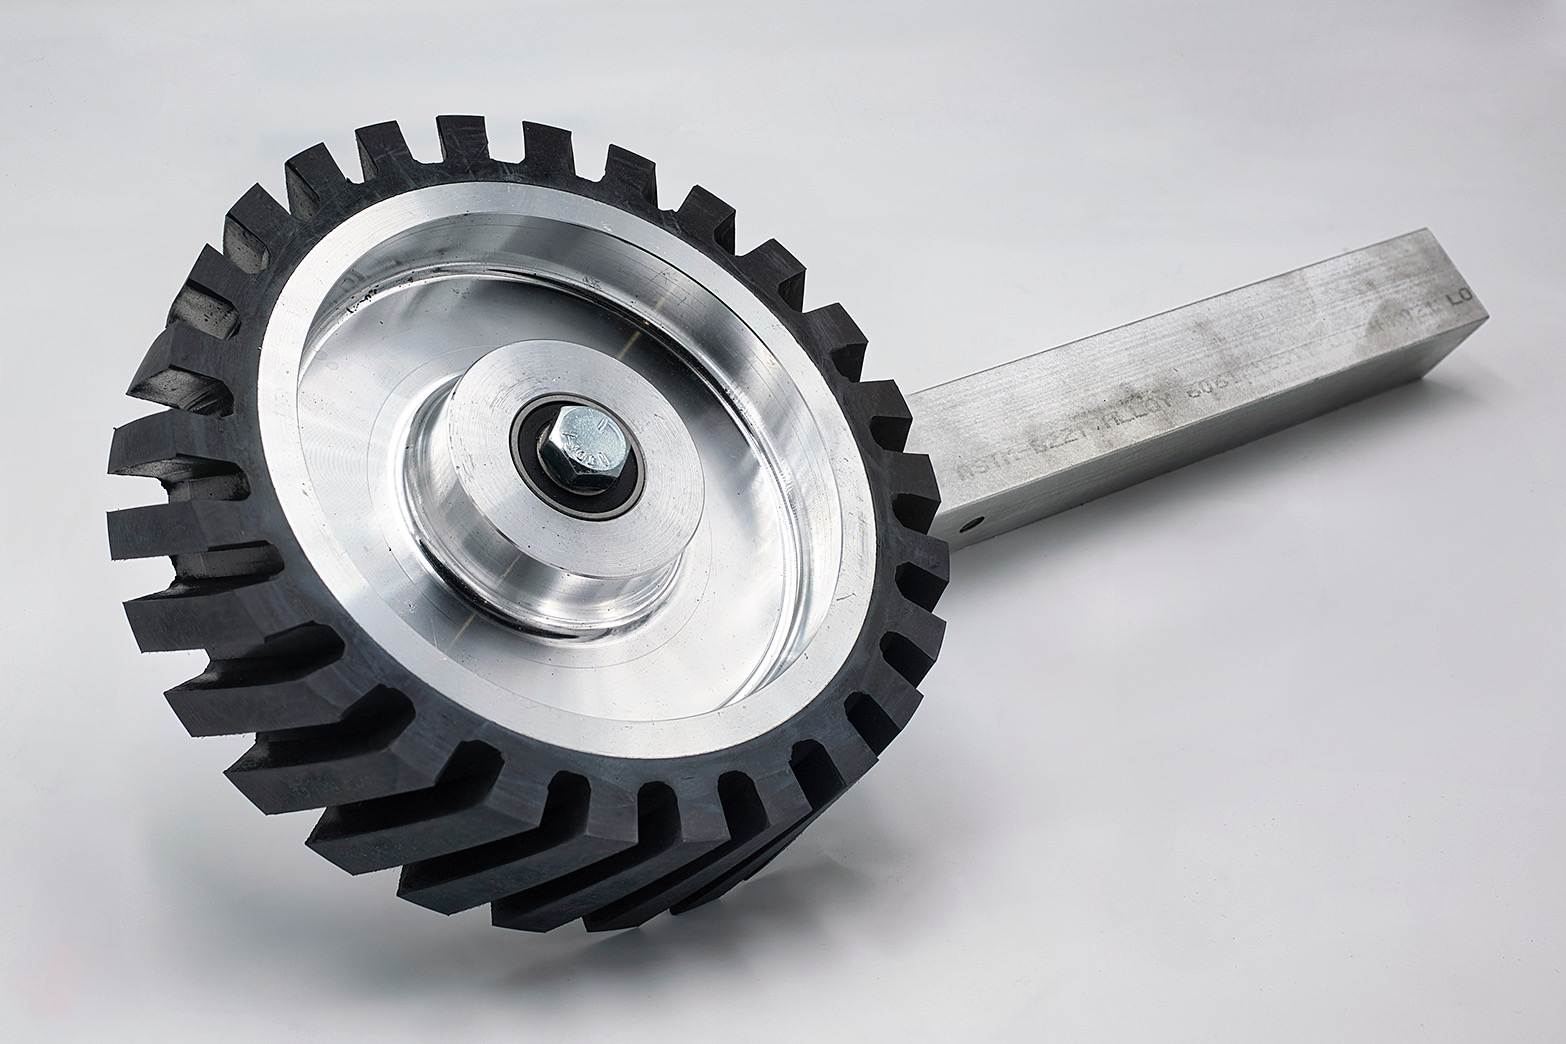
The 2×72 belt grinder is an essential tool for any knife maker, particularly when it comes to crafting double-edged daggers. This machine is designed to accommodate a 2-inch wide and 72-inch long belt, which provides a versatile surface for grinding, shaping, and finishing various materials. The belt grinder’s design allows for a range of operations, from rough shaping to fine polishing, making it an indispensable asset in the workshop.
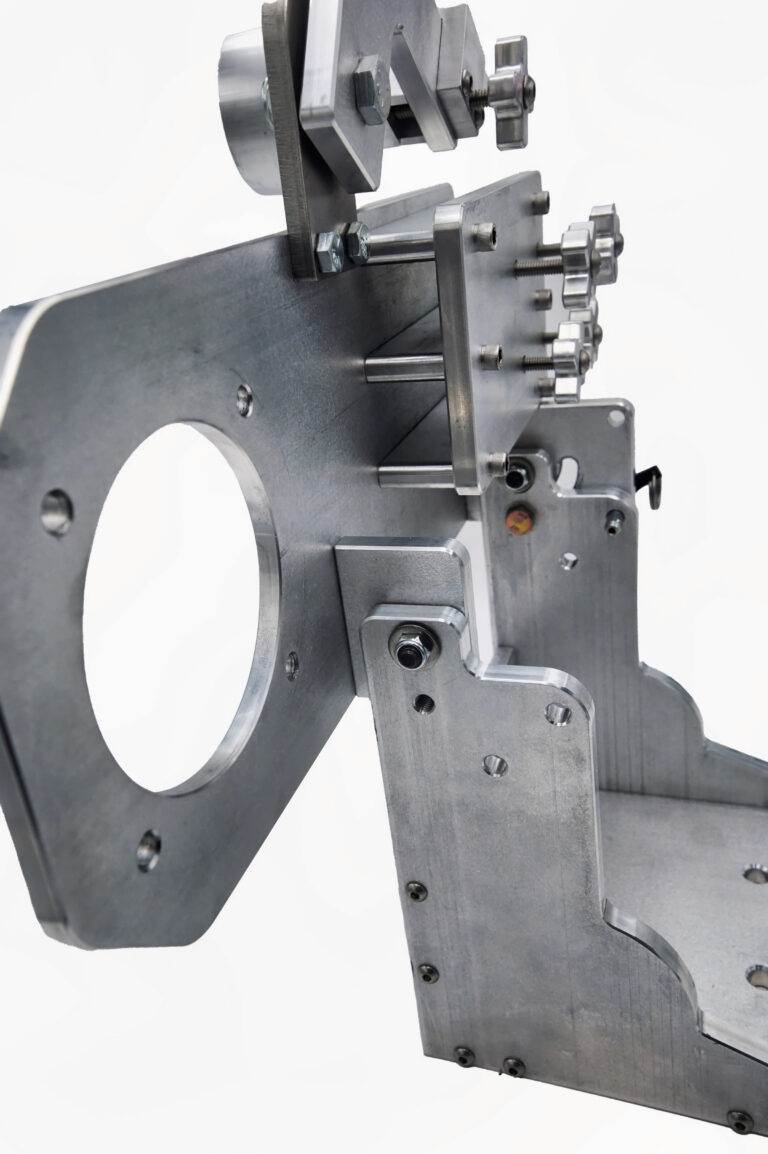
Its ability to quickly remove material while maintaining control over the process is crucial for achieving the desired blade geometry and finish. One of the standout features of the 2×72 belt grinder is its adaptability. With various attachments and accessories available, users can customize their setup to suit specific tasks, such as hollow grinding or flat grinding.
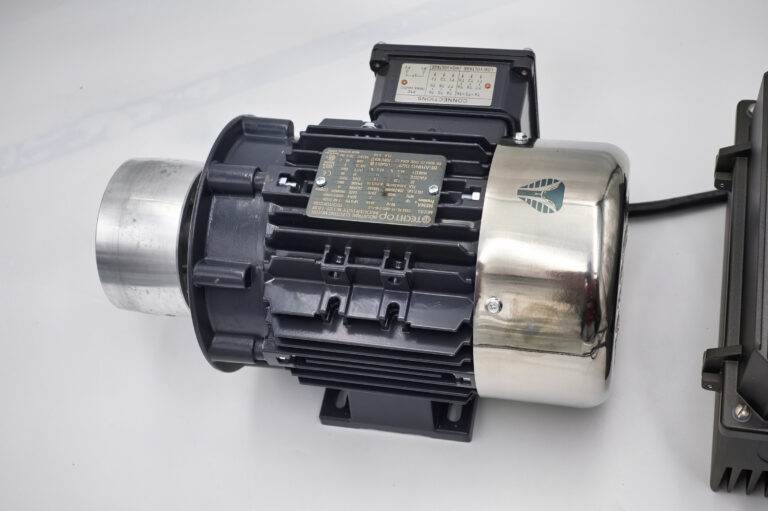
The grinder’s adjustable speed settings also allow for greater control over the grinding process, enabling knife makers to work with different types of steel and achieve precise results. Understanding how to effectively utilize this tool is fundamental for anyone looking to create high-quality double-edged daggers.

Key Takeaways
- Understanding the 2×72 Belt Grinder: A powerful tool for shaping and sharpening dagger blades.
- Choosing the Right Steel for Double-Edged Daggers: Consider factors like hardness, toughness, and corrosion resistance.
- Designing the Perfect Symmetrical Dagger Blade: Focus on balance, symmetry, and a sharp point for effective piercing.
- Tips for Grinding and Shaping the Dagger Blade: Use steady, even pressure and take frequent breaks to prevent overheating.
- Achieving Sharp and Uniform Edges on the Dagger Blade: Utilize a variety of grits and take your time to ensure a razor-sharp edge.
Choosing the Right Steel for Double-Edged Daggers
Selecting the appropriate steel is a critical step in the dagger-making process. The choice of material will significantly influence the blade’s performance, durability, and overall aesthetic. High-carbon steels, such as 1095 or O1, are popular choices due to their excellent edge retention and ease of sharpening.
These steels can achieve a high level of hardness when properly heat-treated, making them ideal for blades that require sharpness and resilience. However, they may also be more susceptible to rust and corrosion, necessitating proper care and maintenance. Stainless steels, on the other hand, offer a different set of advantages.
Alloys like 440C or CPM S30V provide excellent corrosion resistance while still maintaining good hardness and edge retention. These materials are particularly appealing for those who want a low-maintenance dagger that can withstand exposure to moisture and other environmental factors. Ultimately, the choice of steel will depend on the intended use of the dagger, as well as the maker’s preferences regarding aesthetics and performance.
Designing the Perfect Symmetrical Dagger Blade
Creating a symmetrical dagger blade involves careful consideration of both form and function. The design should reflect a balance between aesthetics and practicality, ensuring that the blade not only looks appealing but also performs well in various scenarios. A symmetrical dagger typically features two equal-length edges that taper towards a pointed tip, allowing for effective thrusting and slicing motions.
The overall profile should be sleek yet robust, providing both agility and strength. When designing the blade, it is essential to consider the intended use. For instance, a dagger meant for display may prioritize intricate designs and embellishments, while one intended for practical use should focus on functionality and ease of handling.
Additionally, incorporating features such as a fuller—a groove running along the blade—can reduce weight without compromising strength. This design element not only enhances the blade’s performance but also adds visual interest.
Tips for Grinding and Shaping the Dagger Blade
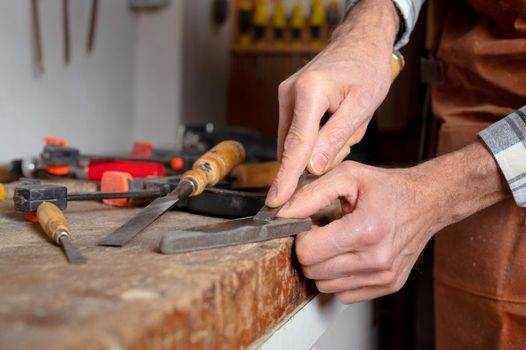
Grinding and shaping the dagger blade is a meticulous process that requires patience and precision. Starting with a rough blank of steel, the initial step involves establishing the basic shape of the blade using the 2×72 belt grinder. It is advisable to begin with a coarser grit belt to remove material quickly before transitioning to finer grits for refining the shape and achieving a smooth finish.
Maintaining consistent pressure and angle during this process is crucial to avoid uneven surfaces or unwanted curves. As you progress through the grinding stages, regularly checking your work against templates or measurements can help ensure accuracy. It’s also beneficial to take breaks to assess your progress; stepping back allows you to view the blade from different angles and make necessary adjustments.
Additionally, using water or oil as a coolant during grinding can help prevent overheating, which could compromise the steel’s integrity. This careful approach will lead to a well-shaped dagger blade that is ready for further refinement.
Achieving Sharp and Uniform Edges on the Dagger Blade
Once the basic shape of the dagger blade has been established, the next step is to achieve sharp and uniform edges. This process typically involves using finer grit belts on the 2×72 grinder to hone the edges to perfection. It is essential to maintain a consistent angle while grinding to ensure that both edges are symmetrical and sharp.
Many knife makers prefer a bevel angle between 15 to 20 degrees for double-edged daggers, striking a balance between sharpness and durability. After achieving the desired edge geometry on both sides of the blade, it is important to perform a thorough inspection. Checking for any inconsistencies or burrs will help ensure that the edges are not only sharp but also uniform in thickness.
A final touch with a honing rod or leather strop can further refine the edges, enhancing their sharpness and providing a polished finish. This attention to detail is what separates a well-crafted dagger from an average one.
Adding Decorative Features to the Dagger Blade
In addition to functionality, decorative features can elevate a dagger from a mere tool to a work of art. Engravings, etchings, or inlays can add personal touches that reflect the maker’s style or commemorate specific themes or events. Techniques such as acid etching can create intricate patterns on the blade’s surface, while hand engraving allows for more personalized designs that showcase craftsmanship.
Another popular decorative feature is adding a fuller or blood groove along the blade’s length. This not only serves an aesthetic purpose but also reduces weight while maintaining structural integrity. Additionally, embellishments such as file work on the spine or decorative bolsters can enhance visual appeal without compromising functionality.
When incorporating these features, it’s essential to strike a balance between decoration and practicality; every embellishment should serve a purpose or enhance the overall design.
Creating a Balanced and Comfortable Handle for the Dagger
The handle of a dagger plays a crucial role in its overall usability and comfort during handling. A well-designed handle should provide a secure grip while ensuring that the weight distribution remains balanced throughout the blade and handle assembly. Common materials for dagger handles include wood, micarta, G10, or even metals like brass or aluminum.
Each material offers unique characteristics in terms of aesthetics, grip texture, and durability. When shaping the handle, consider ergonomics; it should fit comfortably in the hand without causing fatigue during extended use. Contouring the handle to match the natural grip of the hand can enhance comfort significantly.
Additionally, incorporating features such as finger grooves or textured surfaces can improve grip security, especially in high-stress situations. Ultimately, creating a balanced handle that complements the blade will enhance both performance and user experience.
Attaching the Handle to the Dagger Blade
Attaching the handle to the dagger blade is a critical step that requires precision and care. The connection must be secure enough to withstand use while maintaining aesthetic appeal. There are several methods for attaching handles, including using pins, epoxy adhesives, or even threaded fasteners depending on design preferences and materials used.
Before attaching the handle, ensure that both surfaces—the tang of the blade and the inside of the handle—are clean and free from debris or oils that could interfere with adhesion. If using pins or rivets, drill corresponding holes in both components before assembly; this ensures alignment during attachment. Once secured, it’s advisable to sand down any excess material around the handle joint for a seamless transition between blade and handle.
This attention to detail not only enhances durability but also contributes to an overall polished appearance.
Polishing and Finishing Techniques for Double-Edged Daggers
Polishing and finishing are vital steps in achieving a professional look for double-edged daggers. After all grinding and shaping work is complete, using progressively finer grits on your belt grinder will help eliminate any scratches left from previous stages while enhancing shine. Transitioning from coarse grits to finer ones allows for smoother surfaces that reflect light beautifully.
In addition to belt polishing, hand polishing with compounds such as buffing wheels can provide an extra level of shine that machines may not achieve alone. Applying compounds like rouge or diamond paste can help bring out luster in stainless steels or high-carbon steels alike. Finally, applying protective coatings such as oils or waxes can help preserve your dagger’s finish while preventing rust or corrosion over time.
Testing the Sharpness and Balance of the Finished Dagger
Once your dagger is fully assembled and polished, it’s time to test its sharpness and balance—two critical factors that determine its effectiveness as both a tool and an art piece. For sharpness testing, simple methods include slicing through paper or cutting soft materials like rope; these tests provide immediate feedback on how well your edge has been honed. Balance testing involves holding the dagger at its grip point and observing how it feels in hand; ideally, it should feel neutral without tipping excessively toward either end.
A well-balanced dagger allows for better control during use, enhancing overall performance whether it’s intended for display or practical application. If adjustments are needed—such as adding weight to one end—consider doing so carefully so as not to compromise aesthetics.
Maintenance and Care for Symmetrical Double-Edged Daggers
Proper maintenance is essential for preserving both functionality and appearance in symmetrical double-edged daggers over time. Regular cleaning after use helps prevent corrosion buildup; wiping down blades with soft cloths removes moisture while applying light oils can protect against rust formation. For those who choose high-carbon steels, this step becomes even more critical due to their susceptibility to oxidation.
Additionally, periodic sharpening ensures that your dagger remains effective when needed most; investing in quality sharpening tools will make this task easier while prolonging edge life significantly. Storing your dagger in protective cases or sheaths when not in use further safeguards against damage from environmental factors or accidental impacts. By following these maintenance practices diligently, you can ensure that your double-edged dagger remains both functional and beautiful for years to come.
FAQs
What is a 2×72 grinder?
A 2×72 grinder is a type of belt grinder that uses a 2-inch by 72-inch belt for grinding, shaping, and polishing metal and other materials. It is commonly used in knife making and metalworking.
What are symmetrical double-edged daggers?
Symmetrical double-edged daggers are knives with two sharp edges that are identical in shape and size, creating a balanced and symmetrical appearance. These daggers are often used for decorative or ceremonial purposes.
How can symmetrical double-edged daggers be achieved on a 2×72 grinder?
Achieving symmetrical double-edged daggers on a 2×72 grinder involves precise grinding and shaping of the blade to ensure both edges are identical in size and shape. This requires skill and attention to detail to create a balanced and symmetrical blade.
What are some tips for achieving symmetrical double-edged daggers on a 2×72 grinder?
Some tips for achieving symmetrical double-edged daggers on a 2×72 grinder include using a sharp and high-quality belt, taking your time to ensure precise grinding, and regularly checking the symmetry of the blade during the grinding process. Additionally, using proper safety equipment and following best practices for knife making is essential.