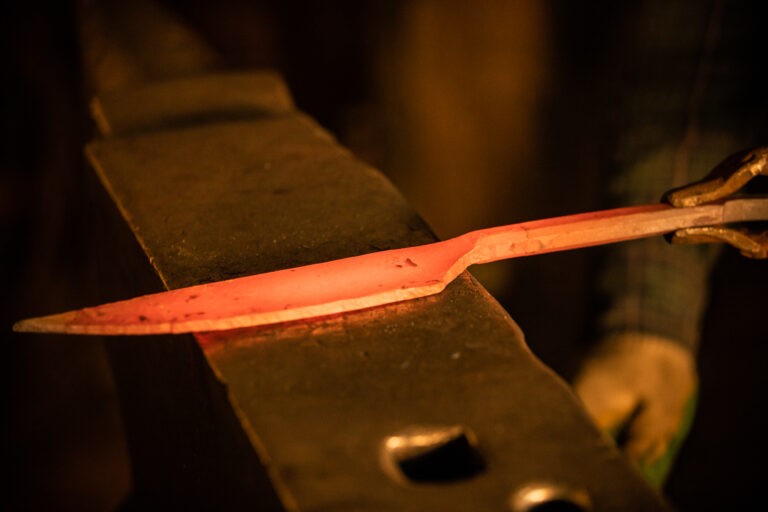
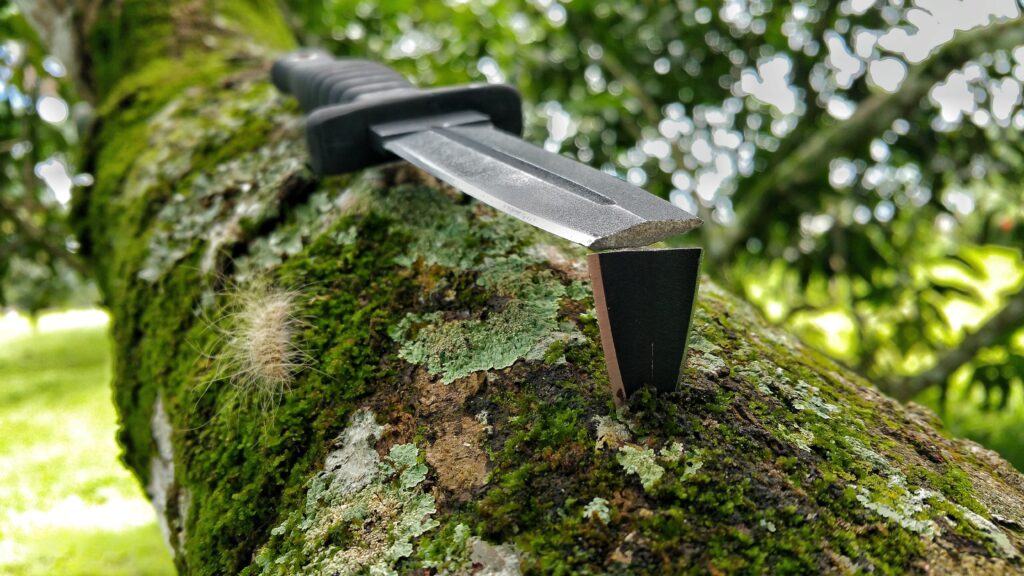
The bevel of a knife is a critical aspect of its design, influencing both its performance and longevity. A well-crafted bevel allows for efficient cutting, slicing, and dicing, while a poorly maintained or blundered bevel can lead to frustration and diminished functionality. A blundered bevel typically results from improper sharpening techniques, accidental damage, or neglect over time.
Understanding the nuances of the bevel is essential for any knife enthusiast or professional chef who relies on their tools for precision and efficiency. When a bevel is blundered, it can manifest in various ways, such as uneven edges, nicks, or a dull appearance. These imperfections not only hinder the knife’s ability to perform tasks effectively but can also pose safety risks during use.
Recognizing the signs of a blundered bevel is the first step toward restoring the knife to its former glory. By addressing these issues promptly, one can ensure that their knife remains a reliable companion in the kitchen or workshop.


Key Takeaways
- Understanding the Blundered Bevel: Learn about the common mistakes that can damage the bevel of your knife.
- Assessing the Damage: Understand how to assess the extent of the damage to your knife’s bevel.
- Introducing Knife Saver: Discover a new solution for restoring and maintaining the bevel of your knife.
- Preparing the Knife for Restoration: Learn the steps to prepare your knife for the restoration process using Knife Saver.
- Applying Knife Saver: Understand how to apply the Knife Saver solution to your knife’s bevel for optimal results.
- Allowing the Solution to Work: Learn about the importance of allowing the Knife Saver solution to work its magic on the damaged bevel.
- Polishing and Sharpening the Bevel: Discover the techniques for polishing and sharpening the bevel of your knife after using Knife Saver.
- Testing the Revived Bevel: Understand how to test the effectiveness of the restored bevel to ensure it meets your expectations.
- Maintaining the Bevel with Knife Saver: Learn how to use Knife Saver for ongoing maintenance of your knife’s bevel to keep it in top condition.
- Preventing Future Blunders: Discover tips for preventing future damage to your knife’s bevel and maintaining its sharpness.
- Conclusion: Enjoying a Restored Blade: Wrap up the article with the satisfaction of enjoying a restored and well-maintained knife blade.
Assessing the Damage
Before embarking on the restoration journey, it is crucial to assess the extent of the damage to the bevel. This assessment involves a thorough inspection of the blade, looking for any visible signs of wear or damage. A careful examination can reveal issues such as chips, scratches, or uneven sharpening angles that may have occurred over time.
Taking note of these imperfections will help in determining the appropriate restoration techniques and tools needed for the job. In addition to visual inspection, it is also important to consider the knife’s overall performance. Testing the blade’s cutting ability on various materials can provide insight into how significantly the blundered bevel has affected its functionality.
If the knife struggles to slice through even soft ingredients, it may indicate that the bevel requires immediate attention. By understanding both the visual and functional aspects of the damage, one can create a comprehensive plan for restoring the knife to its optimal state.
Introducing Knife Saver
In the realm of knife restoration, Knife Saver emerges as a powerful solution designed specifically to address blundered bevels. This innovative product is formulated to penetrate and rejuvenate damaged blades, making it an essential tool for anyone looking to restore their knives effectively. Knife Saver works by breaking down rust, grime, and other contaminants that may have accumulated on the blade over time, allowing for a more thorough cleaning and restoration process.
What sets Knife Saver apart from other restoration products is its ease of use and effectiveness. The solution is designed to be user-friendly, making it accessible for both novice and experienced knife enthusiasts alike. With Knife Saver in hand, restoring a blundered bevel becomes a manageable task that can yield impressive results.
This product not only revitalizes the blade but also helps maintain its integrity for future use, ensuring that your knives remain in top condition.
Preparing the Knife for Restoration
Preparation is key when it comes to restoring a blundered bevel. Before applying Knife Saver, it is essential to clean the knife thoroughly to remove any surface dirt or debris that could interfere with the restoration process. Using warm soapy water and a soft cloth, gently scrub the blade to eliminate any grime that may have built up over time.
This initial cleaning step ensures that Knife Saver can penetrate effectively and work its magic on the damaged areas. Once the knife is clean, it is advisable to dry it completely before proceeding with the application of Knife Saver. Moisture can hinder the effectiveness of the solution and may lead to further issues down the line.
After drying, inspect the blade once more to identify any specific areas that require extra attention. This meticulous preparation sets the stage for a successful restoration process, allowing Knife Saver to perform optimally and deliver impressive results.
Applying Knife Saver
With the knife prepared and ready for restoration, it’s time to apply Knife Saver. Begin by shaking the bottle gently to ensure that the solution is well-mixed before dispensing a small amount onto a clean cloth or directly onto the affected areas of the blade. It is important to apply Knife Saver evenly across the blundered bevel, focusing on any nicks or uneven sections that require special attention.
As you apply Knife Saver, take care to follow the manufacturer’s instructions regarding application techniques and recommended dwell times. Gently rub the solution into the blade using circular motions, allowing it to penetrate deeply into any damaged areas. This process not only helps in breaking down rust and grime but also prepares the surface for subsequent polishing and sharpening steps.
The application of Knife Saver is a crucial phase in restoring your knife’s bevel, setting the foundation for a successful revival.
Allowing the Solution to Work
After applying Knife Saver, patience becomes an essential virtue as you allow the solution to work its magic on the blundered bevel. The recommended dwell time may vary depending on the severity of the damage and the specific formulation of Knife Saver being used. During this waiting period, it is important to resist the temptation to rush ahead with further steps; allowing sufficient time for the solution to penetrate will yield better results.
While waiting, consider using this time to gather any additional tools you may need for polishing and sharpening later on. Having everything prepared in advance will streamline your workflow once you are ready to move on to subsequent steps in the restoration process. Once the designated dwell time has passed, you can proceed with confidence knowing that Knife Saver has had ample opportunity to break down contaminants and prepare your knife for rejuvenation.
Polishing and Sharpening the Bevel
With Knife Saver having done its job, it’s time to move on to polishing and sharpening the bevel. Begin by rinsing off any residual solution from the blade using warm water and a soft cloth. This step ensures that no remnants of Knife Saver remain on the knife before you begin polishing.
Once rinsed and dried thoroughly, you can assess how much improvement has been made in terms of appearance and functionality. For polishing, select an appropriate polishing compound or paste designed for metal surfaces. Apply a small amount onto a clean cloth or polishing pad and work it into the bevel using gentle circular motions.
This process not only enhances the aesthetic appeal of your knife but also helps refine its edge further. After polishing, it’s time to sharpen the bevel using your preferred sharpening method—be it a whetstone, honing rod, or electric sharpener—ensuring that you maintain an even angle throughout.
Testing the Revived Bevel
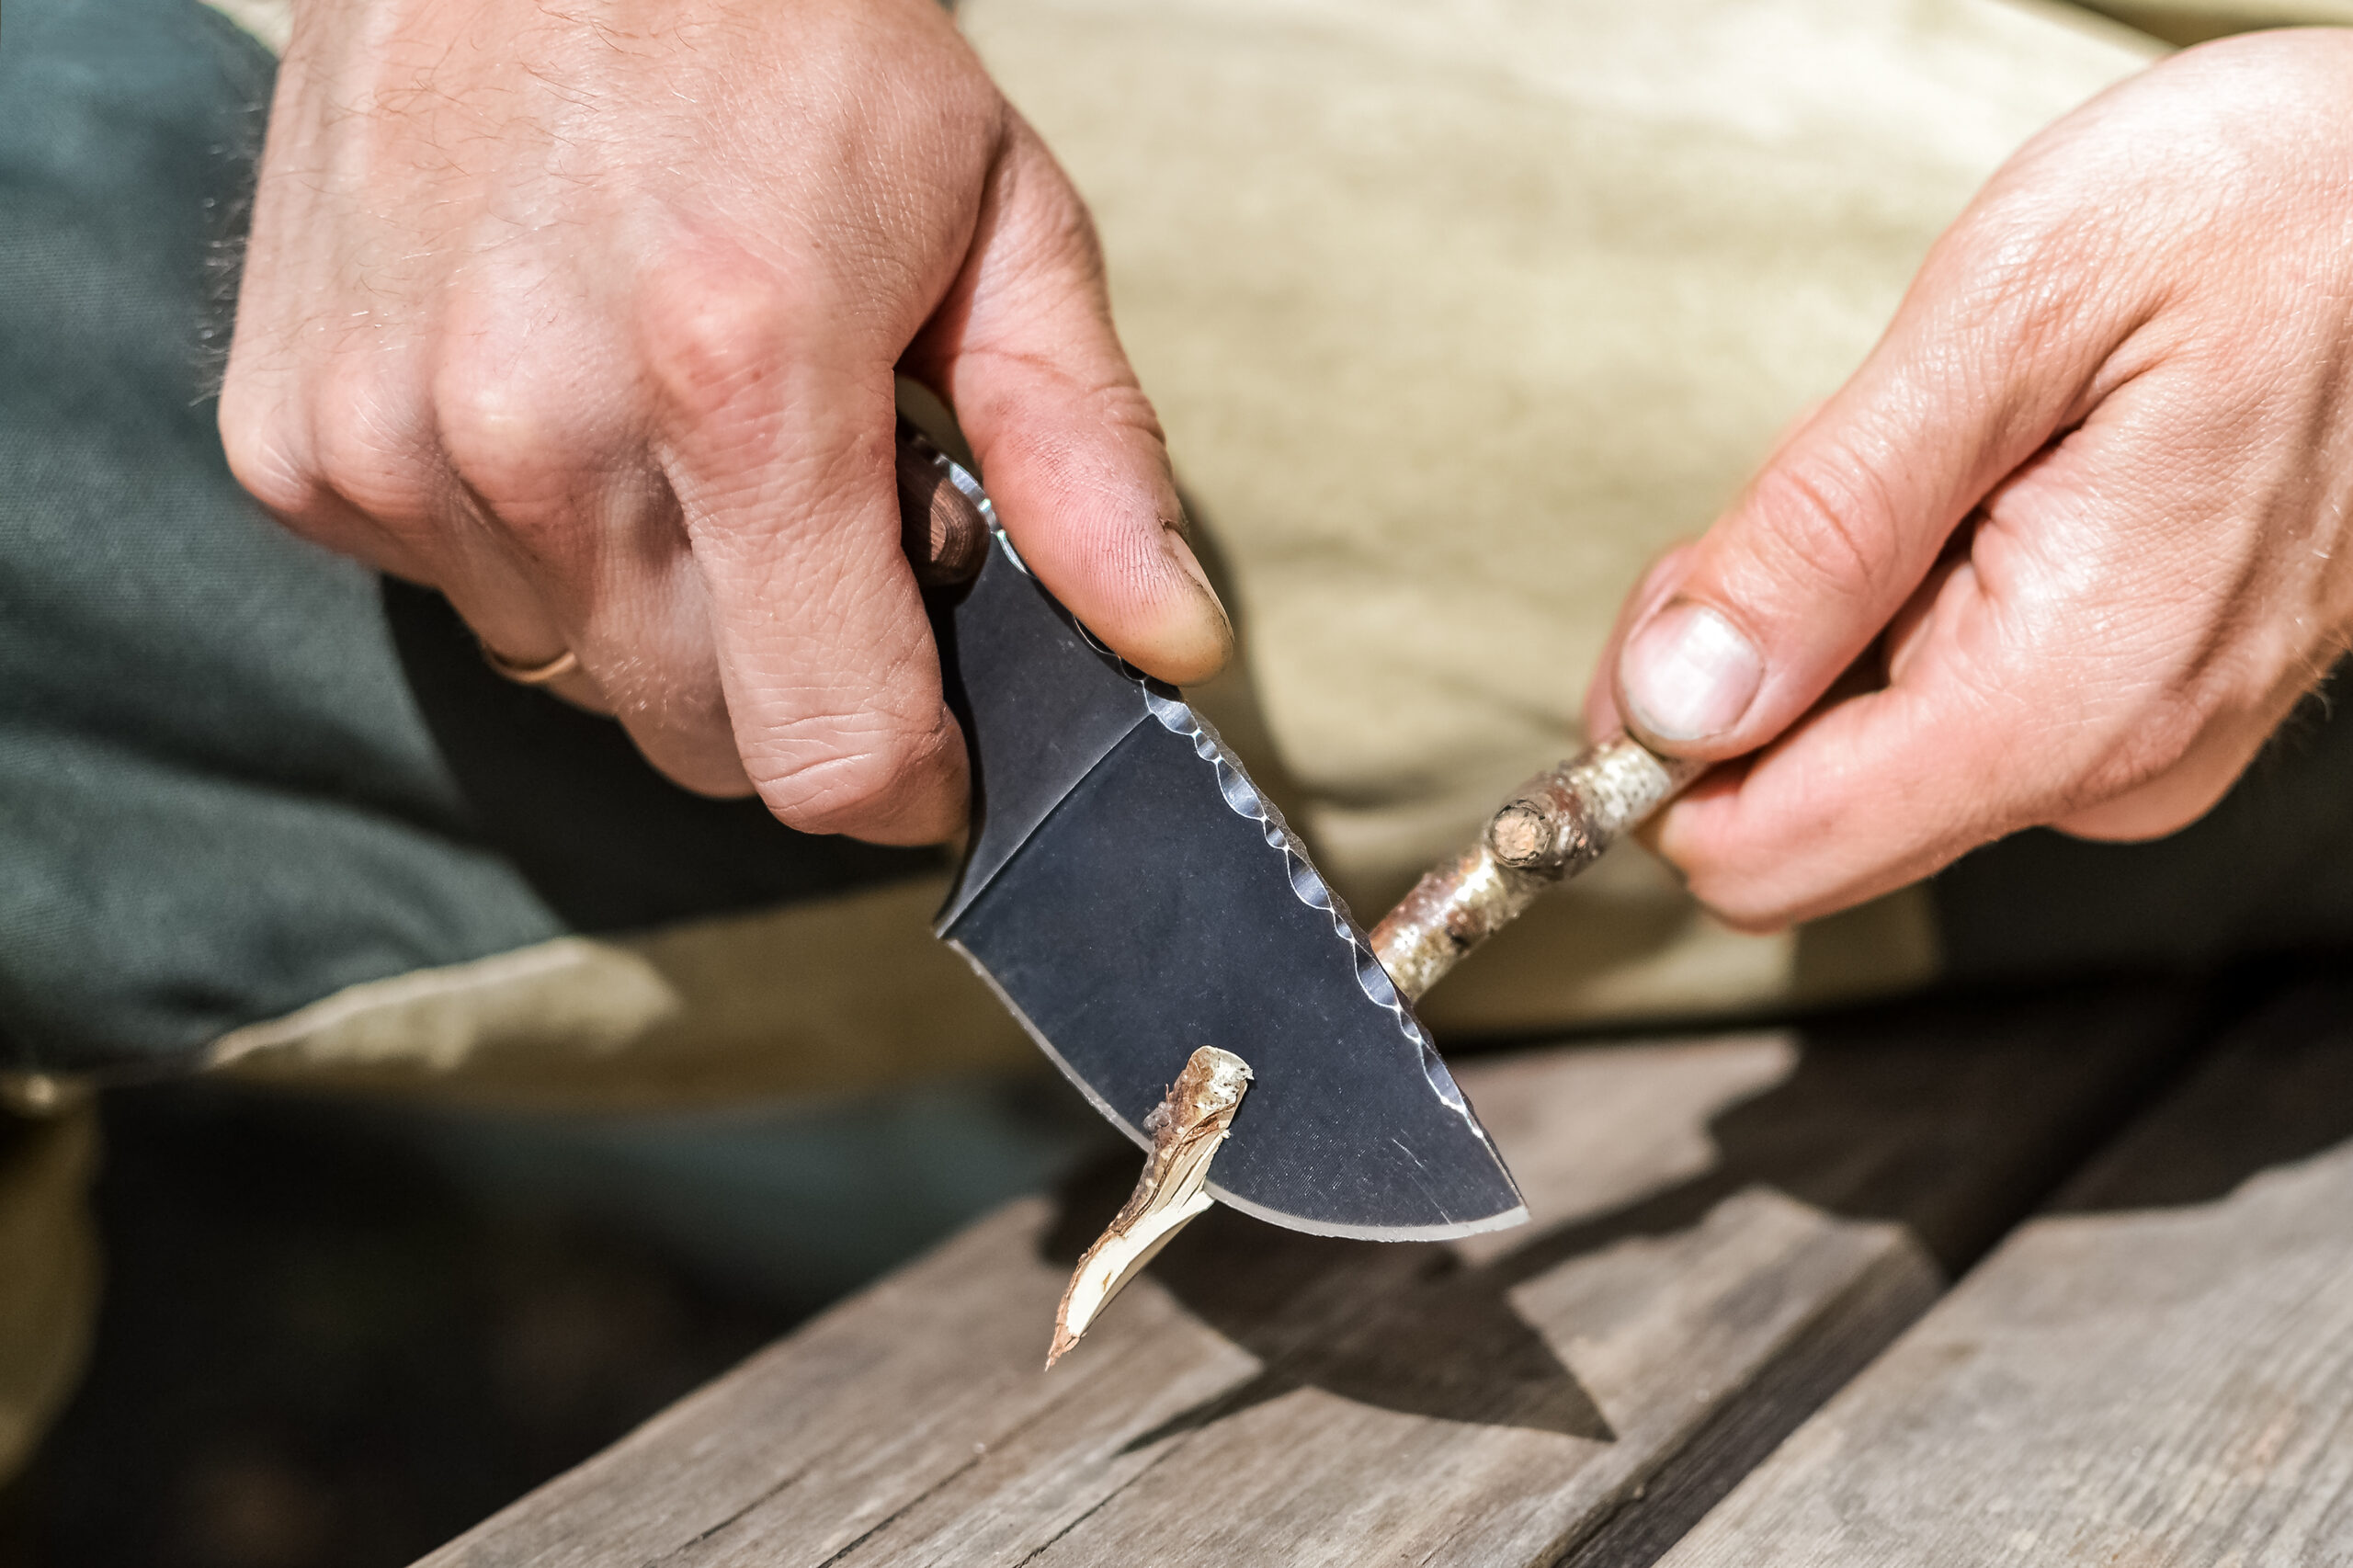
Once you have polished and sharpened your knife’s bevel, it’s essential to put it through its paces by testing its performance. Begin by slicing through various materials such as vegetables, fruits, or even paper to gauge how well your restored knife performs compared to its previous state. A well-restored bevel should glide effortlessly through these materials, showcasing improved sharpness and precision.
During this testing phase, pay attention to how comfortable and safe it feels while using your knife. A revived bevel should not only enhance cutting efficiency but also provide a sense of control and confidence during use. If you notice any lingering issues or areas that require further attention, don’t hesitate to revisit your restoration process with additional polishing or sharpening as needed.
Maintaining the Bevel with Knife Saver
Restoration is just one part of maintaining your knife’s performance; ongoing care is equally important in preserving its condition over time. Incorporating Knife Saver into your regular maintenance routine can help keep your bevel in optimal shape while preventing future blunders from occurring. Regularly applying Knife Saver after each use can help protect against rust and corrosion while ensuring that your blade remains sharp and functional.
In addition to using Knife Saver, consider implementing other maintenance practices such as proper cleaning techniques and safe storage methods. Always wash your knife by hand rather than placing it in a dishwasher, as harsh detergents and high temperatures can damage both the blade and handle over time. Storing your knives in protective sheaths or magnetic strips can also help prevent accidental damage while keeping them easily accessible when needed.
Preventing Future Blunders
To ensure that your knives remain in excellent condition long after restoration, it’s vital to adopt practices that prevent future blunders from occurring. One key aspect is mastering proper sharpening techniques; understanding how to maintain an even angle while sharpening will significantly reduce wear on your bevel over time. Investing in quality sharpening tools tailored for your specific knives can also make a substantial difference in maintaining their performance.
Additionally, being mindful of how you use your knives can help prevent unnecessary damage. Avoid using them on hard surfaces like glass or stone cutting boards; instead, opt for softer materials such as wood or plastic that are gentler on blades. By combining proper usage with regular maintenance practices like applying Knife Saver, you can enjoy your knives’ longevity while minimizing potential blunders down the line.
Enjoying a Restored Blade
Restoring a blundered bevel may seem daunting at first glance; however, with products like Knife Saver and a commitment to proper maintenance practices, achieving impressive results is entirely possible. By understanding how to assess damage effectively and employing appropriate restoration techniques, you can breathe new life into your knives while enhancing their performance in everyday tasks. Ultimately, enjoying a restored blade goes beyond mere aesthetics; it encompasses improved functionality and safety during use as well.
With each successful restoration journey undertaken with care and diligence comes not only satisfaction but also renewed confidence in your culinary tools. Embrace this opportunity to elevate your knife skills while cherishing every slice made with your revitalized blade!
FAQs
What is a bevel on a knife?
A bevel on a knife refers to the edge angle that is ground into the blade to form the cutting edge.
What does it mean to “screw up” a bevel on a knife?
To “screw up” a bevel on a knife means to accidentally damage or misshape the bevel, resulting in a dull or ineffective cutting edge.
How can a screwed-up bevel be recovered?
A screwed-up bevel on a knife can be recovered by regrinding the edge to the correct angle and sharpening it to restore its cutting ability.
What tools are needed to recover a screwed-up bevel on a knife?
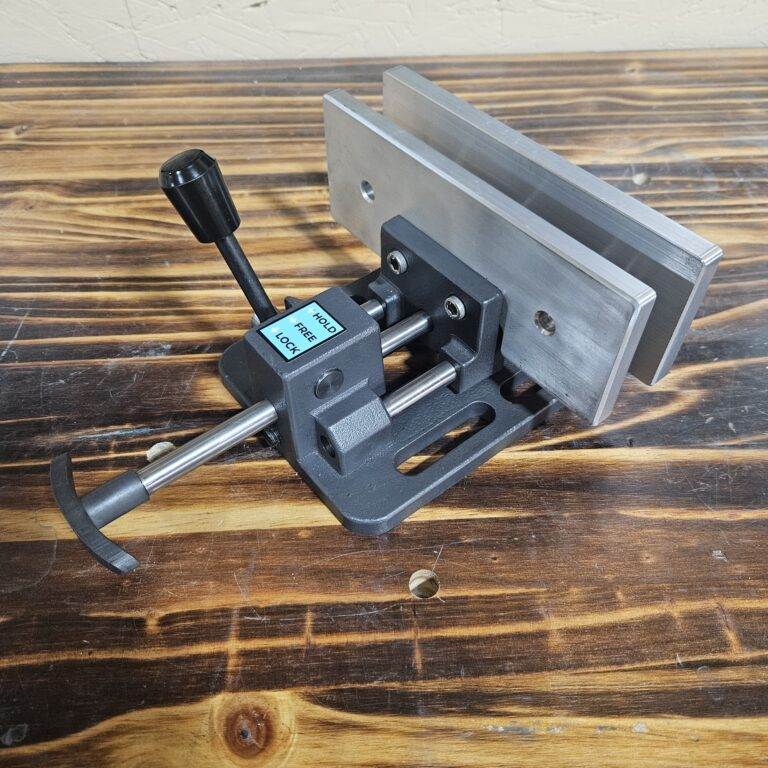
Recovering a screwed-up bevel on a knife may require tools such as a sharpening stone, honing rod, or a knife sharpening system.
Can a screwed-up bevel be fixed at home or does it require professional help?
Depending on the extent of the damage, a screwed-up bevel on a knife can often be fixed at home with the right tools and techniques. However, severe damage may require professional help from a knife sharpening service.